June 30, 2012

Gypsy Made Simple - 3 Fold Card - Puppy

Good day! Time to join me for Gypsy Made Simple where we learn to make all types of projects. This is such a fun little card to make and is sure to put a smile on the recipients face. I used my 3 Fold template and then added the artwork from Create A Critter. Now if you don't have that cart just use any cart you like to make a card. Now grab a cup of coffee, turn on your Gypsy, download this TEMPLATE, and let's get to work. Note the template is made from George. If you don't have that cart you will need to make your own base by making your own from a cart you have.


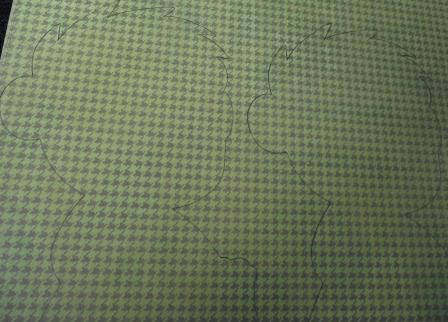
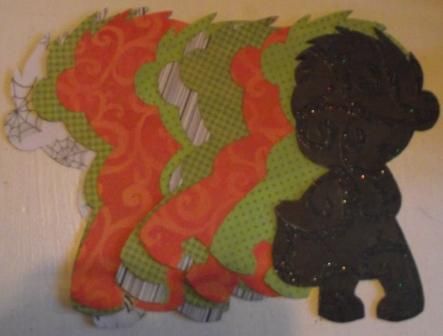
Now follow along as I take you step by step in the process of designing this card. Remember work with the page that says Empty and that you are looking at the INSIDE of the card. That is important as you will flip your art used on the base only and you will place your paper on the mat accordingly (front down, inside up).


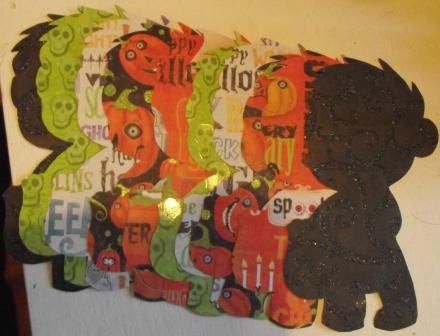
Now that you have your card cut you can easily see how it gets put together. Make sure you score where the sections meet, and take the time to make all your pieces are inked and accentuated before you lay them down. Also make sure you do not use pop dots or foam tape on the inside section as you want your card to lay flat.

Look at the little heart in the word smile, I used a white gel pen and then added glitter so the card would have a little bling on it.

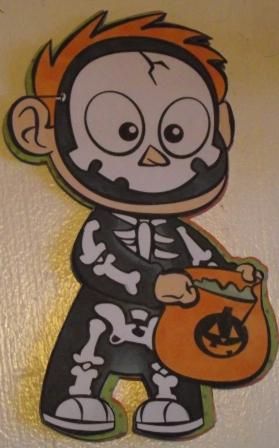
Again I used the gel pen to ad a little motion to my puppy... isn't he just too cute?

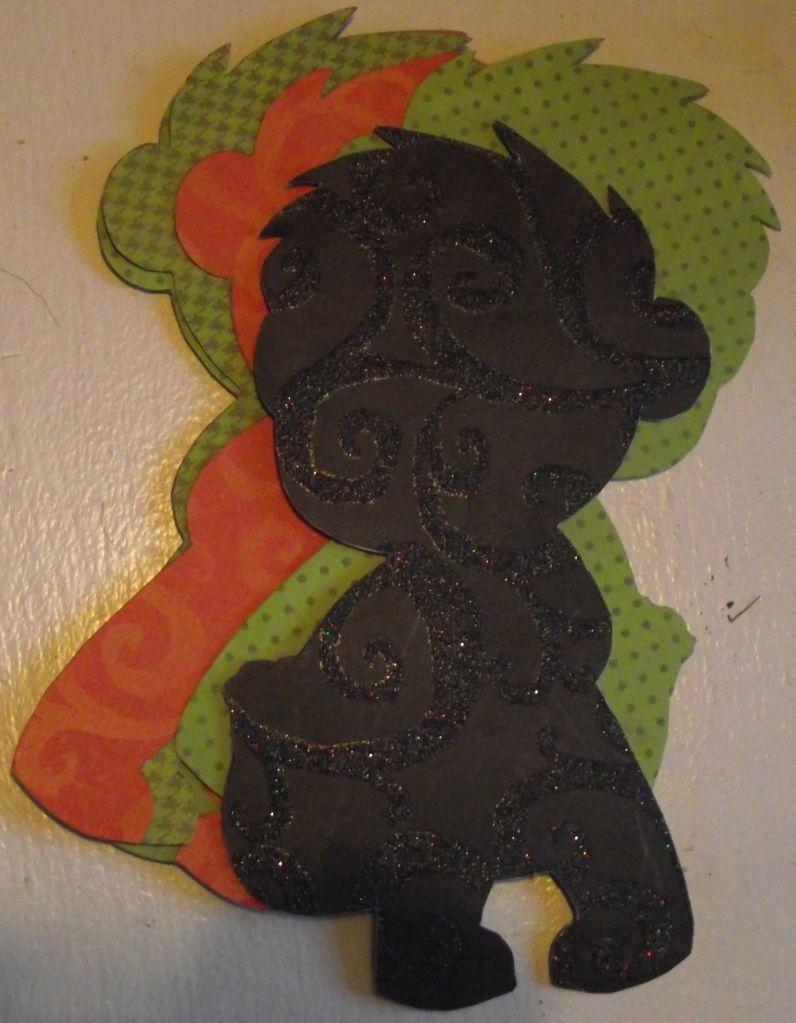
I used my Close To My Heart Olive ink pad on the roof line and around the edges of my sentiment area. Then I just added a few dots on the house to make it pop.

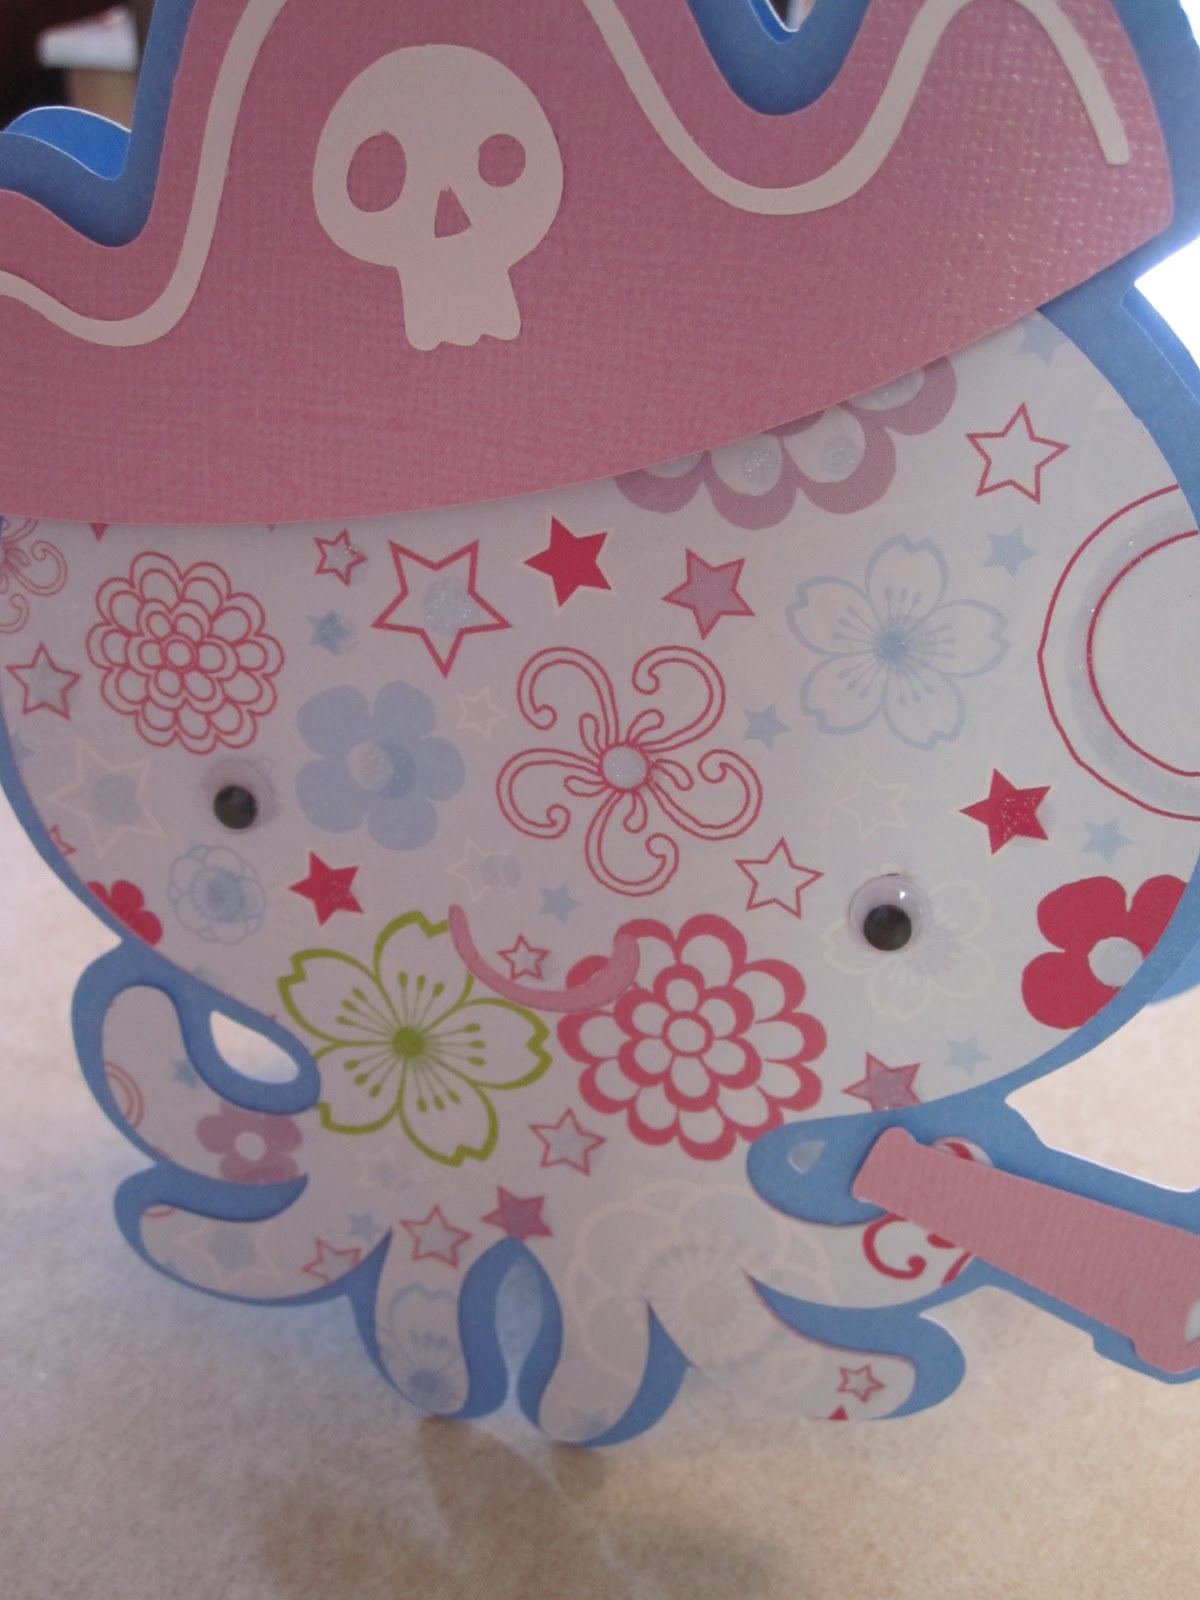
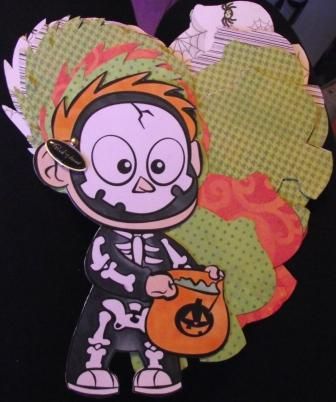
This is how the card looks when it is standing.... isn't it just too cute.


Here is a photo of both of the cards together. I was amazed at how fast they actually came together.
I how you enjoyed today's post, I sure enjoyed my time with you. This week I challenge you to make one of these cards and link it up. HERE is the template you just add you favorite items from any cart of your choice on the page marked Empty. Then link up your card so we can see what you did.
Thank your form your sweet sweet words of encouragement. You comments inspire me to continue to share with you.

June 29, 2012


Hi all,
Here's my project for today. I've taken a digi image and made it into a mini album. I know it's not Halloween but when I saw this image by Simply B on Facebook I knew immediately I had to make it into a mini album as it reminded me of my son. He dressed up as a skeleton last year and I need to scrapbook the photos. I printed the image on card and I printed two to a A4 sheet of card. I then cut one out. I did two incase I made a mistake in the colouring of it.


I then drew around the image on some double sided card. The card is by K & co.


Here he is coloured in. I used the cool greys to colour the black in. For the hair and the bucket I used YR 14, YR 15 and YR16. For the skin I used E00. 


Here is the back of the image. I stuck one of the card pieces I cut out to the back of the image. Here are both sides of the pages inside the mini.


I finished it off by punching holes through where the string on the mask is tied. I then used a brad and a trick or treat sign to fasten it together. The pages side quite well. I can put in a longer brad as I fill it with pictures etc.


Well I hope you liked my project for today. Maybe you'll try making one yourself with different digis. Thanks Sheila for having me today.

Kelly x

June 28, 2012

Sassy Dude Day...


Hey Ya'll,
Well, today is Sassy Dude day here at She's a Sassy Lady.  Well, when you think of a Sassy Lady, I can't think of a closer word than "Fashionista", right?  Well, I couldn't figure out exactly what to do for this month's project, so I decided to continue my designs made with a paper stack that I found at Hobby Lobby on clearance called Fashionista.  As many may know, it's been a while since I have really been feeling like a designer.  My brain has been mush.  Well, I just grabbed a craft knife, fired up the Cricut and started putting things together.  I ended up with a bundle of cards from this that I have been sharing them on my blog, Cricut Couple.  I have lots more I have been sharing, so if you want, grab a cup of coffee and hop over for a visit!  You are always welcome!
For this card, I used papers from the fashionista stack.  I cut a few roses at 3.00 with CTMH AP, some flourishes with lime green, and oval with a parchment stock, and the oval border with dark red stock.  The picture of the lady is a shape you punch out of the last page in this stack.  I inked everything with Chocolate Ink.

 I used some golden iridescent glitter glue and dotted here and there to add some more embellishment to it.  The sentiment in the oval is an old CTMH stamp called Glorious Greetings.  I added a bow above the oval and I also used some Liquid Glass on just the left part on the top shape to make the picture stand out.  I really loved this paper as the background.  I wish the pictures had turned out better because the papers so vibrant that the pictures really don't do it justice.

 This inside is very simple.  I just made a basic mat.
Well, I have more things to show you that came out of this paper pack.  I hope you will stop by and visit.
Now, for those of you who have hit a wall like I did, I would encourage you to just get back to basics and start with something that is so simple to create with.  I love Graphic 45 papers and they always inspire me.  I just started with my paper stack and craft knife.  I started cutting out decorative pieces, ladies posed, shoes, etc.  Then it started to inspire me to fire up the Gypsy and find some shapes to compliment and then things just started coming together and clicking again.  So... don't give up... it's still there... you just have to find it again.
Thanks so much for visiting today!  I would love to hear your comments.
A special thanks to Sheila for letting me play today and allowing a simple and kind of one note project.  I hope next month's is a little more wow.  Hee! Hee!

June 27, 2012

Pin Cushion Tutorial

Hello everyone! It's Candy from Candy's Craft Corner. This is my first post as a Sassy Designer. I am so super excited! Thanks so much Sheila for having me!!

I want to share with you today a pin cushion tutorial.
 I have made about 25 of these little babies now. They are so super easy to make. I have to say that this was not my original idea. I got the tutorial from youtube, the channel name is worker4ever123

Just a side note- Don't use the fish type cat food, it's too hard to get the fish smell out of the cans! LOL! I've tried!!!
On to the video!
Here are a some more pics:


 Here are some of the others I've made.


Thanks so much for stopping by today!
and
Thanks again Sheila for inviting me to be a part of your fabulous team!
Take care,
Candy

June 26, 2012

Sandal Mini Album


Hello everyone.....
Sherri here from Sherri's Crafty Place how have you all been....
some of you may have noticed I have been MIA for quite a while....you can head to my blog for a little update on what has been going on in my world....

I would like to Thank Sheila for being so patient with me and giving me this time to heal.....
 so for my project today, I have made a mini album.....a Sandal....sooo cute!!!
my album is 6 1/2 in. by 4 in.
using cereal boxes I cut out a sandal for the first and last page(don't forget to flip 1 of your images for the last page)
Then I cut 2 in black card stock
 now glue it together, I used Scotch's Quick Dry
 next, I chose some patterned paper( from my stash) and inked all my edges...
 using my crop-a-dile big bite I punched holes in every layer
                     
I used binder rings to join it together
 so so so cute.....now to embellish....
a quick peak at some of the inside pages 

 Some embellishment, all from Life's A Beach Cartridge
putting embellishments together, fun fun fun 
 All done....now to show off my pages...lol

  the inner pages...all ready for pictures and journaling
 the leaves are pop dotted and only at the bottom so I can get a picture in there

 stickles on the crabs arms, no project is complete without some stickles..
 the sun and the surf board are from Luau

I had a another idea for this book, it would be a fun notebook too, just fill it full of blank paper, and maybe put the binder rings at the top.....

Thank you so much for stopping by today,

* I will be posting the Gypsy File for this project, but boy have I been having some Gypsy Issues......I did the update a while ago, and tried to use it the other day....an hour and a half later, with the help of the SWEETEST csa from Cricut we got it working....but today trying to cut this file....trouble trouble trouble, it keeps cutting the top of my sandal!!!!! so I want to re-do the file so no one has to waste as much paper as I did today...... so check back near the end of the week on my blog for the file to make your own!!!!

❀Sherri❀

June 25, 2012

Make A Card For A Friend & Mine Too!


Now this is a FUN card. And it is made directly from Create A Critter. So easy yet just a little tricky as you need to get all your layers just right with that shadow feature. I was blessed to have my Grand Daughter Sydney and daughter Jennifer crafting with me while making these cards. I hope you are ready to make a FUN card too. Let's turn on your Gypsy, grab a cup of coffee, and let's get to work.


Now I want you to pick out a CUTE & FUN image with a shadow feature you use that and play along while I am making this little octopus. See how easy this is. After your image is designed cut it and we will put our cards together.


Wasn't that fun. I just love when I can make cards with others, don't you? It really is easy and a lot of fun as you have someone to talk to and help you along the way. I am beginning to think that is another reason I do these videos is to have someone to scrap with... YOU!


I just love the yummy papers we have to work with on this card. The blue used on the shadow was from DCWV, the pink for the hat is Bazzil that I got at Joann's and the print is from the Pocket Full of Posies stack from DCWV and just regular white card stock for the skull and piping on the hat.

Here is a close up of the hat. I just love the piping on it, don't you?

The stamping is from a stamp set from My Craft Spot...

Now isn't this just the cutest little Pirate? I just love how fun these cards are, they just put a smile on your face just looking at them. This little card is going to my friend Chris at Chatterscene. Chis is not feeling up to par and like all of us when we do not feel well, could use some encouraging words. I sure wish you would make a card for her and send it to me and I will send all the cards out to Chris as I am sure it will make her feel special and loved. As I can't give out her address please send them to me and I will forward them on to Chris. Send them to:
Cards for Chris
c/o Sheila McShea
3005 Stonecreek Trace
Helena, AL 35080

This is a photo of the whole card standing up. Isn't it just too cute? I love it and I know it will put a smile on Chris's beautiful face. She is just the sweetest lady! I challenge you to make a card to cheer someone up that you love this week and to make a duplicate of that card to send to me for Chris. Link the card up so we can see your fun card. I will take all cards that I receive with a return address on them and choose 1 lucky envelope to win this great stamp set. Please mail all your cards and I will choose that lucky winner from cards received by July 11th.  All her cards will be mailed on July 12, and so will this great prize. The winner will be announced on Saturday morning the 14th. Not only will you cheer up one of your own loved ones you will cheer up Chris and that really means a lot to me, and I thank you for that.
Thank you for joining me today with this fun little project and please take the time to make a card for Chris. Thank you for your sweet sweet words of encouragement. Your comments inspire me to continue sharing with you. Have a blessed week.

June 24, 2012

Skinny Notepads

Hi everybody, I'm Shakey from Crafty Pink Butterfly. Today I will be share with you how to make these cute Skinny Note Pads that you can personalize any way you need.
for the note pad I bought 5x8 writing pad from Staples and took it to their copy counter and had them cut the red line off and then cut in 3 times vertically.
These are the supplies you will need
8.5 x 5 piece of cardstock
8x 2 1/8 piece of pattern paper
1 5/8 x 1 7/8 piece of pattern paper
2 inch scallop oval (Art Philosophy)
1.5 oval (Art Philosophy)
Ribbon
Marker
Adhesive
Note pad
Stamps ( I used Lawn Fawn Jessie's ABCs, these are great stamps. You should check these out.)

First score the 8.5x5 paper at 2 3/8x 2 5/8.
Next I died the Seem Binding ribbon with a Copic marker. Then glue the ribbon to the solid cardstock and attach the pattern paper.


Now tape your the 1 5/8 x 1 7/8 piece of pattern paper to the top of the note pad then apply the adhesive to the back of the pad and put in the in the holder.

Lastly stamp your sentiment to the ovals and attach to front and your all done. Easy Peasy.
Hope you like and thanks for visiting.