January 31, 2014

The Dixie Darlin's Share Their January Card Party

 
I invite you to join us at our January Card Party. We had such a great time visiting, laughing and doing the things we love to do... paper crafting. On this post I will feature 6 beautiful Valentine cards but, be sure to watch the video where I show off all 20 cards that we made along with giving you a field trip to Amy's of May May Made It's Craft room! Now if you want a better view of the photos just click on them and they will enlarge.


Meet Taylor on the left our co-hostess and Amy our hostess is on the right.


Laura and Anita on the left, and from left to right, Amy, me, Jennifer, and Angie.


From left to right, me, Jennifer and Angie. That is Abby working on her card on the left.


Left photo (L to R) Kelly, Taylor, Amy, me and Jennifer and continuing around the table in the right photo is Angie.


Angie is showing off the inside of her card on the left while Abby is trying to figure out how to put is together.


Anita is on the left, followed by Samantha and continued on the next photo is Kelly, Taylor and Amy.


Oops, this looks like a contest card as no one is looking up and by now you should know the names.....except for Abby she is the one with the ATG.


We really do have lots of fun while we put out cards together.


Here are some of the goodies; Amy's home made chicken pot pie was so yummy that I just have to have the recipe and then salad and cupcakes.


Here is Amy with her aunt Anita and my friend in the left photo. Then Taylor and Kelly on the right.


On the left is my daughter Jennifer along with Angie. And on the right I am with Anita and Laura.... a big thank you to Laura for taking these wonderful photos.


Abby is on the left and is eating the taco dip I brought and look at that death by chocolate that Anita brought... that was yummy!


I sure hope you enjoyed all the cards that we made. We had so much fun and our next one is scheduled for March and I can't wait already!


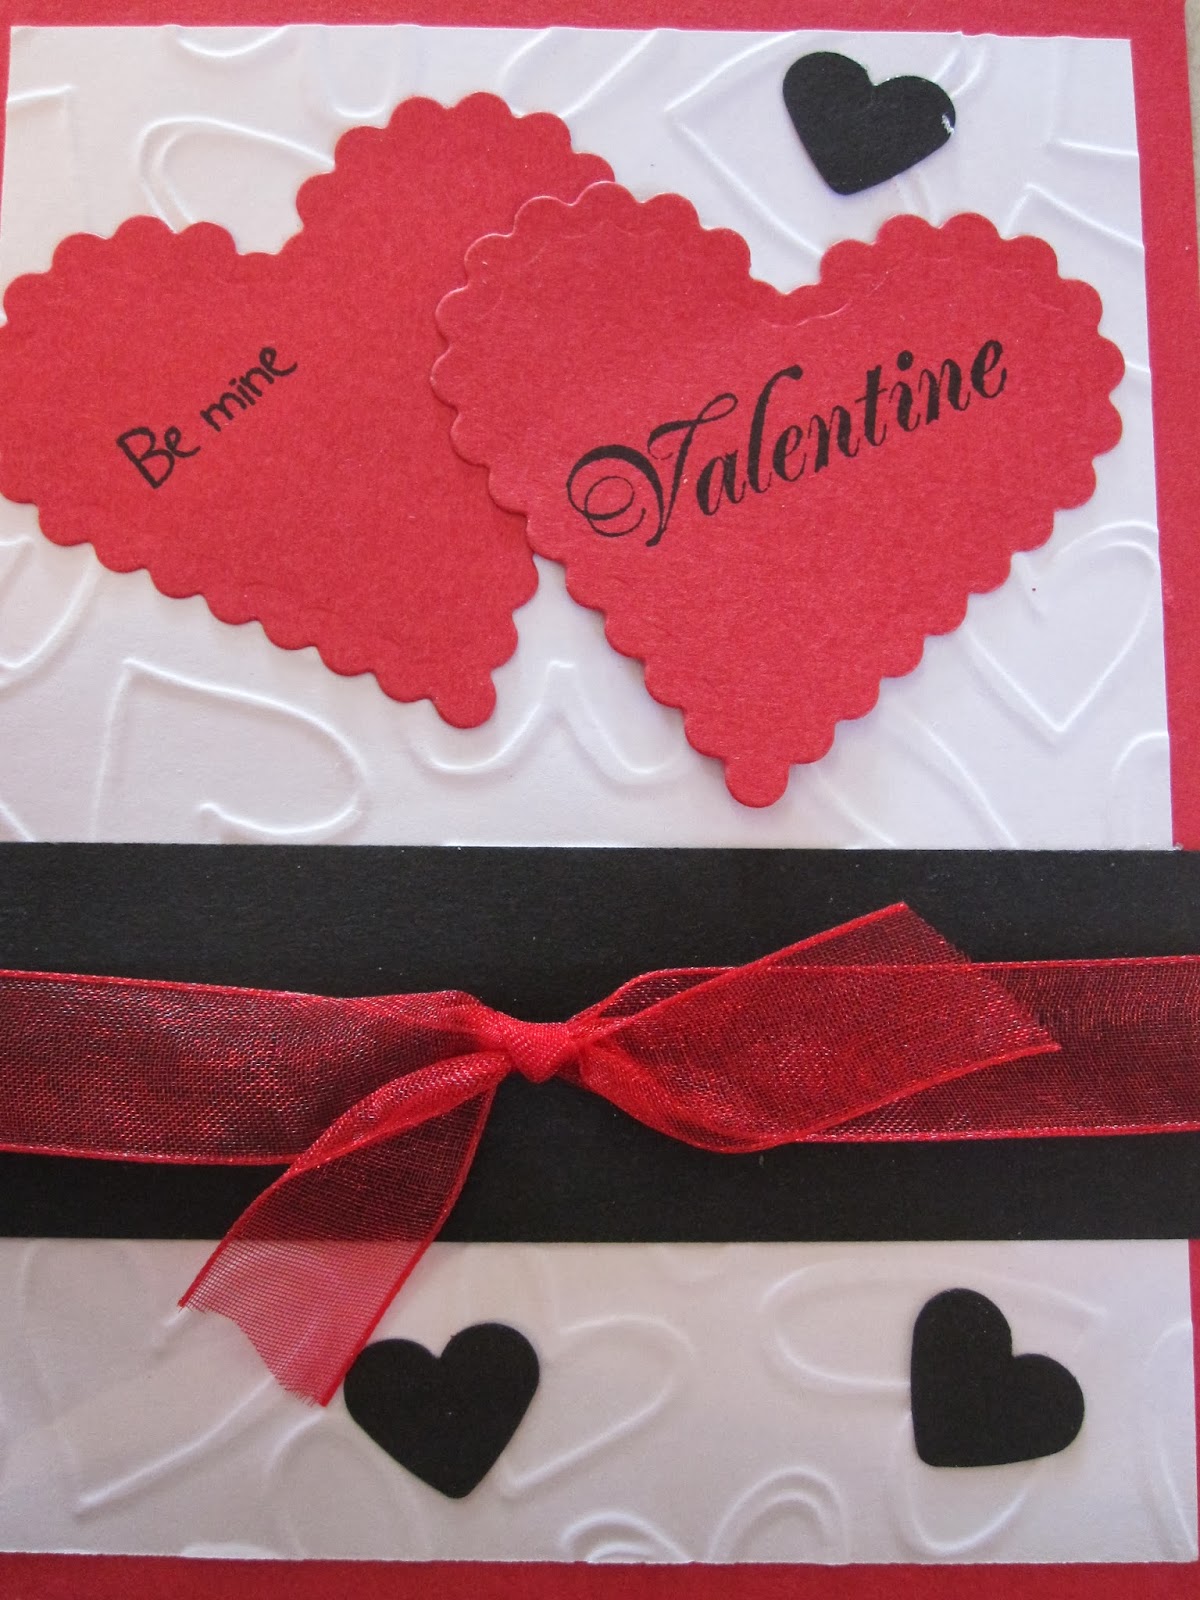
This card was designed by Laura.


This card was designed by Allison.


This card was designed by Amy.


This card was designed by Taylor.


This card was designed by Angie.

 
This card was designed by Kelly.
I sure hope you all enjoyed today's post. I know it was long but I had so much to share with you. Thank you for your words of encouragement. Your comments continue to inspire me to share with you. Have a blessed day!

January 27, 2014

DYI- Window Scene Card

Sandy here from A Working Mom's Joy to bring you today's post for She's a Sassy Lady.  I recently made this card with the challenge being a Winter Scene.  This is a DYI- paper piecing card.  There are many window dies on the market but I don't have one and didn't have time to order one so getting out my trusty scissors, I created my own.

Here is what I used for this project: Momento Sky Blue ink, glue pen, white/blue/brown cardstock, small pattern papers, scissors, white paint pen (not showm), digi stamp and little images from a 12x12 design paper pad.

Photo is loading

First, I chose small prints for my "curtains and wallpaper". Then, taking my blue card, I dotted "snow" using the white marker pen.
Photo is loading

To give the card dimension, I used foam pop up tape. Here you can see how I free- handed the curtain shape and then cut them out.
Photo is loading

Using brown card stock, I cut strips and ran them in the Cuttlebug with the wood embossing folder. For my smaller piece, I added foam pop up tape.
Photo is loading

With the white card stock, I free- cut a couple of "snowy hills". I also inked the edges with the Sky Blue ink.
Photo is loading

Now the fun part is seeing the pieces come together! I added a small piece of brown to the top to be my "curtain rod". I also cut out a couple to make up the window panes.
Photo is loading

I wanted a snowman and tree that you could see "outside" so I cut them from designer paper that can in a Christmas 12x12 paper pad.
Photo is loading

My digi stamp is from Sunsational Stamps. He is actually peeking out of the stocking but I just colored him and cut him away from the stocking. I'll save the stocking for another card. I also colored hit stocking cap to make it wintery and not Christmasy. I used Spectrum Nior markers to color this little guy.
Photo is loading

And here we go, a cute card with dimension.
Photo is loading

The final DYI Window Scene card!
Photo is loading

Hope you like it and learned a new to you technique!

January 23, 2014

Vellum Roses

Hello crafty friends! Leah from Paper Blossoms here today with some handmade vellum roses to share with you.

 For my flowers I used the Tim Holtz Tattered Florals dies and cut 5 flowers for each rose that I made. I also used the fabulous flower shaping tool kit from Sizzix called Susan's Garden Tool Kit. I got mine on Amazon here. These are only a few of the tools that come in the set and I really have found that they make the shaping of your flowers much more realistic and easy. I did find I had to be a little more careful in molding the vellum as it can tear more easily than cardstock.
 To form my roses I just started with the inner most petals, which was 2 of the flowers that I cupped fairly tightly around itself and applied Glossy Accents to hold it together. You have to be patient with this step and hold it until to sets up a bit or it will just pop apart. I did notice the vellum takes a bit longer to dry on. I continued to layer the last 3 flowers around the cupped middle and fluffed or tightened petals until I was happy with the rose shape.

Here is the project I used the flower on, a thinking of you card. I love the translucent quality of the vellum for flowers. Gives them a more light and airy feel. I hope you'll give it a try and make some of your own. If you do I'd love to come see what you make and I do hope you enjoyed my creation. Thanks for stopping by!

January 21, 2014

A Craft Room Clock

Hi everyone.  It's Karon here from Karon's Krafty Korner for my little stop by to say hi :-)  Thanks Shiela for having me come by.

I wanted to share with you a clock that I altered to put on the wall in my craft room.


This is how it started life :-)


The clock cost me $2.50 and I had a 12" by 12" canvas in my stash.

Here is the back of the clock - I bet you were wondering how I did the back.  Well, the clock came in a box and was secured to the liner by those two screw blocks - perfect for securing to the canvas,  I just cut a small square to be able to get to the battery compartment and time changer :-)


The large flowers were made using a Heartfelt Creations Vintage Floret Die (this was a Christmas present from my husband, along with the coordinating stamp).  I added a little pearl dot the the centre.

The tiny little mulberry flowers were also made by hand.


The leaves are cut on my Silhouette Cameo with a cutfile from Birds Cards called Branches 1. I then used an embossing stencil to add some detail to all those leaves.


Then I came up with the idea that I could add the words "Time to Create" to my clock and would you know it there are 12 letters :-)  I used the Sweetheart Script for my letters and used the print and cut feature on my Cameo to cut out the circles.  They were then inked around the edges with Tim Holtz Tea Dye Distress Ink.


I have to admit that I am really pleased with how this turned out and it now has pride of place on my craft room wall.


Hope you all have a most wonderful week.

Thanks for stopping by today.

Happy crafting.