Well hello everyone. I am so excited to share with you today. I have received so many emails, phone calls and mail that I have decided to go step by step sharing with each of you how you too can have a successful card party in your own home with your friends. I have also included Amy's video from MayMay Made it as she has some great photos of our parties. She also has an invitation to a card party that will be held right here in Birmingham AL. I will be there and hope to see you there!
Above you see how the table is set before the guests arrive. This is in my daughters home as Jennifer was the Hostess and I am the co-hostess. Notice that there is a plastic sheet on the table to protect the table as we use all kinds of glue and we don't want to get it on the table. You can get this a Hobby Lobby or JoAnn's by the yard and it is very inexpensive. Then we place a sheet of paper either Stamps of Life or Close To My Heart has them to help absorb and glue and it has a wonderful grid to help line things up. Then you will find a gift of some type from the Hostess and Co-Hostess; this time it was a gift bag of candy and a bookmark for each guest. In the center of the table you will see 8 gifts; 1 for each lady but will be won with little contests. This party had 2 stamp sets and 6 paper stacks... FUN!

This will give you an idea of the table as the party is in going on and we are actually at a break and eating. Each participant bring their own tools; scissors, adhesive, glue dots, foam tape, tape, pens and what every they need for making cards. There will be no inking, stamping or glittering as this is to be done by the card designer before the party.
I know this is a long video but it will be very worth your time as it has the instructions for the card party as well as 21 beautiful cards from our party on Sunday. ENJOY!!!
This is a scanned copy of the email invitation. To see the original click
HERE. I email this to about 10 to 12 people, but only the first 7 to respond will be confirmed and will participate in the party. As soon as it is full I close the party and email those not responding that the party is full. I also send out an acceptance letter to each individual that has been accepted to the party, click
HERE for your copy. No hopefully you participants start making your cards, you should too. When it is about 2 weeks before the party I send out a little note that reminds each participant the Time Is Winding Down. Click
HERE for your copy. Here is another sheet you may like as it is a sheet showing the different games we play, just click
HERE. Now I always play it on the safe side and make extra cards just incase we have a no-show and we don't have the cards either. This way everyone goes home happy with all their cards.
YOU MUST ALSO CHECK OUT AMY'S VIDEO AND JOIN US AT A PARTY!!! I am going to be at Amy's card party and I look forward to meeting you!
Here is a close up of the treat bag we had this time. Halloween is just around the corner so it was filled with candy to the brim. At other parties we have received many types of gifts... photos, embellishments, ribbon etc. This is totally up to the hostess. Note we try not to spend a lot, so that everyone is willing to participate being the Hostess.
Enjoy all the cards we made. If you want to see in more detail just click on the photo and it will enlarge for you Esc will take you back.
This beautiful card was designed by Abby, looks beautiful and simple doesn't it... NOT! look at the photo on the right the purple paper has tool on it and you can't believe how hard that was!
This is Laura's BEAUTIFUL card. It is made from a bag and was inked and everything by the time we got it. I love that part.
This is the inside of Laura's card. Click on the photos for more detail and the ability to read the text on the card.
This is my little Lady Bug Thank You card and I love the face especially after Abby put freckles on the face. Now you know mine had to have freckles too! Thanks Abby!
Here is a close up of the face and inside of the card.
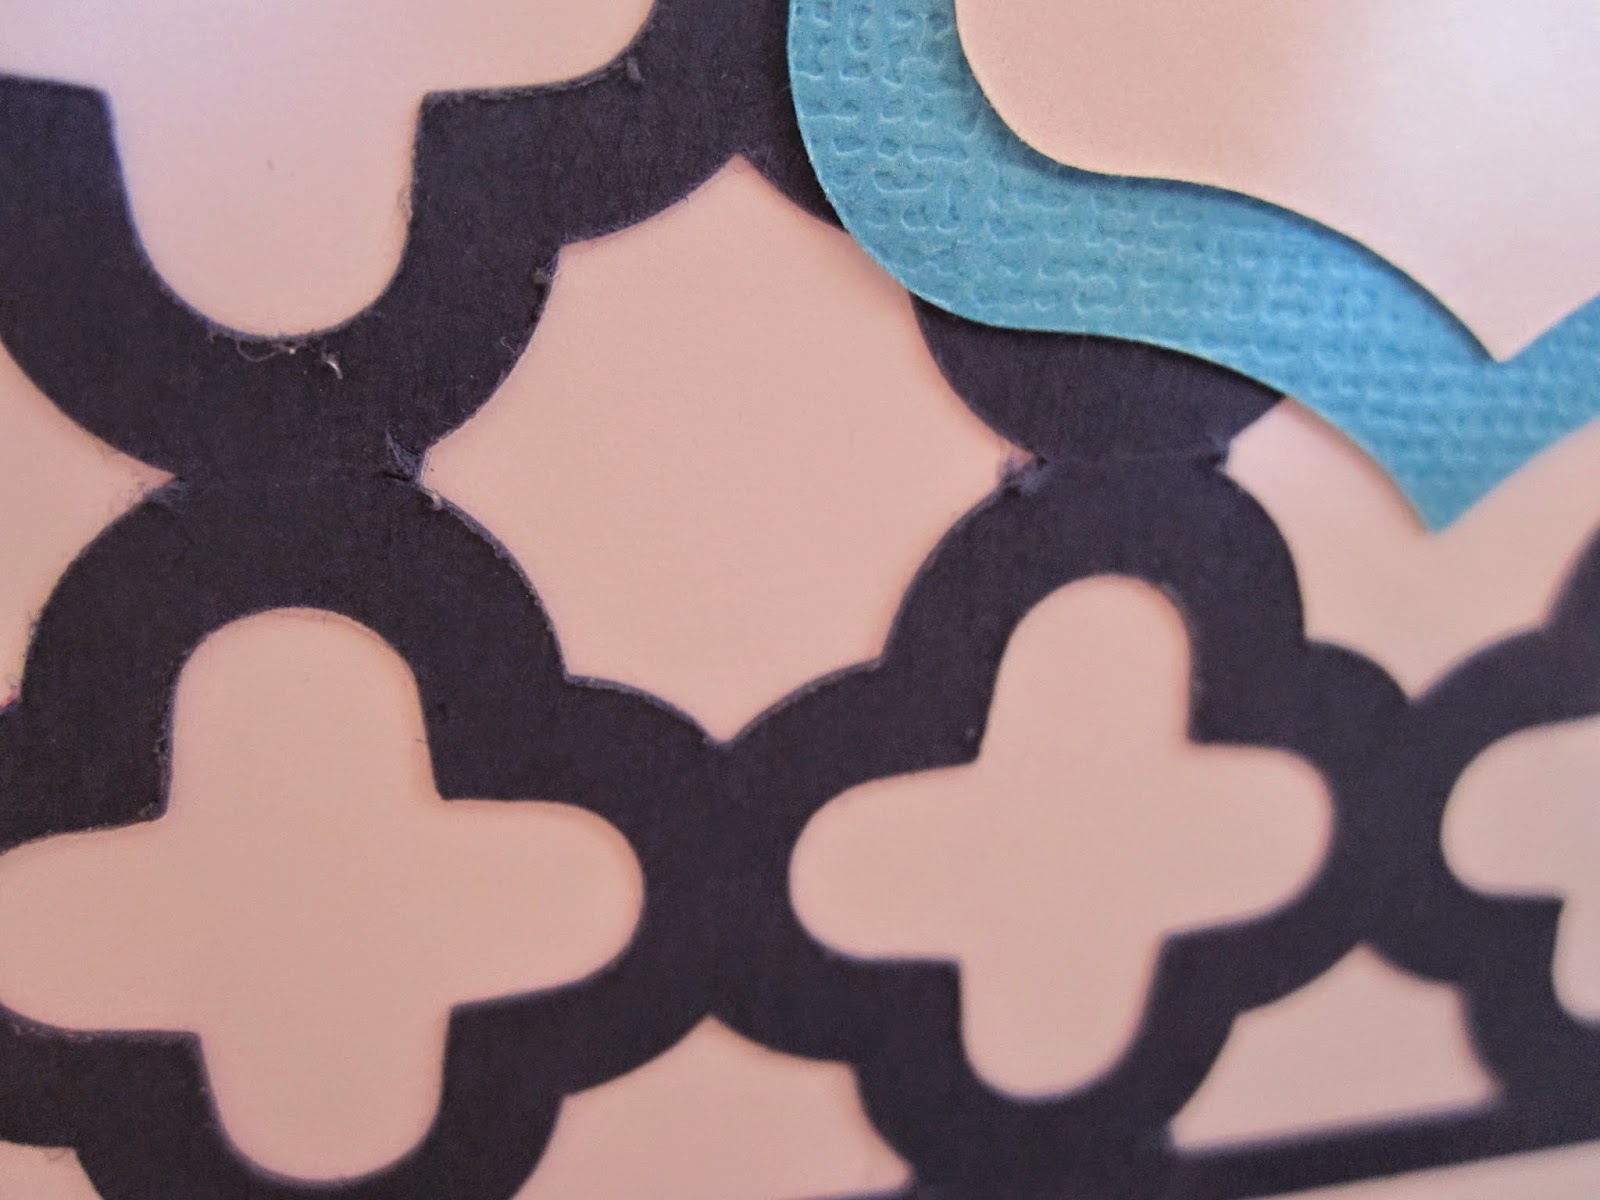
Here is one of my cards and I love the lattice front of the card don't you?
This is a Happy Birthday card that I made, I had to make a matching envelope as it did not fit into a standard card. It cut so good.
Here is my little mouse card and my first print and cut on a piece of artwork. I love it and the inside is a sentiment from The Stamps of Life.
This is Amy's card of
May May Made It. Isn't it beautiful? Amy loves to decorate doors and windows and we get to benefit with beautiful cards.
This is the close up of the front of the card, Amy said the stamp was from Close To My Heart.
This beautiful Birthday Card was created by Abby. I love the bright colors and sparkly paper don't you?
This is a close up of the front of the card... wonderful dimension.
Don't you just love this card Anita made, so fresh with this wonderful color combination and it can be used to encourage or just friendship.
Jennifer's beautiful prayer card. I just love it because I always try to send an encouragement card with a note to friends that need it.
Look at this wonderful card that Amy made from
MayMay Made It and look she not only stamped the card but she shaded it too! Now you know I am not going to give this card away as it is a
MayMay Made It card through and through!
Commercial time! This is a stamp set designed by Amy of
MayMay Made It and it is wonderful. Amy gave me this set for my birthday and I can't wait to use it. I want to tell you that you really need to pay attention to her site for within days of announcing a stamp set she is sold out. So pay attention and move fast! Just go to her site and click on her Etsy store.
This adorable card was created by Dorothy and it is wonderful. Click on the photos for more detail.
This is a photo of the bookmark that every lady found on the table. It made a great little gift.
This is my little wedding card and I really like the way it turned out. Three pieces made for an easy peasy card!
This is Laura's awesome card. It was made from a black paper bag.... AWESOME!
These are the tags that fit on the inside of Laura's card.
This is Jennifer's pop up card and she made it by hand - no machines! Didn't she do awesome?
This adorable Christmas card was designed by Angi and it is so cute! But don't say anything to her Grandma cause she got into her button drawers... a place she is not to go into!
This card was created by Anita. I love the color and the look of this card, so elegant.
This is the great card that Dorothy created. I love that she used scripture making it a wonderful card to send those that need encouragement.
This is the inside of her card, awesome isn't it?
This is a card that Jennifer created and it is just awesome..... doesn't it look like real pigskin? Here in the state of Alabama there are two teams you are supposed to cheer on. Alabama and Auburn and let me tell you they love their football. Jen thought it best not to stamp the inside for fear of offending one of the ladies!
This next card is mine and I love it! I made two extra just for me because I love sending encouragement cards. My first one did not have the flowers glued into the inside, but Amy did and I loved it so I made the rest of mine that way.
And this last card is designed and created by Angi. It is adorable and she cut every card by hand! So see for those that you that don't have cutting machines you can still make cards!
Well I sure hope you liked this long post and all the wonderful photos of cards made at our September card party. And, that you take the time to have a party of your own. You will love it. Now so you know I sent sheets from different parties they do not all match date wise but the content is similar. Please send me photos if you too take the step and decide to have card parties of your own. Just hit the contact button and I will get the email from you.
Thank you for joining us today and your encouragement. Your comments continue to inspire and encourage me. Have a blessed day.