

I bought a medium size white gift bag with handles.

I chose cardstock and cut two panels to cover the front and back of the bag.

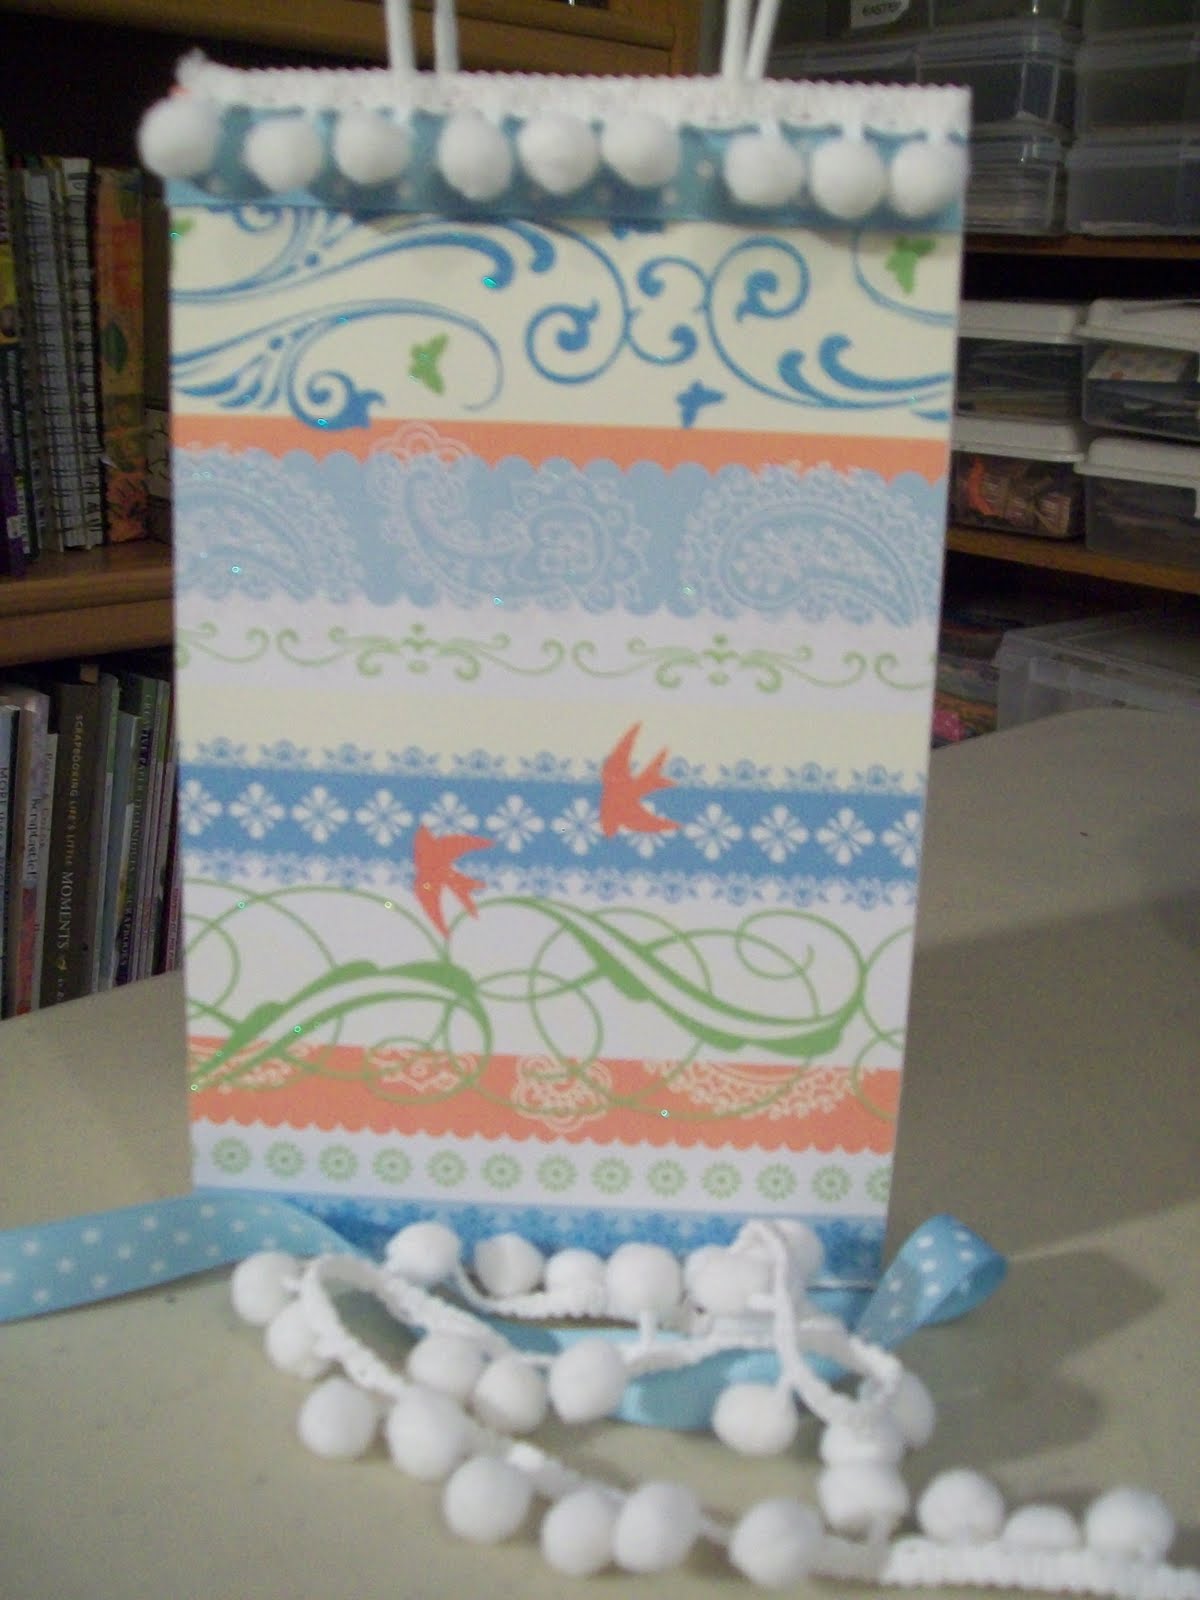
This is what it looks like when it's done:

I glued some trimming to both sides of the bag:
I also tied ribbons all over both handles to match my paper:

RIBBON FLOWERS:
I punched 3 circles sizes 1 1/4" - 1 3/8" - and 2 "

Cut 8 strips of ribbon about 2 1/2" long

Glue unto the 2 1/2 circle.


Do the same with the 1 3/8 circle using a different color ribbon.

Glue on top of the larger circle

Put lots of tacky glue on the smaller circle. Start twisting your ribbon until you have covered the entire circle.


Glue unto center of layered flower.

Glue unto bag.

I made tags for the bag and the card using tag punches.

I also punched some butterflies.


I made a card using the leftover papers and embellished it with ribbons, a tag, a butterfly and embellished it with pearls.

Here is your beautiful final product.

Hope you enjoyed this tutorial! You can visit my blog at http://beatrizguzman58.blogspot.com.
Have a blessed and wonderful day... Happy Wednesday!
Such a fabulous project!!!
ReplyDeleteThat loopy flower is too clever!
Love it!!!
=)
Beatriz... love your flowers!! I tried some this week (the center part) and loved the way they turned out!! I will be posting them on Friday!! Thanks for sharing all of your super creative ideas with us!! I always love your projects!!
ReplyDeleteBarb :)
Beatriz, I just love this project. The flowers are so yummy and the paper so cheerful. I really like how you made step-by-step instructions for us to follow so we too can make beautiful bags with matching cards. Thank you!
ReplyDeleteSuch a pretty gift bag with that beautiful paper. I like your flowers too. Thank you.
ReplyDeleteSheila I love it...
ReplyDeleteBeatriz, It is gorgeous! The flowers are so awesome. I can't wait to try this myself! I love the colors and all the little details just make the project beautiful!
ReplyDeleteThat turned out so adorable. I love that butterfly...
ReplyDeleteThis is so pretty!!! Who wouldn't just love to receive a gift dressed up in this with all the accessories!!!
ReplyDeleteThese are adorable!! I love the instructions for the ribbon flowers!
ReplyDeleteWhat a nice card and bag set!!!
WOW!!! look at that transformation!!! I love your ribbon flower tutorial! I will have to try that soon!!!!
ReplyDeleteThis is gorgeous Bea!!! LOVE IT!! :) :) :) :) :)
ReplyDeleteGorgeous ribbon flowers! Thank you for the tutorial :))
ReplyDeleteFabulous project! Love that paper. And I'm so excited about the ribbon flower. Have tried them in the past once but didn't do the layers, so that will be fun to try!
ReplyDeleteLove the ribbon flower
ReplyDeleteWow Beatriz what a lovely project! Love the colors. The trim around the top of the bag is perfect and I love the added bows to the handle!
ReplyDeleteBeatriz, I love those flowers, thanks so much for sharing how to make them. Awesome bag and card. Shari (cricutrookie)
ReplyDeleteBeatriz, what a great project!! Love the paper you used on the bag & for the card but I really love your ribbon flower. Thanks for sharing with us
ReplyDeleteVery nice
ReplyDeleteWhat a great idea, I'll be making some of these, they would be great at Christmas as well!
ReplyDeleteThanks for sharing.
Sue
These bags are fabulous! I left something over on my blog for you!
ReplyDeleteWow - what a brilliant make - I came over from the wonderful Cheryls blog - so glad I did... you're so talented.
ReplyDeletePaula x x x
These are really darling!
ReplyDeleteThis is really gorgeous
ReplyDeleteThis is a really beautiful gift!!!! The tutorial was great!!! Thank you so much for sharing your wonderful talent!!
ReplyDelete