Hi everyone! This is Kristy from
craftin-on-my-door and I want to thank Sheila for allowing my to be her guest designer again today! I look forward to my monthly
She's a Sassy Lady posts!
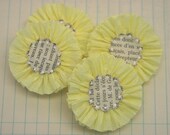
I was at a scrapbook store and saw some fun crepe paper flower embellishments, and I thought..."I can make those!" They looked kind of like this:
I decided to make mine more like roses, add some tulle, and some bling of course! Here are mine:
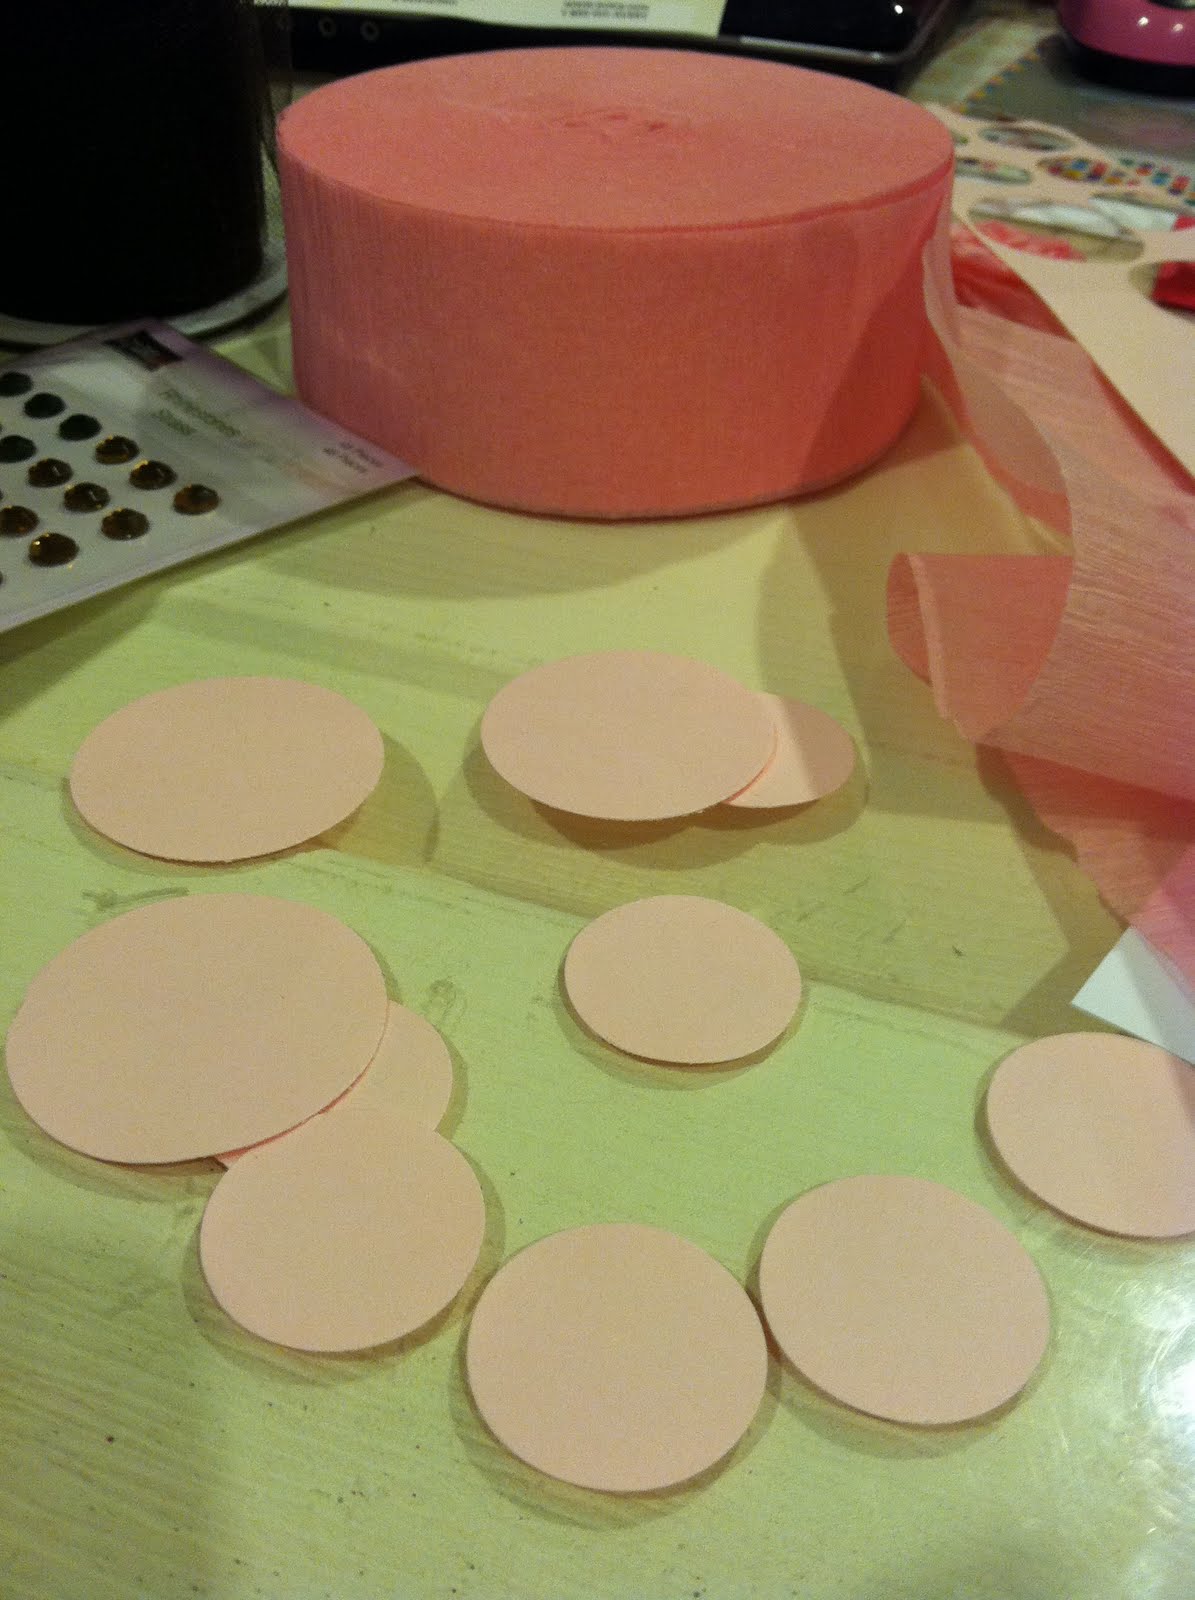
They were very easy to make, and all you need are some supplies.
First, punch some circles from card stock. The size you punch will be just a smidge smaller than your flowers. I did 2 different sizes.
Next, take the crepe paper and make a small ball. (There are a few different ways to make these flowers, and they each make different dimension.)
1. Twist the crepe paper around the small ball, and turn/roll the flower while twisting.
2. Scrunch the crepe paper while twisting around.
3. Twist, turn/roll, then scrunch...
When you get to the size you want just cut the crepe paper and fold under the flower. Add some hot glue to the card stock circles, and still that sucker down! ;)
Then, cut pieces of tulle (and cut each piece of tulle in half) and tie it in the middle with a small piece of twine. Cut pieces of ribbon and attach with twine. Again add more hot glue on the back and attach.
I curved some of the tulle so that the embellishments would work perfect on the corners of some of the pictures.
I was on my way to a fantastic
Crafty Girls all day crop so I put my pictures, paper, and new embellishments into one of these fabulous scrapping envelopes, and I was ready to go! I got the idea from my SUPER crafty friend,
Irene! I had about 10 of these made up and ready, but only got through a few of them.
I also used my
Kiwi Lane Design "brackets" for this layout. I just ordered and received the small brackets and they are perfect for journaling next to pictures! (By the way, they are having a 50% off sale right now!)
Then, I laid out my pictures and paper.
I wanted to add a little something to one of the important pictures, so I used some Zip glue lines and ruffled some tulle. I didn't bring my tulle with me so I needed to borrow from a friend (isn't that the best thing about going to crops?!), thanks Stephanie! As you can see I also doodled around the brackets, strips, and some of the pictures.
I had these pictures and idea for the layout for a while, but finally had time to sit down and put it all together! The story behind this layout is a cute one. One of our dogs, Hope, has just {LOVED} Little Stinkerbella ever since we brought her home. I think that she thinks she is her little puppy! When Stinkerbella was very tiny and I would prop her up on the couch to change her or take a picture, Hope would jump up onto the couch and put her paw or puppy face over Stinker's lap. We always called this a "Hope seat-belt!" Here is the final layout:
Back away from my baby, Lady... (ha ha ha!)
I used my Gypsy for Hope, and seat-belt. "Hope" was cut using Don Juan. For seat-belt I used one of my favorite, go-to fonts for welding which has been the Wild Card cartridge.
Did you notice the difference between the rolled roses and the scrunched roses? One last peek at the handmade flower embellishments:
Thanks for stopping by today! I hope you all take a few moments to make some embellishments of your own, and if you do {please} pop on over to my
blog and leave me a comment/link so that I can check them out!
<3 Kristy


Love the flowers. Definitely going to try this. Very cute layout!
ReplyDeletethis is soooo cute!!!
ReplyDeletewild card is one of my favourite go to fonts.......
TFS!!!
These flowers are gorgeous! Love the look and the baby is adorable!
ReplyDeleteYour layout is gorgeous and the flowers are also. Thanks for sharing the technique!
ReplyDeleteYour flowers are so PRETTY and thank you for sharing the tutorial! :-)
ReplyDeleteLove the flowers, i'll have to put that one in the archives very nice. TFS
ReplyDeleteJust a quick note to let you know that a link to this post will be placed on CraftCrave in the Cutting category today [20 Jul 01:00am GMT]. Thanks, Maria
ReplyDeleteGorgeous!!! Love these - you make them look so easy too! Thanks for sharing!
ReplyDeleteHugs,
M
Just lovely!! Super great tutorial and beautiful flowers!!! I had forgotten that Wild Card had such a great font!!! Thanks for reminding me!!
ReplyDeleteYour flowers are cute but your page is just adorable. TFS
ReplyDeleteYour layout is just beautiful with all those lovely flowers.
ReplyDeleteBeautiful LO and flowers.... I keep saying that I have to go buy some crepe paper to make some flowers like yours... thanks for showing how to make a rose looking one!
ReplyDeleteBeautiful layout. Love your flowers. Thanks for the tutorial for making them.
ReplyDelete