February 29, 2016

Making Cards From Scraps


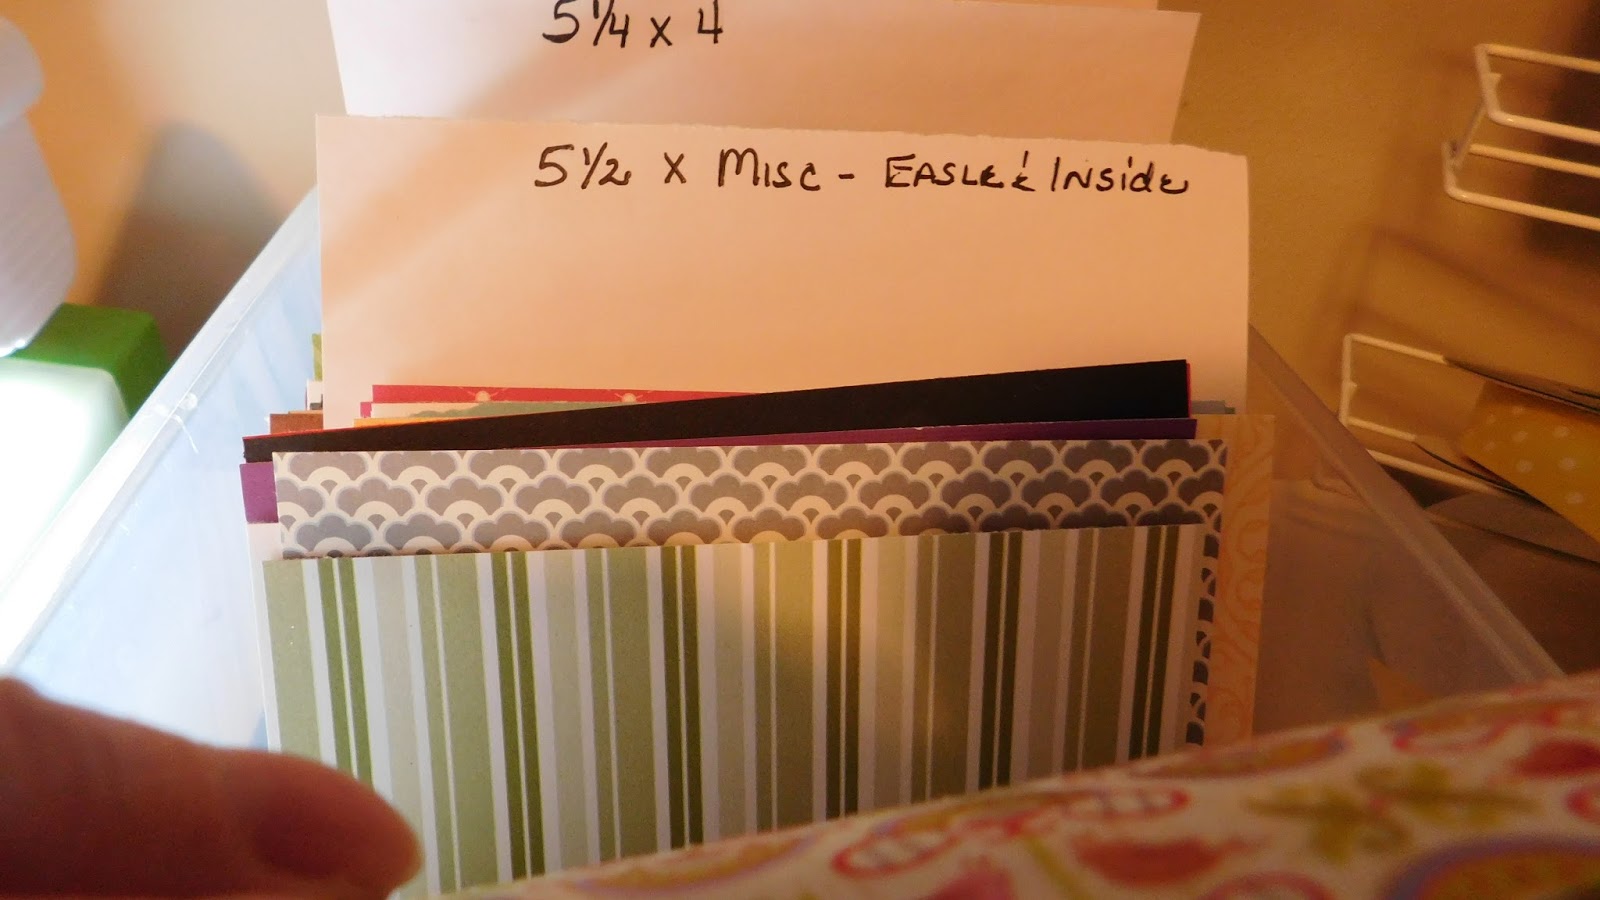
Well it is another week and we have opportunities to do all kinds of things. As you know last week I organized a lot of my scrap paper and it really helped me make theses cares. All are similar yet each is different. Please watch the following video as I lay out some cuts that can be used for making cards.


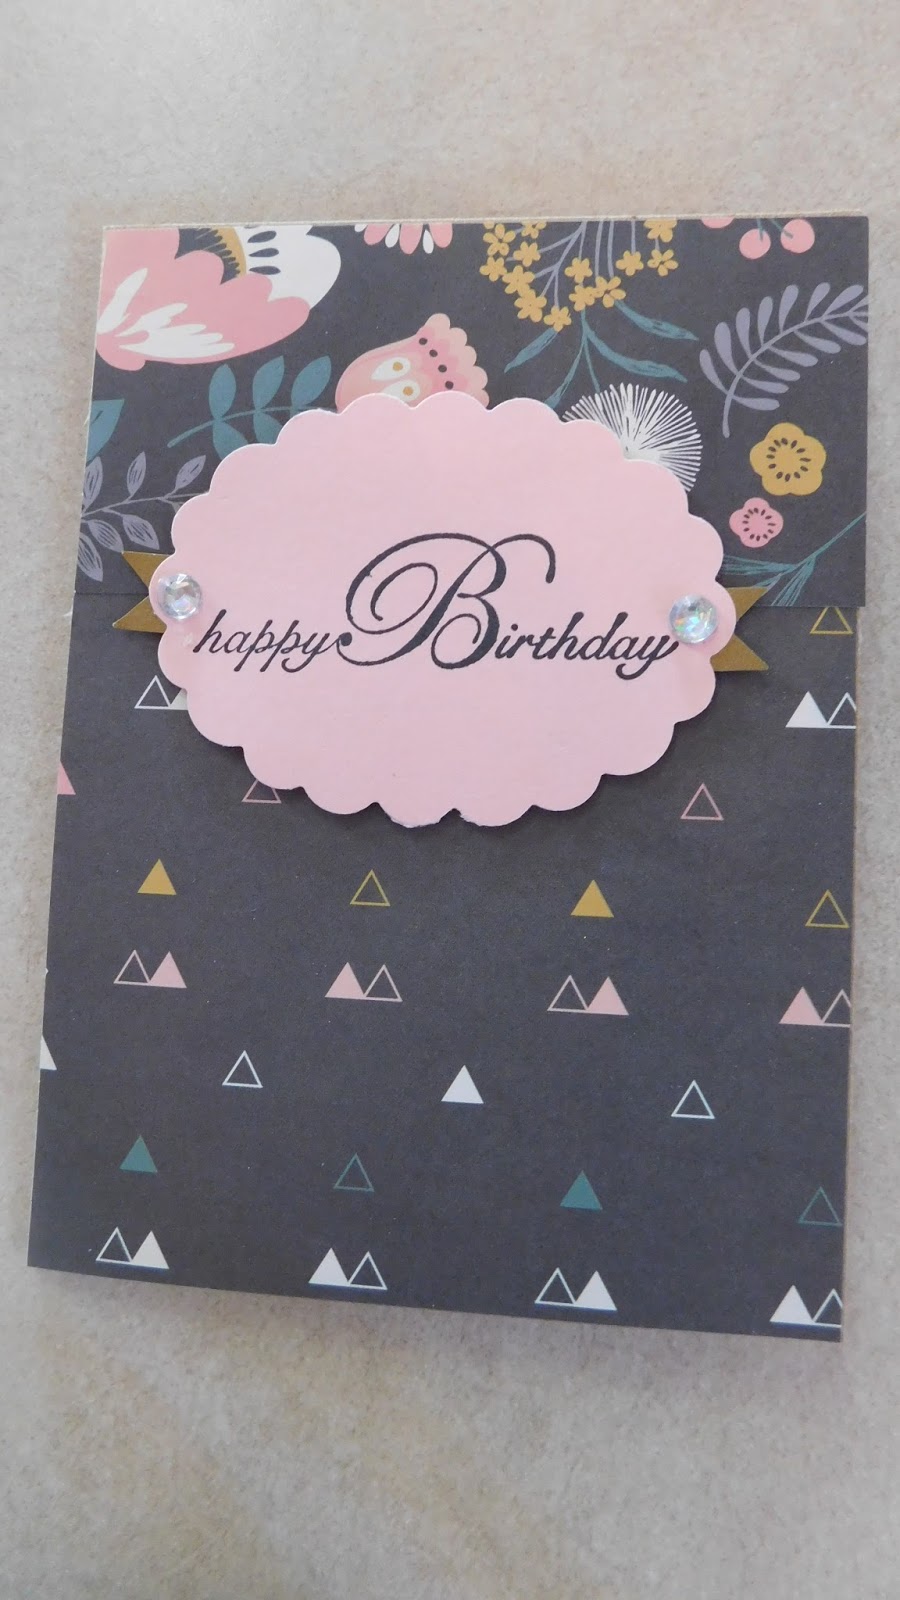
Did you notice I have two layouts, yet 5 different flowers to put on the front of cards. I blocked out the horizontal car by touching the little eye and then cut four of the rest of the items. It enabled me to make the first four cards that you see above with the cut outs for the card. I used half sheets of paper, scraps for all the cuts.


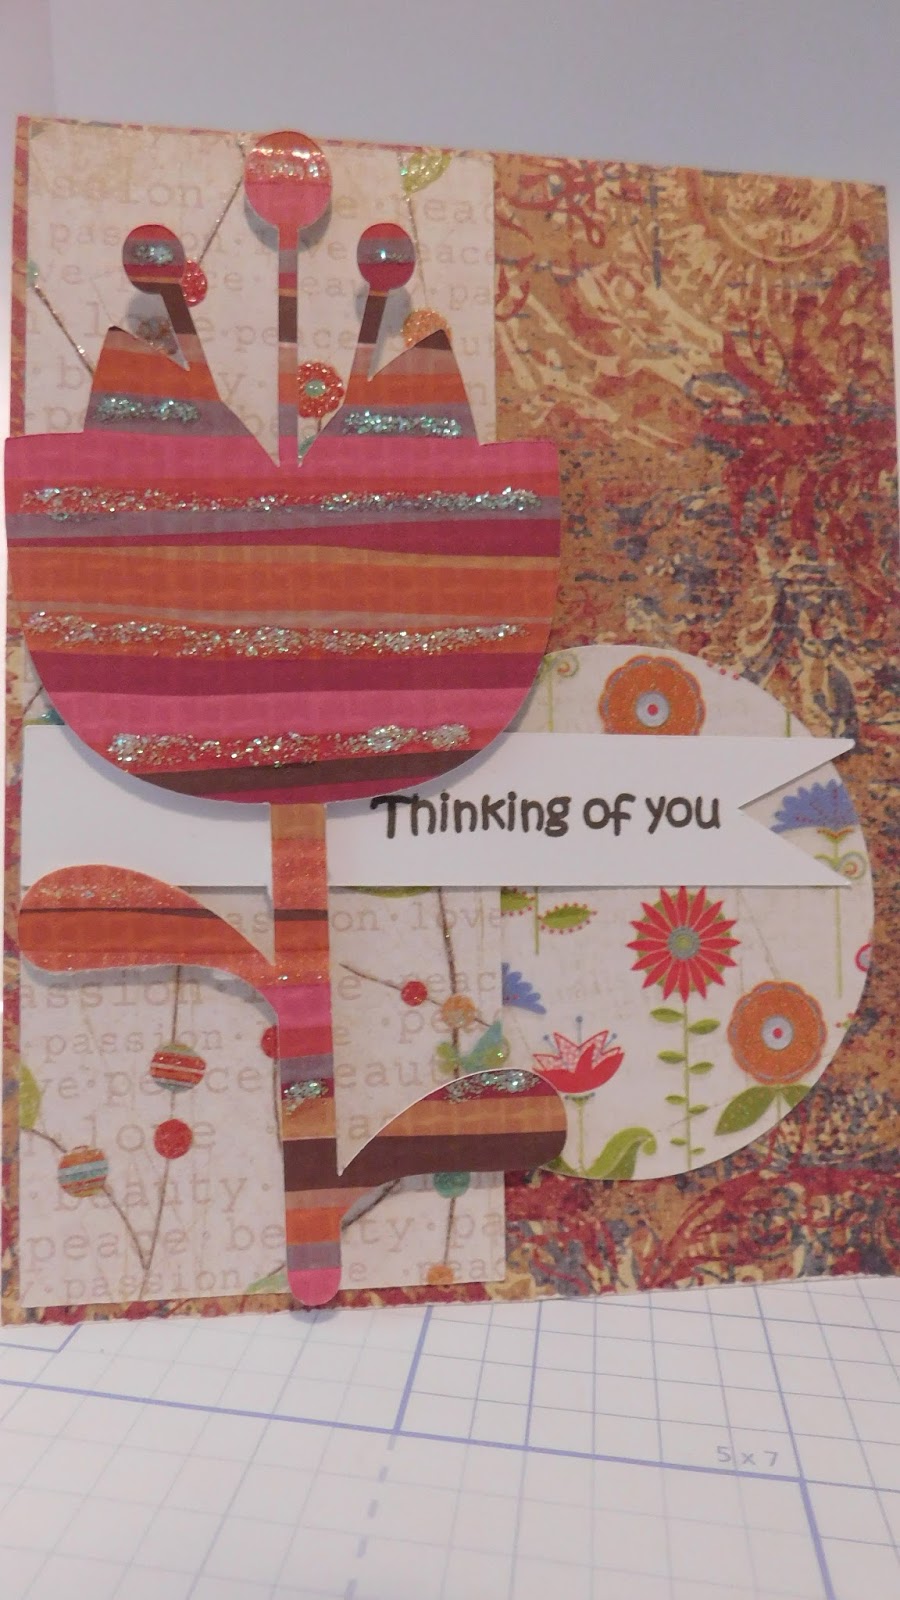
Now you can see as I am putting them together they go really fast. The first one took about ten minutes, after that just a few minutes per card. I stamped the Thinking of you from My Craft Spot. The other stamps are from May May Made It. Love the religious sets.


I forgot to take a photo of the inside of these cards but it is on the video and is really cute. I am sure you will like it.

Isn't this amazing that all these cards are made from scraps? Three of them are top fold and one on the side of the first four. And it just took a minute to chose the base of the card from my plastic box. I love when my paper is organized, don't you?


This is also a top fold card. I love how all the scraps seem blend so well together. Just think I have next weeks cards all done for next week.


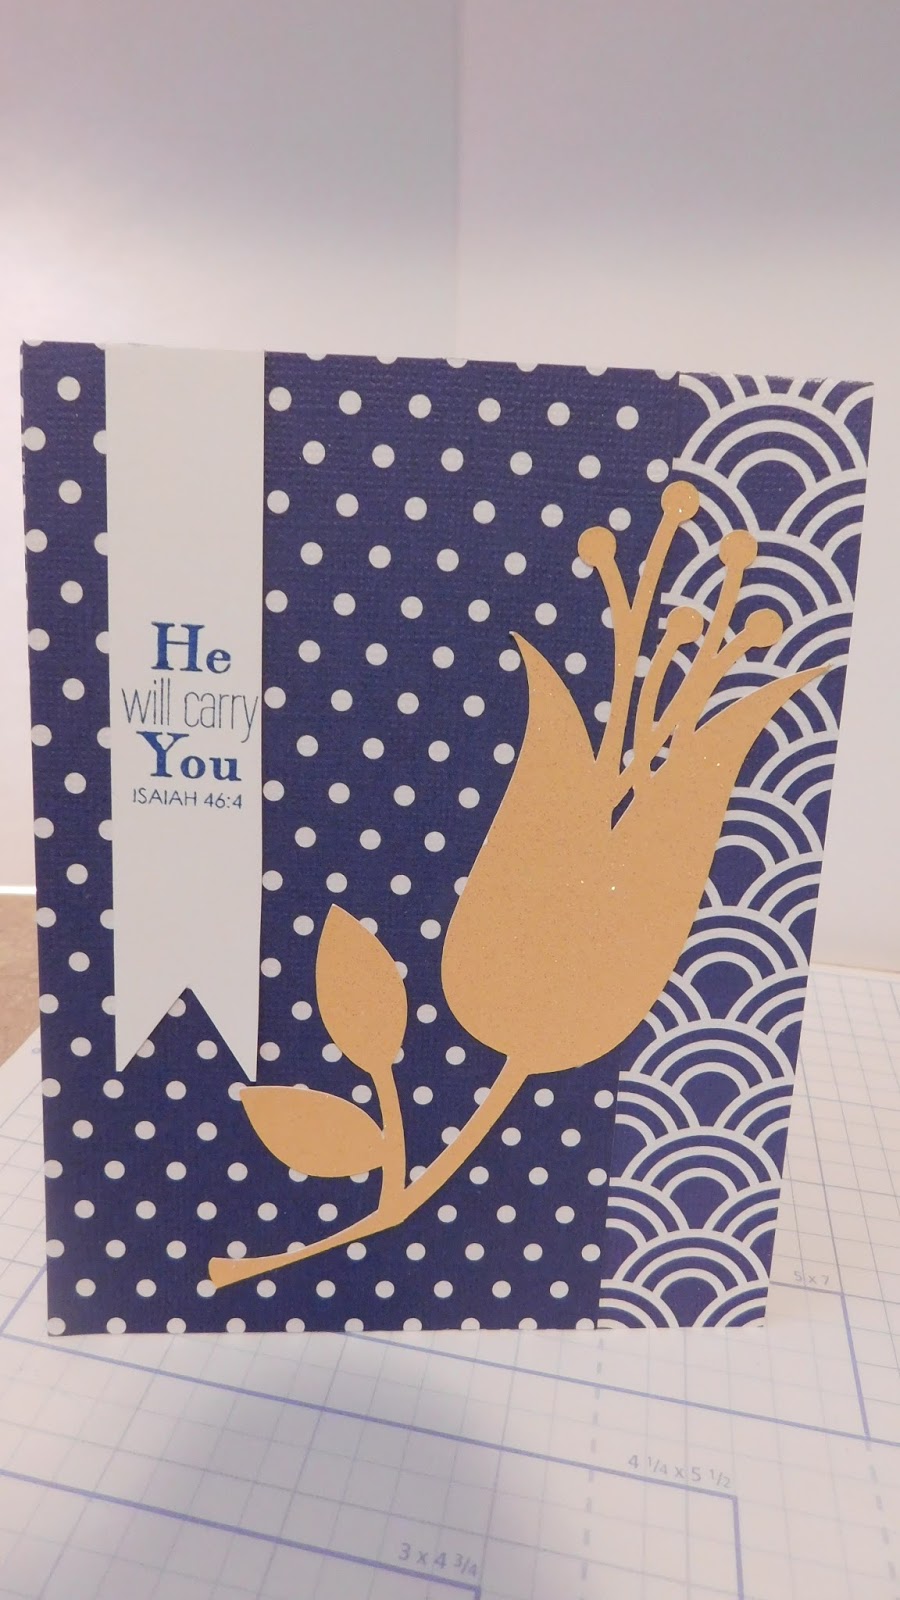
Here is another where all of the pieces were pulled out of my little organized box. I didn't have a large circle punch so I used my scalloped one and stamped it a little differently. A friend of my just had a knee replacement and I made this card for her. I know she will love it.


This is the inside of Miss Ann's card. This is also from My Craft Spot. The sentiment is perfect.


This is the last card I put together and I once again used all the scraps from my bin. It look so elegant up close and every flower on this post has glitter on it or it is all glitter. This one is all glitter. The stamps are from May May Made It's store.  Another friend of mines mother passed away and I will used this card for a sympathy card.


This is the inside of the card and it is beautiful and matches the front of the card.  The base pieces were all cut on this card too so all I did was glue together and stamp.


I hope you enjoyed today's post. I sure enjoyed spending time with you! Thank you for your words of encouragement. Your comments continue to inspire me. Have a blessed day.

February 25, 2016

Stop And Organize Your Scrap Paper Now


Good morning, does your craft room look like this. I am an organized freak but this was just getting out of control. This is a plastic shoe box filled with scrap paper. They are smaller scraps as I have a 12"x 12" box of large sheets,  Mind you I took out about 3 inches of paper when I decided to take a few photos and not just the video, so this is how it looks without the paper!


This next area is right above my work area. So I cut something and throw the papers on the scrap boxes rather than sort small from large. As you can see it too is out of control. So get ready and let's get to work. The video will show you step by step what I did.


This is actually very easy, just time consuming as you need to decide what you are keeping and what you are throwing. Now you need to know I have a hard time throwing out paper so I even have a bunch of note cards ready to design now!


This is a bunch of stacks of papers in different sizes. I sorted papers in 5.5 x 4.25, 5.25 x 4, 5 x 3.75, 5 x anything smaller for easel cards and the inside of a card. I also kept small pieces of glitter paper and shiny paper to use on my scrapbooks and inside cards.


This is the start of a stack of card bases. Anything that would fit an A2 card was placed here. I also started 3 x 3 note card bases too, as I use them in gifts and many misc occasions.


These are my scrap bins. I used to put everything in them and then they got so filled up it was too heavy to lift them off the shelf everyday. I will go through these also and cut the small pieces and leave the large for making large projects. Remember I am not only a card maker, I am mainly into scrap booking.


Now this is how it looks now (before finishing). Easy to find and look for the colors you want. You can take new if you don't have in this little box. The labels are just 2 sheets of paper I didn't like cut in 5 1/2 x 5 inch sheet and then I just printed on the top on these make shift index cards.


As you can see each index card is different and it works to organize the papers in similar sizes that we use for the base of cards.


Thought you would like to see all of them so I took plenty of photos.


And another tab. This works so well I love organization it takes a while to do but it sure saves time each day.


Now this next one is the most used. And I might add this is how I got this idea. A friend of mine, Melissa of Melissa Made It cuts her card fronts up front and keeps them like this for future use. I took it a step further and made the sizes I use regularly.


As you can see if you file in the wrong slot it show up right away.


I keep the card bases up front and easy to access.


Then of course I fond papers that went great together and so I made the base of the card, all ready to finish.


I did all of the above yesterday. Today I tackled this stack and finished and filed everything in the box. I am ready to attack the next box to see if I have small paper in it and will only keep large papers in these 12 x 12 boxes.
I hope you enjoyed today's post and learned something that will save you time in the future. I really think this is so easy and it will make my card making a little easier. Thanks for joining me and for the sweet - sweet words. You comments always inspire me. Have a blessed week.

February 22, 2016

War Room Prayer Board

This is my little Sydney and she and her mother Jennifer share their board.

Good Morning, I am so excited to share this with you. I am leading a Bible study on The War Room, a study of the power of effectual, fervent prayer. In it we learn to set aside a private place to reach out to God daily, like a closet. Well in discussion we found that most of us don't have this room in their home that other people weren't occupying. Well my sister-in-law shared that making a prayer board enabled her to have the privacy that she needed as she could carry it to any room of the house. I laughed as she said it was usually carried to the opposite side that her husband was in! I thought this was a GREAT idea and told hubby I was going to the store to buy a presentation board. He went to the garage and brought an old one of mine in and I pulled off all the old papers and letters and recovered because it looked all tacky and yucky. I made my letters and my board was created.
  
This is Susan's board, she gave us the idea and we ran with it!

As you can see Susan headed her board with Answered Prayer on the left, Prayer Board in the center, and Salvation on the right. Once a prayer is added it gets prayed for daily until the prayer is answered and then it gets moved to answered prayer where it becomes a Praise!

This is my board and I love it. I put some clear packing tape about 12" up so I could tape my class prayer requests on it. I love how much easier it is to pray as you are spending your time talking to God and not trying to remember who asked you to pray for them. I would recommend this to anyone.

Thank you for joining me today, I hope this helped you and you can use this great idea. Thank you for you encouraging words, your comments continue to inspire me. Have a blessed week.

February 19, 2016

23 Cards At This Craft Party!


Welcome to our card party. This is the food table to the left as you walk in. As you can see it is filling up with goodies. We had more food at this party that any other! That's because we had more people and it was also a shower for Abby. Anita and Abby are the hostesses (good way to surprise Abby) and Amy at May May Made It is letting us have the first craft event at her cottage! This is a picture heavy post so join us and have some fun and I will introduce you to the ladies.


This is the table at the right and as you can see that is filling up too. That is a box of Gigi's cupcakes there in the corner. This is really going to be good. We have many more people to come and Anita our hostess is getting food ready in the kitchen.


This is Amy - May-May's craft room as well as the place she video tapes from, awesome isn't it?


This is the other side of the room that she store all her supplies in. It is a very nice size, jus perfect for crafting.


Well here we are moving in to the craft tables setting up our little corner of the craft table. In the front you see Anita, she must be talking with someone.


 Here is Dorothy setting up her area. I will be seated back in the corner next to Jennifer who is in the corner. We had a blast.


I was busy walking around and found the store, with Vinnie hard at work filling others and probably having a hard time concentrating with our big mouths.  I found the stamp sets I want!!!


Aren't these cards beautiful? I love every one of them. I say that after every part and they are beautiful.


Here we are and that is my seat next to Jennifer and as you can see I am all set up. I have 2 ATGs so I won't run out of tape in a contest!


Here is Laura and Dorothy setting up their spot.


As you can see the table is filling up, just waiting for me to stop taking photos and Angie to come and sit down along with our hostess!


Look at this Maymay Made It now has shirts to wear.


Here is Anita giving me the sign to say surprise as everyone is seated including Abby and we have done 3 cards so she doesn't suspect a thing.


Abby was so excited, she couldn't believe this was a shower for her and it was going to all be crafts! She said her and her mom (Anita) would go over to the house she is moving into after the wedding and set up a craft room on Thursday evening. She love every gift.


I only took 2 shower photos as it was impossible to get Abby to turn and hold them up for us and we decided this is what we were going to do at every party. Some lucky lady will get showered with gifts if her name is drawn!


Ok, it is break time and we are eating. I hurried to get everyone done, because with 23 cards that was important! I kept rushing every one and got nick named the card Nazi!


Oops, more shower photos. Abby showed us every big and little item and was so excited.


Almost done with the gifts now.


Well here I am with my daughter Jennifer. We took time to take photos of everyone during the shower by passing the camera.


This is Patricia.


This is Alison.


My daughter Jennifer.


 This is Jeannette.


 This is Angie.

This is Anita.


This is our bride, Abby.


And this is Amy of Maymay Made It and So Did I.


This is Laura.

This is Dorothy.


Tried as I may I can not connect the photos with the right person. So here goes. Patricia's card on the left and Dorothy's on the right. For a close up just click on the photo.


Dorothy's picture frame card on the left and Amy's cross card is on the right.


On the left is Amy's card and on the right is Alison's card.


Both of these photos are Abby's card. The left one is the inside.


The card on the left is Alison's and Jennifer's is on the right.


This is Jennifer's birthday cards.

 Both of these cards are Laura's.


Both of these cards were designed by Angie.


Both of these cards are Jeanette's.

 These cards are Anita's. We are always thankful for her birthday cards.


 Both of these cards are mine and both are encouragement cards.


The card on the left is Patricia's card and on the right is Dorothy's picture frame card.


The card on the left is Abby's card and on the right is mine.

I know this has been a long post. I sure hope you enjoyed and felt like a part of our party. Thank you for your sweet-sweet words of encouragement. Your comments continue to inspire me, Have a blessed day.