Showing posts with label A Splash Here and There Blog. Show all posts

November 11, 2013

One Nation Under God


Happy Monday, blogging friends!  This is Melody from A Splash Here and There blog.  Very thankful to Sheila for letting me share my projects here with her readers once a month.  Today's card is in honor of all our servicemen who fight so we can have our freedom.  Happy Veteran's Day and thank you for all that you do for our country!

This card is sized at an A2 card.  The elements were designed using the Silhouette Studio and all cuts were done using my Cameo.  I started out with a mat sized at 4 x 5.25 in white cardstock and then embossed that with the Stars CB folder.  Then I attached this mat to the front of the card.


Then with the same size of mat, I created a mat for the inside of the card and used a flag image by Richard Young (Design ID #18881) and set it to print only.  Then I typed in my sentiments using the Abbeyline font for the "Thank You" and the Arial font to type "for everything you do for our country".  The patriotic flowers were by Loni Harris (Design ID #19120), flood-filled with patterns from my library.  The sentiment "One Nation Under God" was typed using the Cooper Black font, flood-filled in blue.  Below is a screenshot of the cuts I wanted to be printed before loading the page to my Cameo to cut.

Here is how the printed page looks like after printing and before I loaded in my Cameo to cut.  The Cameo uses the registration marks on the three corners to guide it where to cut.

yep, I prefer to use my old Cricut mats in my Cameo
because to me it is more durable than the Cameo mats


I added some irock silver gems on either side of the front sentiment, mounted it on foam mounts for some dimension.  Below is a peek at the inside of the card.


Thanks for stopping by and have a wonderful day!


October 14, 2013

(Almost) No frill boy birthday card


Happy Monday my fellow bloggers!  This is Melody from A Splash Here and There blog.  Thanks Sheila for letting me share a project with your readers once a month.  A friend's youngest son just celebrated his birthday party yesterday and I made this card for him.  The card was designed using the Silhouette Studio and all cuts were done using my Cameo. 

This card is sized roughly at 5.5 square.  The base of the card is an card image by Jamie Koay (Design ID #38959).  I created a square image to fit inside the ornate doily and imported a dragon image by Scrappers Delights called Draco inside this square and printed him using my home printer.  I used the Agent Orange font for the sentiment inside and outside the card, setting them to print only in blue ink.  I used the offset feature of the Silhouette Studio to create the mat (in green cardstock) and created another layer for the sentiment.  Below are the cuts after I cut them using my Cameo.  


I used my Promarkers to color Draco the dragon and created a coordinating crinkled ribbon (seam binding ribbon) using a couple of Tim Holtz Distress Ink in faded jeans and some water.


Here is a closeup of the card after assemby. I added a blue button with jute twine.


 Here's a closeup of the inside of the card using the same font as the sentiment in the front. 


Thanks for looking and enjoy your week!

September 9, 2013

First Communion Bookmarks


Hi there!  This is Melody from A Splash Here and There blog and today's my day to share a project here at She's a Sassy Lady blog.  Thanks Sheila for having me over once a month.  My 8 year old DD had her first communion a few months ago, and although I shared with you all here how we created her communion banner, I have never shared the little gifts she gave her close friends who also had their first communion at the same time. They are little bookmarks to go along with the first communion books she gave her friends.  This project was designed using the Silhouette Studio and all cuts were done using my Cameo.

The base of the bookmarks were actually banners by Lori Whitlock (Design ID #25737).  With a little modification, I mirrored the banners (straight edged for the boys and scalloped for the girls), welded two together and created perforated lines and holes.  Below is how the bookmarks looked in the Silhouette Studio.  I also let the Silhouette Studio do the faux stitching for me. The fonts I used for the sentiments on the bookmarks were those already in my library (downloaded free - just googled "free fonts").


Below is how the girls' bookmarks look printed in pink cardstock.  (I used green cardstock for the boys).  The registration marks on the three corners on the page will tell the Cameo where to cut once I put the printed page on the mat.


Here's a look after the Cameo has had the chance to cut.  I just love having the Silhouette Studio do the faux stitching for me ;).  The boys' bookmarks had a different style of faux stitching.


I wanted to attach some beads with each of the kids' names and wanted it to be sturdy so I put some eyelets where the holes were.


After attaching the beads to the bookmarks, I attached magnets to the insides of each bookmark.


And here are some closeups of the finished bookmarks.

front of the bookmarks with the kids' names in beads
 
the back of the bookmarks says "from your friend, Mya"
 
Hope you like this project.  Thanks for looking and "see" you all again soon!  Thanks for having me over, Sheila ;)!

August 12, 2013

Aloha gift bags


Aloha again, She's a Sassy Lady readers :) !  This is Melody from A Splash Here and There blog and today's my day to share my project here.  Thanks, Sheila for giving me this opportunity once a month to share with your readers.  As some of you know, we just got back from a wonderful trip to a couple of the Hawaiian islands (Kauai and the Big Island) a little over a week ago.  After unpacking I finally found a few of the little trinket souvenirs I bought some friends and family members and I wanted to present them in nice little gift bags.

This project was achieved using the Silhouette Cameo, printed using my printer and diecuts were achieved using the Cameo.  Below are the pieces I needed after printing and cutting.


The "Aloha" title and the flowers were images by Sophie Gallo (Design ID #34443).  I ungrouped the images then sized them to fit inside a rectangle sized at 8.110 x 4.980.  Since I was in a hurry I made the images inside this rectangle to print only.  I also used the internal offset feature to create the faux stitching for me.  Then I copied the bottom flower and cut some in pink cardstock.  Then I cut a green mat sized at 8.25 x 5.125.  


I used some foam mounts to attach the cut out pink flowers on top of the one printed on the front for some dimension.


Then to finish off the bags I added a piece of burlap and glued some glass half pebbles and a seashell to each bag.  These bags were so easy to make.  Hope you liked my project today and hope you all have a wonderful start to your week. 
 

July 8, 2013

Hush Little Baby


Hello again!  This is Melody again from A Splash Here and There blog.  Thank you Sheila for allowing me to share my projects with your blog readers once a month :).  Today's project is a baby shower card I created for a friend who is due to have her fifth boy in a couple of months.  This being her fifth child, in lieu of gifts, she had requested monetary donations to our kids' school (which she and her hubby matched) - I thought that was very cool!

This project was designed using the Silhouette Studio and all cuts were done using my Cameo.  The base of the card is called flourish frame single fold square card by Jamie Koay (Design ID #36826).  I used a square insert in white (to go behind the "window" of the card base) and embossed that with the Plum Blossom CB folder.  I sized a square to fit just inside the square in the middle of the card base and cut that in brown cardstock.  I then used the internal offset from that brown square to create a top layer, and inserted a digi stamp image of a baby and the moon by Polly Craft called Moon Lullaby.  I let the Silhouette Studio do the faux stitching on this top layer and wrote the sentiment "HUSH LITTLE BABY" in the Patchwork Letters font. Below is a screenshot of the top layer in the Silhouette Studio. 


I used the internal offset feature to create a personalized sentiment for the inside of the card using the fonts Coneria Script Demo, Fontdinerdotcom Sparkly, and Happy Sans.  I again let the Silhouette Studio do the faux stitching for me.  Below are the pieces to the card after cutting with the Cameo.

I normally print more than one image to allow for any coloring
mistakes. 
 
A close up of the embossed square and the top layer with the image.
 
I started assembling the card by attaching the embossed piece on the inside of the card, just behind the "window", using a Scotch liquid glue, then I attached a strip of sheer white ribbon down the left side of the front of the card and secured the ends of the ribbon on the inside of the card with Scotch tape. 


Then it was time for me to color the image for the top layer and the front sentiment.  I used Promarkers to achieve this task. After coloring I attached this top layer onto the brown piece to mat it (I used foam mounts for some dimension).  

 
I originally wanted to have the top layers centered on the square of the card base but decided to attach them a little offset.  I thought that was better.


To finish off the front I created the bow in the same sheer ribbon and attached a premade flower from a dollar pack I got from Michaels and some blue irock gems on the two corners. 


 I attached the inside sentiment too, making sure to cover the embossed layer and the tape holding the strip of ribbon.
 

Because the card is now very thick to fit in a regular envelope, I used the 3d cd box image by Jamie Cripps (Design ID #44960) to create a more roomy "envelope." 


To finish off the envelope I added some blue stars which were actually leftovers from another project a last week.


There you have it :).  Thanks again for stopping by and "see" you all again next month.   


June 10, 2013

Third Degree Black Belt Card


Hello She's a Sassy Lady Blog readers!  This is Melody from A Splash Here and There blog and it's my turn to share my project here with you today. 

A good friend of ours has a son who just received his third degree black belt over the weekend and I wanted to create a personalized card for him.  This project was designed using the Silhouette Studio and all cuts were done using my Cameo.  The rectangle card measures 7.750 x 4.325. 

Below is a screen shot of how I designed the card and the envelope in the Studio.


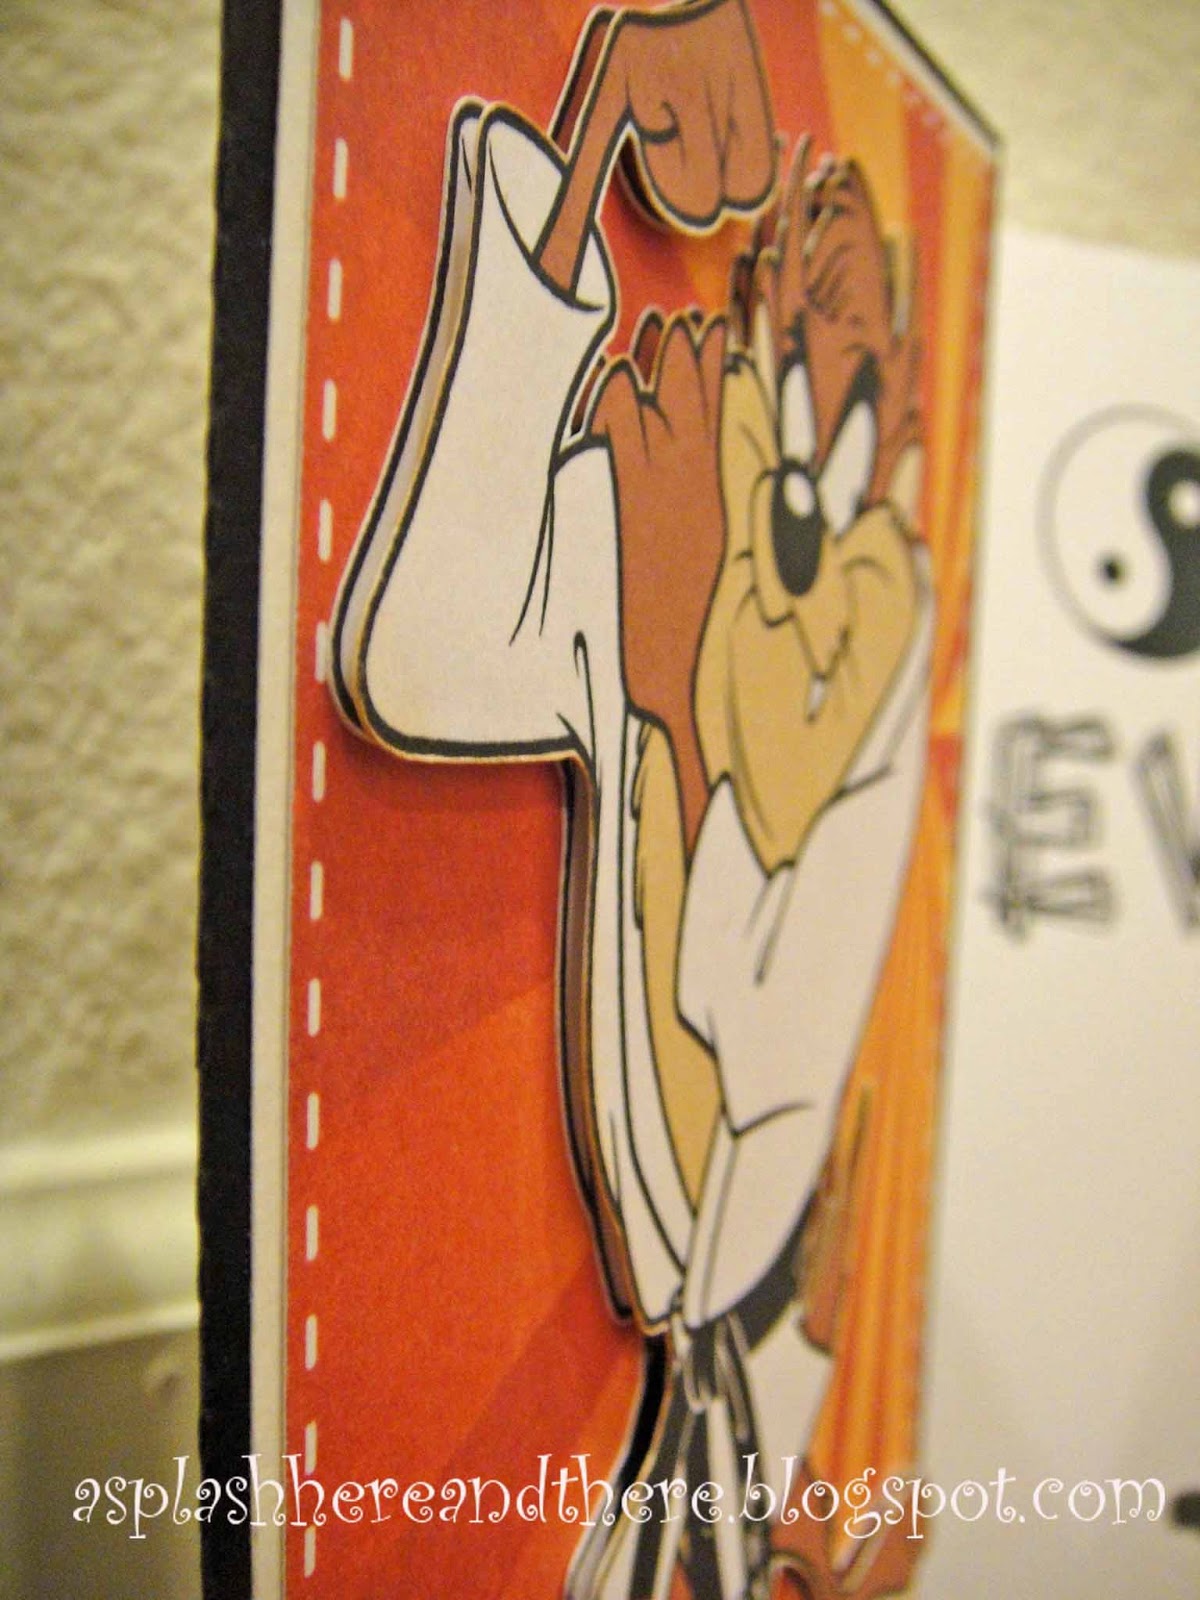
For the front of the card, I used a Karate Taz image by Looney Toons (Design ID #24771).  This image is a print and cut image, so it's already colored in.  After sizing the image to fit inside the front of the card, I ungrouped the image and substituted the letters TAZ on the black belt with KEV (short for Kevin, the kid's name).  Then I added 3 small rectangular stripes (flood-filled in red) on the other end of the black belt to signify the third degree black belt he just earned. Below are screen shots of what I'm talking about.

After ungrouping the parts of the image, I deleted the letters
TAZ and typed in KEV using the Arial font. 
 
The three rectangular stripes signifying 3rd degree
black belt, flood-filled in red.  I then set the images I added to
"print" only.
 
I then selected the whole image again and grouped them
all together. 


I arranged the images I wanted to print and cut on a 12 x 12 page before I sent it to my wide format printer.  I wanted to layer the some of the images so I printed two of each.  The card mat (in red and yellow sunrays) is a digital paper from a pack called At the Dojo, purchased through the Sweet Shoppe.  The sentiment for the front of the card was typed using the Chinese Takeaway font.  The shape it is printed inside of is an image by Alaa K (Design ID #12957) called paint frame.
 
screen shot
 
after the images have been printed in my printer and
cut with the Cameo (I like using my old Cricut mats in my
Cameo).
 
Here are closeups of the front of the card after assembly.
 

faux stitching was done using the Silhouette
Studio (internal offset feature), flood-filled
in white.
 
I added irock gems to the front sentiment.
 
 
Below is the how the inside of the card looks like.  I again let the Silhouette Studio do the faux stitching for me via the internal offset feature, but this time flood-filled the "stitches" in black.  I again used the Chinese Takeaway font for the inside sentiment.  The Taz image is also from the Silhouette Store by Looney Toones (Design ID #20585).


The envelope image is by Lori Whitlock (Design ID #31274).  I used the Chinese Takeaway font and let the Silhouette Studio do a sketched effect on the name "Kevin".  The kicking image on the bottom right of the envelope is a digital element also from the pack At the Dojo, from Sweet Shoppe, while the yin-yang image on top of "Kevin" is a digital element from the black belt pack from Scrap Orchard.


And there you have it ;).  Hope you enjoyed looking at my project today and hopefully I didn't confuse you much with the process ;) of creating it.  If you do have a question please drop by my blog and I'll try to answer them as soon as I can and as best I can.  Thanks Sheila for having me over.  Have a wonderful week!  

May 13, 2013

"U want 2 take me on?!" mixed digital double page


Hi all!  This is Melody from A Splash Here and There blog.  Thanks Sheila for allowing me to share with your readers once a month.  Today I'm sharing a couple of digital scrapbook pages I've been working on.  I refuse to skip years (I'm anal that way LOL!) in my scrapbooking, but since I've been so busy with other things I've been really behind.  These pages include pictures from 2008 (I know, sadly that's how behind I am).  I used the Creative Memories Storybook Creator 4 to create my pages, although at times I use the MyMemories Suite V4.  I have been fortunate to have a wide format printer (Epson Artisan 1430) so I print my own pages after creating them.  The picture above shows the finished pages, all ready to be inserted in their page protector sleeves in my 12 x 12 album. 

If you haven't tried digital scrapbooking, I highly recommend it.  What you see is basically what you print later, and you can basically layer to your heart's content, much like traditional scrapbooking. You can use a pre-designed layout, or you can create your pages from scratch, like I did here.  You don't really have to have your own printer either - there are other printing services other scrappers use, including Costco.  Or you can just choose to share your pages online too - totally your preference.  I like to have my pages in a regular photo album as is, or sometimes I add embellishments such as die cuts, ribbons, buttons, etc., much like I'd do in a traditional page.

Below are screen shots of my pages in the CM Storybook Creator.


The right side of the screens show you what pages I was working on. 
I like that I can switch back and forth from one page to another when
 I hit a creative block.  This way my unfinished pages are not cluttering
my craft table.   

After I'm done with the pages and ready to print, I make a .jpg copy.  This just allows me to to import my finished digital pages onto my Silhouette Studio, just in case I want to add a die cut or two.  This way I can size the die cut/s exactly how I would want it/them to look on my page. 

Here are my two finished digital pages side by side,
imported onto the Silhouette Studio.  The left side of
the page looks darker than the right side only because it's
"sitting" on the 12x12 mat view.

This screen shot shows you two Wii controllers, flood-filled
in white (left side of the page).  I used the game controller image
by Nathan Jenne (Design ID #15437), purchased from the Silhouette Store. 
As you can see, I sized two of the game controller images the way I
would want them to look.  I used my Cameo to cut the game controller images.  
 
 
And here are some closeups of the finished pages.
 
I used foam mounts to make the die cuts pop out of the page a little.

I used twine and white ribbon and scrap pieces of a beige
CS for the controller handles.


Hope you liked my project today.  Stop by my blog in the next few weeks as I show you more of my printed digital pages.  Thanks for stopping by at She's a Sassy Lady and have a wonderful week!  Till next time!