Welcome to my fun little site. My name is Sheila, you may know me as Sassy Lady. I am a Chicago transplant to the Birmingham, Alabama area. I like to say I am southern by the grace of God! My blog was started to share with family and friends my love for scrapbooking and of course special moments with those around me. Being an avid scrapper I also dabble in card making as I love to remember people and their special times with a card. Click Here To Read More!
Grab my button for your blog! Copy and paste the text below:
GET $10 OFF DIGITAL SOFTWARE
CLICK PHOTO TO ORDER YOUR SOFTWARE TODAY. YOUR DISCOUNT CODE IS STMMMS32096
Unless otherwise stated within the post, this is my original work or design. You are free to use any of my designs as INSPIRATION for your own personal use. My work is not for use for publication, contest, message board entries or for profit. If my designs inspire you in any way please give credit where credit is due. If you post information about my files to any message board or mail group, please direct users to this blog rather than attaching the file itself. Leave me a comment and by all means post a link to my blog. Thank you!
Hello, crafty friends! Grace Baxter here with a cheerful summertime birthday card. Lately, I've been on a roll with pop-up cards. I love the theme of the birthday bird, with some impressive dimensional gifts inside for the recipient!
If you would like more info on how I made this 5" x 7" card, I am currently sharing full details in the form of a PDF. While some of the card may be self-explanatory by the pictures, there is a lot to know. For full details, see below. As per my recent change in blogging strategies, I am now providing full PDF tutorials for my projects. These are more work for me but hepful to those who really want all the detailed info. To get the PDF, first become a follower. Then leave me a comment (under the post) requesting the PDF. Include your email address and I will send you the PDF tutorial of detailed instructions.
Note: If you prefer your email addy to be private, just say "keep private" somewhere in your comment. I screen all comments before publishing them.
Have a great day!
For more projects and today's card PDF, please visit me at
Hello fellow crafters! Grace Baxter here, and I am happy to share my latest card design. I call this one my Cupcake Shoppe birthday card. Cupcakes and birthdays naturally go together. But how about an entire Cupcake SHOPPE!
Rather than make a flat card front, I decided to add a sweet awning to the shoppe window. I had in mind a particular striped paper for the awning. This one reminds me of the striped canvas sling lawn chairs my Dad used to enjoy. And this striped paper looks exactly like that style. I might just have to make a few of these to have on hand. Once I figured out the best way to make the awning, the rest was easy!
Inside
For the inside verse, I used one of my own poems. This one is a general verse that works for either male or female recipients. (Click the top picture collage for details.)
Cartridges Used
Gypsy Wanderings - awning and bakery window ledge Straight from the Nest - cupcakes
I hope you enjoy this card project.
Be sure to drop by my blog for more inspiration on other themes!
Hi ya everyone this is Melissa from Melissa Made. Thank you Sheila for inviting me to design once again today! I've been using my Imagine a bit lately because my Expressions conked out on me. I have to admit I'm loving this machine and even have managed to get a few more carts for it. Today, I thought I would help those that love their Gypsy and have yet to use it with their Imagine.
First, here's a quick video on how to attach your Imagine Cartridges to your Gypsy once you have the application installed. I apologize for the video quality - it's a bit blurry as I typically don't do videos - but it's clear enough to understand.
Now, let's learn how to use the Gypsy with the new cartridges that you've attached.
First, select the Imagine application on your Gypsy. For this project I chose the print and cut button.
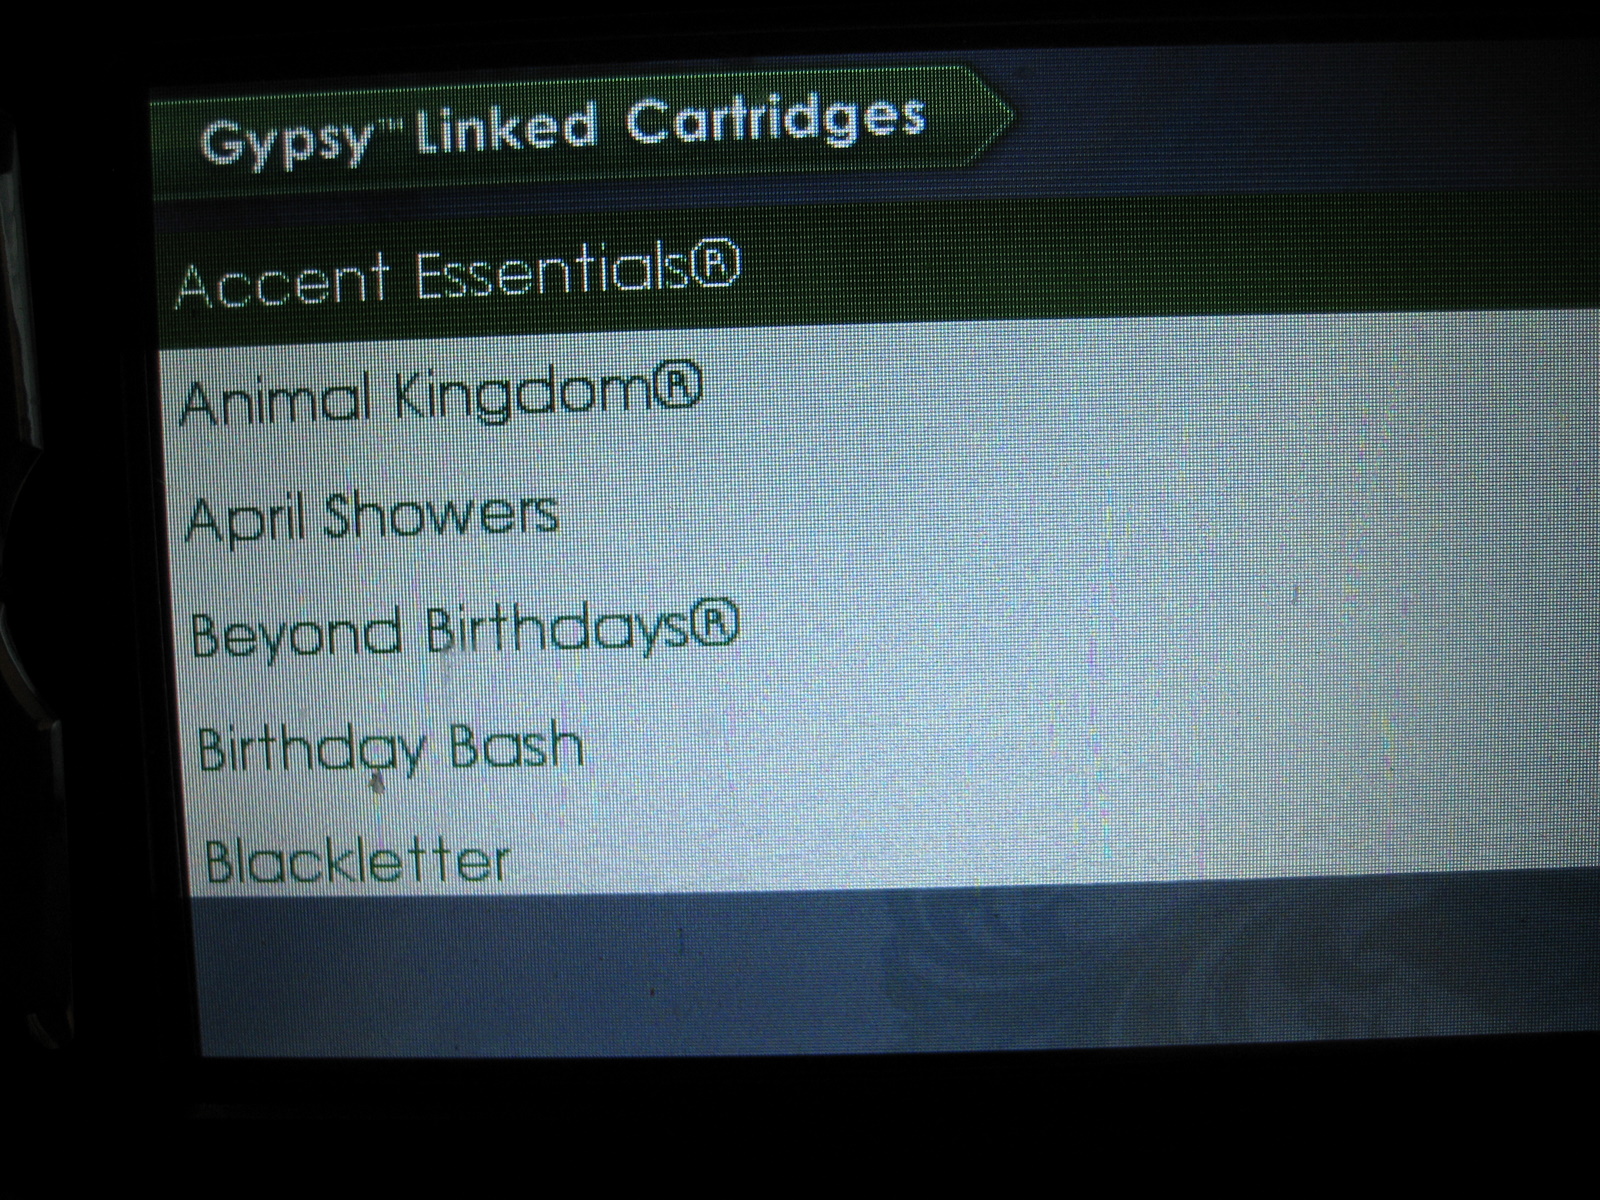
On the bottom left hand side of the screen you should now see three little icons. The first is your basic cricut cartridges. The second is the imagine itself that comes preloaded with a few fun shapes. Last, is the list of your Imagine cartridges. I chose this icon to select the paper I wanted.
I wanted to use the Audrey Imagine Cartridge for this project.
Because the Audrey cartridge is a pattern only cartridge it takes me to this next screen.
I tap on this screen to select this cartridge. Next, I choose the cricut cartridge I want to work from.
For this card I wanted to use Cindy Loo. I scrolled down the list until I got to Cindy Loo and selected it by tapping on the cartridge.
Once you choose the cartridge the screen will appear that's a replicate of the keypad. I chose the frame option.
I then chose the little frame with the birdhouse on the bottom right corner.
Once I selected the frame it comes up at the top of the screen in the bar. In this bar I tapped on the frame I chose and the edit button appears. Here you can do three things. Edit with the pencil tool, duplicate with the squares at the bottom and also the remove button which is the red circle.
I chose the edit button - the pencil by gently tapping on it. On this screen I can add my pattern paper to my image. I clicked on the blue pattern.
Once the pattern was added I decided to change the size to fit on my A2 sized card. In the above picture you can see the little + and - with numbers on each side. I touch the + to increase the size and the - to decrease the size. This is fabulous because once you change the frame size any extra additions such as the layers for the house will automatically be the correct size.
I then chose the imagine icon at the bottom to go to those great extra shapes that come preloaded.
I chose this square for some patterned matching paper.
I chose a red pattern and then clicked next. I then chose the duplicate square after gently tapping on the square in the bar.
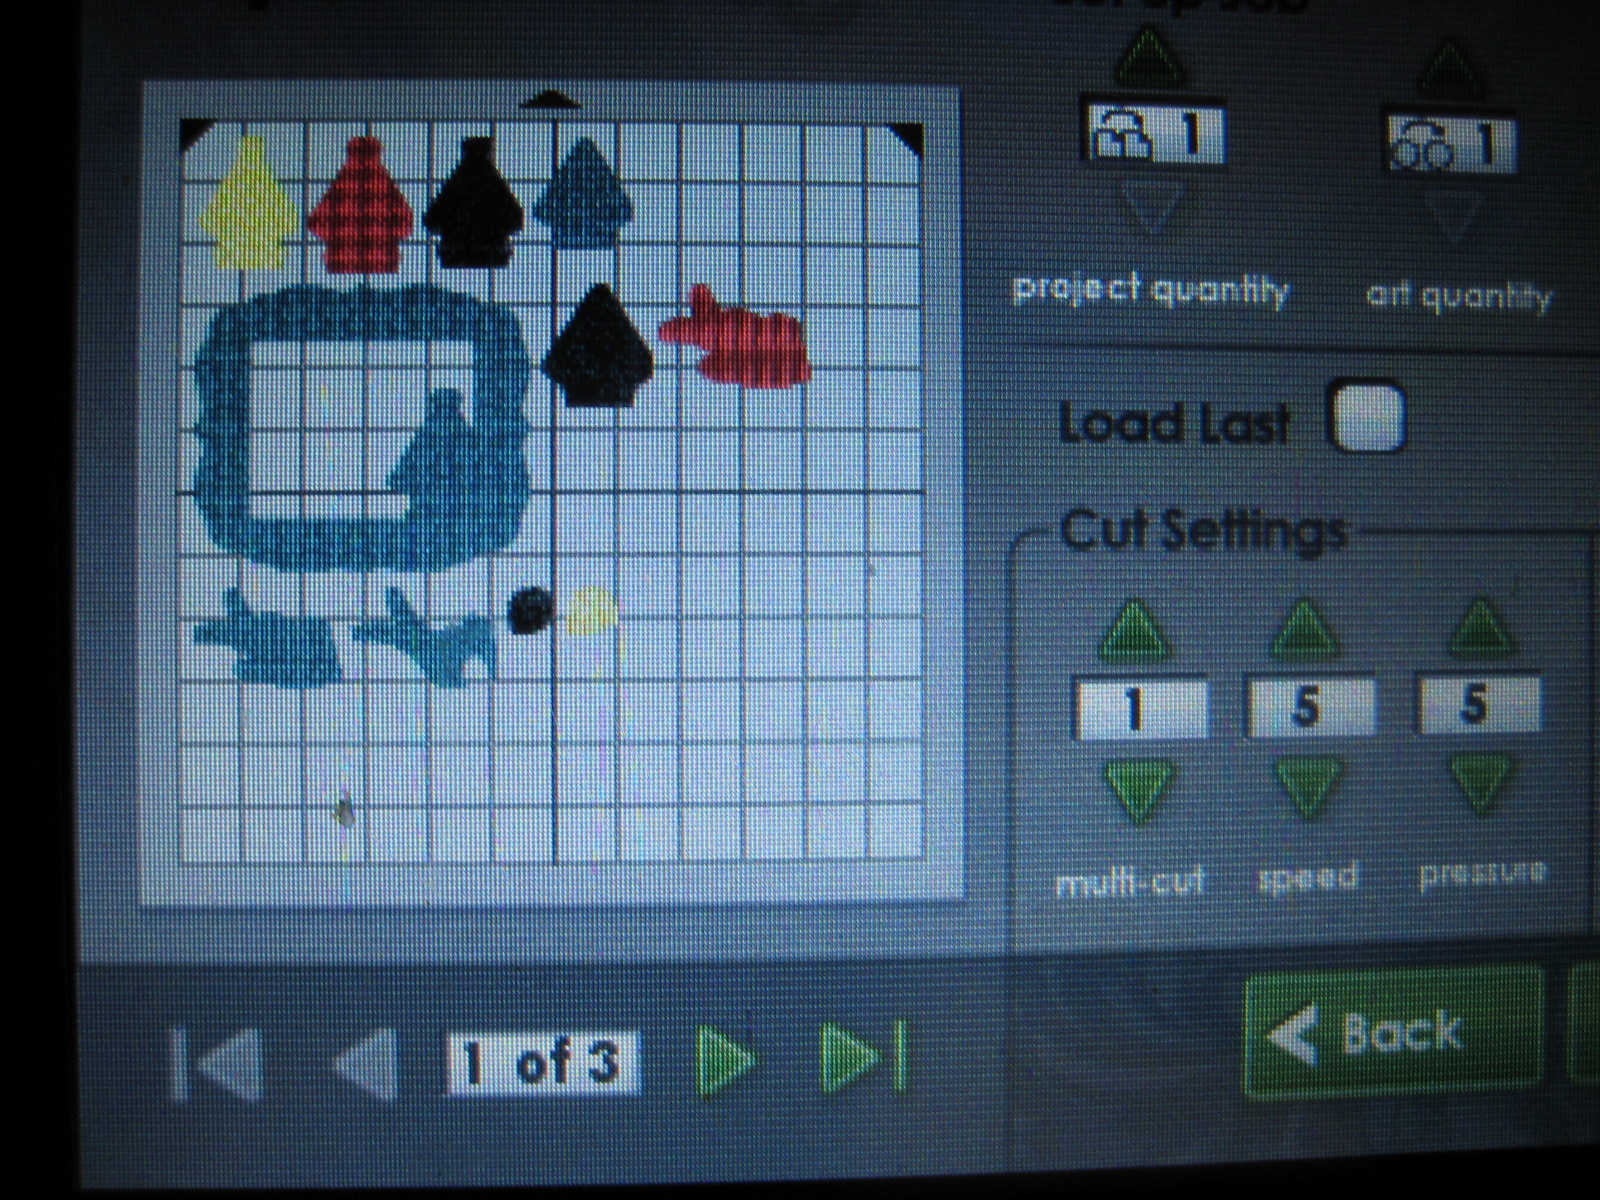
Once I duplicated the square I chose the duplicate and changed the pattern. I chose the next button on the screen and could then see each page that would need to be print and cut. Here are three pages. They are viewed starting with the last page and you can scroll back to see each page. When you go to print and cut they will print in order page 1 to page 3.
As you can see on the first page I added a few elements following the same directions as before. I will often click back and forth between these pages to see the size of the images I'm adding. Once I am ready to print I hit the next button.
The screen will then direct me load the mat and away it goes. I decided to make a second card as well with the left over bird and I did print some extra paper. I added a sentiment from Straight from the Next too.
Thanks for checking out my tutorial today and for more fun projects using the Imagine stop by Melissa Made. Please leave comments and ask questions below!! I love to hear from you!
Hi ya everyone!
Melissa here from Melissa Made to just share a quick card that I wanted to link for Sheila's weekly Gypsy Made Simple tutorial where she teaches all kinds of wonderful things on how to use that Fabulous Little Lady we call the Gypsy! She is asking that everyone simply attach a project made with the Gypsy to the linky right HERE. This will help others who are beginning to use the Gypsy not only learn but also become inspired by what it can do. Sadly, I lost a very close friend last week and that was my Expressions - my mat is NOT feeding properly. Alas, no worries as I do have an Imagine and I'm learning so much. I used Doodlecharms (watermelon cut), Straight From the Nest (summer cut) and Best Friends (paper patterns). I designed this on my Gypsy first using the Imagine application but this can be applied to an Expressions or a Baby Bug. This is an A2 size card (4.25x5.5 inch). This little card took no time and now I have a simple entry!! Don't forget to enter yours too! Stop on by to Melissa Made for more fun projects!
Grab your coffee and your Gypsy and let's get to work on this adorable Happy Bee-Day Card. It is so easy and I will even give you a FREE file to download at the end of this post if you want! This is a close up of one of the cards so you can see the detail.
Well we are back with another Gypsy Made Simple Design! And this is such a fun little card I know you will love making one along with me! I was at my mothers a couple of weeks ago helping out after she had a surgery and made a little sketch and proceeded to make the design that very day... I just love owning a Gypsy and being able to design where ever I am!
This video gives complete instructions for you to make your Happy Bee Day Card. I used Create a Critter, Gypsy Wanderings and Straight From The Nest for the artwork and lettering on this card. Remember if you don't have then just substitute for something you do have. (NOTE: I am excited to share with you that I went out and bought a new camera and next week my Gypsy screen will NOT be blurry at all! I checked and you will love the clarity of next weeks project.)
This next video is cutting and putting together this adorable little card. So - so easy to do and the little window in it is sure to set it apart from others.
Don't you just love this completed litte card? I challenge you to make one tooon your own and link it up to my blog so everyone can see your beautiful creation. It always amazes me the we can have all have the same basic design and each one looks so different and beautiful on it's own. Also as promised click HERE if you would like the Happy Bee-Day 2 Up file. You will love making 1 complete cut and getting 2 cards to add to your stash.
I hope you liked todays little project and play along with my challenge. I thank you for your sweet sweet words of encouragement. Your coments continue to inspire me to keep sharing with you.
It is with great pleasure that I am a Sassy Lady today!!! I am Lori Apgar from scrappinmystressaway.
I am going to a weekend crop with my Sister-in-law and her mom this weekend. The mother of our hostess is celebrating her 80th birthday. She cooks and serves the meals at these crops. We are giving her a card shower and I made this card for her!
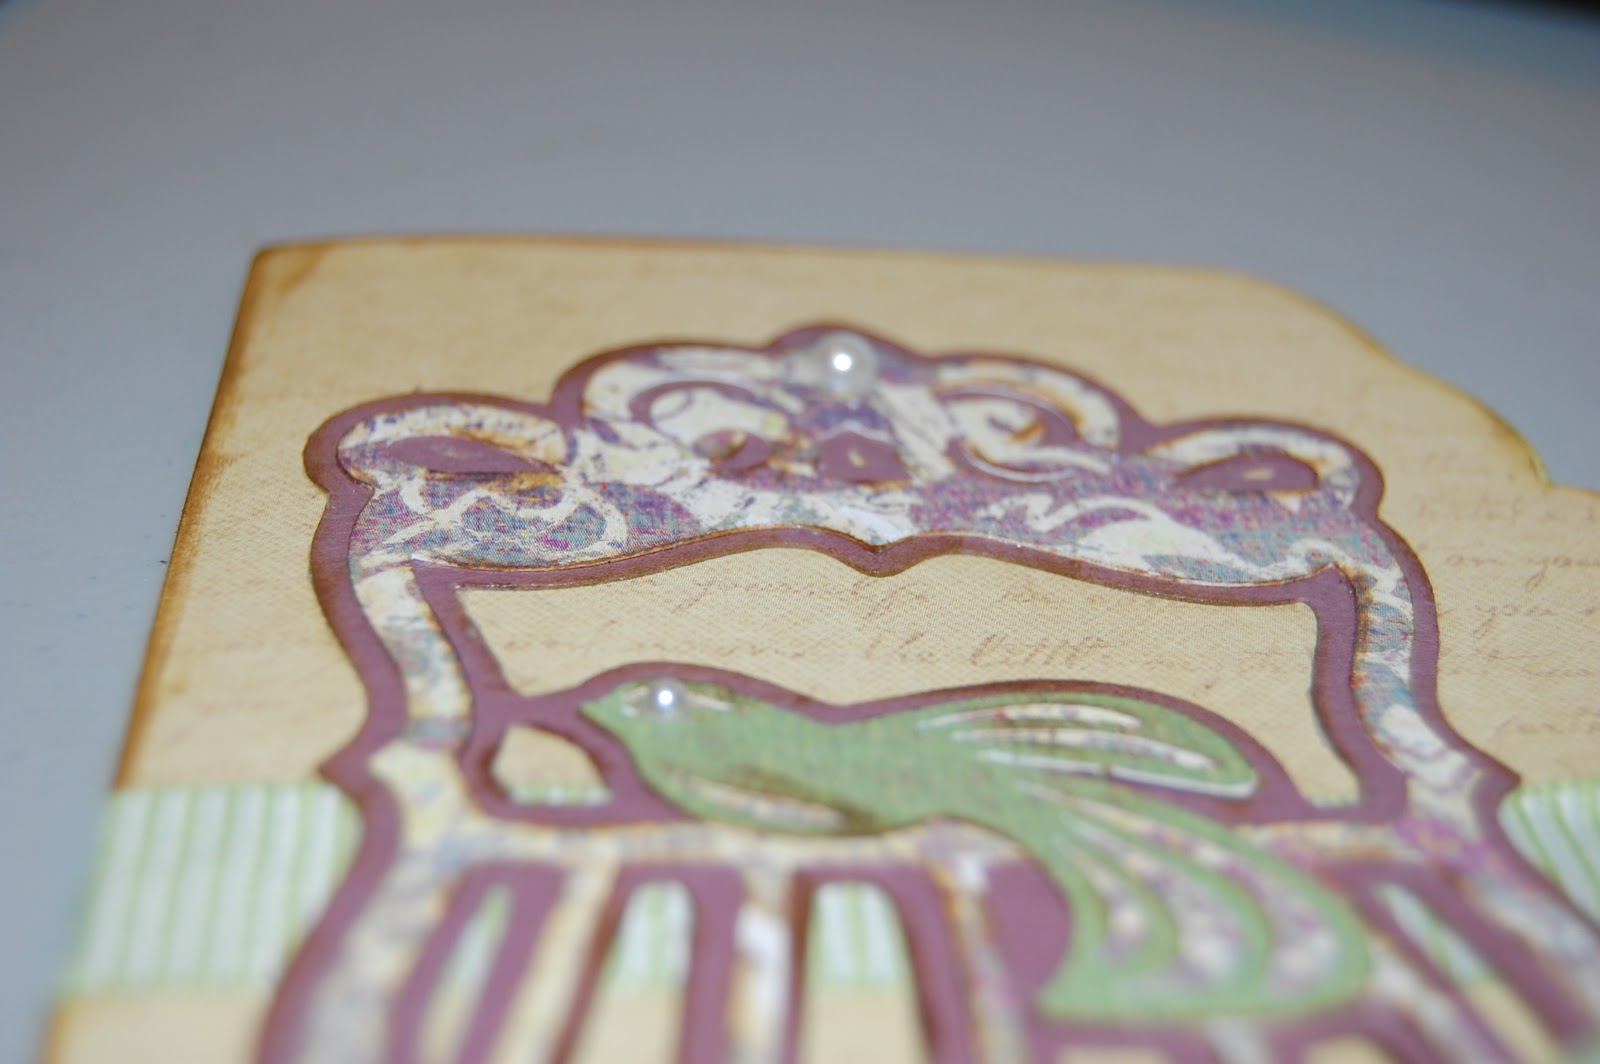
I used Lacy Labels to make the card and Straight From the Nest for the birdcage and sentiment.
Here is the inside of the card.
On Lacy Labels, I used the label from the middle row, the third one from the left. I put one on the screen 4.79 w x 4.18 h. I copied it and flipped it so it was a mirror image, then welded the two together. I copied a second label to use with the patterned paper inside the card.
At first, I wanted to use the patterened paper on the outside but the paper I cut out looked too busy that way so I put it on the inside.
I sized and cut out celebrate from SFTN. To size it, I opened a second layer and put the word on the card showing through from layer 1. I increased the size to 3.62 w x 1.31 h. I wanted it as big as possible because it was a delicate cut.
I used the same sizing process for the birdcage. When I added the birdcage layers, I added all three at the same time and kept them grouped (all blue on the screen). I sized the largest piece which is the shadow piece. Then I ungrouped the pieces and arranged them on the mat by color of paper I was going to use.
Taking care to put the paper on the mat with the arrow on the LEFT (don't ask why I remember this!!!), I cut out the pieces and the card.
I scored the card using my Martha Stewart Score Board.
I creased the fold with the bone folder to give it a crisp edge.
I inked the edges of the card. I did not like the look of the front of the card blank, so I found some paper that had some vintage-looking writing on it. It is subtle and pleasing to the eye! I inked the edges of that paper too and glued it to the front of the card.
I used a Fantastix tool to help ink the birdcage. I would have preferred to use the pointed tip, but I did not have one dedicated to brown (or a blank one), so I had to use a bullet tip.
I wanted to add a little color and texure so I glued a ribbon to the outside of the card. I will just tie the card shut and not use an envelope since I am not mailing it.
Here is the birdcage assembled. I used a small pearl for the bird's eye and a decoration on the top of the birdcage.
I lightly inked the word Celebrate.
And here is another look at the front of the card.
Thank you Sassy for having me on your blog!! I like being a little Sassy at the beginning of each month!!
It is always an honor to Guest Design on Sassy's blog, she has been such an inspiration to me!!!
This is a easy page from Straight From The Nest. This is my little Tweetie Pie, Aiden. He is keeping a very close eye on me while he is eating his lunch. His little sisters & I used to pretend that Grandma was eating their food when they were this size and they would giglge and giggle. But not little Aiden he just cries if you get near his lunch! So he looked at me the whole time he was eating with this worried look on his face.
I used a baby paper print yet I wanted a stronger statement so I got the stickles out and stickled the swirls.
Then looking at the layout I had prepared and the pieces for the layout and I decided it needed more.
So I stickled the Tweetie Pie. While that was drying I put the flowers together.
Yet it still needed more so back to adding more buttons, and stickles.
Now it looks nice, even the little birdie has stickles on his wings.
I just love all the little hearts on the tips of the swirls.
Papers for baby layouts are sooo soft and delicate. I must say that was hard for me as I like things with a little more Sass.
Well I sure hope you like todays project. It was so easy and fun to do. If you would like the file here is the Sassy Tweetie Pie Gypsy File .
Thank you for your sweet words of encouragement, your comments inspire me to keep posting.