Showing posts with label Paper Doll Dress Up. Show all posts

March 16, 2012

The Luck of the Irish


Hi Everyone,

Oh my goodness, it's been so long since I've posted. I have been visiting alot of you though, and I am amazed at your talent ;) Lisa from Lisa's Craft Room here, and it's my turn to design today for Sheila. I really didn't have anything planned but, I did come up with this card, which I think came out cute.

The base of my card is Kraft cardstock. I used a patterned paper that I had in my stash. It was perfect because it has shamrocks/clovers on it. I used decorative scissors on the edge. I used the Paper Doll Dress Up cartridge. I cut out the Leprechan and all his accessories at 3". I cut him out on the blackout feature so I could use a Peachy face on him. The wagon is also from the same cartridge, I cut that out at 4". I paper pieced the Leprechan together and added some gold stickles to jazz him up. I also added some to the wagon. I used a circle punch and punched out five circles on gold cardstock to resemble gold. I popped up three of them with dimensionals. I did stitching along the bottom edge of the card.


Now this I must say I am proud of ;) I cut out a shamrock from the same cartridge at 3 1/2" and ran it through my Xyron. I then added twine to it and sprayed it with gold shimmer mist. I also popped it up with dimensionals.


I hope you all have a wonderful weekend. My plan is to get more crafting done, after all, that is my "me" time :)

Thank you all for taking the time out of your busy lives to peek in and comment, and Thank you Sheila for having me again.

December 8, 2010

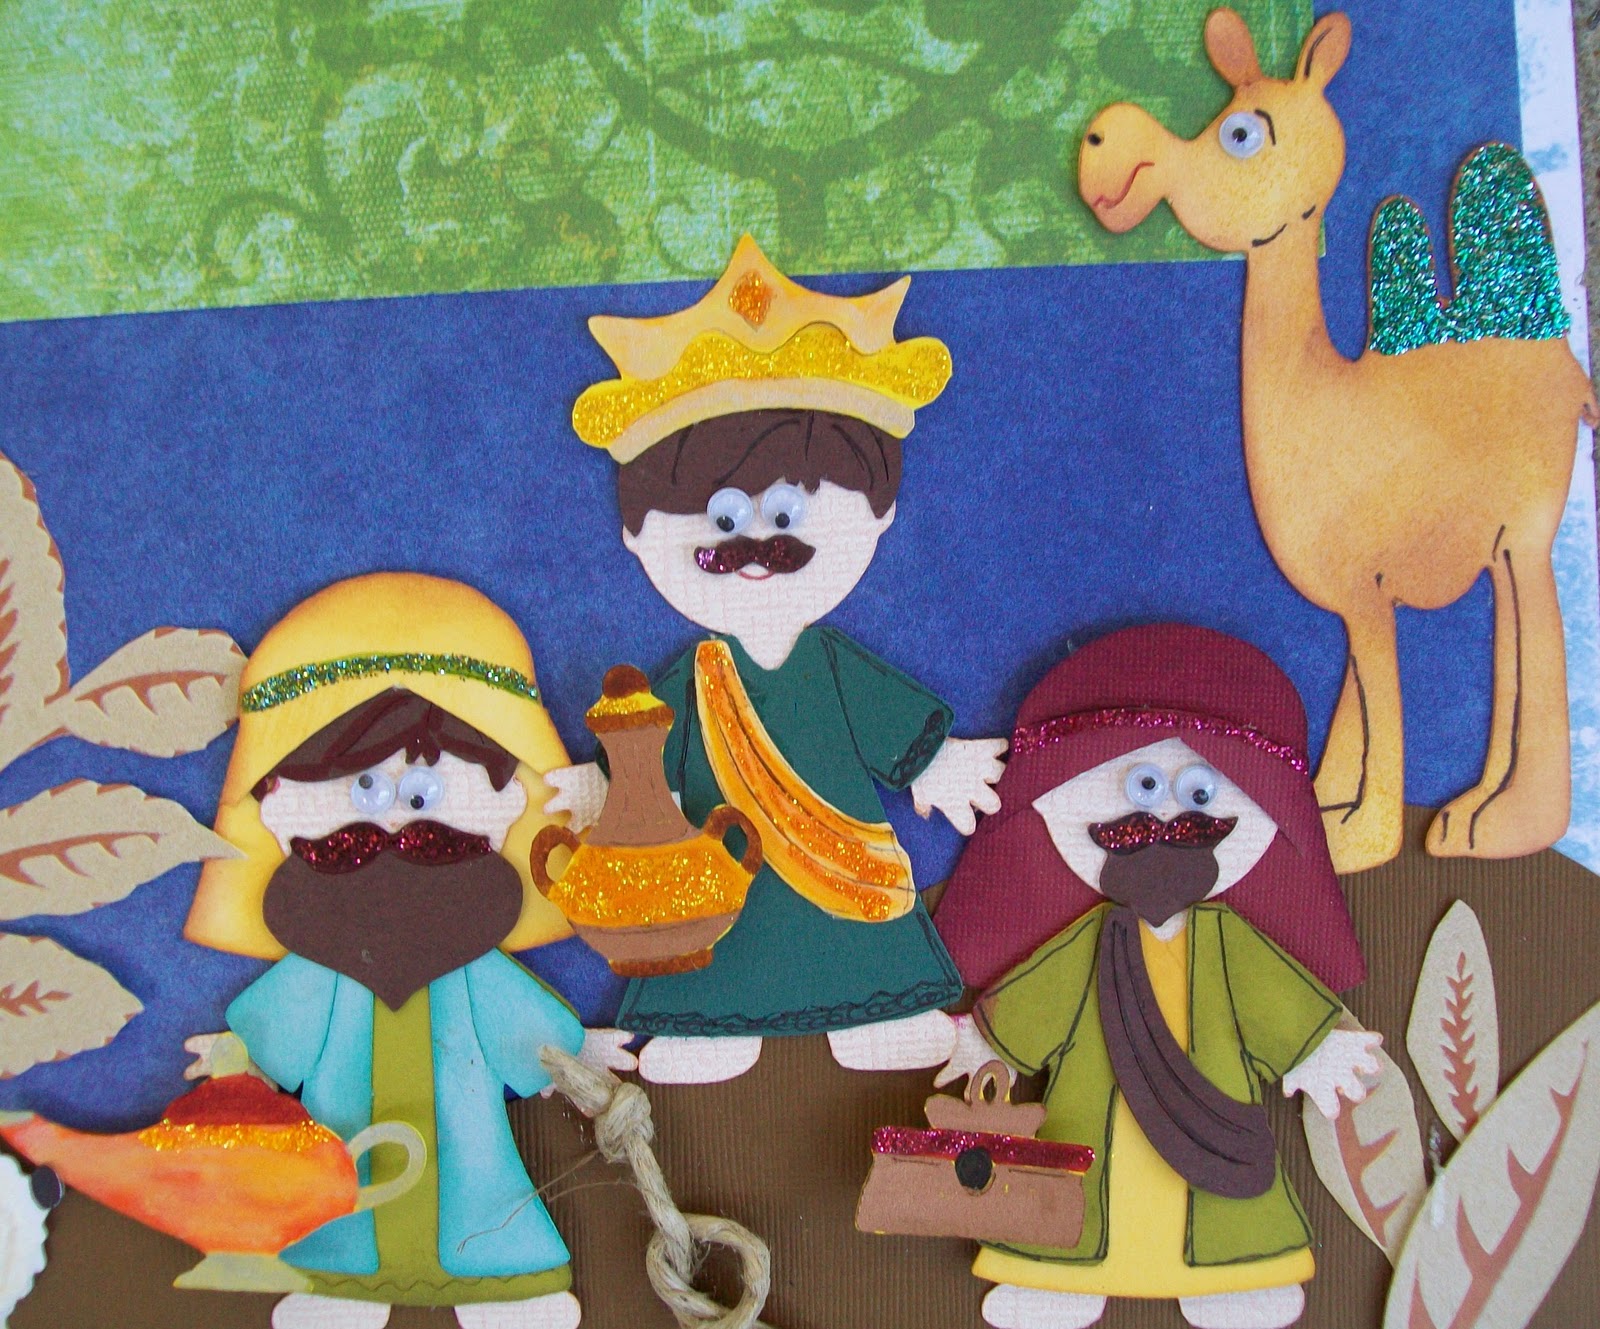
Nativity Scene with Cricut Paper Doll Dress Up Cartridge

Hello! I am Beatriz from Amazing Grace once again at She's a Sassy Lady. Today I am sharing this two-page layout using Paper Doll Dress Up Cricut Cartridge. It was a lot of work but a lot of fun to make.

This is the recipe:
8 people size 3" (angel, 3 wise men, Joseph,  Mary, 2 shepherds)
3 camels (2 are 3" and 1 is 31/2")
6 sheep  (1 is 31/2", 2 are 3", 2 are 21/2, 1 is 2")
2 donkeys (3")
Baby Jesus (3")
Barn is 7"
Palm Tree is 8"


Here are some close ups so you can see the details in each piece.


I used white puffy paint for my sheep, then heated it up to make it look like wool. 


Hope you enjoyed it as much as I did. Have a blessed and wonderful Christmas Season!

May 5, 2010

CARD GIVEAWAY ANNOUNCED! With This Barnyard Cutie!

Isn't this just too cute? Well Shes A Sassy Lady will be giving out this little card kit to one lucky person. For months I have been showing you how I cut my projects, bag them and then put them together when I have the time. Well Now I am going to give a little kit out every week!!! And all you need to do is comment if you would like a chance to win!
This is how the design looks on My Gypsy Woman. Notice it is set up for a cut so the colors line up just right. I used 4 carts to complete the design; AK PDED PDDU, GW.
I laid out the paper like this, and didn't end up using the brown afterall.
Here are the card kits.... note after I saw the blues in the daylight I changed them out so they matched better.
And this little SASSY CARD KIT is going home to some lucky person. All you need to do is make a comment on this post to qualify.... make sure I have your email address and come back on Monday May 10th when I announce the winner. On that day a new kit will be offered. Isn't it great all the pieces are cut, all you need to do is follow the instructions from this post and you will have a little Sassy Card of your own.
All you need to do is chalk the cows per your taste... I am from Wisconsin and while I grew up in Chicago every summer I spent on the aunt and uncle's farm with my cousins. Well we had Holstein cows so thats what I wanted! If you win and prefer Jersey cows I will send you the litte brown ones.
Then I colored their little eyes in with a fine tip marker.
And got out my brown SU ink and a makeup spounge and inked the edges of the cow.
Then I inked around the red barn.
And trimmed and then inked the cream colored barn. I cut off the roof, around the windows and the roof of the silo. I chalked the silo yellow.
Then I glued the little pieces down and placed thin lines on the front of the barn.
After all the little pieces were put together I attatched them on to the base of the card.
I used pop dots on the little cow on the left and double or should I say stacked pop dots on the one on the right.
Then all I did was attatch the white sheet to the inside and the word MOO.
I sure hope you liked this little card. Now be sure to leave a comment and you could be the winner of a little Sassy Moo Kit of your own! Cut off time will be 10PM on SUNDAY 5/9/2010 and the winner will be announced Monday May 10th. And even if you don't win the little Sassy Kit all cut and ready to put together here is the Sassy Moo Card Gypsy or the Sassy Moo Card DS!
MyFreeCopyright.com Registered & Protected
Thank you for your sweet words of encouragement, your comments continue to inspire me.
signature