Showing posts with label Imagine More Cards cartridge. Show all posts

February 16, 2016

First Project with Cricut Explore Air

Hello, crafters! It's Grace from Grace Notes for Today. I'm happy to share my first card made with the help of Design Space and my new Cricut Explore Air. 

Flower Pot Pocket Card

Flower Pot Pocket Card, by Grace Baxter

For the pot, I created my own template. After checking some similar styles online, I found that I didn't like the shape or smaller sizes. There are several flower pots available on cartridges but again, I wanted a cuff that I could decorate.

Details

Size:  The pot, full length before gluing sides is 11 inches long, 4-1/2" wide.
Flowers: 1 @ 2.79"w, 1 @ 2.89"w, 1 @ 2"W. Flowers are all from Forever Young.
Name plate on pot: Cut from Heritage, name was written with Explore Air. Attached with silver heart brads.
Butterfly:  Butterfly from Imagine More Cards, cut at 1.7"

I stapled a piece of green ribbon at the top, to indicate that the flower card needs to be pulled out. For the message on the card, I used the writing feature in Design Space. Sorry I don't remember what fonts as I tested many.

Flower Pot pocket card, by Grace Baxter

If you would like my template for this flower pot, please become a follower of my blog (click blue "Join This Site" button in right side bar) and leave me a comment requesting the template. Don't forget to give me your email address so I can send it to you. I'd love for you to visit my blog at GraceNotes4today.blogspot.com.


January 19, 2013

Bird Cage Note Pad and Card


Hi ~ Lori here from ScrappinMyStressAway one more time this month.  I am filling in for Bobby (Sassy Dude) today at She's A Sassy Lady.

I made this darling note pad and gift card for my good friend Jenny.


I used my Imagine More Cards cartridge with my Cricut Imagine to find my image and patterned paper.

I changed my mind on the patterned paper I first printed out.  I also made my Bird Cage image a little too big.  Had I used Cricut Craft Room, I would have been able to see that (oops)!


So I tried again and printed the bird cage smaller along with some other images for another project. When I use my Imagine, I tend to print off many images to use as much of my paper as I can.


Instead of patterned paper, I went with a solid pink.  I used this ribbon from Michaels.  It is actually Christmas ribbon, but I liked it because it had music notes on it.  Birdies sing a lot, so I thought this would be perfect!!

I tied the ribbon on my 4x4 card front with the bow on the side.


I inked the bird cage image with Vintage Photo and adhered it on top of the ribbon.


What a lovely card!


I inked and adhered the bird cage image to a 3 x 5 inch piece of pink cardstock.  I tied the ribbon around the pink cardstock.

I mounted the pink cardstock onto a bright blue cardstock sized to 3 1/16 x 5 1/16 inches.  I find this tiny bit larger size works great as a cover for 3x5 blank notecard pages.

I used my Bind-it-All to punch and bind my notebook with 1/2" wires.

If you want to see how to bind these note pads, I have a tutorial HERE.


I love making note pads to give as gifts.  It is a fun way to keep a grocery list or document tidbits for scrapbook layouts!

I hope Jenny likes my gift to her.  I love how bright it is ~ especially in the cold and snowy winter here!!!

October 14, 2011

Fall Card

Thank you for joining me on Sassy Lady's blog for this beautiful fall day! 

The season is gorgeous  in my state! The leaves are turning deep rich colors, air is crisp and fresh...a far cry from the 100 + days of a few short weeks ago! It is fun to be outside and I am really easing my way into fall!
Easing into fall

4.25 x 11" brown card base, folded in half
Paper Doll Dress Up Cartridge (for leaves)
Imagine built-in shapes
Imagine More Cartridge or fall colored paper.
Gold Stickles
Sewing machine with varigated thread.
Imaginisce I-top
Imaginisce I-top punch 16 mm with 3 brads.
Gold ribbon
Gold pen to write block letters
Brown fine pen

1. Print and Cut 7 leaves from Paper Doll Dress Up Cartridge. Size 1-2". Use assorted colors from Imagine More Cartridge. OR use fall print papers.
2. Cut mats from Imagine built in shapes. Real size 3 3/4 and 3 1/2". 
3. Punch 3 shapes to cover brads from tan paper. Cover with I-top tool. Draw cross hatch lines on top to mimic acorn hats. Punch 3 small holes through mats in lower left area of smaller mat. Insert brads through holes and fix.
4. Soften leaves by rolling over fingers. 
5. Wrap ribbon around card front. Secure on front with tape (will be hidden by mats). Stitch around edge of card front, through ribbon approximately 1/4" from edge. 
6. Glue mats to front. 
7. Arrange leaves around brads, as if cascading. 
8. Add large block letters, "FALL". Accent with stickles.
9. Accent leaf veins with Stickles and add dots around edge of stitching. 

I hope that you, too, can ease into fall! Until next time....

October 11, 2011

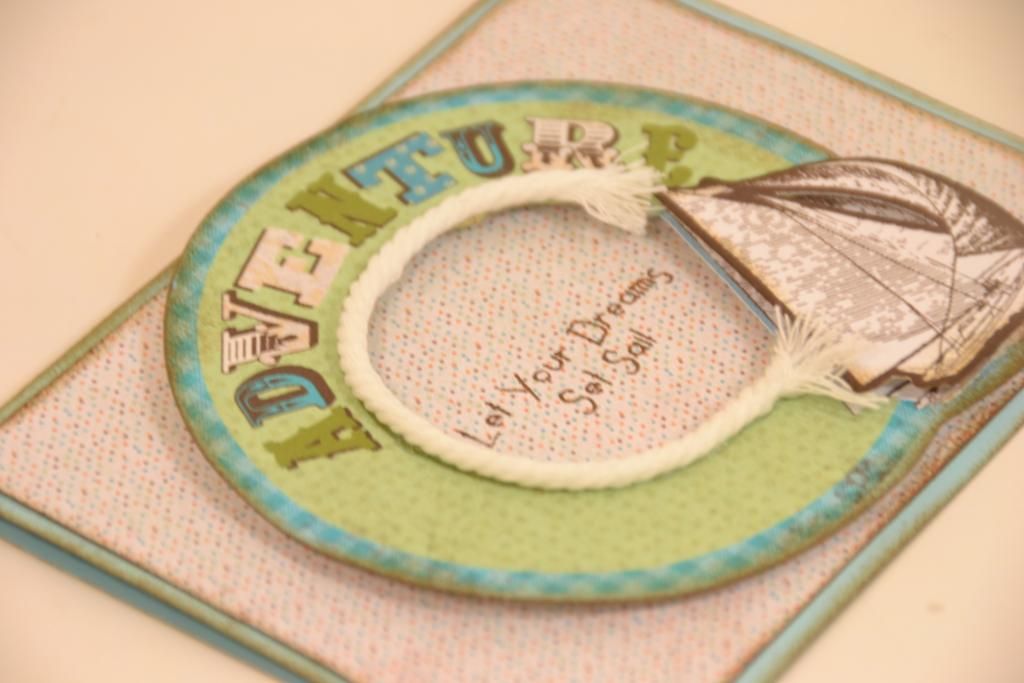
Let Your Dreams Set Sail


Hi Sassy Ladies and Gents! This is Elizabeth from 217 Creations. Whenever I feel overwhelmed by a project, I take a break and make a quick card.  Finishing the card makes me feel accomplished plus it adds to my stash for when I need a card. 
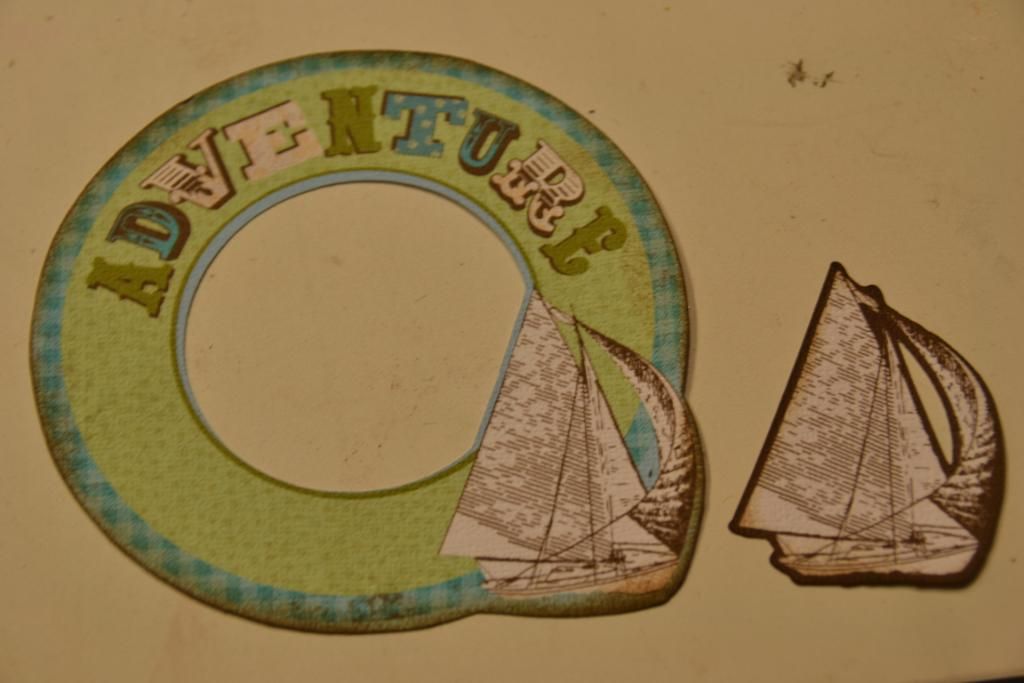
I started by cutting the Sail boat and base layer at 4 inches from Imagine More.  I inked the edges with Scattered Twigs, a new seasonal Distress Ink color.
Next I used hot glue to adhere this nautical looking ribbon I had.  I frayed the edges to give more dimension. I then used pop dots to raise my image layer up.  In order to keep my Imagine cuts form looking flat, I frequently use pop dots and vary the layers heights.
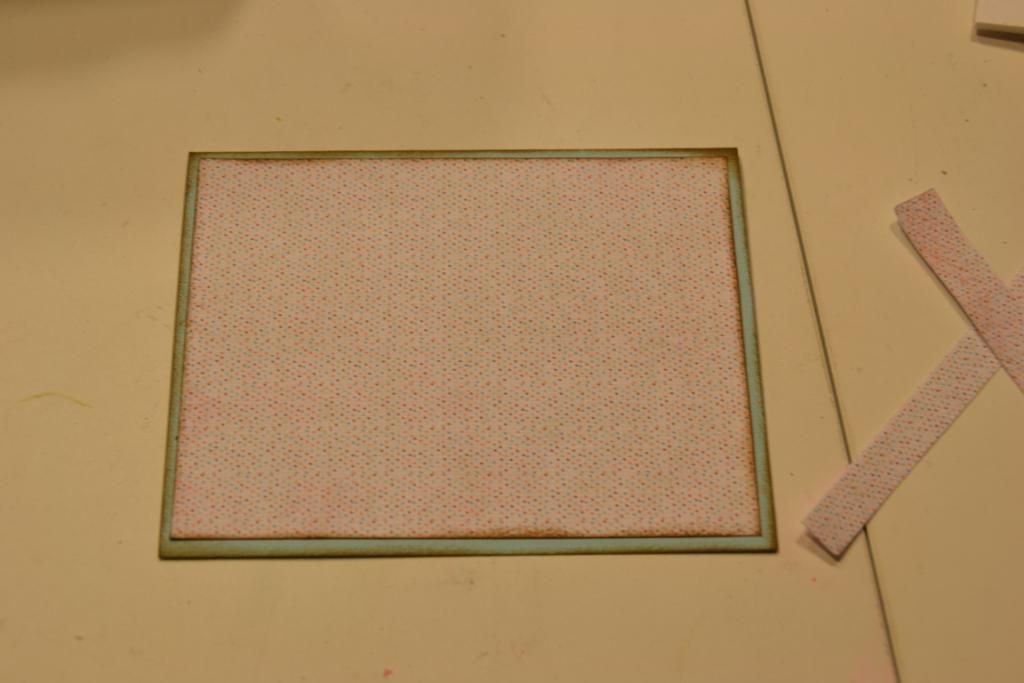
Next I cut my background paper.  I started my cutting a cardstock base to an A2.  I then printed from the Imagine this speckled background paper.  In order to not waste ink, time or paper, I always use the the Imagine built in rectangles 8.5 by 11.  I adjust the size to 4.5 inches. Once the image is cut, I trim to fit my mat on an A2. In this case I trimmed the paper to 4.0 by 5.25 inches. I end up with very little waste and no commitment to use this paper again like I would have if I had printed a whole sheet.
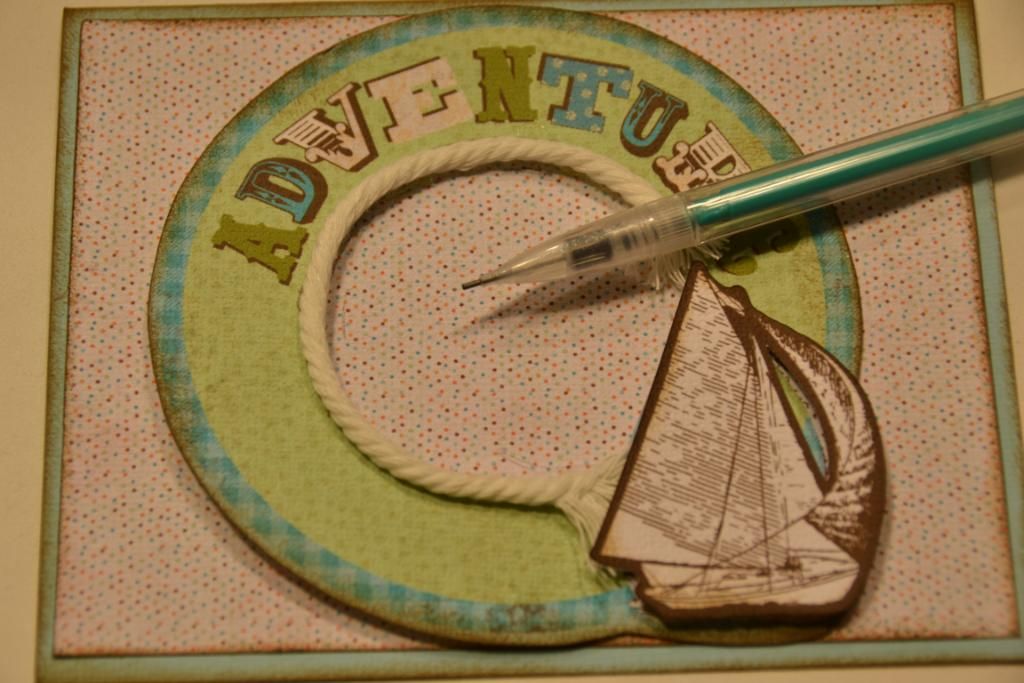
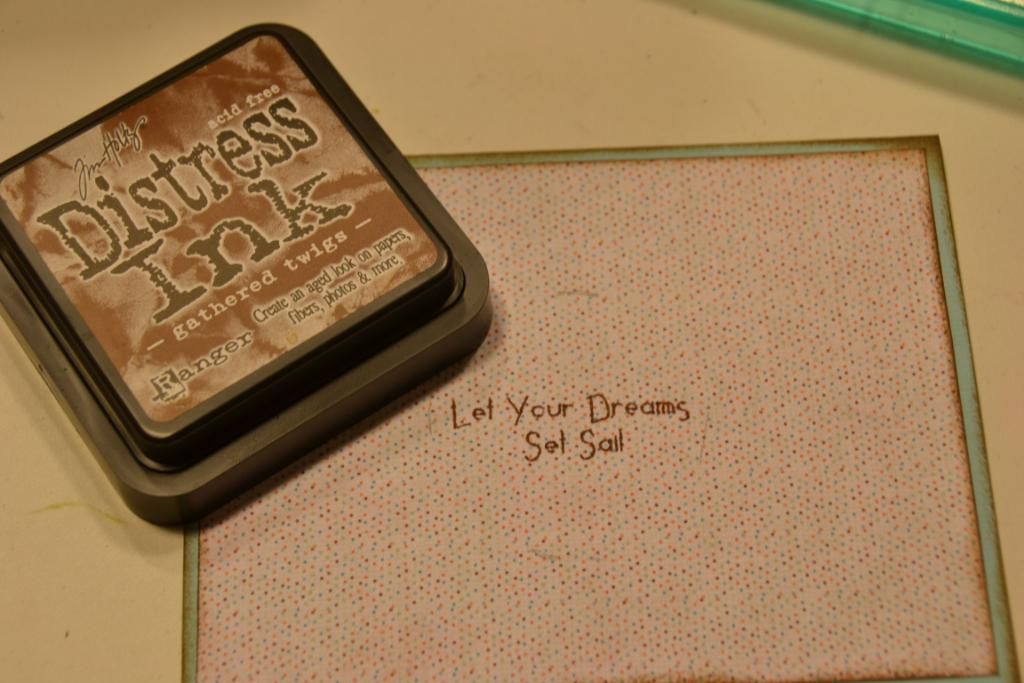
Next using a very light pencil mark I laid my image onto my card base.  I gently marked the inside border of the image.
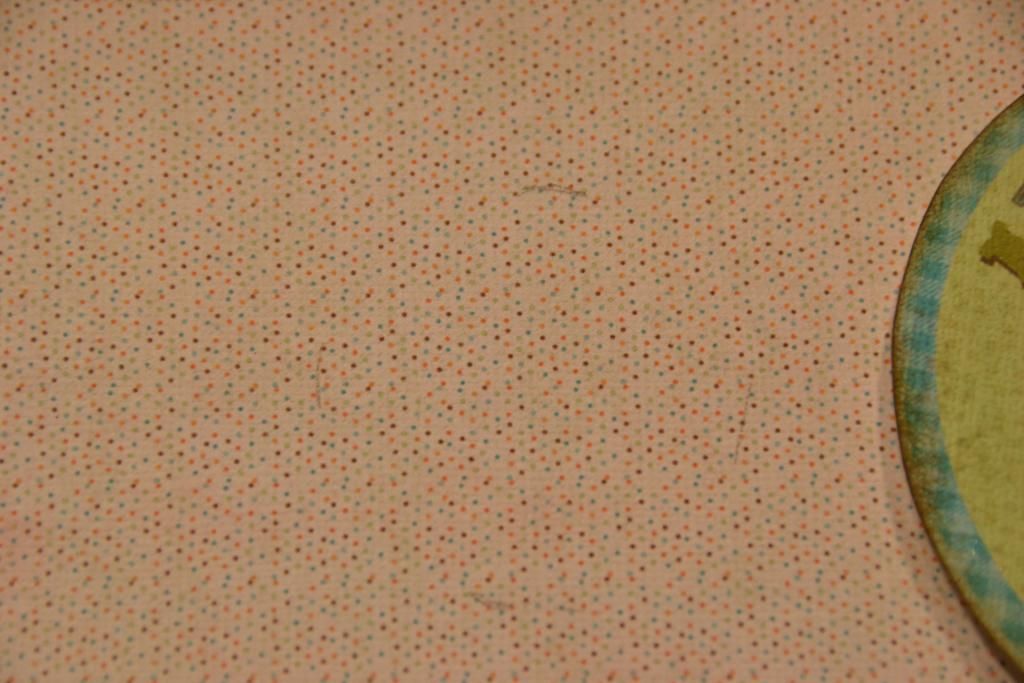
If you look closely, you may be able to see the marks.  This tells me where to line up my stamp so the sentiment with me perfectly lined up.
Then using the Scattered Twigs inks, I stamped this sentiment form Pink By Design Ticket to Ride.
Finally, I erased my marks and using pop dots, I added the image to the card base.
I hope you like the inspiration for the card I hope you find my tips helpful! Have a creative day!

217Creations

August 3, 2011

A Helping Hand


Hi scrappers, this is Kate from Sassy and Scrappy! Today's post is not your usual craft project, it's actually a call for prayers and support. On Saturday the 23 of July, a close friend of mine found out her children's home was on fire. Her twin daughters and their families all live together on Bainbridge Island, WA where their significant others are Coast Guards. In a freak accident their home was gone, they lost everything. Thankfully everyone was able to get out of the house. Praise God.

As you can imagine the loss and fear of what could have happened is overwhelming. Trying to start over and build your life from scratch with 2 small children is difficult, to say the least. So I would like to ask all of you amazing and supportive crafty friends if you could send a card of encouragement. Something that may help lift their spirits as they make their way through this difficult transition.

As a friend of their mother I just felt at such a loss. I was out of town when the fire happened and couldn't be as supportive as I would have liked. But I did decide to make some thank you cards for them to send out to those who have donated clothing, kitchen supplies, toys, etc for their family. I used my Imagine to quickly create multiple cards.


It was so easy to print out multiple sentiments and background paper for my cards. One thing the Imagine has, can't recall if the E2 does as well, is an 'art quantity' button on the print screen. I simply told it how many of each sentiment I wanted, loaded white paper and off it went.


If you'd like to help out in any way here is the information:
Sutton/Durrant Families
Fort Street Fire Donations
321 High School Road NE
Suite D3 #232
Bainbridge Island, WA 98110

For more information and pictures please head to my friend's blog The Paper Midwife

Details:
  • Imagine More Cards Cricut Cartridge
  • Bazzil Smooth White Cardstock
  • Solid Cardstock, Buttons, Twine, Ink-Papertrey Ink
  • Stamped Sentiment-Penny Black "Mimi and Miles"
  • Sewing Machine
  • White Sakura Gelly Roll Pen
  • Ribbon-Kimberly at My Craft Spot
Thank you for stopping by today. Any help, a prayer or positive thought will go a long way! I appreciate all of you.