Showing posts with label CCR Files. Show all posts

February 25, 2014

Gypsy Made Simple - Spinner Birthday Card - Free Gypsy & CCR Files


I sure hope you are having a GREAT day! Today I am sharing one of my favorite cards... the Spinner Card. I thank Melissa at Melissa Made for she helped me along the way when I made my first Spinner Card. Melissa  gave me the dimensions of the slider and my Gypsy Woman did the rest! It was so much fun to make... Now I just use the same base and change up the little critter that moves along the slider. And they all look great!


This video is long but it goes all the way from choosing papers, to designing your card. Just click HERE for the Gypsy file, and click HERE for the CCR file. But remember you will need to watch the video to know exactly how to put it together. I cut my own 5x7 solid, 2 4.75x6.75 print, and 1 4.25x625 solid for the sentiment area.  I did not use the cuts on the file for them as I could move faster and have less waste. Carts used: George, Celebrations, Cricut Sampler, Sentimentals, and ZooBalloo.


This video shows you step by step instructions of how to put your card together... It is just so adorable when completed, you will love it!


This is the little bee and I made him from either Doodle Charms or Walk In The Garden. It became special just by adding a lot of chunky glitter. This is called Sprinkles and it is from Stamps Of Life, however it is very similar to the Martha Stewart chunky glitter. Isn't he just too handsome?


Here is how the front of the card looks. Notice how I stamped the slider giving it a look of a bee in flight. How fun is that? My stamp is from Stamps Of Life.


Here is the inside of the card.... I just love how festive it looks, don't you?


I hope you like today's little project and give it a try yourself. If you would like me to share your card on She's A Sassy Lady just mail it to: Sheila McShea, 3005 Stonecreek Trace, Helena AL 35080 as I would love to share it.
Thanks for joining us today and thanks for your sweet sweet words. Your comments inspire me to continue sharing with you! Have a blessed week.

May 18, 2013

Thank You Cards Designed On CCR Complete With File

 
Good Morning! It has been a while since I have been on and I have missed sharing with you. This week I am sharing a card that I made on the Cricut Craft Room... CCR. I actually had a little free time at work and designed this card at work. As I am still learning CCR I did find it harder to make than with my Gypsy. This is similar to a card I shared with you many time from my Gypsy and I found it harder to maneuver on CCR. But it worked and the card turned out great... I am sure it is a matter of just learning and playing with it more to hon in my skills.
 

This is what the first page looks like. As you can see I used a frame  and just hid the inside for the back of the card.


This is page 2. Remember you must have a duplicate frame for the top of the card if you are inserting plastic on the top of the card and this gives a nice finish to it. I have been using white as the base and then covering the top with colored paper and it helps keep the cost of paper to a minimum.

 
This is the third page and it is the inside of the card where you put the sentiments. I usually use some of my scrap paper for this as I have a ton of scrap paper in all different sizes.


Now wasn't that easy.... I know I got a little chatty but it has been so long since I have shared with you!  This card was really easy to put together
 

This is a close up of the front of the card... I embossed the plastic with the Divine Swirls folder and it just added so much shine to the card.... and you have to love that glitter!

 
Another close up of the card... I love it. And, you can see the writing on the inside but because of the embossing you can't read what it says.... just kind of makes you want to open it just to see that it says!

 
And of course the card isn't finished until I stamp the back! Love my little Sassy Lady Stamp!
 
 
Thank you for joining me today. Click HERE if you would like a CCR file of this card. And let's see what you put together.... if you would like to share your card with the followers of She's A Sassy Lady just mail your card to: Sheila McShea,
3005 Stonecreek Trace, Helena, AL 35080. Cards will not be returned.
Thanks again for joining us today and for your sweet sweet words of encouragement. Your comments inspire me to continue sharing with you.

January 9, 2013

Hugs & Kisses

Hi Crafty Friends :)
Today I get to share my project with you here and at Adele's Creations

I decided to male a Valentine Card, my oldest Grandaughter asked for one, so here is what I came up with


I started with an oblong from CCR basic shapes sized at 9.264W x 4.625H
I added a rounded corner square to the inside right of the oblong sized at 3.889W
This created my aperture card base.

I then added a heart shape from the Created With Flourish cartridge sized at 4 .014W x 3.819H
This formed the base of my card


The top layered heart was proportionate to the base heart and the Happy Valentine's Day was from the  Phrases cart sized at 3.806W x 1.849H with proportionate layer

Here is the inside with a few rhinestones for embellishment (from my Secret Santa Sheila :))


The stamp I used for the Hugs & Kisses is from CTMH Artiste Word bubbles, using Barn Door distress ink
If you would like the file for this card you can get it from the links below

CCR link HERE 
Gypsy link HERE 
(You may need to change CCR basic to George or similar in the Gypsy file??)


Thank you Sheila for letting me share on your Blog, I look forward to next month :)

Happy Crafting everyone

Hugs

Adele

September 12, 2012

Easel Framed Card

Hi Crafters :)

Today I'm sharing my post here at Sheila's blog and at my blog

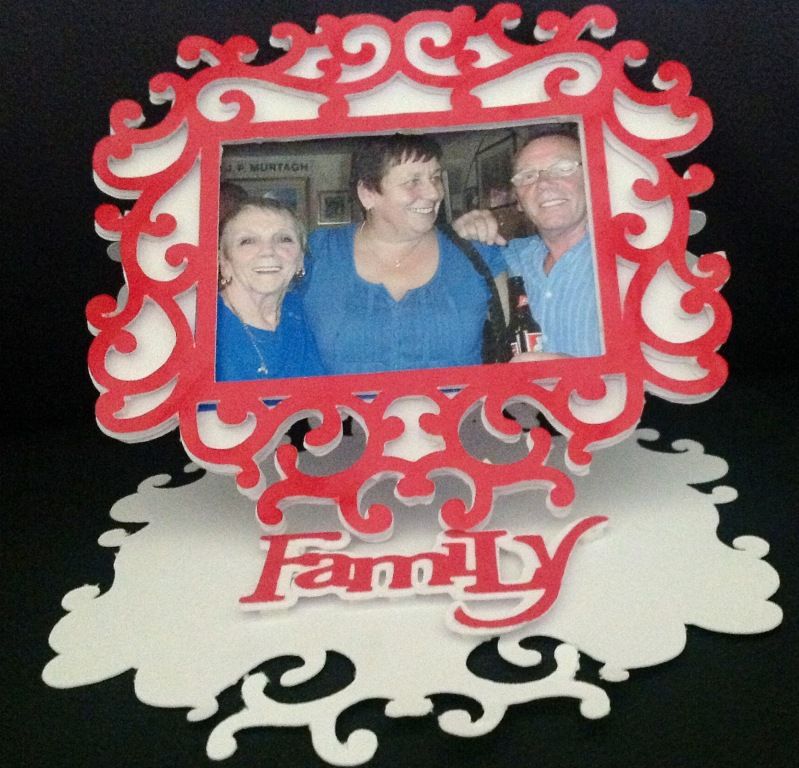
I just recently had a Family reunion in Brighton, my eldest brother came down from Scotland to join us, we had a blast as we hadn't seen him for years, so I wanted to make a special card for my Mum, it's an easel framed card I designed using Fancy Frames as my base, with the phrase from Gypsy Wanderings.


This card measures 5" x 5.5" , it holds a 3.5" x 2.5" sized photo.

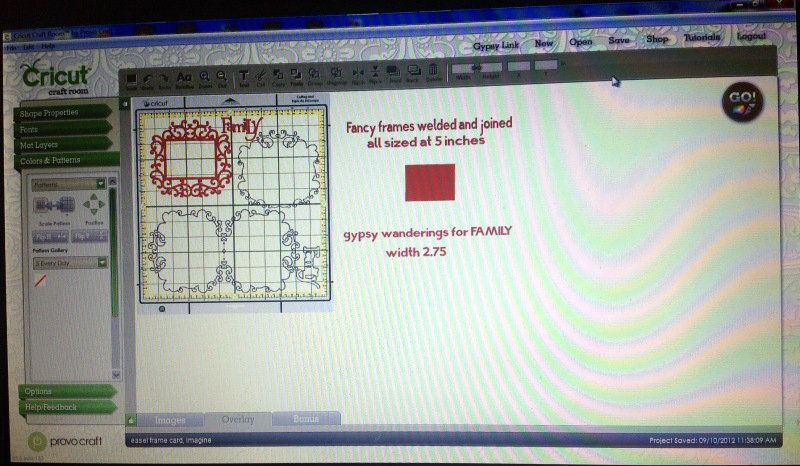
All the frame cuts were set at 5", 2 shadow cuts were flipped and welded together to form the base.
The "Family" phrase was cut at 2.75" wide, from GW

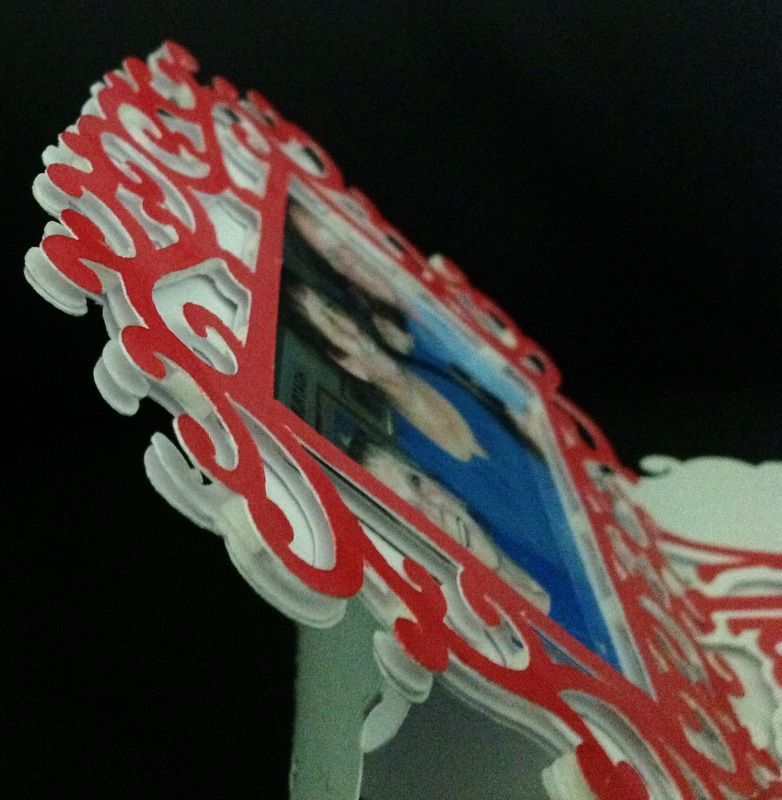
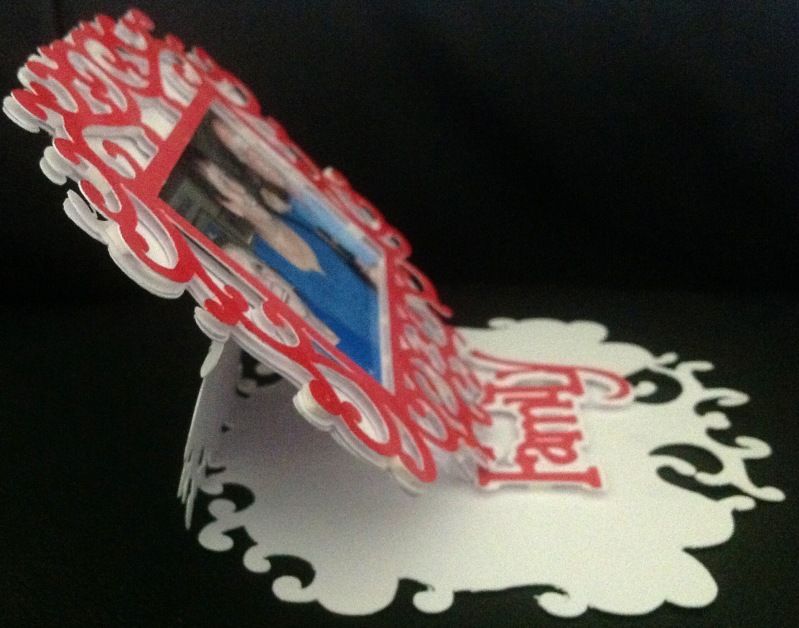
I used foam pads (pop dots) to adhere the frames together, then adhere my picture to the back of the opening, next I adhered the assembled frame and picture to my shadow frame, then glued the bottom half of the shadow cut to the folded card frame.


I also used foam pads on the phrase to give the dimension needed to be used as a stopper when the card was erect.


My Mum will love this card with her, my eldest brother and his wife :)

Because of my poorly eyesight right now, I used CCR to design in, though I have made the file available in the Gypsy format too, for those that want it, the files are below

Gypsy file can be downloaded HERE   (Expression mats used)

CCR file can be downloaded HERE  (Imagine mats used)

Thanks for popping by today and thanks Sheila for allowing me to share my DT project with you all :)

Happy Crafting

Hugs

Adele

August 8, 2012

50th Birthday Card

Hi crafty friends:)
Adele Here to share my DT project with you all!

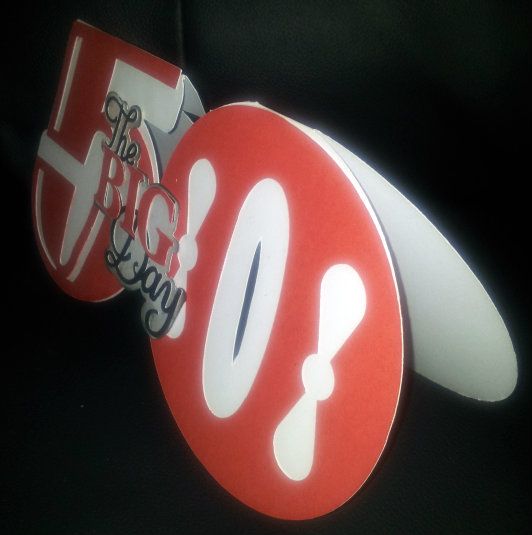
Today I made a 50th Birthday card for my Brother-in-law
He is a massive Liverpool fan, so the colour choice was easy :)


I used Out of Character for the "5" & the "O" and used Phrases for the "The Big Day"

The "50" card base was made using the shadow feature of the numbers, sized at 5", welded and flipped


This is a large card measuring 10.5" x 5", 
large cards are very popular at the moment :)

After folding my base card, I attached the "5" & "0" on the front, then layered the phrase and pop dotted it on the front, easy as that, quick but effective :)

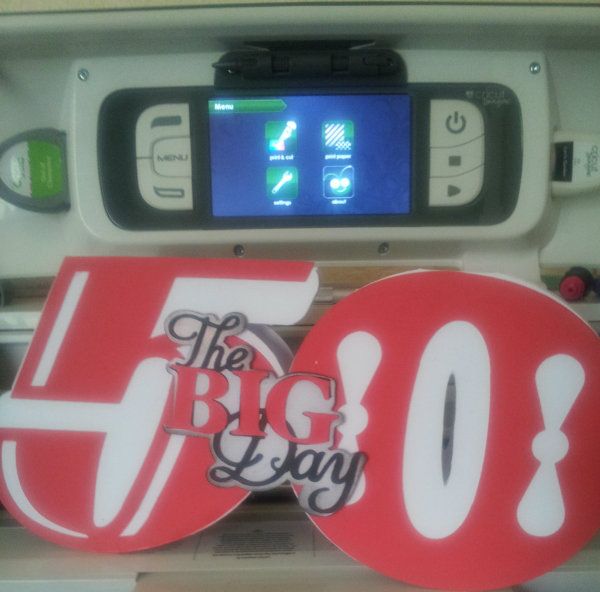
The picture below gives a perspective of the size in relation to the Imagine screen


If you would like the Gypsy file for this card, you can get it HERE
If you would like the CCR file, you can get it HERE

Thank you Sheila for having me again this month, I really enjoy being part of this wonderful DT :)

Happy Crafting

Hugs

Adele

April 15, 2012

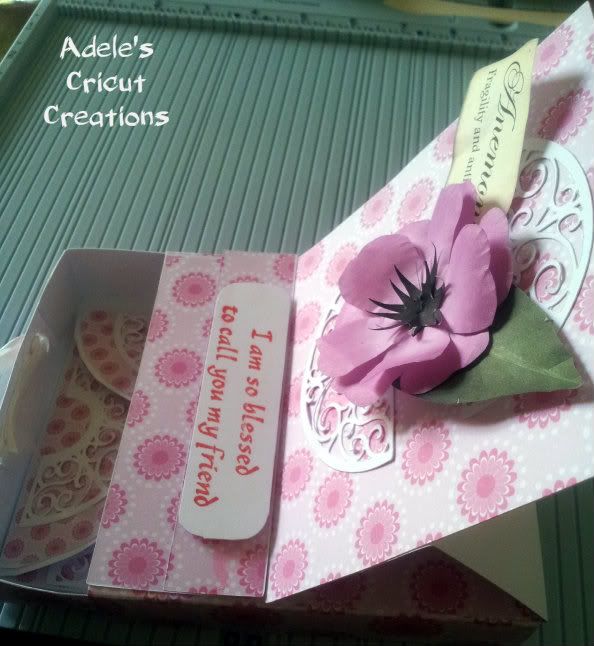
Easel Drawer Box & Card


Hi Crafty Friends, Adele here
Today is my turn to guest design here at She's A Sassy Lady
Thanks Sheila :)

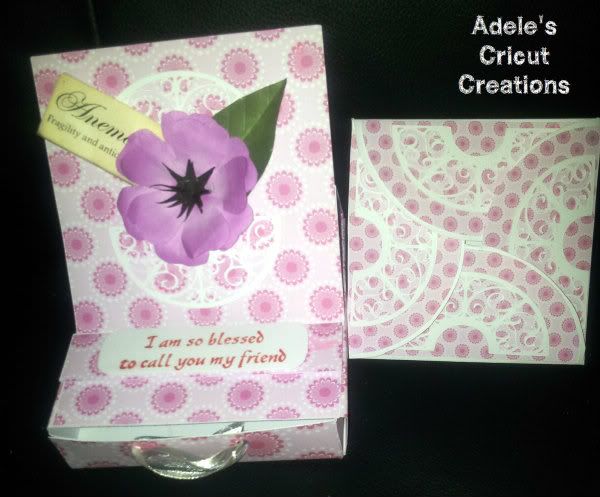
Today's project is an Easel Drawer Box, I made this design in CCR & on the Gypsy so for anyone that would like these files, I shall put them at the end of this post.
So, here is the Easel Drawer Box


This includes a 4x4 square folded card to fit inside the drawer.
You will need the following card stock

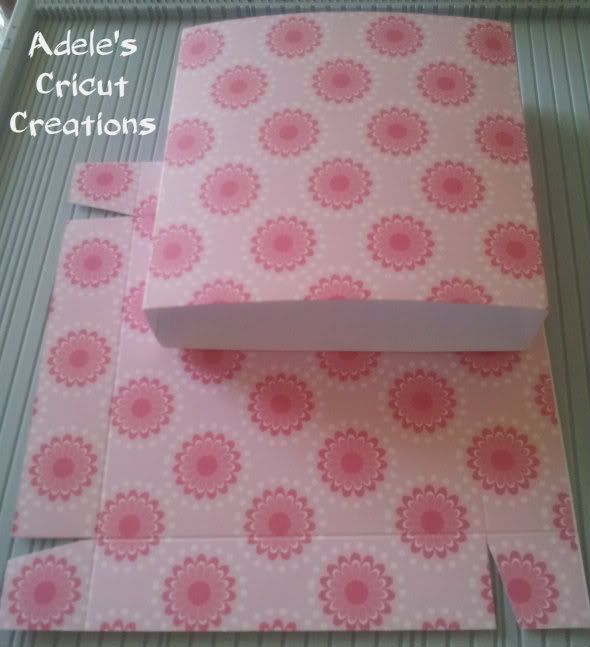
Drawer Box
6.5" x 6.5"  for the drawer
4.5" x 12"  for the wrap of the drawer

Score the drawer 6.5" square card at 1" around all 4 sides, 
cut a small triangle into 4 edges to form the tabs, glue together.

Score the wrap 12" at the top, at the following marks on a score board
1.1/8", 5.5/8", 6.3/4", 11.2/8" 

(If using a Crafters Companion Ultimate, then use the "box base" side to score the following)

Score at 1", fold then push this fold to the right edge and score again at 4.5", fold and push this fold to the right edge and score again at 1", fold push to right edge and score at 4.5", fold, push to right edge and score at 1"
This forms the wrap for around your drawer base


Now on to the Easel Card, for this card you will need the following card stock


Easel Card

4.5" x 9" for the card, score at 2.25" & 4.5"
4.5" x4.5" for the front panel
4.5" x 1" for the stopper bar.

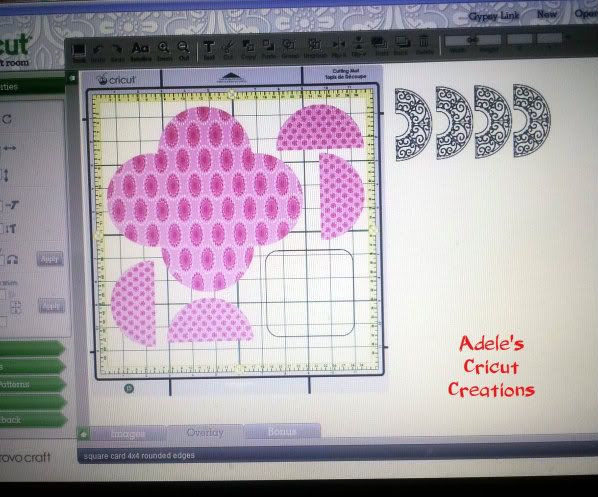
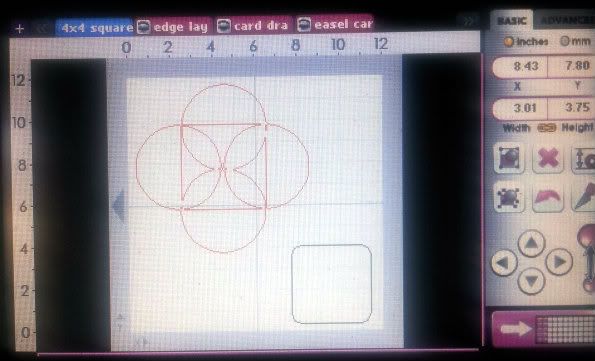
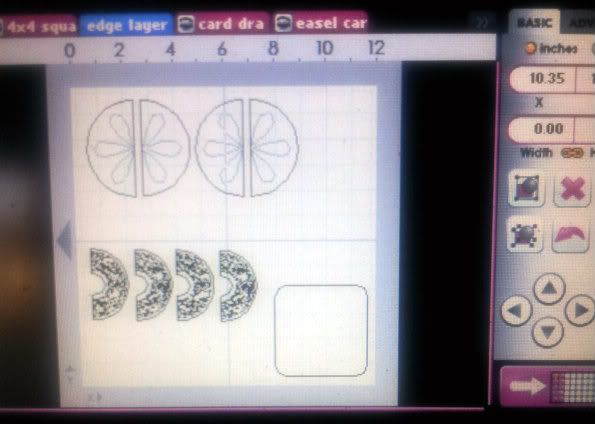
I used Gypsy Wanderings, Ornamental Iron, George & All wrapped up for decoration and the semi circle panel pieces ( using the hide contour feature on Gypsy wanderings grapefruit)


Here is the Gypsy view


This is how the 4" x 4" card should look after adding the semi circle panels and the Ornamental Iron decorate pieces to the underside of the card.


And this is how it should look when folded


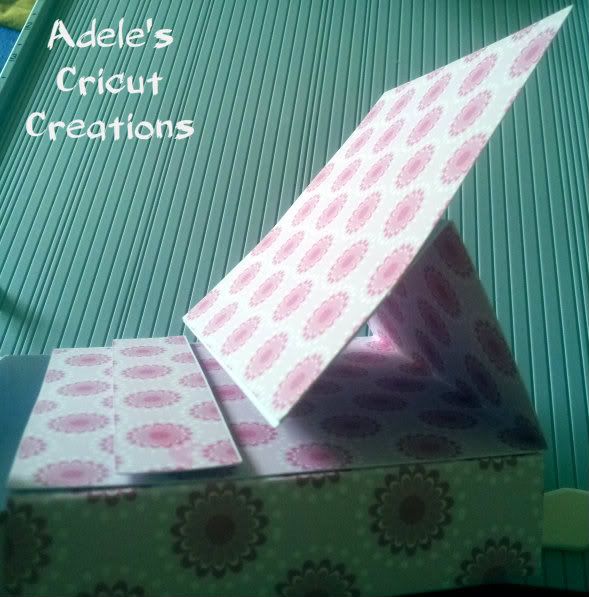
Now, on to assembling the Easel Card to the drawer box
 With the 4.5" x 9" card attach it to the top of the drawer wrap and fold the easel part so you can attach the front easel panel, add the stopper bar too, as shown below.


Now it's ready to decorate :)


I have made several of these in various sizes, they are so handy for so many occasions, here is a few I have made recently, using Heartfelt Creation die's as well as my cricut.


Sorry for such a long post but I thought the detail would help others recreate these.
Here are the links to my files


Thank you so much for having me again Sheila.

I hope you enjoyed this project, I certainly had fun creating them :)

Happy Crafting

Hugs