Showing posts with label Tags Bags Boxes and More. Show all posts

August 14, 2014

Birthday Memory File

Happy Thursday!  Java Jen here from JAVA JEN CREATIONS and it's my turn to be a guest designer here today! Today I want to share a memory file that I made for a friend's 16th birthday about a year ago. (Life has been a little busy and crazy so I pulled this one out of my archives to share today!) :-)  I love Heidi Swapp's memory files so I created one to help my friend remember her special day! Here is a picture of the completed file and then I'll go into more detail.


I started with a plain, standard size file folder.


Next, I covered it with paper and stamped the corners with some decorative stamps in my stash.


I then began making some elements and embellishments for the cover and inside. I used several Cricut cartridges, including Fabulous Finds, Graphically Speaking, Art Philosophy and Tags, Bags, Boxes and More. I stamped them with stamps I had.

Next, I made a mini book to go inside for putting pictures. I, again, used stamps from my stash to decorate the pages. You will notice that all the edges are inked. I like how that really completes the look. I just used some paper scraps to make page-turning tabs.

Now for the fun part of putting it all together! I forgot to mention that I used Kraft paper to line the inside of the folder. The pockets on the right side are from 7 Gypsies and the tags in those pockets are from My Mind's Eye. 


More close-ups:
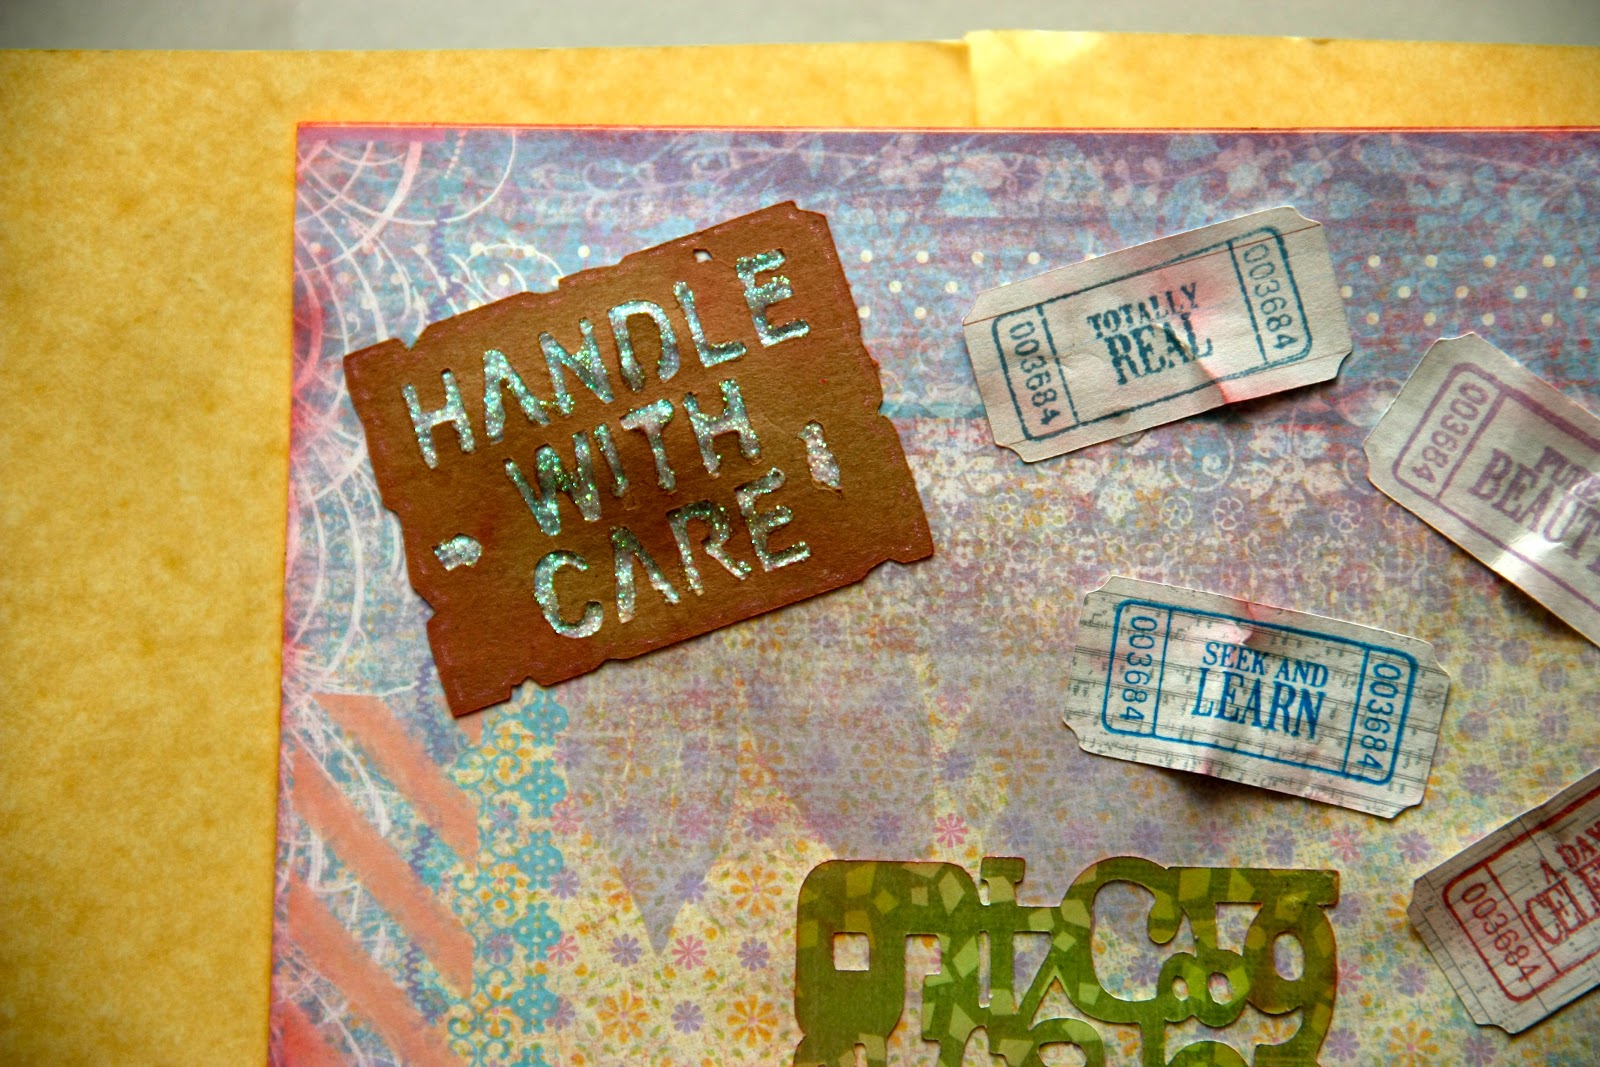
I used Liquid Glass from Close To My Heart to accent the letters.

I wrinkled up the tickets before adhering them to add some dimension.


Another look at the finished file:


Thanks for stopping by today! I hope this inspires you to make a Memory File of your own!


Java Jen


April 12, 2012

Pass the Caramel Popcorn!

Happy Thursday, everyone!! I hope that spring has sprung by now in your neck of the woods! It has actually been hot here! (85-90 degrees!) Anyway, thanks to Sheila for allowing me to share a special project with you all!

I have this amazing recipe for Caramel Corn that you make in the microwave! Yes, you read that right - in the microwave! So much easier and less time consuming than making it in the oven! Yay!! I'm sharing the recipe and the adorable popcorn box that I made to package some in to give away!

Here is the recipe - it is very important to adhere to the time instructions listed.
6 qt. popped corn (unsalted)
1/2 tsp. salt
1/2 tsp. baking soda
1/2 c. (1 stick) butter
1/4 c. light corn syrup
1 c. brown sugar
Pop popcorn and put in large microwavable bowl. Set aside. Melt butter in a large measuring pitcher. Add brown sugar, corn syrup and salt. Stir. Cook in microwave for 30 seconds. Take out and stir. Cook in microwave for 3 more minutes.  Stir. Add baking soda and stir well.  Pour this mixture over the popped corn and stir well but gently. (You probably won't get the popcorn all coated in this step. You will be stirring it again after the next one. )  Put the bowl in the microwave for 1 minute and 30 seconds. Take out and stir again, mixing well but again, gently. :-) Put back in microwave for 1 minute 20 seconds.  Take out and stir.  Spread out on a large surface, like a cookie sheet, to allow it to cool.  As it cools, gently break the pieces apart until completely cooled.  Enjoy!!
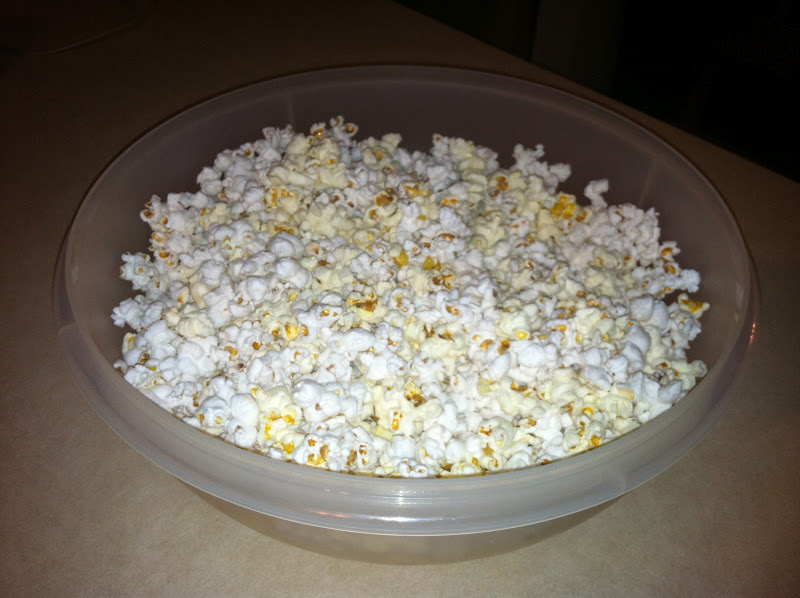
Here is my freshly popped corn.

This is how it looks just after pouring the syrupy goodness over the popcorn!

This is after the first stir. You can see how some of the popcorn isn't coated yet. 

Final product! Just look at all the caramely, buttery goodness! Trust me, it tastes absolutely wonderful!!
Now onto the paper project!

I cut the popcorn box from the Tags, Bags, Boxes and More cartridge at 7.82" H.  I forgot to take a pic of this cut on my Gypsy, but I rotated it so that I could make it that big on a 12x12 mat. 
Here it is cut out, scored and ready to assemble.

All put together ready to embellish!

Cut a 12" piece of lace ribbon and adhere all the way around the middle. I used my ATG gun with great success! 
Cut another piece of coordinating ribbon - (sorry, forgot to measure this one), to adhere and tie over the lace ribbon.
I cut this tag from the CTMH Art Philosophy Cricut cartridge at 2" and stamped it with the coordinating stamp! (This cartridge is simply fantastic for adding so much dimension to your projects!) 

I added some crinkle ribbon in the pre-cut slots to make a handle and tied the tag through one end.

View of the inside.

Here is my completely finished project! This is the perfect container to present someone with such a yummy treat!

Thanks so much for stopping by today! I encourage you to make this special treat and share it with a special someone to make their day! 

February 7, 2012

Valentine Scrapbook Page Using CCR

I am so excited to be with you here today both at The Bug Bytes and She's A Sassy Lady sharing my first CCR layout with you. I know to all you CCR (Cricut Craft Room) users you probably think that is silly but you need to know I am an avid Gypsy user. But I have a two fold reason to learn this first to be able to share with you and secondly (shhh) to be able to work at work! First let me thank my friend Pam for having me on The Bug Bytes as it is always an honor to be hear sharing my humble work with you all.


Now wasn't that easy... I love layouts that come together this fast and look nice too, don't you?

This is a photo of what my craft room screen looks like. As you can see it is a very simple layout and it is done with the FREE carts that are already loaded on the program.  Click HERE if you would like a copy of this file.


This is a good example of how to work the craft room. It is very easy but does take a while to learn. I had a hard time with my camera and will need to figure out how to position it for future attempts to video. I hope it helps you learn.

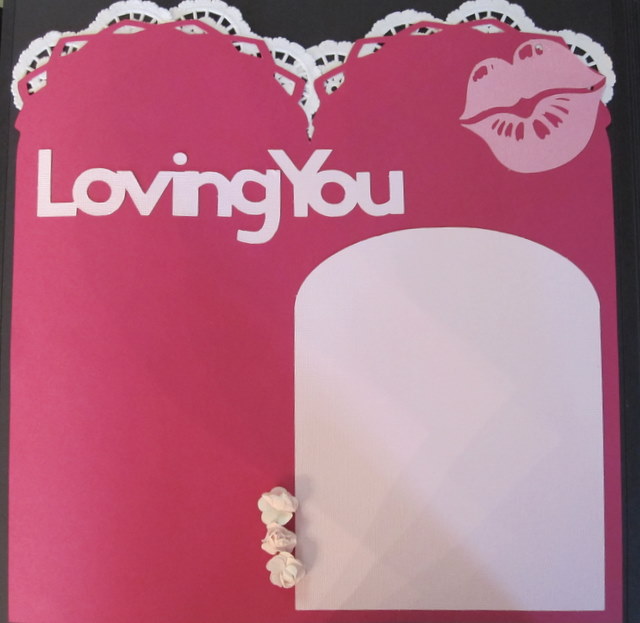
Here is a closeup of my page and as you can see it is very simple, which is perfect for the black pages on this album.

I also added a light coat of stickles on the lips to make them shimmer even through the page protectors. I hope you like my project today and it give you the desire to work the Cricut Craft Room too. It is an easy program but like all new things it takes a little time to learn. I am please with my first page and will keep using CCR in the future at work. But I will not give up my Gypsy Woman!
Thank you for your sweet sweet words of encouragement. Your comments continue to inspire me to share with you. Have a blessed day!

September 22, 2011

10 Things I Love About You Card...

Hey Ya'll,
Sassy Dude Day for me.  I have a very special card to share with you today.  I made this up for Jill.  I thought it up back when I first saw the images of the bookmarks on the Sophie Cartridge.  There is also a great scrapbook layout like this in the CTMH idea book that helped me finish up the thought.
 I printed the patterned papers for this card from Cricut Imagine Elise Cartridge.  I only used three traditional Cricut cartridges for this card... Shocker, right?!?  They are...
 You can download the Gypsy file HERE
 I used the book marks for the little tabs.  I simply contoured out the tab cuts in the center.  This way, I could write on them.  I put together all of the layers as shown above.
 I loved this birdcage image.  I cut two of each birdcage and birds.  I wanted plenty of layers.  I also added the flowers and leaves on this screen.
 I ended up cutting this entire shape out from TBBandM, but I used my straight cutter to slice off the highlighted part.  I only needed the pocket.  After everything is was cut, I inked it all with a rust colored ink.  It worked really well with the printed papers.
 This is what the tabs look like when all of the layers are together.  I used glossy accents on the numbers and it really makes them much richer than without.  When these are dry, you can start writing your special notes on each one.
 I folded and added ribbon and lace to the front of the pocket and then folded the edges under before attaching it to the card.  I then added it to the card and added my other cuts.  I also used glossy accents on the bird cage.  I added glitter to the bird and some gems here and there.  I used lime green stickles on the center of the flowers as well.
I found a font that I liked and printed out the "10 things I love about you!" strip on the computer.  I then used regular old fashioned scissors and hand cut out the banner shape.  Hee! Hee!  I almost forgot how to use scissors.  Hee! Hee!  I used 3D adhesive on the banner like the other pieces, but I used a little wet glue in between to give it a wave across the bottom of the card.  I then coated every bit of it with stickles (crystal).  Once that was completely dry, I coaded every bit of it with gloss accents.  It really brought out the font that way.
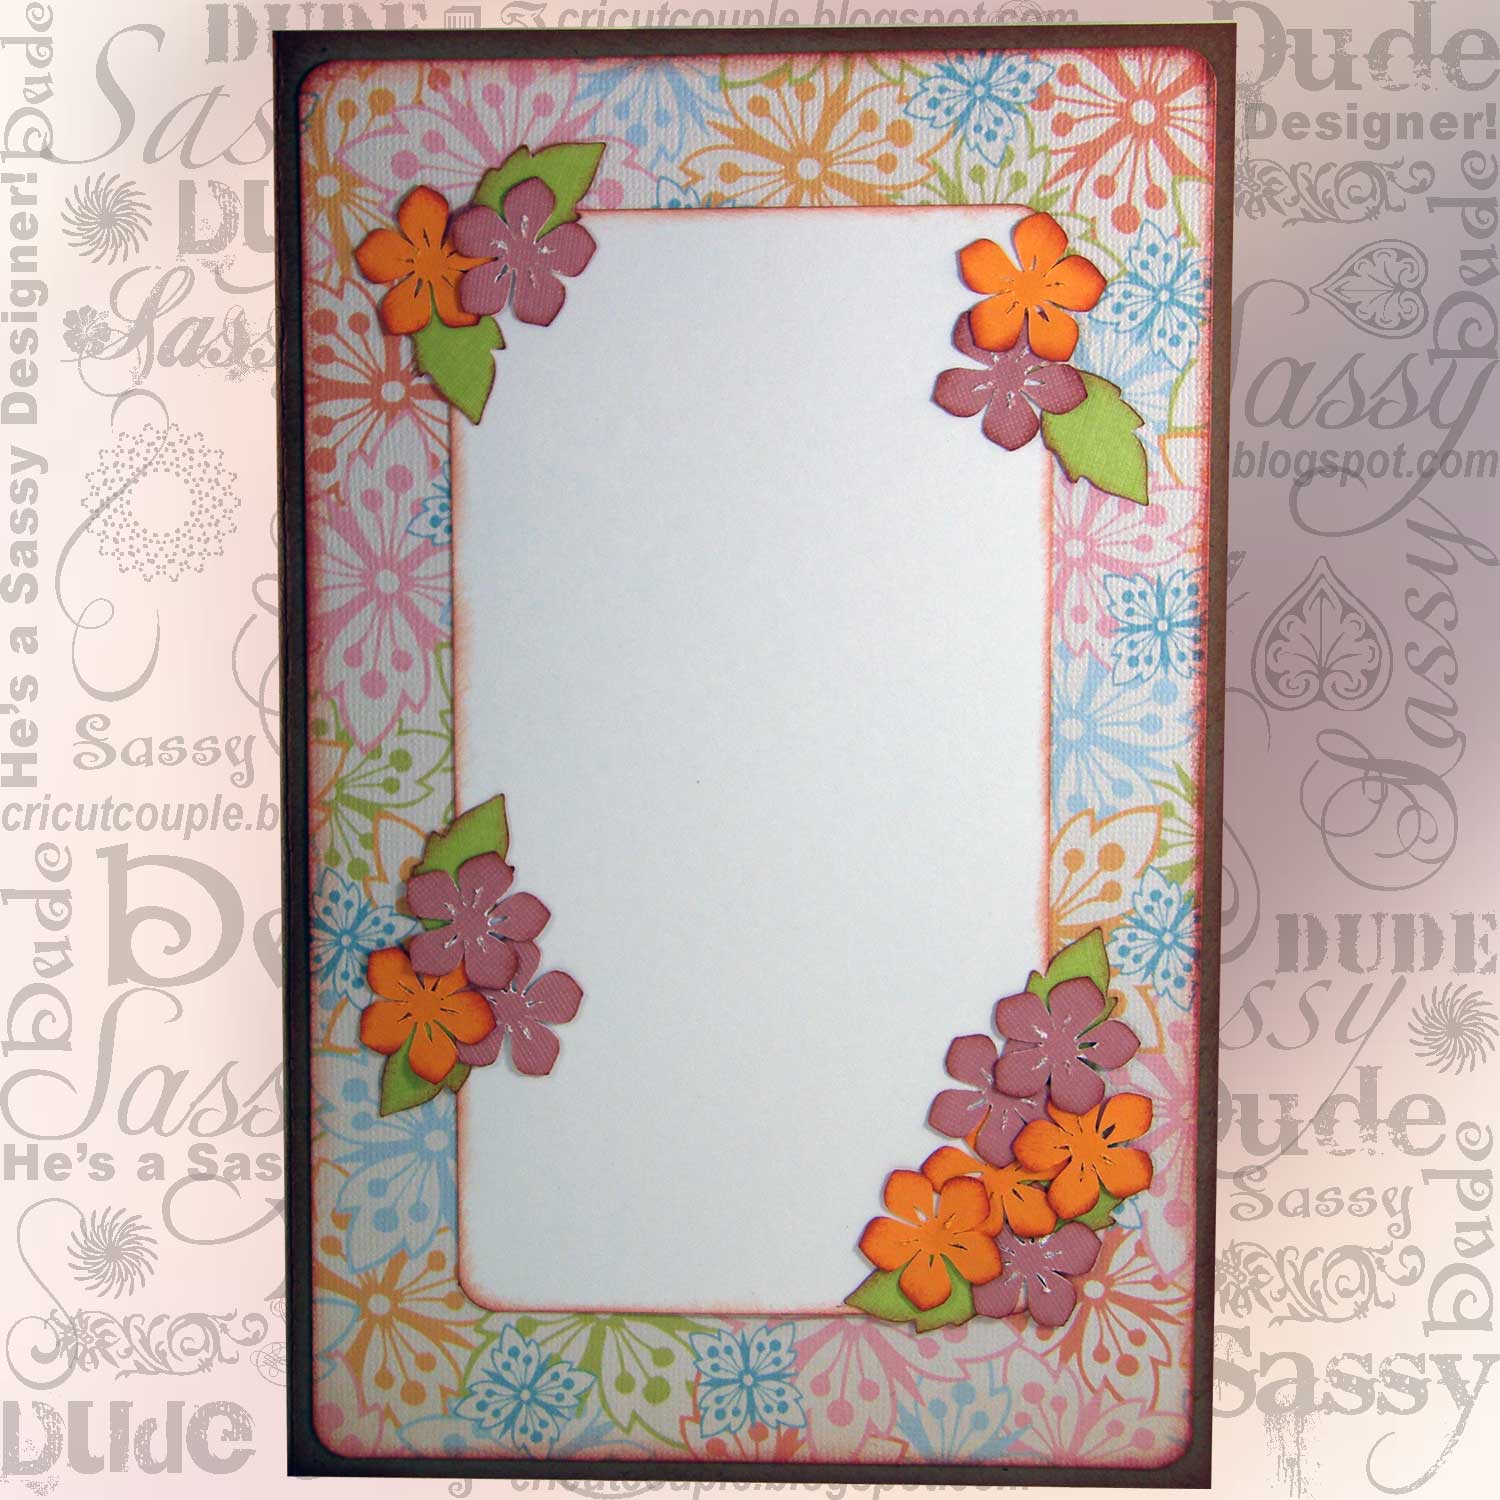
 For the inside, I added more flowers and leaves. and a sentiment mat.  I did use every flower cut from this setup on the gypsy, but you wouldn't have to use that many if you don't want to.
Once it's all dry and done, simply write out your ten things and place them in the pocket. It's that simple!
Jill loved her card and I was so happy with the end result.  Don't you just love it when a thought in your brain comes out almost exactly like you pictured it?!?  YAY!  We would love to know what you think of it too.

Sheila has offered to let me design again for you on the 29th, so to celebrate, I am having a little giveaway over on my blog at Cricut Couple.  Come on by and leave us a comment! I will be announcing the winner on the 29th, when I share my extra project for this month!

Thanks so much Sheila, for letting me play!  This is so much fun and thanks to everyone for visiting today and telling us what you think!  We all love your comments!

September 8, 2011

Accordion Scrapbook

Happy Thursday, everyone!! Java Jen here from Java Jen Creations to share a really fun project with you today!! Thanks, Sheila for giving me this opportunity every month!!

I had planned on making a video to show exactly how to assemble this fun album but I just couldn't get it done in time so I took plenty of pictures! I hope you all can understand how to put it all together from my pictures - it's kinda hard to show in pictures.

Here is the finished project, all tied up!

Now to break it down, step by step. Here are some of the supplies I used for this album:
I just love The Thrift Shop collection kit from October Afternoon! It has so many coordinating papers, stickers and journaling tags that have a vintage feel to them!
You need:
3 pieces of 8x8 kraft paper
    2 pieces of poster board or thin chipboard cut to a 4.5" square
2 pieces of printed paper cut to a 6" square
This pic only shows 2 pieces of kraft paper but you need three.

Score the kraft paper at 4" and then rotate and score again at 4". Line up your square so that you can make a score line from corner to corner. Do this with all 3 pieces. It is hard to see the score lines here but hopefully my directions will help you understand this step.


Cut pockets for the journaling tags in this kit from Tags, Bags, Boxes and More at 7.94"H. Use the blackout feature so there are no holes in the pocket. Cut six of these pockets.  I decorated them with some card stock stickers in the kit and some various stamps that I had.

Now to put the printed paper on the chipboard. Lay the chipboard square in the middle of the 6" square of printed paper and adhere down.

Fold the edges in and seal with a strong adhesive. Do this with both chipboard squares.

Take one of the pre-folded kraft papers and adhere it to one of the covered chipboard pieces.


Now adhere the other 2 kraft papers to this section by gluing the center solid sections.
This next picture shows all three kraft panels connected to both covered chipboard pieces.

Hopefully from the above pic you can see how to fold this album to close it. The two ends get folded up, while the center section gets folded down.  (This is where a video would really come in handy!)

Decorating this album was pretty easy with this kit! Just have fun with it by adding stickers and paper scraps wherever you think they would look good!


For the closure, adhere some ribbon on the back to wrap around the front. Adhere one of the pockets on the back over the ribbon.


Adhere the last pocket on the front and tie it up! These are the perfect album to make several of for gifts as you can pre-cut all the elements in different color palettes and assemble as needed.  

Thanks so much for stopping by today and please let me know if you have any questions about how this album goes together!  I tried to be as clear as I could! :-)