Showing posts with label Sympathy Card. Show all posts

January 4, 2016

A Quick Sympathy Card


Good morning. We had some bad news yesterday. My son-in-law lost his father after years of battling with cancer. And I am out of Sympathy cards. So I turned on my Explore which I haven't touched in 3 weeks do to out of town company and Christmas. First I went to design space and found a great little card that I figured would be a piece of cake. Below you will find a copy of the video I used to design with.


Now wasn't that easy? Remember if you get stuck along the way just go back and re-watch.


This video was a little more detailed. As you can see I ran into a little trouble with this card. First I chose the wrong paper as it was white core double sided from DCWV Linen Stack. Then I guess  I didn't have the scoring tool in properly as it hardly scored and I actually ripped the fold. Lastly I though I made the With Sympathy to large for the space so I didn't use it. This video will teach you areas I went wrong in and how to do it better.


Here is what the inside of the card looks like. I really think the stamped image looks better.


Well as I have always done I made 2 cards. After inking with the Juniper ink from Close To My Heart you can hardly tell where the problem is.
I hope you liked today's post, I enjoyed sharing with you. Thanks for your sweet-sweet words of encouragement. Your comments always inspire me to keep sharing with you.

October 18, 2014

Quick Sympathy Card On Cricut Explore Using Print Then Cut Feature


Hope you are all doing well today. Since we had another death in the family I thought I would share a Sympathy Card that I made using the print then cut feature. I want to tell you it is just fantastic for quick cards and I will definitely use it more often. Since making this I had to make another and I pulled the centers of the flowers out cut them separately and popped them up too. Don't you just love the detail of this card.


See how easy this card goes together. And what I love the most is I used left over paper pieces for the card.


This is how nice the card looks standing up.... I always check that out as I love to display the cards I get so I always make sure mine stand well before I send out.


This is a close up of the card. I just love how it turned out don't you? Thank you for joining me today, I sure hope you enjoyed this post. I am always encouraged by your sweet-sweet words. Thank you for your comments they continue to inspire me.

September 27, 2014

Sympathy Card


Welcome to She's A Sassy. Today we are featuring a Sympathy Card.  This card was cut with the Silhouette Portrait a week before hubby gave me my wonderful Cricut Explorer, he made me feel so special when he bought it for me.  The design # is 57435 for those of you that have the Silhouette.


Look how easy it is to make this card. In the video I use my Xyron for an adhesive for the words With Sympathy. Since then I have been using Aleen's Adhesive repositionable spray and it is so much easier to work with.


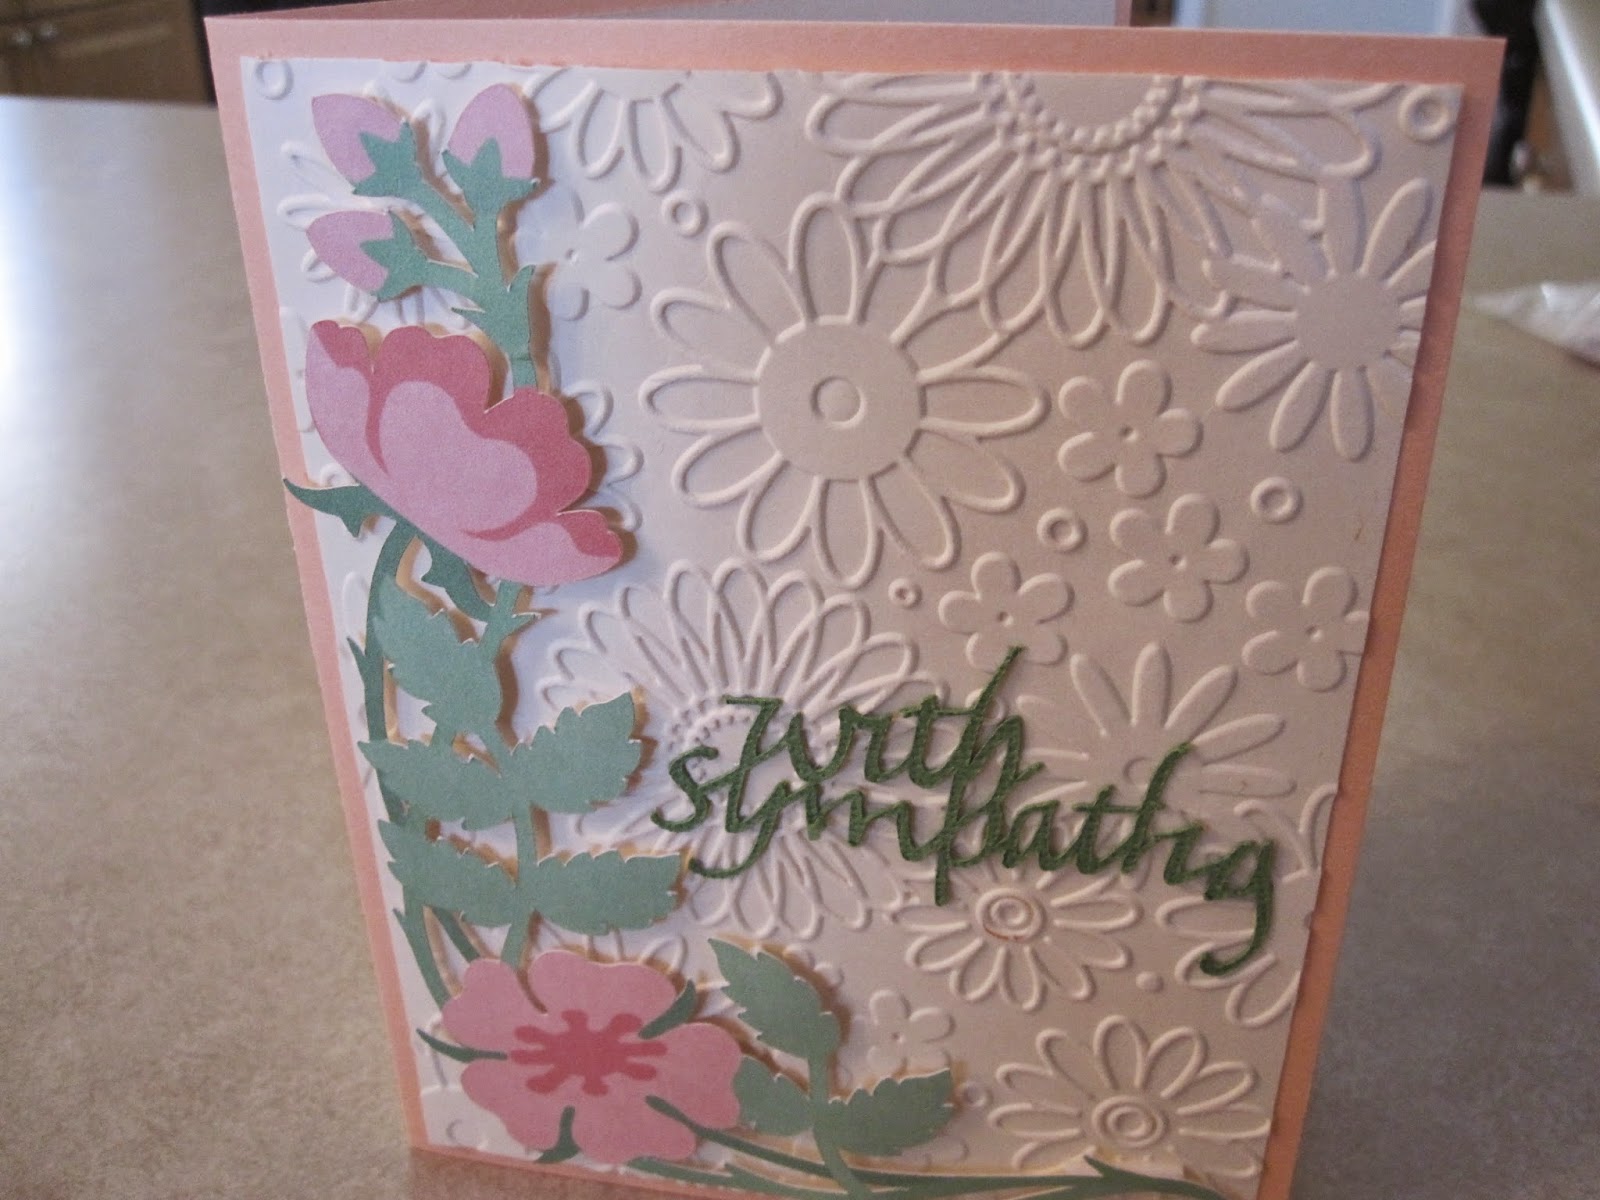
Here is a close up of the paper I used. I got lucky and found a DCWV stack called Cinnamon Lustre, from Joann's for only $6! And look how beautiful the paper is.


This is a close up of the lettering on this card and it is awesome. I love how it looks up against the background of the card.


Here is a close up of the inside of the card. I use a stamp from Stamps of Life and from Close To My Heart and hey go great on this card.

 
Here is the final card and I love it. I put the 4 together in no time at all. Thank you for joining me today I really enjoyed my time with you.
 
Thank you for your sweet sweet words of encouragement. Your comments inspire me to continue sharing with you. Have a blessed day.
December 13, 2013

Sympathy Card with inked and embossed Glitter Paper

Happy Holidays everyone!!!  It's Danita from danitasdesigns.blogspot.com

I saw this inking technique on a facebook group that I am in and I couldn't wait to try it. It's actually easier than using the spray mists and waiting on them to dry.  I'll show you what I did.
The glitter paper is from the DCWV Holiday Glitzy stack.
The embossing folder is the Anna Griffin Poppy folder.
I picked out 4 different ink colors that I thought would compliment each other. I stamp the ink on my craft sheet, then took a stencil brush  and swirled it around in the ink.  You do not need to add any water, then brushed it across the glitter paper.  I didn't know whether or not it would take, but it did!


Once I had it all colored I tied a ribbon around it and made a rosette with my Tombow glue  


The labels are Spellbinder dies and I used the same technique on them. I also used my Wink of Stella brush marker to accent the edges of the labels  (close up shot)
 
Thanks for looking!!!

May 8, 2013

Sympathy Card

Hi Crafty Friends :)
Today is my day to share with you here and at my own blog Adele's Creation's
Sadly I had to make a Sympathy Card for my dear Nieces, my Sister-In-Law died aged 49 on 1st May, very suddenly, after being told the tragic news last week she only had a few weeks to live.

I used my Silhouette Cameo to cut my design, though parts were bought pieces from the Silhouette online store for speed.

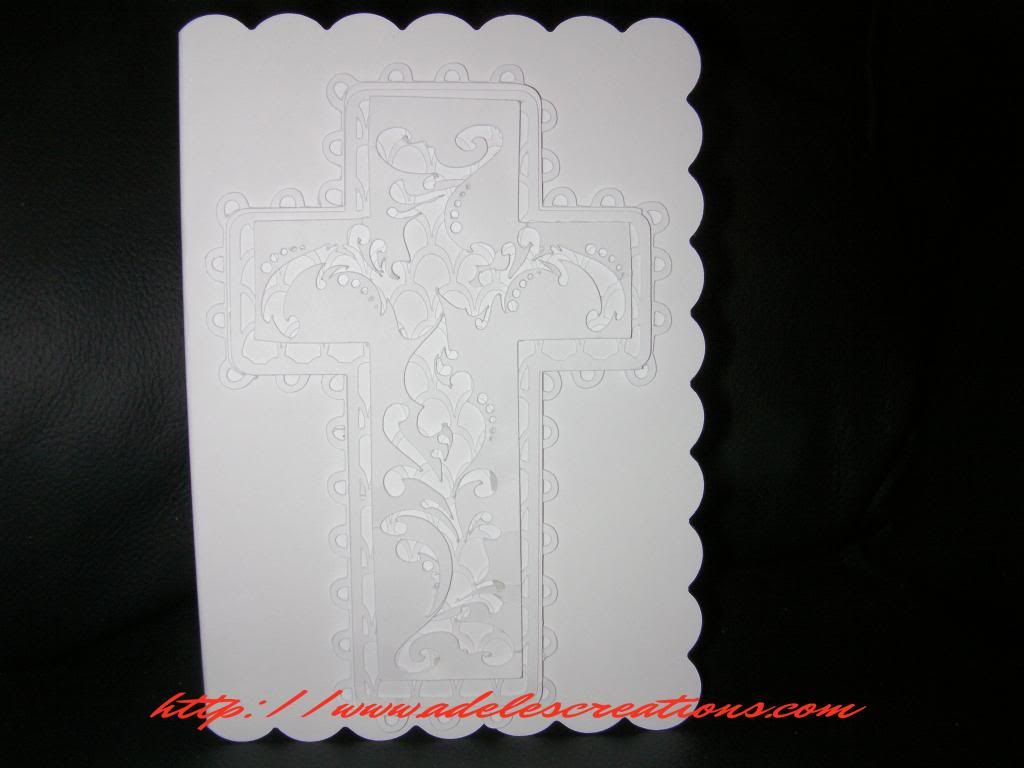
My card base is 6"x4.25"

This a screen shot of what I cut, though didn't use some I just wanted to fill up my card stock.


This is a screen shot of the parts I made myself, these are available for free download at the end of this post.


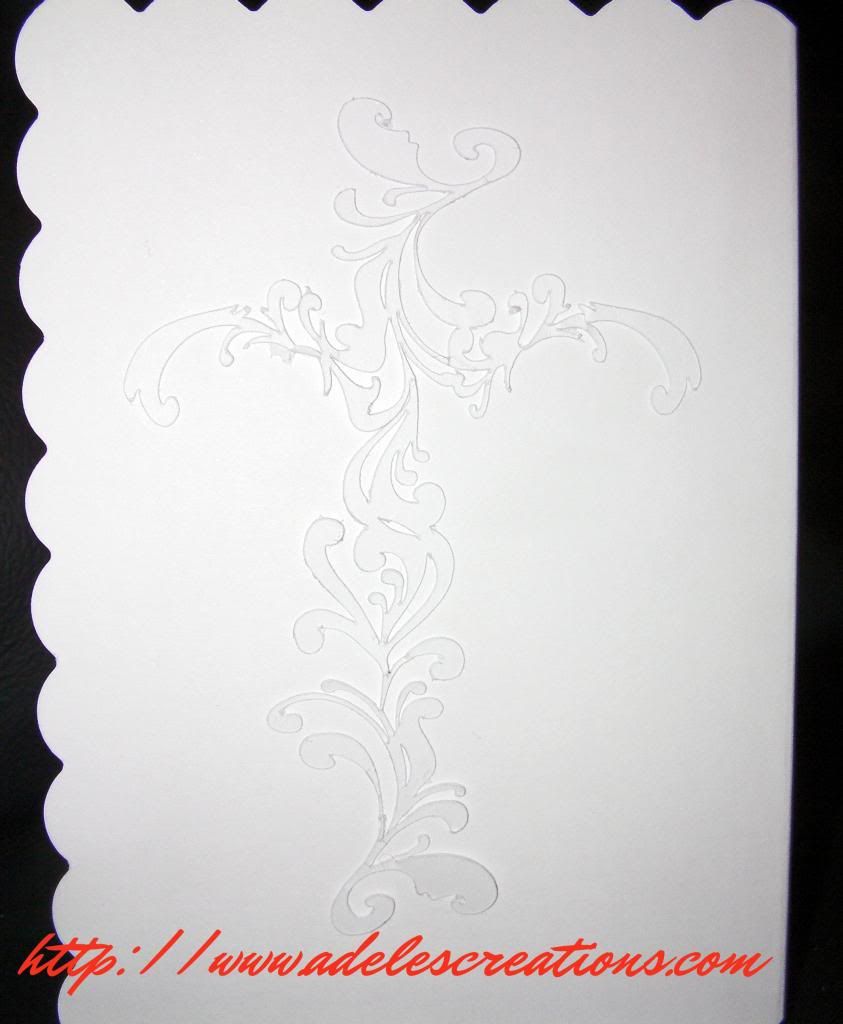
This is the back of the card, using the cut-out element from the Store bought cross.


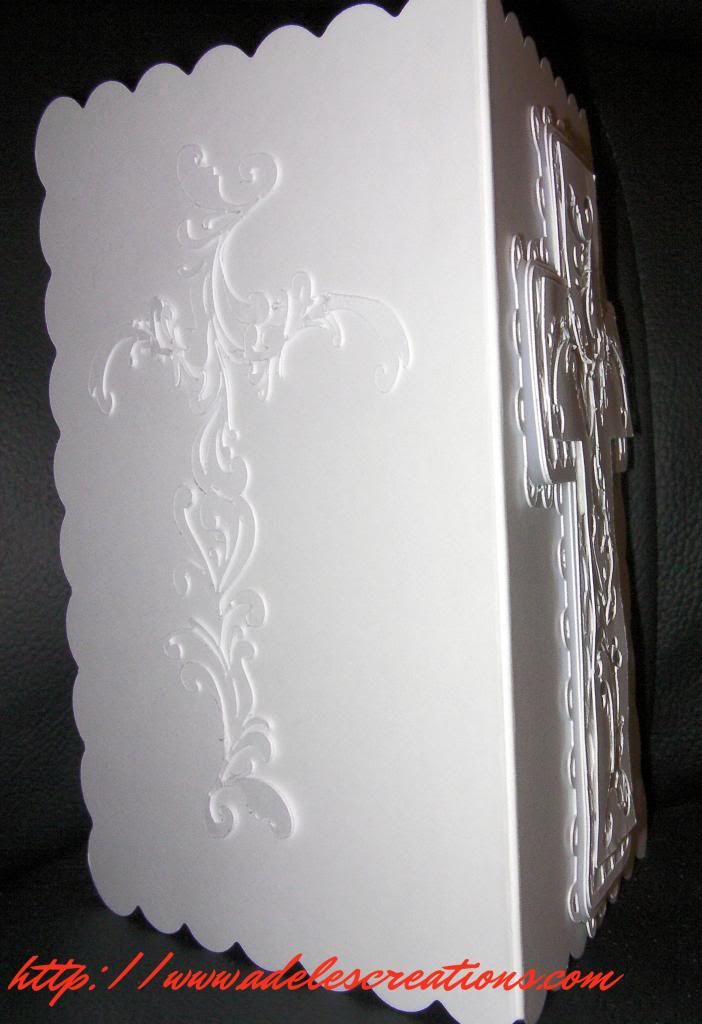
Here is a side view, as you can see, all the cross layers are mounted using foam tape or glue pen.


Well that's it for this month, thank you Sheila for having me :)
If you would like the lattice and scallop part to the cross you can download it HERE

Happy crafting :)
Hugs
Adele