Showing posts with label Glass Etching. Show all posts

June 13, 2014

Glass etching with an Air Eraser

Hello all, it's Danita from danitasdesigns.blogspot.com.

I will attempt to show you how easy it is to etch glass with an air eraser. It's not hard at all, once you get the hang of it.  Below is just a few of the glasses that I did for my cousin. She and her fiance will be giving these out to the groomsmen, as gifts.
Here's what you need:
1. Air Compressor
2.  Air eraser
3. Aluminum Oxide


Now that you have your supplies, you will need to cut out your pattern on you Die cutting machine. I used my Cameo. I find it best to use vinyl, but some people use clear contact paper. I just can't see what I'm doing with the clear contact paper. You may be able to use a printed or solid contact paper. Play around with it and see what works for you.
 
 
Once you get the pattern cut out, you will use the negatives and apply to the glasses.
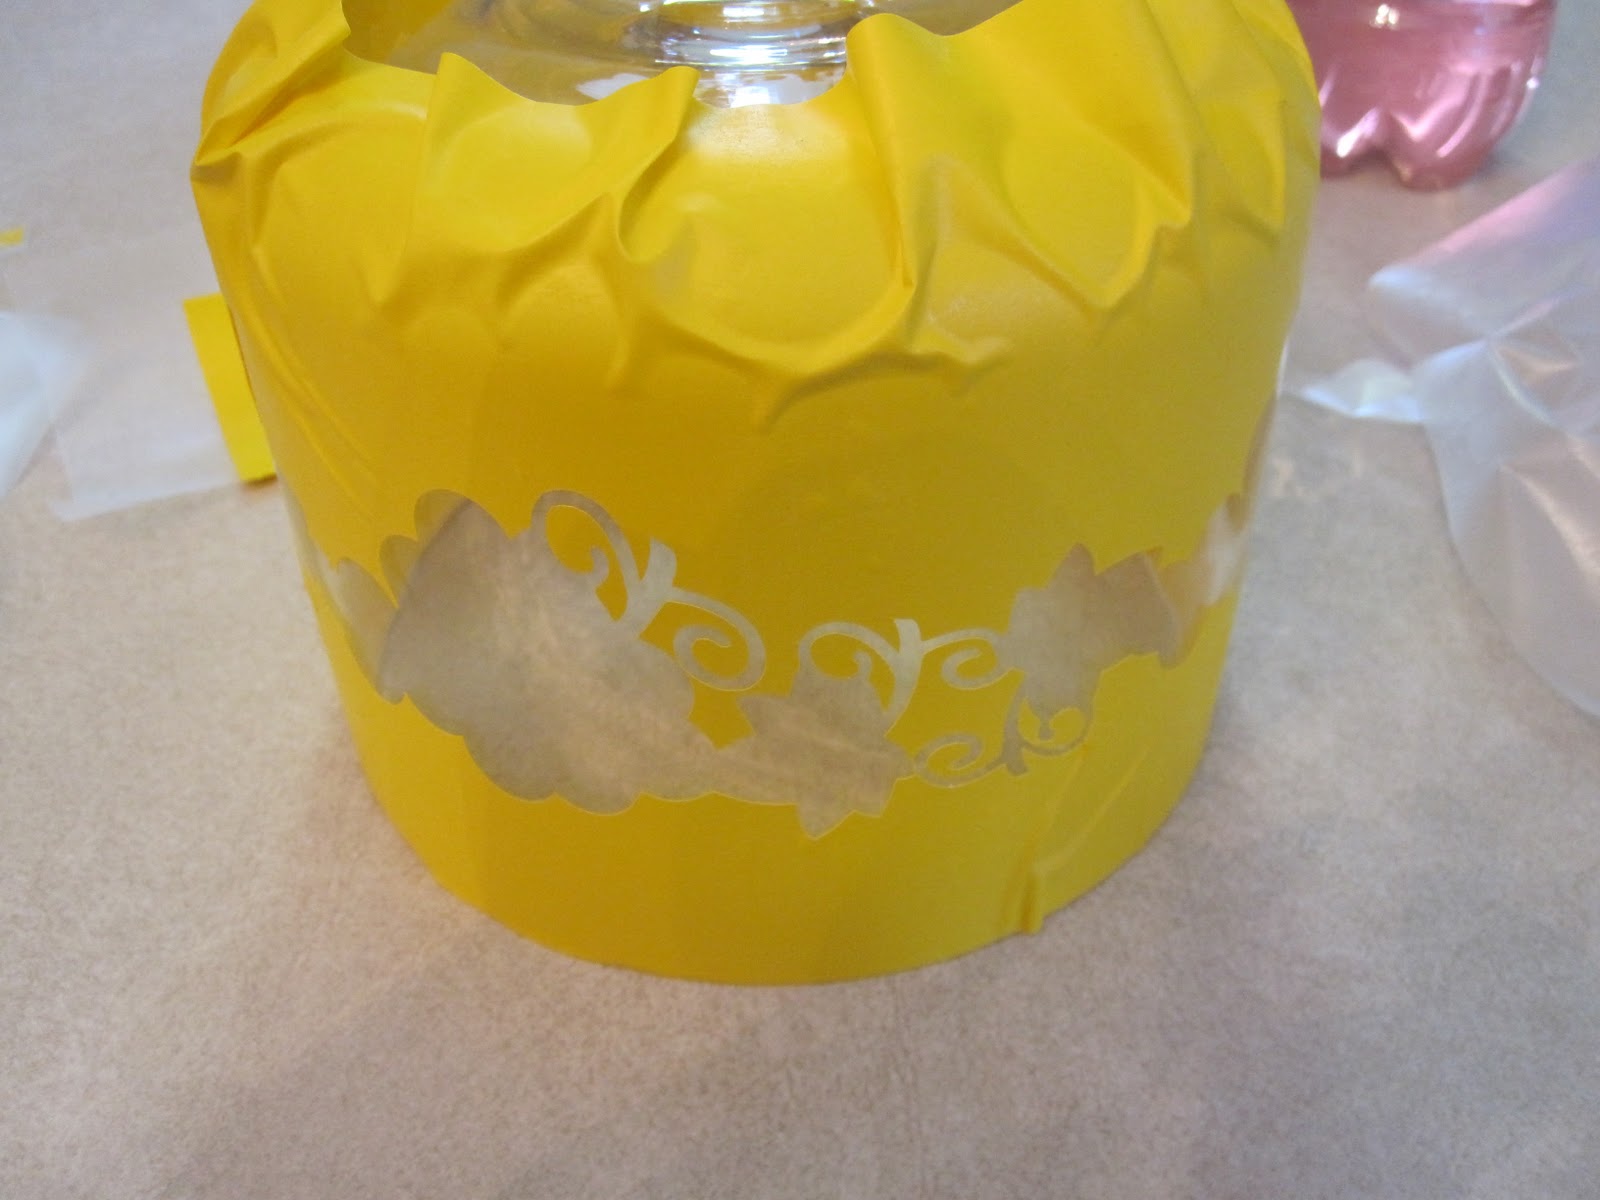
Then you wan to tape off any parts of the glass that you don't want to etch:


 Now here's the setup
 
You can find list of how to make this homemade cabinet here. I got this information from one of the Facebook groups I'm in.  I just decided to change it up a bit and go with the clear plastic instead of the top. I personally think you can see better through the clear plastic. I use clips to hold the plastic in place, or you can use clothes pins. Oh, and you need a face mask for sure. You do not want to breathe in the oxide! I also wear gloves, but many of my friends do not and have had no problems. I also wear goggles.
 I place foil in the bottom of the cabinet to collect my oxide for re-cycling. Yes you can re-cycle, but be weary of debris.
Then you fill up the cup on top of the eraser. This is the only frustrating part. The cup is so small, you have to keep filling it up.
I set my compressor to 75 - 80 PSI.
Then it's time to blast away!!!
It's best to do the erasing in the day time so you can "see" what you have done.
 When finished you want to wash off the excess oxide and remove the tape.
Your vinyl will still be in tack and that's okay. You will began to peel it away once you have all the oxide rinsed off.
End results:


Thanks for looking and I hope I have encouraged you to try Air Erasing, but fair warning....It is addicting!!


December 5, 2011

Etched Snowflake Ornaments


Happy December!!!  Just 20 more days until Christmas!!  Lori here from Scrappin'MyStressAway with some snowflake ornaments.  I FINALLY tried to etch ~ how fitting that I shared this project on Sheila's blog as she inspired me a long time ago when she etched a glass baking dish!


I bought these mirror ornaments at Michaels.


I used these snowflakes from the Christmas cartridge and sized it at 1 1/2 inches.  I cut out the snowflakes in vinyl.  I set my cricut to Pressure 3, Speed 3 and Blade 3 to cut through the vinyl layer only (not the backing).


I peeled back the extra vinyl using my dental tool.  It is helpful to roll the vinyl as you pull it away to prevent it from sticking to your project.


I weed out the inner cuts next.  I use clear Contact paper for my transfer tape.  You need to dirty it up a bit on your jeans to de-stick it a bit.  I placed the contact paper over my snowflakes and burnished it with my scraper. 


I placed the snowflake in the center of the mirror and burnished it again.  I slowly peeled off the contact paper.


I got out my Armour Etch that I bought at Michaels about a year ago!


I put some newspaper down and put a thick coat of etching cream on my mirrors.


After 5 minutes, I rinsed one off and it looked done.


Here are the ornaments after I rinsed them and dried them with a paper towel.


I peeled off the remaining vinyl.


I added some sparkly ribbon and a coordinating gem to each snowflake.  These would make a nice gift! 

Thanks Sheila for having me on your blog today!!!  I hope everyone over here has a wonderful Christmas!!

October 5, 2010

Etched Cheese Dome

Good Day, boy do I have a cool project for you today!!! You will love this little pedestal platter with dome lid and you can make it in just a couple of hours!  I purchased my Cheese platter from Hobby Lobby. I used my 50% off coupon so this little goodie was only $15 when completed!!! What a wonderful serving dish this is at any party or holiday festivity you have, and just think of the Christmas gift possibilities!!!
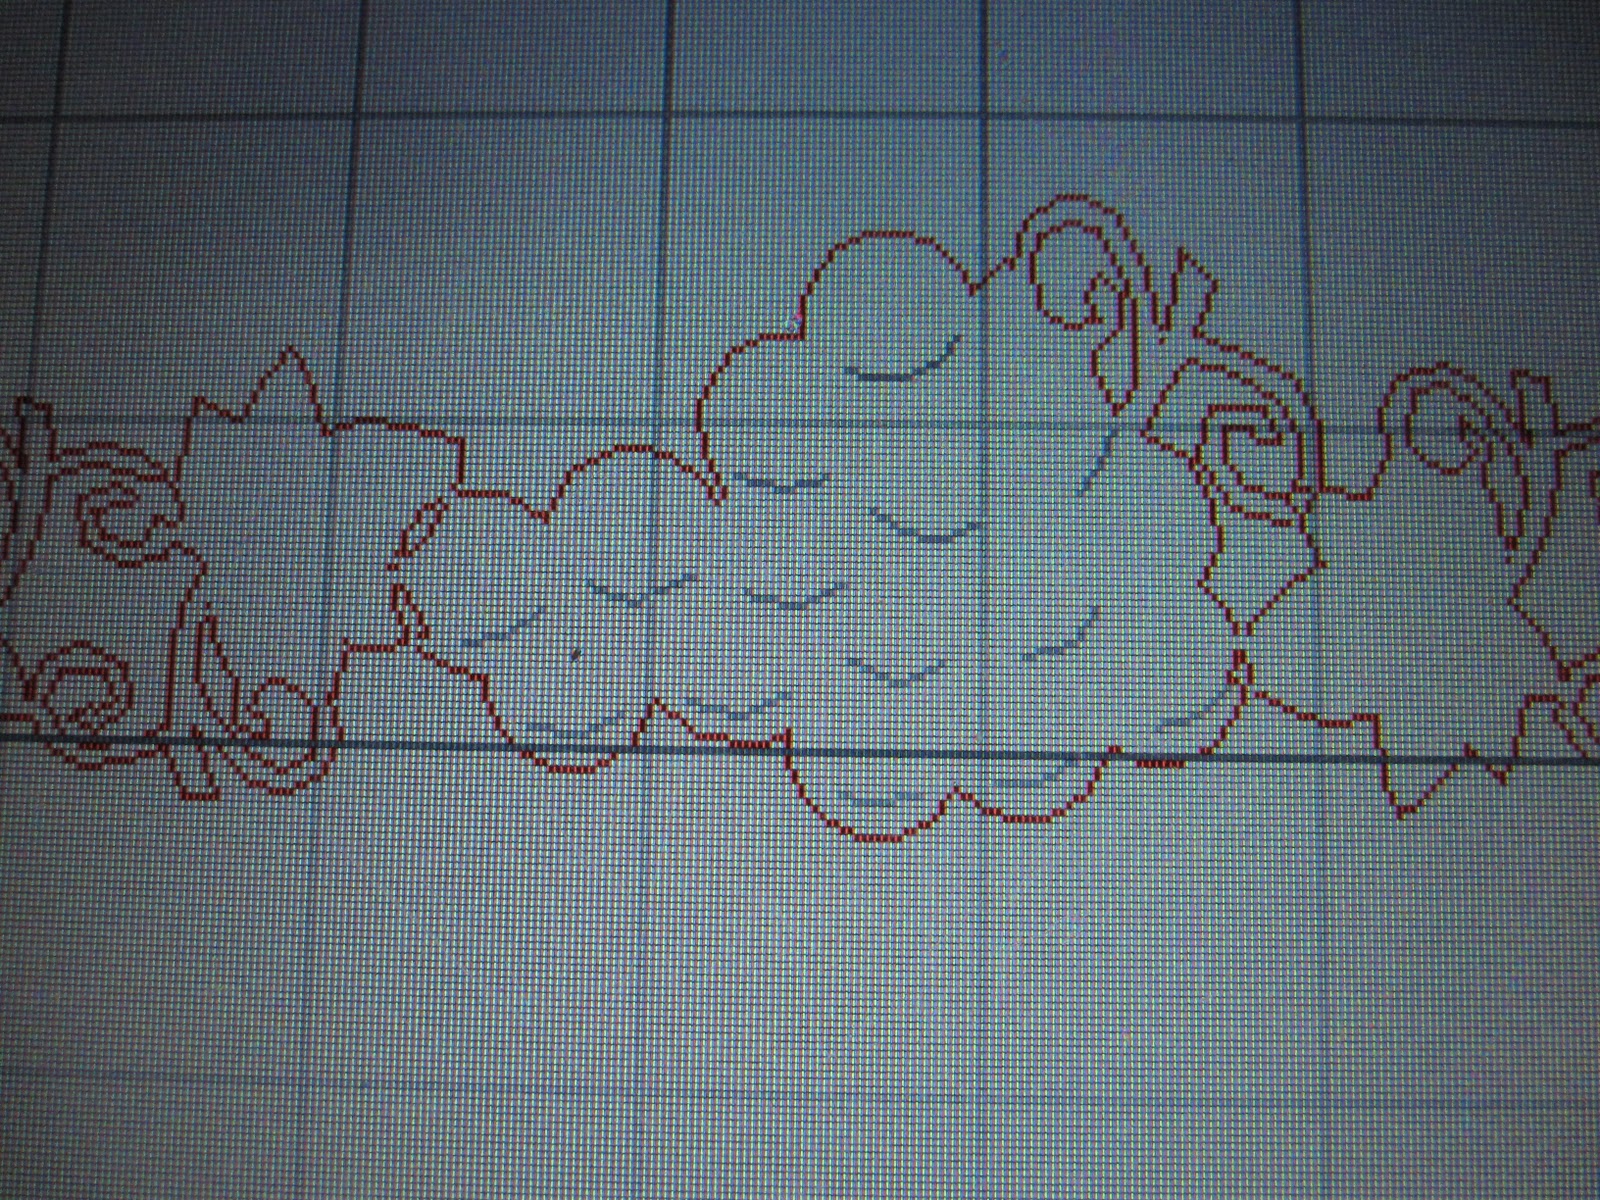
I used my Preserves card; the grape bunch and the little great leaves are perfect.
I used the hide contour on the grape bunch. I used a grape bunch and 2 leaves, welded together and kept adding until I met my size.
This is what it looked like before I started working on it. Be sure to wash and dry your item before attempting to etch.
I measured to make sure all would fit.

I followed the directions on the bottle. I might add this is the 3rd project I am making from this little bottle, so a little does go a long way.
I gathered all my supplies and notice I use the clear transparent shelf liner from Walmart as it's cheaper than the liner the Provo Craft Vinyl says. I think my roll was only $3.
After cutting I removed the cut art saving the background.
See how neat it looks. Oh, notice the amount of space on the bottom this was done so that I could line that up with the bottom of the glass dome so my grapes would show over the lip of the pedestal base.
I then added the transparent liner on.
And then removed my piece from the backing.
I have to admit it is hard to maneuver a 19" sheet of sticky paper by myself but it just took a little my time than it would if you had a helping hand. Miss you Kim!!! (she helped on the last project!) Oh by the way I went shopping with Kim and she bought this cute set for a gift and was going to etch it and you know me.... I had to do it too!!!  I have some GREAT ENABLING FRIENDS! Love you ladies and you know who you are!!
After it was on the glass I spent a couple of minute just pressing down the edges so they were all sealed and the cream could bleed through or drip down the side.
This is how it looked when I had everything on.
I applied the cream on thick like the directions said.
However, I left on for 10 minutes instead of 5 because I like the effect better.
After the time was up I rinsed it off with warm water and followed up with a good soap and water wash.

Now doesn't this look awesome? And, it was so easy to make. I sure hope you liked today's little project and come back and see us again at Shes A Sassy Lady where there is a new design every day by some really talented Sassy Designers! Here is the Sassy Cheese Dish Stencil Gypsy File (be sure to measure your dish first).
MyFreeCopyright.com Registered & Protected

Thank you for your sweet words of encouragement. Your comments continue to inspire me to share with you.
signature