Showing posts with label Home Decor. Show all posts

July 29, 2013

Fridge Magnet Project

Hi Friends,
 Sandy here with another post for She's a Sassy Lady.  Today I am going to show nice project that I made for my sister. Her and the family are leaving for Africa in 4 days for two years. She will work as a teacher/missionary.  So...yeah, I'm a little emotional right now.

She asked me to make some thank you cards to give to those that support Martin's 4 Africa.  But, I got to thinking, thank you cards are nice and all, but I wanted something that people can see everyday.  And when they do, they might be reminded to say a little prayer for her, Joe and the kiddos.  I came up with refrigerator magnets. It is something that people will see when they head to the fridge. She loved that idea and even helped me make them.  We spent the night, laughing, remembering and just enjoying each others company.

So let's get started...
You will need:
  • 3x3 chipboard square ( I got a poster board sheet of chipboard at the craft store, we made 50 of these from that sheet)
  • Mod Podge
  • 1 piece of 3x3 cardstock 
  • 1 piece of 3x3 Pattern Paper
  • Adhesive
  • Nail File
  • Distress Ink Pad
  • Embellishments- punches, stamps, die cuts, etc.
  • Magnet strips (can get in a roll or on a sheet at the craft store)
Here are the magnets that I made for my sis ...
  • The Africa shape is just a clip art that I downloaded and printed from the computer. 
  • First, Adhere the card stock and pattern paper to the front and back (great way to use up scraps) on the chipboard square
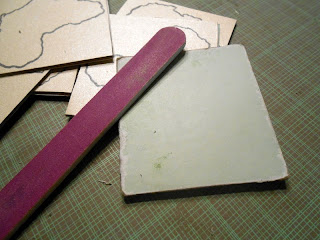
  • File the edges, this will help the paper stay on the chip board.
  • The heart is from Cricut Craft Room Basics, cut @ .5" and the sandals are from Life's a Beach and cut at 1".
  • I wrote the sentiments on the front with a calligraphy pen and ink the edges and sides with the distress ink, 
  • After you decorate the front of your chipboard, do the back if you would like 
  •  You are going to Mod Podge with a couple of coats (we did 3-4 coats and it is well worth the extra time).
  • The Sandals represent the money (over $2000 that the kiddos raised for Shoes 4 Africa)
  • The heart is over Ethiopia, where they will be
  • Their Faith, Hope and Love is what has gotten them this far in this calling on their lives.
This is the back. 
                                 
As you can see, I decorated that back with this cute sentiment stamp. And using my Just Right 15pt. font set, I was able to sign them Martins 4 Africa.
Everyone was amazed that these are chipboard/paper and not wood.  With the Mod Podge texture and the extra coats, they are so sturdy and will last for a long time.

I hope you were inspired with this project.  Very easy to do, makes great gifts. Other ideas, are using photos of people or places that you have been, making personalized magnets to hold the kiddos school projects or even a to-do/shopping list.

ps: here are the "thank you" that I did previously for my sis. I used Life's a Beach and welded the letters together.  I attached with a brad to swing the top sandal over.


Hope you have a blessed day and thanks for stopping by,
 

July 11, 2012

Quick cupcake card

Hi Crafty Friends :)
Adele here to share a quick card with you today.

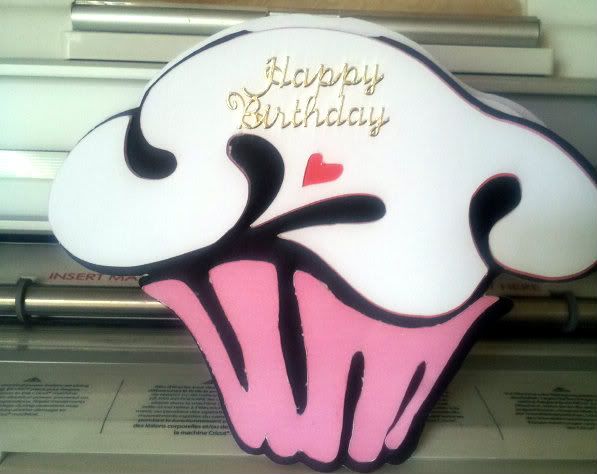
This card was made in about 10 minutes, my neighbour's Grandaughter has a birthday and my neighbour wanted me to make her a cupcake card with a hidden flap so she could attach money without it being obvious, so here is the card I made for her


This is a trifold card, hinged at the top of the front part of the card


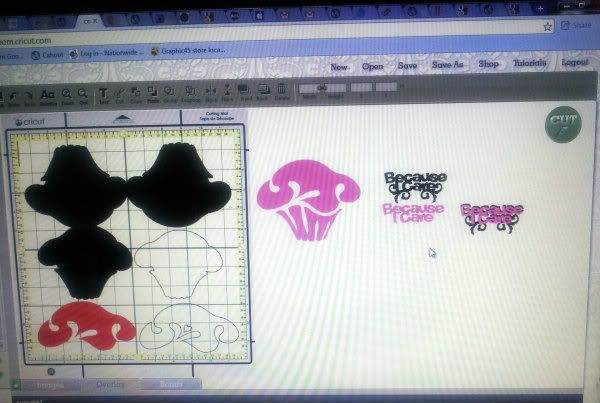
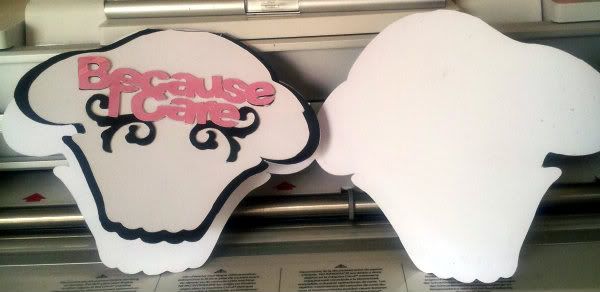
The card base was made using 'Home Decor' welding 3 cupcake shadows at 4.333 for the front/back and the smaller cupcake shadow (flap) sized at 3.986 to form the trifold base. 
The phrase is from 'TBB&M2' sized at 1.583 and 1.014 respectively, 
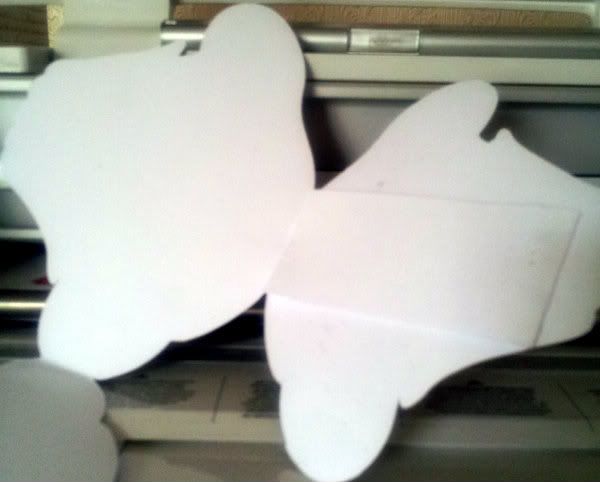
This is the inside of the card 


And this is the hidden strip that I hand cut, to hold the money


Like I said, this only took about 10 minutes to create and put together :)

I hope you enjoyed my quick card project today.

The CCR file can be downloaded HERE

The Gypsy file can be downloaded HERE

Thank you Sheila for allowing me to share my project with you all this month :)

Happy crafting everyone :)

Hugs

Adele

December 15, 2011

Honeycomb Ornament

Today I am sharing a tutorial on how I made a Honeycomb Ornament using my Cricut E2 and the Paper Trimmings cartridge (but you can use any cartridge that has a similar ornament).

This is Gaby and am thrilled to have remembered that the 15th is the third Thursday in December and not the second.... long story.... Sheila knows... :)  -- On to my project!
There are several tutorials on how to make a honeycomb out of paper in the WWW.  Actually, I knew the basics of making a honeycomb such as pretending there is a clock face and place glue at 3, 6, 9 and 12 when creating a honeycomb circle (or similar such as a pumpkin, apple, etc.). Next layer you place glue at 1:30, 4:30, 7:30 and 10:30. Following layer, you go back to 3, 6. 9 and 12....alternating until you are done. You usually use/cut 18 pieces when creating a ball or half of that when you want to create a honeycomb design inside a card that does not have to go all the way around.  And the most common paper to use is tissue paper.  But for my project today I was inspired by Becca Feeken over at Splitcoaststampers.  Becca created a honeycomb ornament using a Spellbinders die and I, my Cricut E2.

Step One - Cut 18 of the same design. Since the paper was thin, I selected the thin paper option, but it suggested I set my blade to 5.  I chose to set my blade at 4 and it worked perfectly!
Step Two -
Fold the 18 pieces in half.

I used the thinnest paper I had.
I could not find text paper or
thinner paper at my local
craft store and was a bit hesitant to
cut text/book paper on my E2.
The thinner the
paper, the better results
you will get.

Step Three - Use one of the negative spaces to mark ones and twos, alternating the numbers.  This will be your template so that you don't forget/get lost placing the adhesive.  How did I decide where each number was placed?  This is almost identical to Becca's but she did  not explain the logic.  Mine is that at each curb I had to have one of each, so I started with my biggest curb on the design and marked a one.... from there I just alternated the one and two.
Closer look at the numbers.

Step Four -  Adhere strong adhesive at each point (you can start with the ones or the twos, I started with the ones such as Becca).
The picture is kind of dark but it was the best way to show the dubs of adhesive.


Step Five - Add adhesive to the number twos.... alternating on all 18 pieces....
Step Six - After you have your "sandwich" or all adhered together, you will have two green sides like mine (or the color of your paper).  At this point if you are going to add a piece of trim, ribbon or? in the middle of your ornament, you need this step, otherwise you can skip.

I run out of 1/2" tacky tape...
on my way to craft store...

I added tacky tape to the middle
and run a piece of ribbon so that
I could hang the ornament.

I additionally wanted a place to
hang my embellishment at the 
bottom.
I simply tied a piece of gold ribbon, 
adhered it to the middle with tacky tape
letting a tiny bit at the bottom and enough 
to hang on top.

Step Seven - Time to bring it all together.  I added adhesive to one of my green sides and carefully brought it together by unfolding it.  (I decided to ink the edges with distress ink before bringing it all together - the white was too white.... next time I will make sure I find prettier double sided paper).
You can see the ribbon sticking out at the top.

Last step is to embellished as desired.
I almost cut the upper part of the design because I did not think I needed it, but am glad I left it alone. I like how that extra top part looks in the ornament. 

I just added a bow and some sugared berries.

Thanks for visiting and leaving a comment! ~ GABY


June 11, 2011

Gypsy Made Simple - Home Decor Item

Wedding Announcement Shadowbox
Good morning, it's once again time for Gypsy Made Simple and this morning we are going to make a home decor item. SIMPLE - SIMPLE project that any one could tackle.

This is a wonderful video that shows just how easy this project is. That is the beauty of having a Gypsy is you can use it for so many things.... not just scrapbooking or card making. You can use your Gypsy for designing school projects, home decor, cakes, cookies etc., the list is almost endless! I can't wait to see what you link.

Well is is a little video of Laura and I as I put the shadow box together. I must admit it was fun doing something different and it was really nice having someone there with me to talk to! Laura is going to come again real soon so we can scrap.
Here is a closeup of the flowers. Note we added a few more pearls after this photo was taken as we thought it needed a little more bling!
Now my Challenge to you is to make a Home Decor object. ANY OBJECT, all it needs to contain is one weld and a flower or some other Cricut Cut! Easy as can be, right? Link it up and let's see how many beautiful projects we can get.
I hope you enjoyed today's project. Thank you for you sweet sweet words of encouragement. Your comments continue to inspire me.
signature

June 17, 2010

Bless Our Nest - My Debut

Hi Everyone. My name is Lisa Sylvia of  Lisa's Craft Room. I am making my debut today. I was so honored and touched when Sheila asked me to be a designer for She's a Sassy Lady. Sheila, thank you so much for asking me to be part of your Team. I don't by any means consider myself a designer, but, when we use our imagination and put our creativity to work, I guess it is designing, and of course the Gypsy girl is a big part of that. :)

Since I am a scrapbooker first, I decided to do a 12 x 12 page layout. I love making cards, but haven't done a page in a while. LOL, It's funny because, I had asked Sheila why we only do once a month and she said because it is a lot of work. Well, you were right Sheila, WOW, to come up with an idea, put it in the Gypsy, design everything, figure it all out, put it on paper, then Post it all, WHEW...but, it was so much fun and I enjoyed doing it.

Well, here I go. I was inspired by this, which is hanging up in my Scraproom. I loved it when I saw it, I just thought it was so cute.


And here is my layout. This is our first home, we bought it in July, 2005. This is the side view, in the backyard.
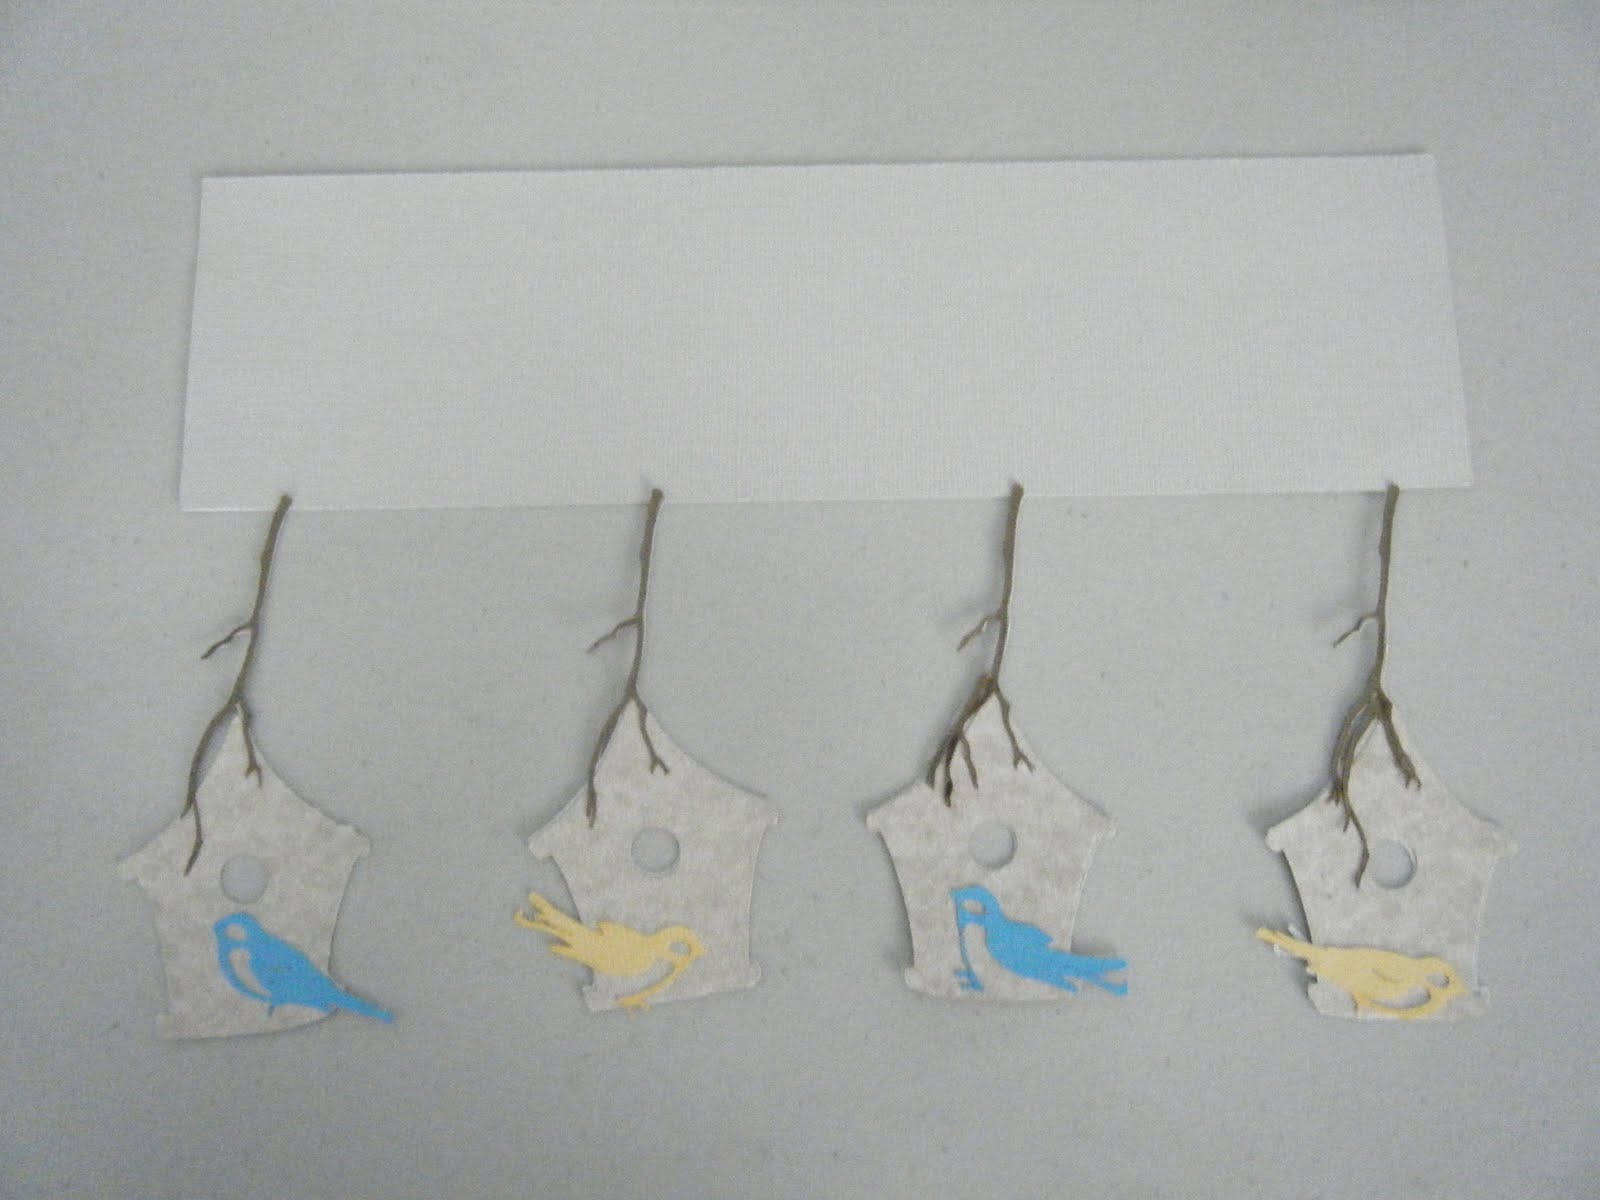
I first started out with a frame from Stretch Your Imagination, the size is 3" x 11". Then I added branches from Home Decor, 2.81" x 1.75", the bird houses are from Stretch Your Imagination, 2.11" x 2.50", the birds are from Home Decor, 1.12" x 0.75".
On the second page, (Layer 2), my title is from Don Juan, Bless is 3.38" x 2.41", our is 2.36" x 2.41" and nest is 2.92" x 2.50". I welded each word together.
I then welded everything together, unfortunately for some reason the birds didn't weld the way I hoped they would, and I figured out it was because if you put something in mid center, it can't weld, (see, I'm still learning), so at least their tails welded and I was able to use them as a guide when I cut out the birds.

I then separated everything to cut out in the colors that I wanted, I don't know if there is an easier way to do that, but that is the only way I know for now. I used the Hide Contour feature for the frame, whis is awesome. I'm so glad we finally got that, it was well worth the wait. I guess I could have just deleted it :)
Then came putting it all together. 

 
I used my two way glue pen for the branches, and the birds, they were so dainty.
See what I meant about the birds. I made the birds blue and yellow to represent two parakeets that we had until they passed. We bought them for our son when he was 3 years old and we had Chee Chee (blue) for 13 years and Teenie (yellow) for 11 years.


Then I cut out my title using Navy Blue cardstock.

I used my white gel pen to dot the title. 

I smooched the roofs of the bird houses to give them color. I love Smooch, for those who don't know what it is, it resembles fingernail polish/paint and you just brush it on what you want to highlight and give a little shimmer. I only have Red, Green and White. I might have to invest in more colors :)

Then I added some dimensionals to the bird houses.

I used my ATG 714 on the frame, I love this gadget.

Then adhered it all to my 12 x 12 gray cardstock.


Added my picture to a piece of navy blue cardstock, to match the title. The picture is a 4" x 6". So I just eyed the mat and left a little border around each side.

Added some raffia to two of the branches, and stickles to each of the bird's tails. You can see the Smooch on the roofs.

Then cut out a 1" bird's nest from Create a Critter and added some Dazzling Diamond glitter.

 Lastly, I tied a navy blue ribbon around the page and did a little journaling.


Thank you Sheila for giving me a chance. I hope I made you proud ;) To all of my blogger follower friends, Thank you for following and for your sweet comments. It means alot to me. I hope you enjoyed my debut.