Showing posts with label Preserves. Show all posts

October 5, 2010

Etched Cheese Dome

Good Day, boy do I have a cool project for you today!!! You will love this little pedestal platter with dome lid and you can make it in just a couple of hours!  I purchased my Cheese platter from Hobby Lobby. I used my 50% off coupon so this little goodie was only $15 when completed!!! What a wonderful serving dish this is at any party or holiday festivity you have, and just think of the Christmas gift possibilities!!!
I used my Preserves card; the grape bunch and the little great leaves are perfect.
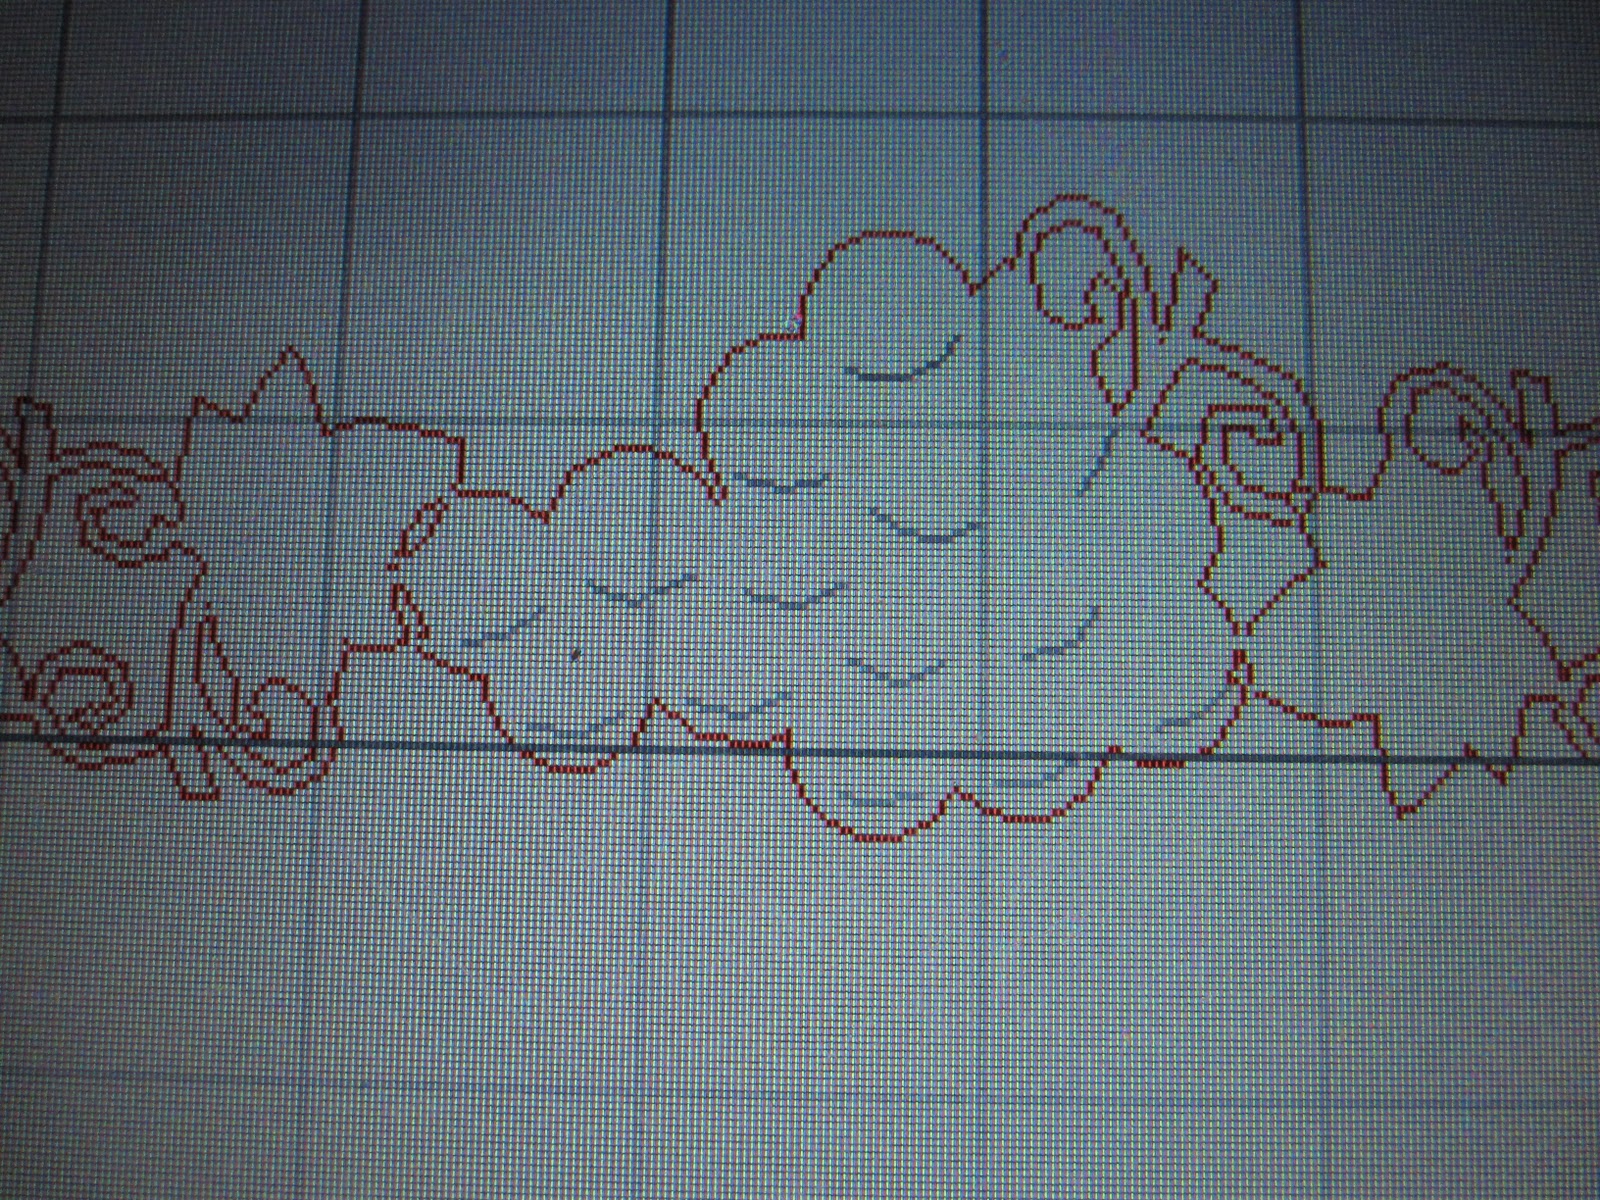
I used the hide contour on the grape bunch. I used a grape bunch and 2 leaves, welded together and kept adding until I met my size.
This is what it looked like before I started working on it. Be sure to wash and dry your item before attempting to etch.
I measured to make sure all would fit.

I followed the directions on the bottle. I might add this is the 3rd project I am making from this little bottle, so a little does go a long way.
I gathered all my supplies and notice I use the clear transparent shelf liner from Walmart as it's cheaper than the liner the Provo Craft Vinyl says. I think my roll was only $3.
After cutting I removed the cut art saving the background.
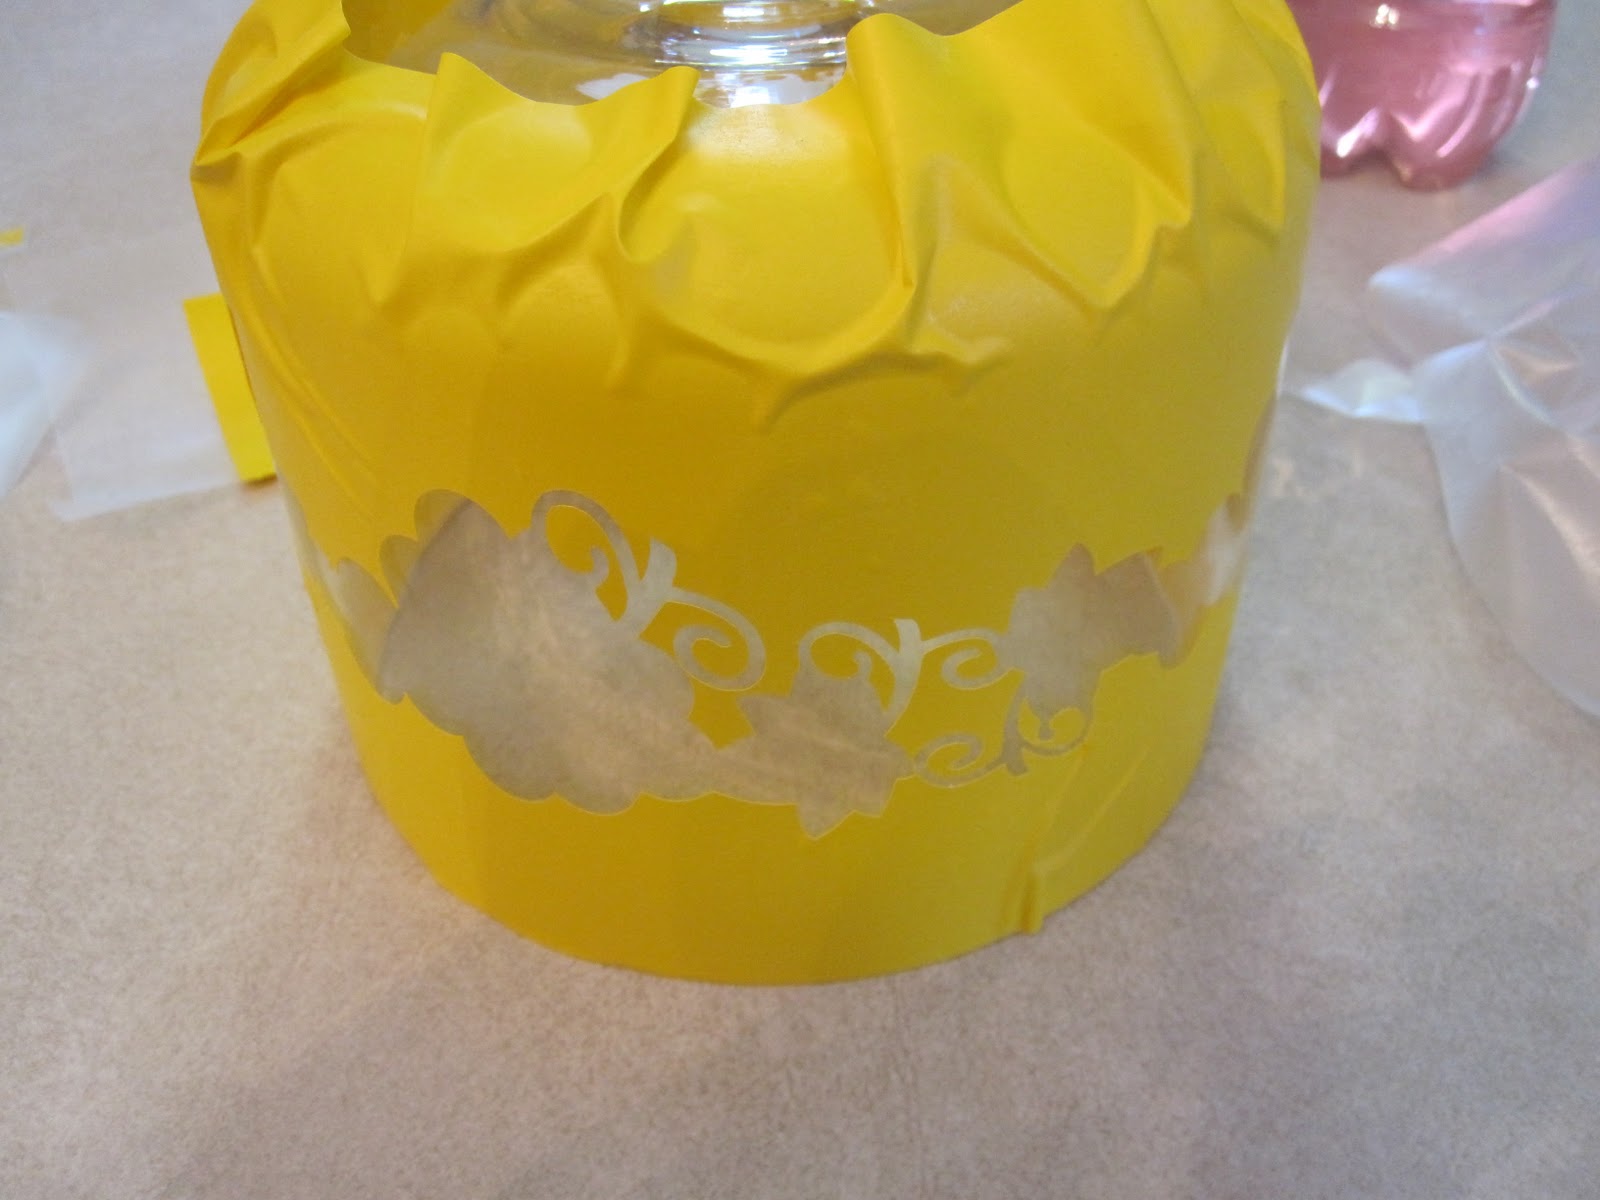
See how neat it looks. Oh, notice the amount of space on the bottom this was done so that I could line that up with the bottom of the glass dome so my grapes would show over the lip of the pedestal base.
I then added the transparent liner on.
And then removed my piece from the backing.
I have to admit it is hard to maneuver a 19" sheet of sticky paper by myself but it just took a little my time than it would if you had a helping hand. Miss you Kim!!! (she helped on the last project!) Oh by the way I went shopping with Kim and she bought this cute set for a gift and was going to etch it and you know me.... I had to do it too!!!  I have some GREAT ENABLING FRIENDS! Love you ladies and you know who you are!!
After it was on the glass I spent a couple of minute just pressing down the edges so they were all sealed and the cream could bleed through or drip down the side.
This is how it looked when I had everything on.
I applied the cream on thick like the directions said.
However, I left on for 10 minutes instead of 5 because I like the effect better.
After the time was up I rinsed it off with warm water and followed up with a good soap and water wash.

Now doesn't this look awesome? And, it was so easy to make. I sure hope you liked today's little project and come back and see us again at Shes A Sassy Lady where there is a new design every day by some really talented Sassy Designers! Here is the Sassy Cheese Dish Stencil Gypsy File (be sure to measure your dish first).
MyFreeCopyright.com Registered & Protected

Thank you for your sweet words of encouragement. Your comments continue to inspire me to share with you.
signature

June 15, 2010

Super Sassy and Sweet Preserves Mini Album

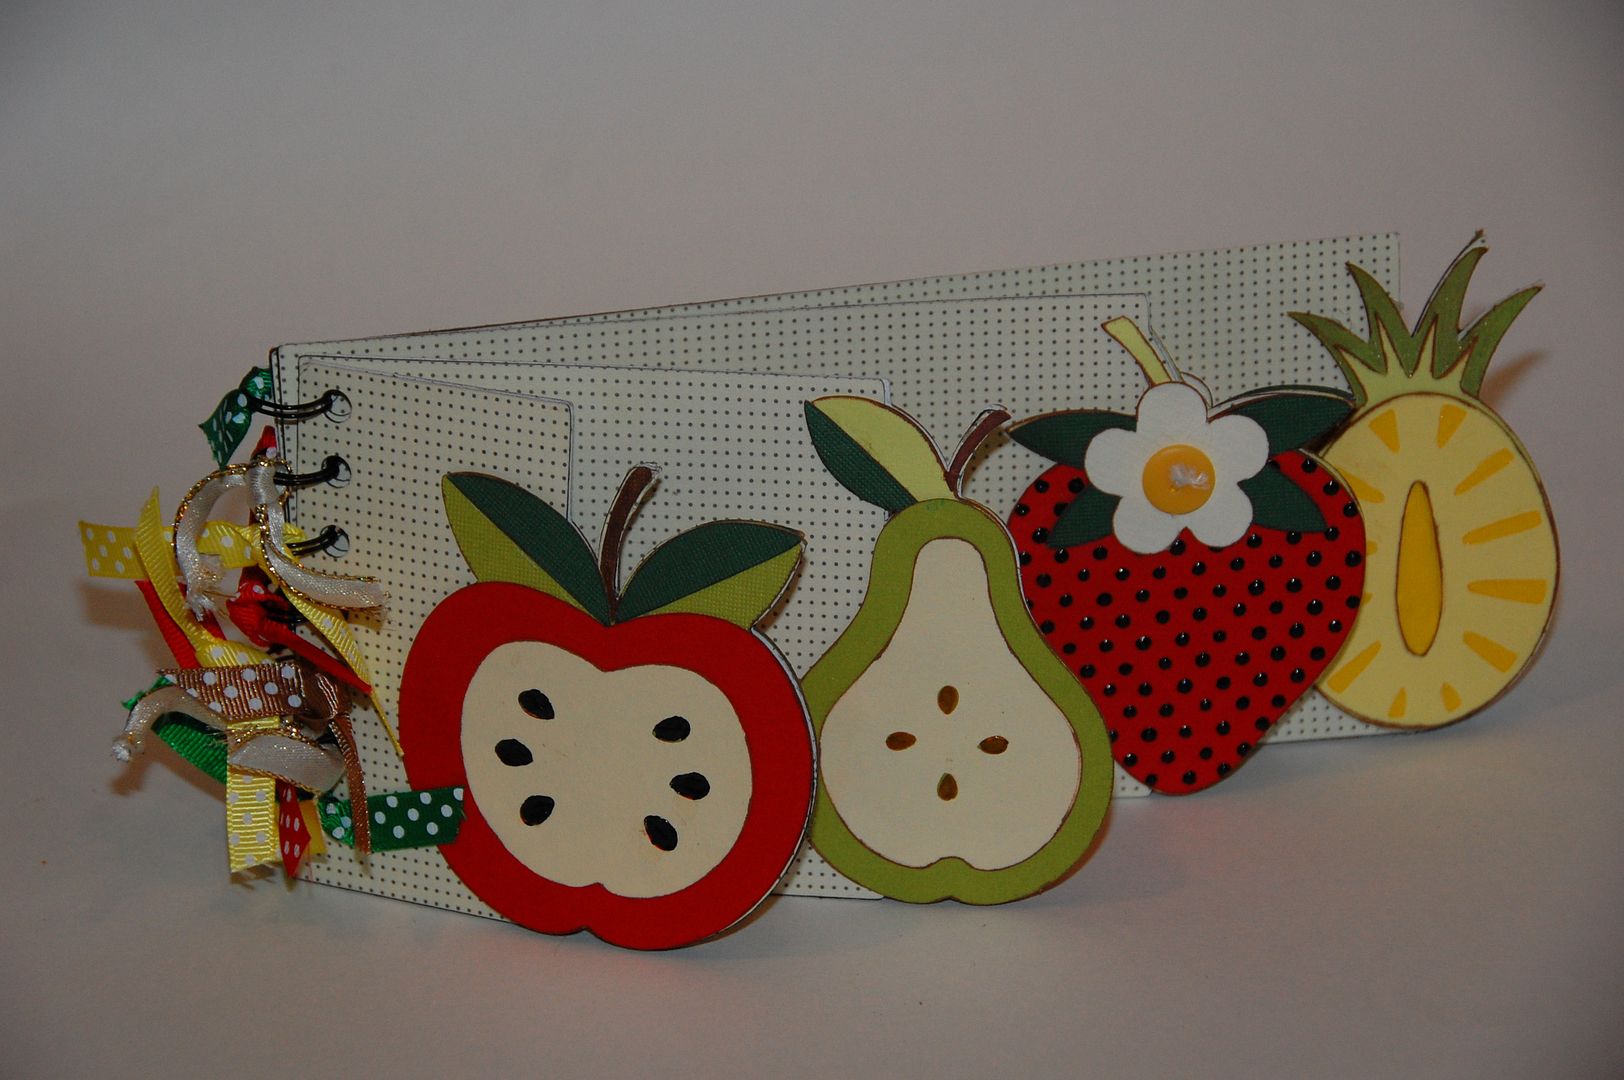
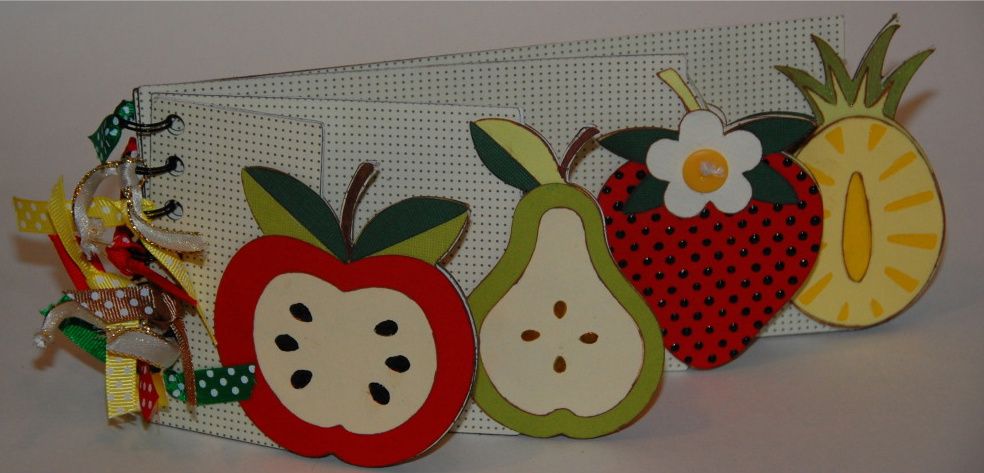
Hi Everyone! This is Elizabeth from 217 Creations.  I hope all of you like minis! No not mini skirts, but mini albums. I know I have done two in a row, but I can't help myself!  Thanks again Shelia for having me over to play today!
This one is done with Preserves Cricut Cartridge. I simply love this cartridge. The layers are super easy and this entire album is made from that cartridge.The album was cut from ColorBlok chipboard.  The settings I used was as follows:
Speed: Gypsy is the boss!
Depth: 6
Pressure: High
Multicut: 2
The Apple was cut at 3.43 inches. The details really pull through with the help of some smart embellishing. The seeds of the Apple are done with Viva Decor Pearl Pen in black. I love the 3D shiny effect! The edges have all been inked using ColorBox in Chestnut Roan with Fantastix inking tools. If you have not seen this video yet, YOU MUST! Here is the link: Inking Die Cuts Part One
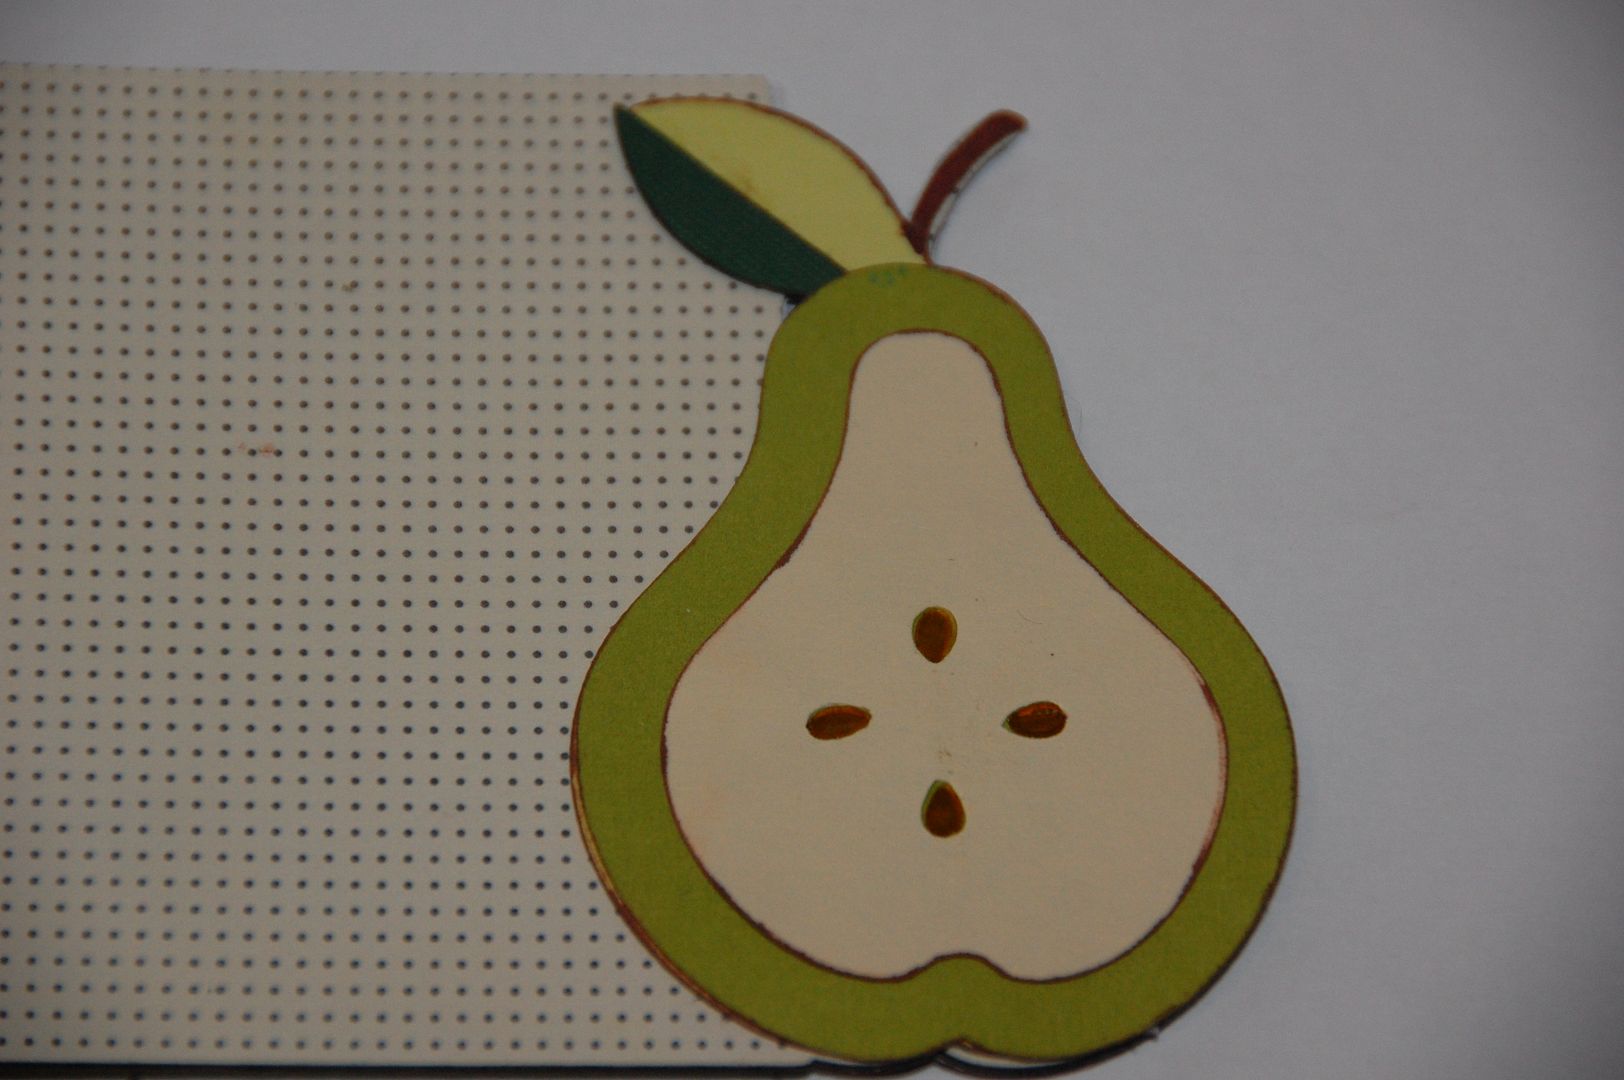
The Pear was cut at 3.66 inches. The shiny seeds were done with Glossy Accents.
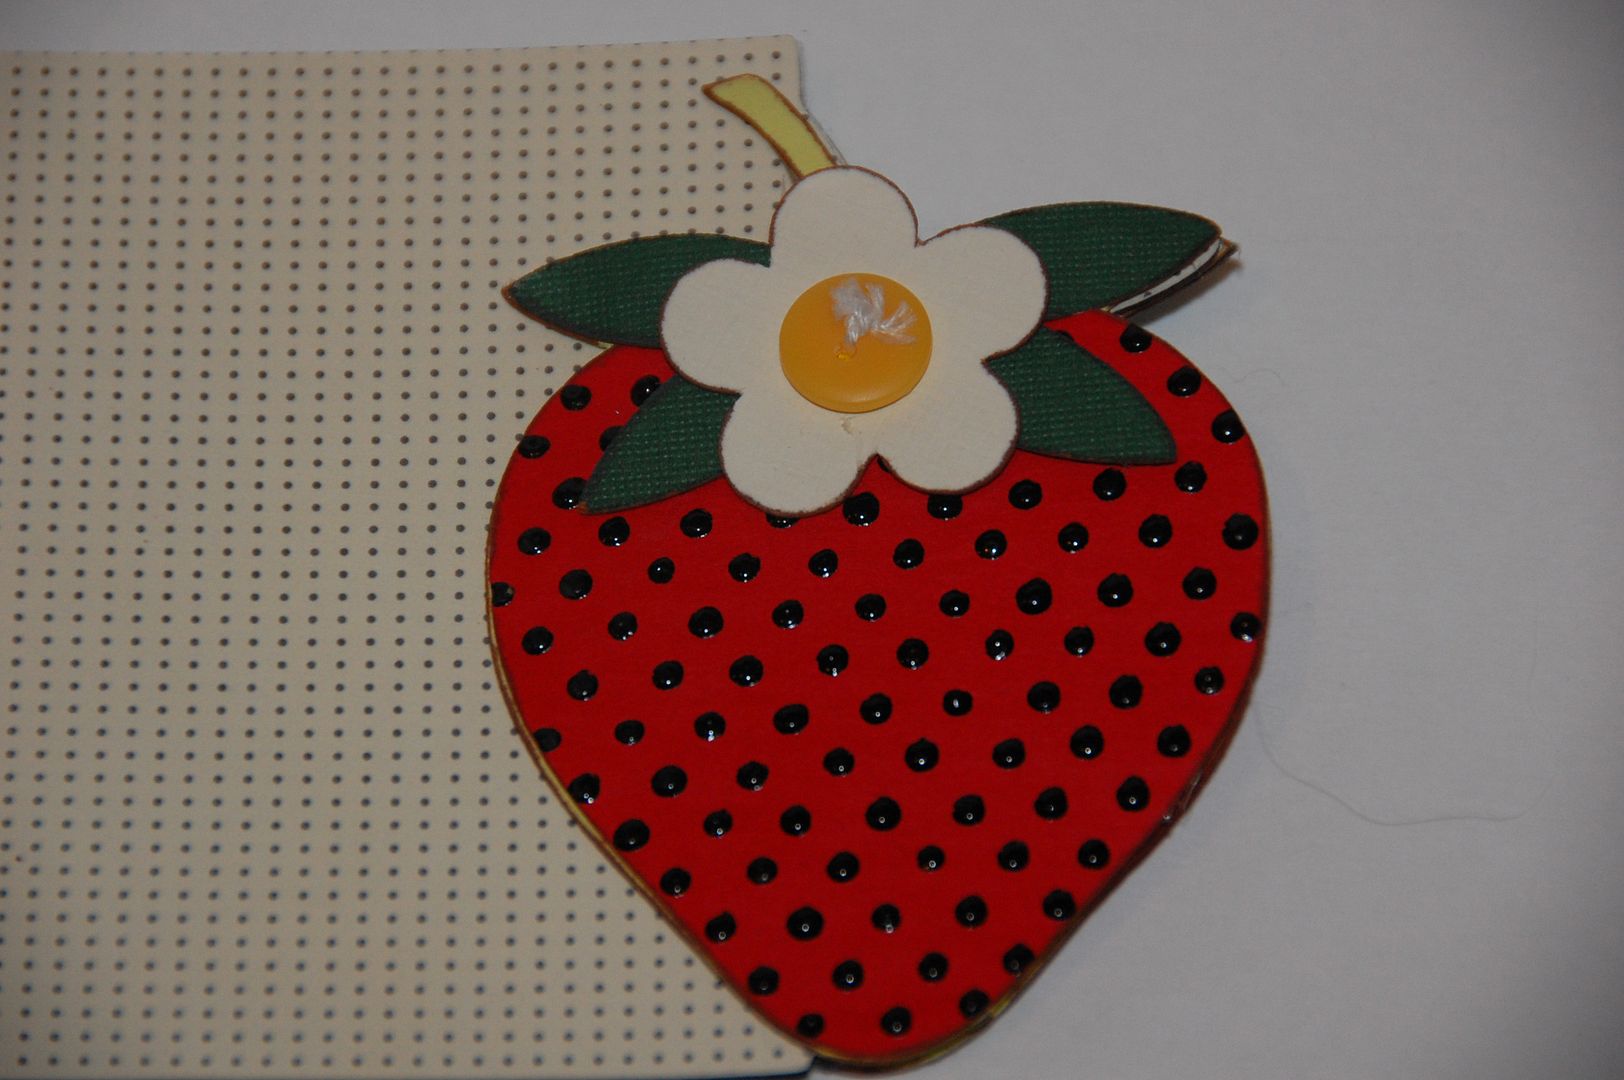
The Strawberry is my favorite! This was cut at 3.70 inches. At first I was annoyed with the dashes that the strawberry cut into the paper. I was going to Hide Selected Contour to remove the dashes, but then I realized I could use these to my advantage. I took the Viva Decor Black Pearl Pen and followed all the dashes to create this dimension. For the button I took embroidery floss and tied a knot through the holes. I then hot glued the button to the flower.
The final page is the Pineapple. It was cut at 3.76 inches. I used Glossy Accents for the shiny center and Sakura Gelly Roll Stardust Pen for the glittery green paper. I love this pen for times when I want bling without glitter- plus it has no drying time!
The file is a free download. The first 4 pages are for the book with the welded fruit. Pages 5-8 are the layers of the fruit. Everything was sized with Real Dial off. You will have to "flip" the image to get the back side of the book and fruit.
Here is the front page prior to the "flip":
Here is the page after the "flip"

I hope you enjoy the free download!
Here is the video describing the file and book and giving assembly details! As always I love comments and followers!

April 6, 2010

Glass Etching!!!

Our afternoon with the cricut started in the dining room with a little white wine, grapes, artichoke dip, salsa and chips, chicken salad spread and tomato basil spread...
So you know what the importance was today....
We did however finish two great projects..... below you will see the small glass jar with chocolate hershey kisses in it.... look a little closer and you will see my last name McShea, etched in the glass!

Below you will see a green baking dish etched with my name and all kinds of different fruit from the all new Preserves cart. It was difficult to see in the photos so we used a red towel  to make it easier to see the design.

Isn't this just too cool? Just think of all the gifts you can make.... endless. This jar was only 3.99 at Hobby Lobby and that was full price..... next glass sale I will be all over it!
This is Kim, she and her sister in law Laura came by today and btought all the goodies. I want you to know while they were snacking I did finish my Tuesday Treat project for Thursday so be sure you come back to TuesdayTreats.com on Thursday to see a layout designed from TBBM.
As soon as I finished the layout we went to the kitchen and started working on the etching right on the kitchen counter.... I might add both of these lovely ladies will be getting a Gypsy after meeting my Gyspy Woman and watching her strut her stuff!
Laura and I played Patty-Cake with my new 12x24 mat to ready it for the vinyl I was going to place on it.
After cutting the center design I realized I need to get my design off a piece at a time so I used an exacto and the edge of my cutter.
I carefully removed all the background from the cut as I was going to do a reverse etch so my letters and art would be clear. Isn't my design cool looking? I just love the new Preserves cart.
I then cut a piece of clear contact paper and used that to lift the vinyl from the mat.
I caution you to make sure it is stuck down and lift ever so slowly making sure the vinyl is coming up.
Yipee I got it... one piece.
Laura helped me center it to the bottom of the baking dish.... I guarantee no one can accidently take this dish by mistake, thinking it is theirs!
Then I made sure all the air bubble were out and all the edges were securely adhered to the dish.
Success, I have melted in the heat and the stress of getting it securely on.... I'm sure the wine had nothing to do with it....
I put cute little words on the side.... blueberry, applecrisp, cherrypie, muffins.... great baking dish. I checked it out completely before putting on the etching cream.
Lookin' good.
I applied the etching cream.... next time I will apply it thicker.... I bought too small of a jar or Armour Etch® Glass Etching Cream for such a large job. Directions said 5 minutes and rinse off. I used 20 and really think it could have stayed on longer for this type of glass..... tempered and all.
While it was being timed, Kim went to work to get the jar ready....
She loved how it was coming up in one piece.
Voila! It is done!
I then cut it away from the scrap and applied the contact paper.
We applied the cream and went back to the baking dish.
We washed it off and then proceded to try to get a photo... and boy is that hard to do on a sunny day.
So we put a red towel under it so you could see.... perfect for chocolate cake or brownies!
See how nice it turned out...
And here is the jar...
Well I hoped you enjoyed todays project, we sure had a lot of fun making it and learned a lot in the process.
MyFreeCopyright.com Registered & Protected
Thank you for your sweet comments, they always encourage and inspire me.
signature