Hi my crafty friends :)
Adele here.
Again it is my turn to be Guest Designer at She's A Sassy Lady, Thanks Sheila :)
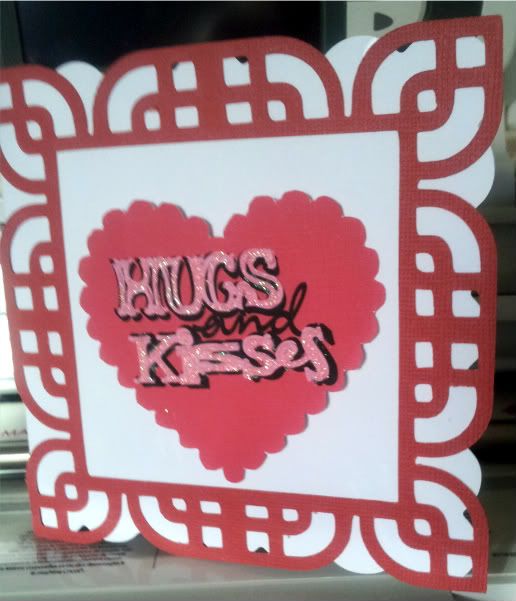
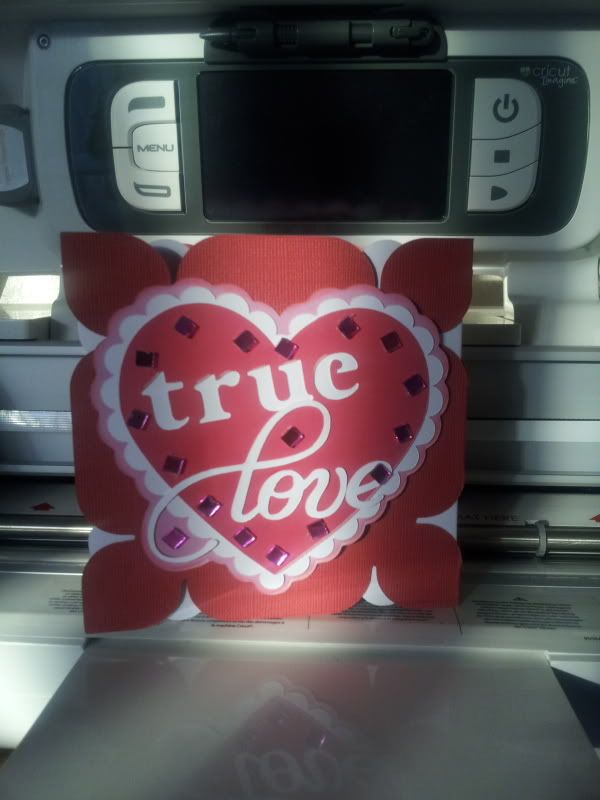
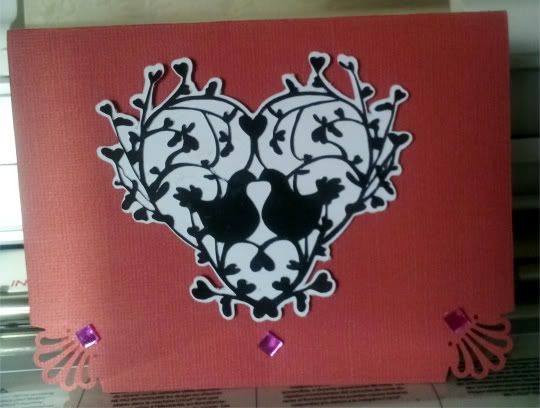
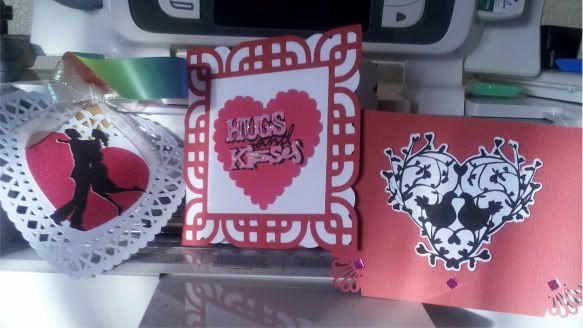
I have a couple of projects to share with you today, one being my Valentine's card co-created with my eldest Grandaughter Monique !! ( Sorry heavy in pictures )
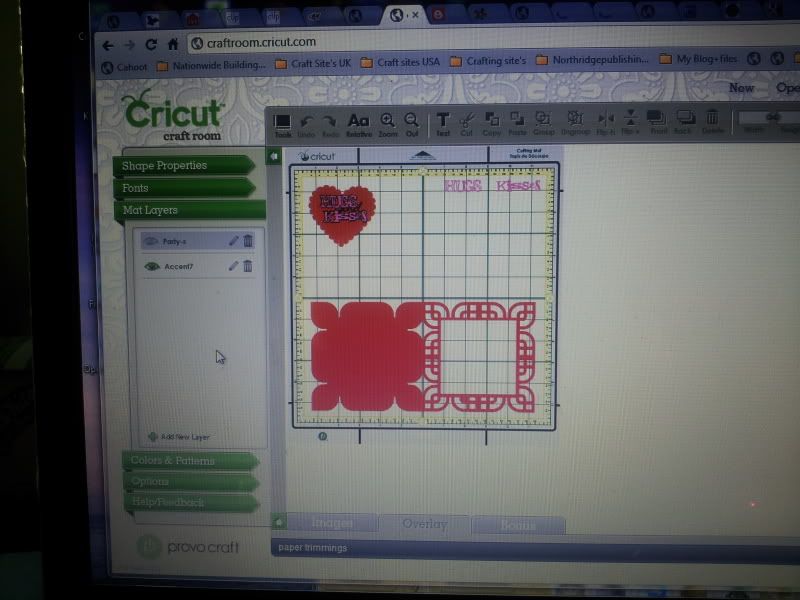
This card was created using Paper Trimmings for the outer part of the card in CCR
I welded Accents5 shape sized at 5.222" to Accents5-S also sized at 5.222"
The Hugs and Kisses Heart was sized at 2.917" all layers combined, Hugs and Kisses were sized at 0.583"
( I did this in two stages, the first was print only with everything removed except the combined heart, the second stage was load everything except the combined heart, back to the mat to print and cut).
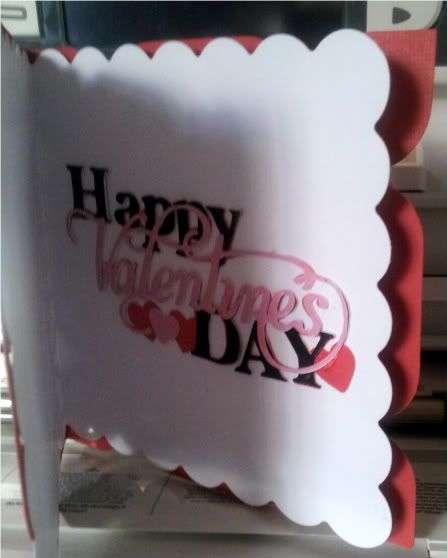
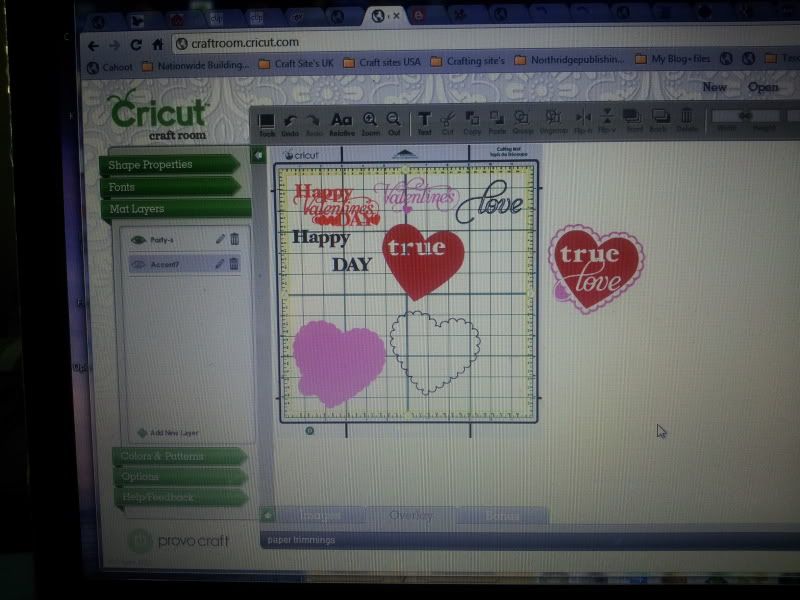
I added all this to a 5"x5" card base, then added "Happy Valentine's Day" sized at 2" with all the layers to the inside, using the Phrases cart,
On the back (Moniques' Design) I placed the "True Love" sized at 4.347" also using the Phrases cart.
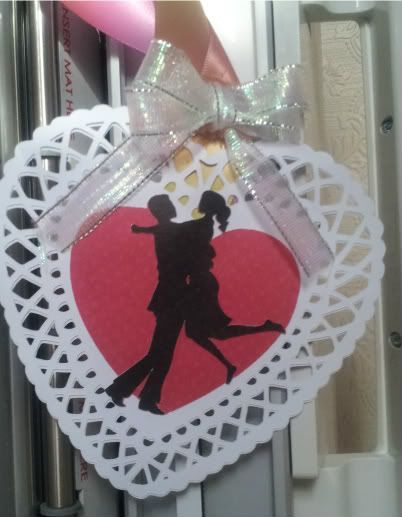
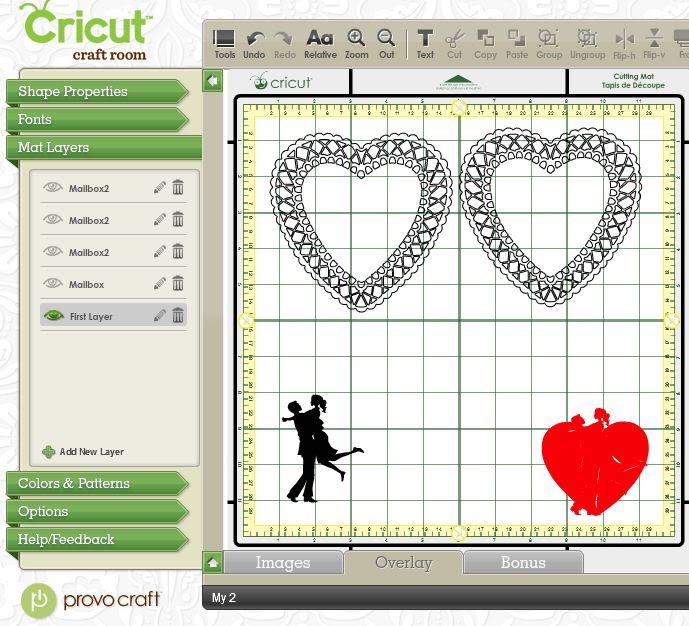
My next project was the Valentine Heart, this was created using the Art Philosophy cart gluing 2 hearts together sized at 5", some ribbon wedged between the two hearts.
The Centre couple are from CCR exclusive cart "Valentine's Sweets" both layers sized at 3"
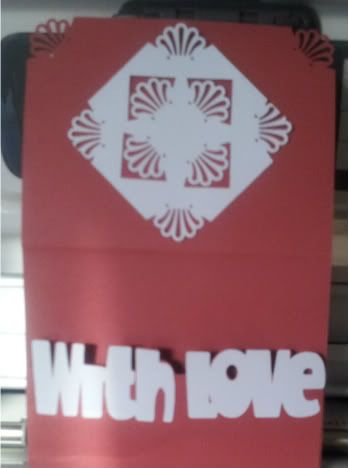
Finally I wanted to make the cute challenge card that Sheila made a few weeks ago, I wasn't able to do the challenge at the time, due to illness, so here is my card using the template that Sheila shared with us all
I hope you enjoyed my projects, I had a great time creating them :)
Thank you Sheila for having me today :)
Happy Crafting Everyone
Hugs
Adele
Showing posts with label Paper Trimmings. Show all posts
January 30, 2012
Hugs & Kisses
December 15, 2011
Honeycomb Ornament
Today I am sharing a tutorial on how I made a Honeycomb Ornament using my Cricut E2 and the Paper Trimmings cartridge (but you can use any cartridge that has a similar ornament).
This is Gaby and am thrilled to have remembered that the 15th is the third Thursday in December and not the second.... long story.... Sheila knows... :) -- On to my project!
There are several tutorials on how to make a honeycomb out of paper in the WWW. Actually, I knew the basics of making a honeycomb such as pretending there is a clock face and place glue at 3, 6, 9 and 12 when creating a honeycomb circle (or similar such as a pumpkin, apple, etc.). Next layer you place glue at 1:30, 4:30, 7:30 and 10:30. Following layer, you go back to 3, 6. 9 and 12....alternating until you are done. You usually use/cut 18 pieces when creating a ball or half of that when you want to create a honeycomb design inside a card that does not have to go all the way around. And the most common paper to use is tissue paper. But for my project today I was inspired by Becca Feeken over at Splitcoaststampers. Becca created a honeycomb ornament using a Spellbinders die and I, my Cricut E2.
Step One - Cut 18 of the same design. Since the paper was thin, I selected the thin paper option, but it suggested I set my blade to 5. I chose to set my blade at 4 and it worked perfectly!
Step Two -
Fold the 18 pieces in half.
I used the thinnest paper I had.
I could not find text paper or
thinner paper at my local
craft store and was a bit hesitant to
cut text/book paper on my E2.
The thinner the
paper, the better results
you will get.
Step Three - Use one of the negative spaces to mark ones and twos, alternating the numbers. This will be your template so that you don't forget/get lost placing the adhesive. How did I decide where each number was placed? This is almost identical to Becca's but she did not explain the logic. Mine is that at each curb I had to have one of each, so I started with my biggest curb on the design and marked a one.... from there I just alternated the one and two.
Closer look at the numbers.
Step Four - Adhere strong adhesive at each point (you can start with the ones or the twos, I started with the ones such as Becca).
The picture is kind of dark but it was the best way to show the dubs of adhesive.
Step Five - Add adhesive to the number twos.... alternating on all 18 pieces....
Step Six - After you have your "sandwich" or all adhered together, you will have two green sides like mine (or the color of your paper). At this point if you are going to add a piece of trim, ribbon or? in the middle of your ornament, you need this step, otherwise you can skip.
Last step is to embellished as desired.
I almost cut the upper part of the design because I did not think I needed it, but am glad I left it alone. I like how that extra top part looks in the ornament.
This is Gaby and am thrilled to have remembered that the 15th is the third Thursday in December and not the second.... long story.... Sheila knows... :) -- On to my project!
There are several tutorials on how to make a honeycomb out of paper in the WWW. Actually, I knew the basics of making a honeycomb such as pretending there is a clock face and place glue at 3, 6, 9 and 12 when creating a honeycomb circle (or similar such as a pumpkin, apple, etc.). Next layer you place glue at 1:30, 4:30, 7:30 and 10:30. Following layer, you go back to 3, 6. 9 and 12....alternating until you are done. You usually use/cut 18 pieces when creating a ball or half of that when you want to create a honeycomb design inside a card that does not have to go all the way around. And the most common paper to use is tissue paper. But for my project today I was inspired by Becca Feeken over at Splitcoaststampers. Becca created a honeycomb ornament using a Spellbinders die and I, my Cricut E2.
Step One - Cut 18 of the same design. Since the paper was thin, I selected the thin paper option, but it suggested I set my blade to 5. I chose to set my blade at 4 and it worked perfectly!
Step Two -
Fold the 18 pieces in half.
I used the thinnest paper I had.
I could not find text paper or
thinner paper at my local
craft store and was a bit hesitant to
cut text/book paper on my E2.
The thinner the
paper, the better results
you will get.
Step Three - Use one of the negative spaces to mark ones and twos, alternating the numbers. This will be your template so that you don't forget/get lost placing the adhesive. How did I decide where each number was placed? This is almost identical to Becca's but she did not explain the logic. Mine is that at each curb I had to have one of each, so I started with my biggest curb on the design and marked a one.... from there I just alternated the one and two.
Closer look at the numbers.
Step Four - Adhere strong adhesive at each point (you can start with the ones or the twos, I started with the ones such as Becca).
The picture is kind of dark but it was the best way to show the dubs of adhesive.
Step Five - Add adhesive to the number twos.... alternating on all 18 pieces....
Step Six - After you have your "sandwich" or all adhered together, you will have two green sides like mine (or the color of your paper). At this point if you are going to add a piece of trim, ribbon or? in the middle of your ornament, you need this step, otherwise you can skip.
I run out of 1/2" tacky tape...
on my way to craft store...
I added tacky tape to the middle
and run a piece of ribbon so that
I could hang the ornament.
I additionally wanted a place to
hang my embellishment at the
bottom.
I simply tied a piece of gold ribbon,
adhered it to the middle with tacky tape
letting a tiny bit at the bottom and enough
to hang on top.
Step Seven - Time to bring it all together. I added adhesive to one of my green sides and carefully brought it together by unfolding it. (I decided to ink the edges with distress ink before bringing it all together - the white was too white.... next time I will make sure I find prettier double sided paper).
You can see the ribbon sticking out at the top.Last step is to embellished as desired.
I almost cut the upper part of the design because I did not think I needed it, but am glad I left it alone. I like how that extra top part looks in the ornament.
I just added a bow and some sugared berries.
Thanks for visiting and leaving a comment! ~ GABY
Subscribe to:
Posts (Atom)