November 8, 2011

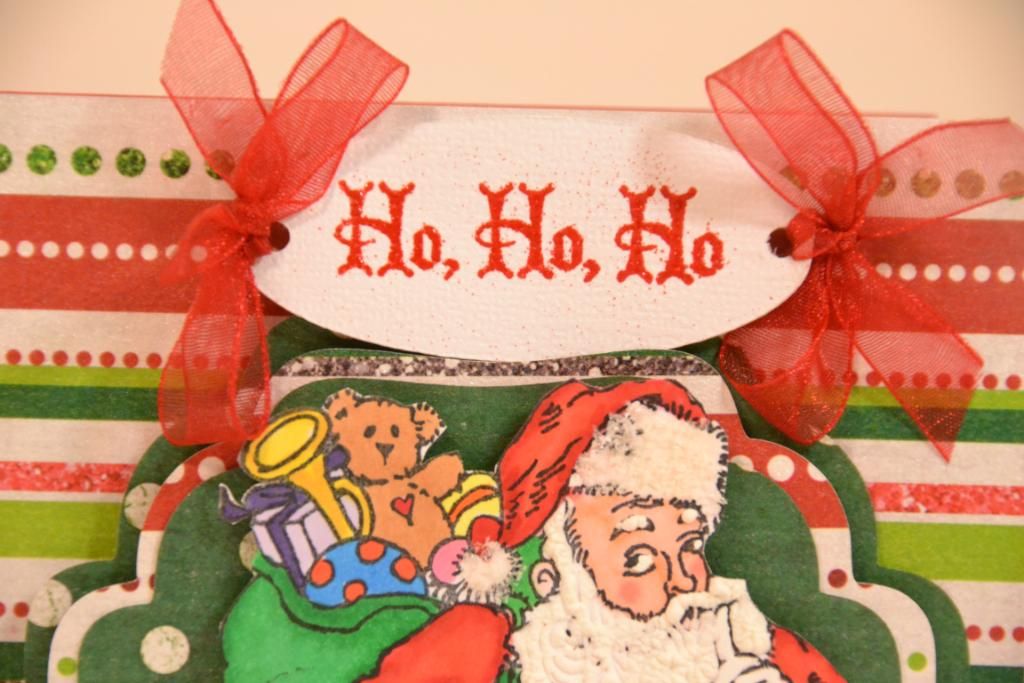
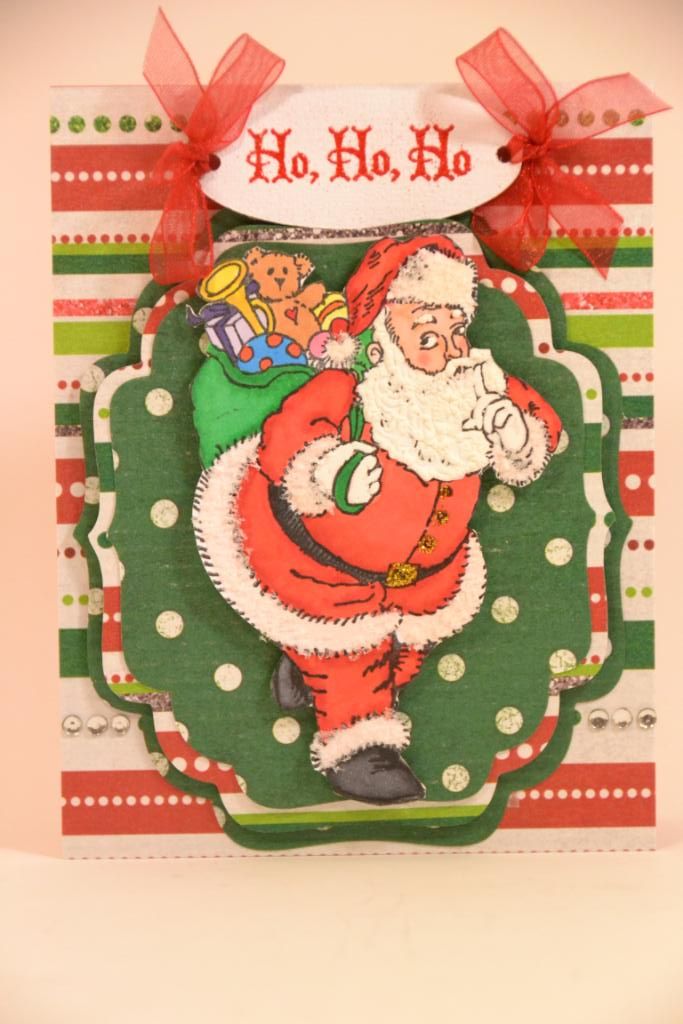
Ho! Ho! Ho! Copics and Cricut Card

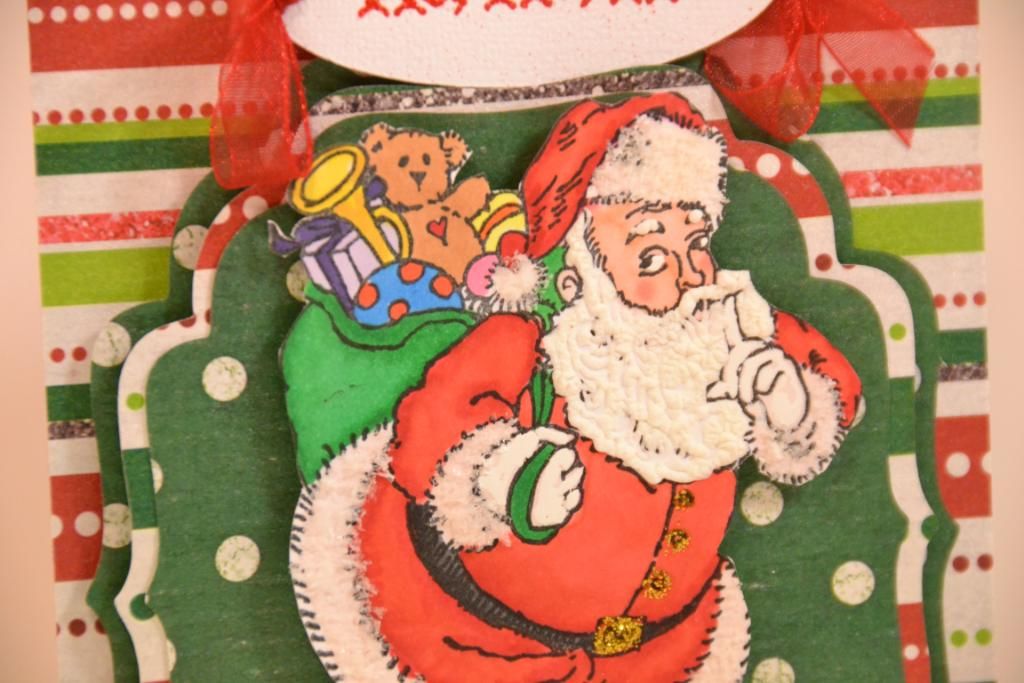
Hi everyone! This is Elizabeth from 217 Creations. I am so happy to be here today! Ok I have to say . . .  I am pretty proud of this card.  This is my second time using my Copics and I think I did a pretty good job. I added so many details to really make this stand out! 
Remember you can click on any picture to enlarge and see more details.
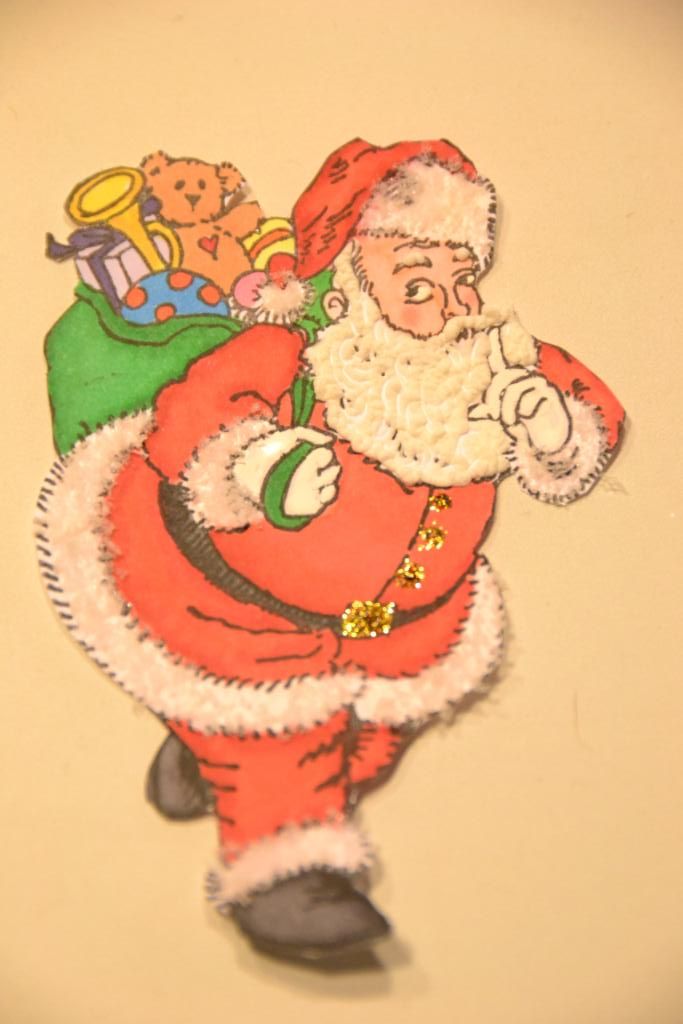
I started my stamping the Santa image from Stampendous.
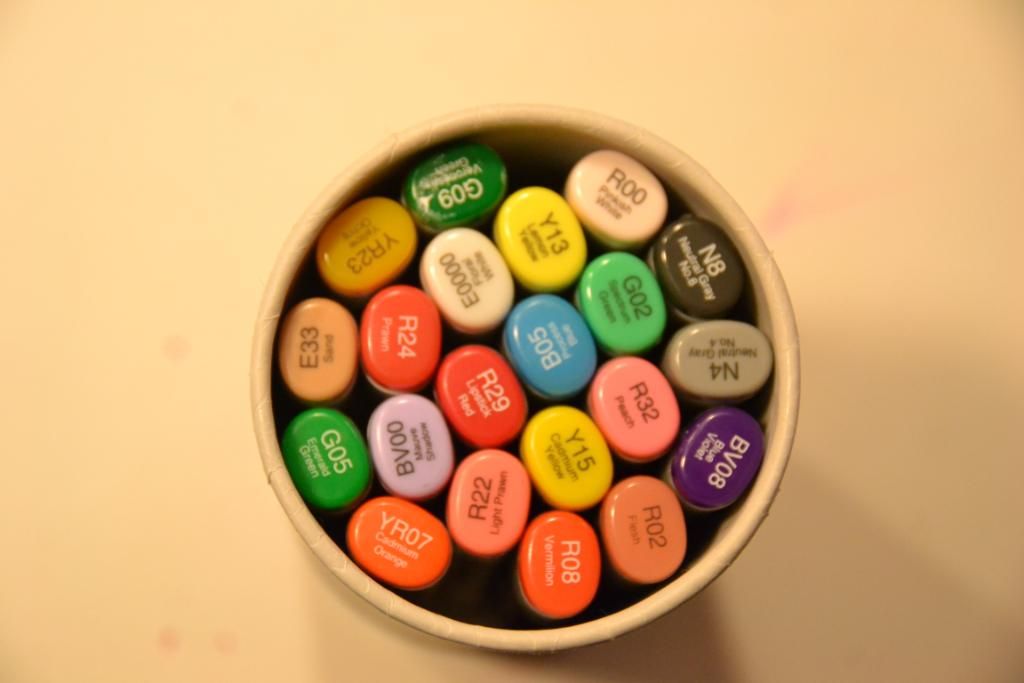
 I colored it using these Copics.
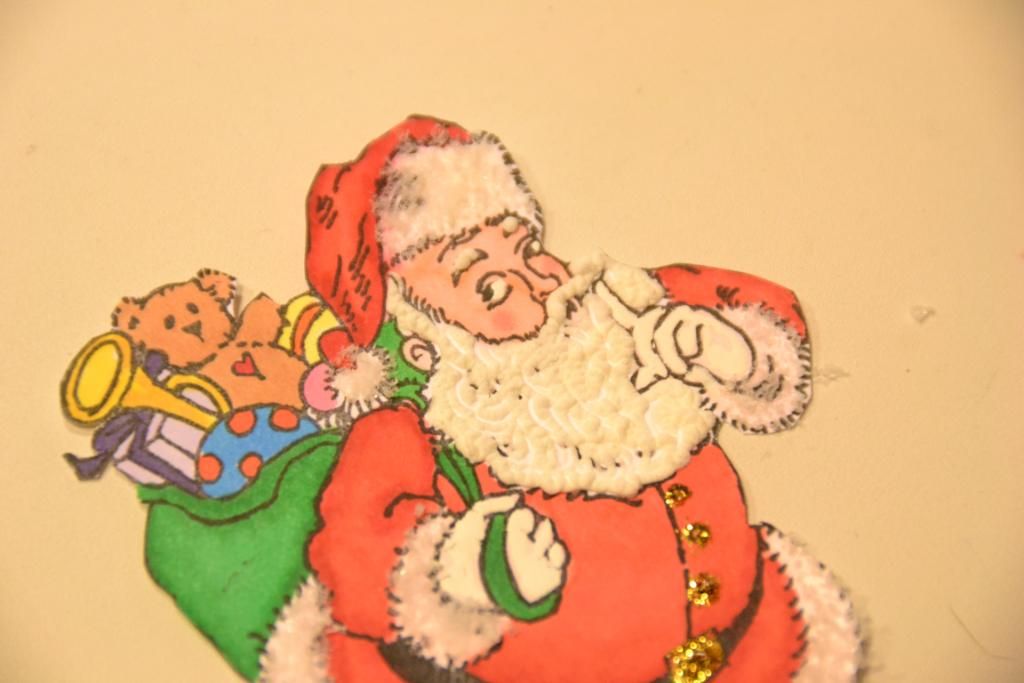
I trimmed away the excess and add lots of details to the image to really make it stand out.  I used Liquid Applique on his beard.  I did a spiraling motion to make it look curly. I added Stickles to his button and buckle. I use Copic Opaque White for the gloves.
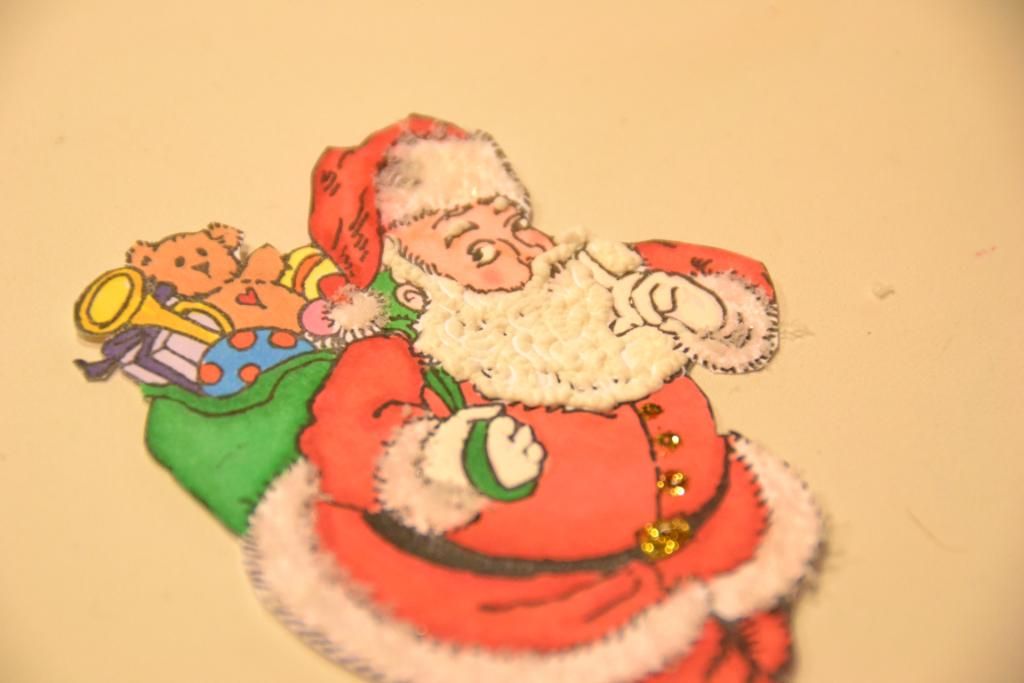
 I used Polar White Flower Soft for the trim on his suit and hat.
 These extra steps really make the image look more realistic.
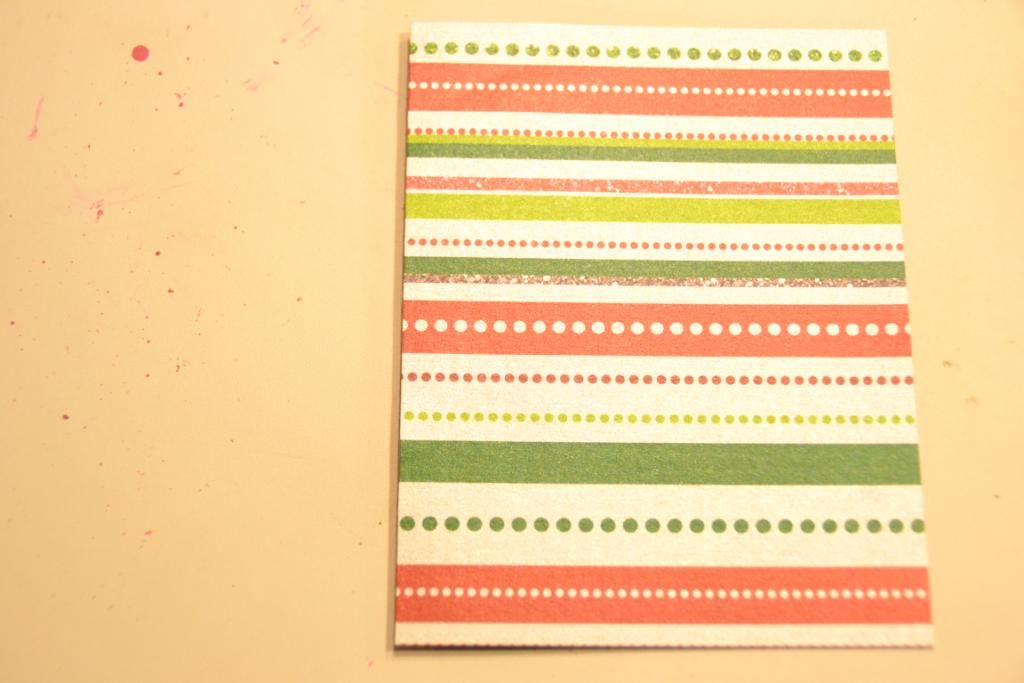
 While all my embellishing dried, I made the card base into an A2.  The cardstock was covered with Bo Bunny patterned paper.
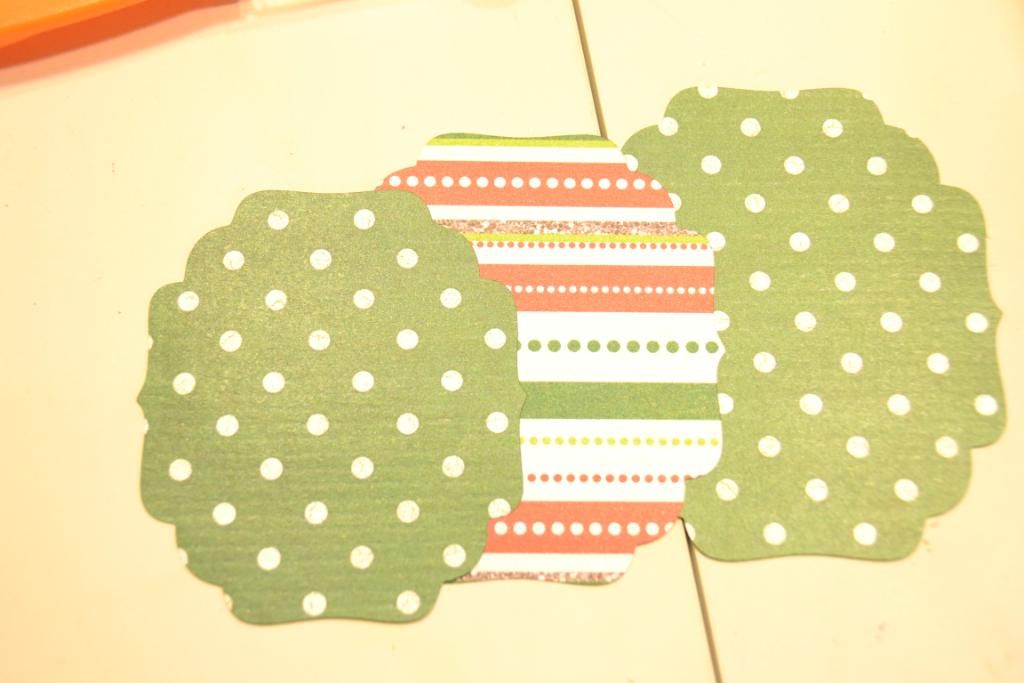
 I then cut 3 layers of these top note shape from Cricut CTMH Art Philosophy cartridge.  Each was cut in increments of .30 inches.
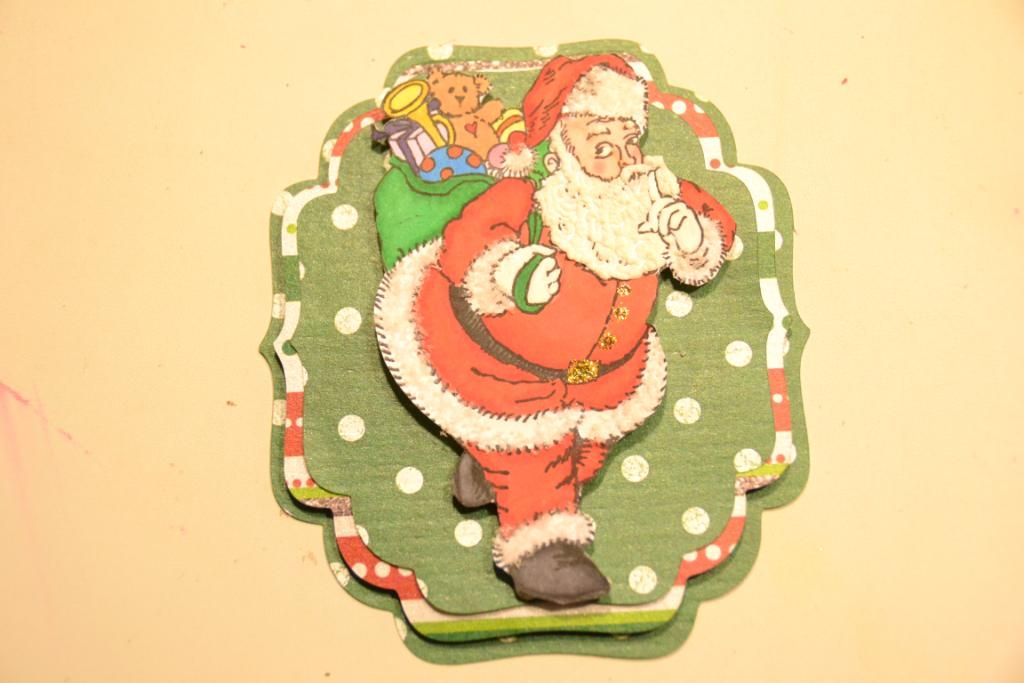
Then using pop dots, I added the layers together and the Santa on top.
Next I stamped this sentiment from Pink By Design Old Time Christmas in Festive Berries, the new Tim Holtz Seasonal Distress Ink. I then sprinkled red enamel embossing powder on top and heat set it.
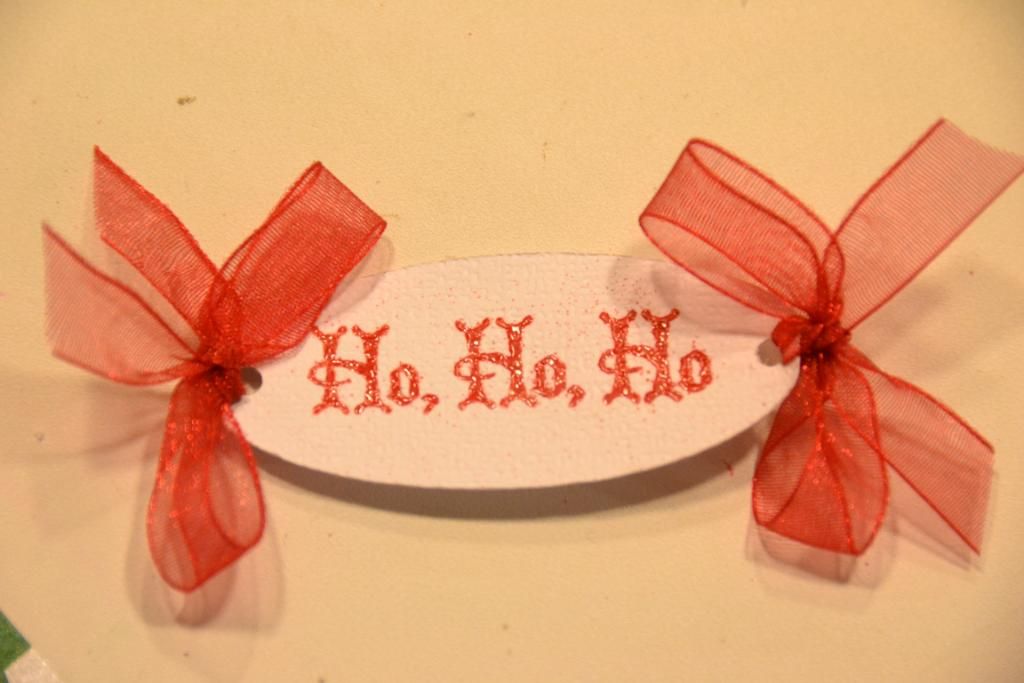
I punched holes on the edges and tied some sheer ribbon.
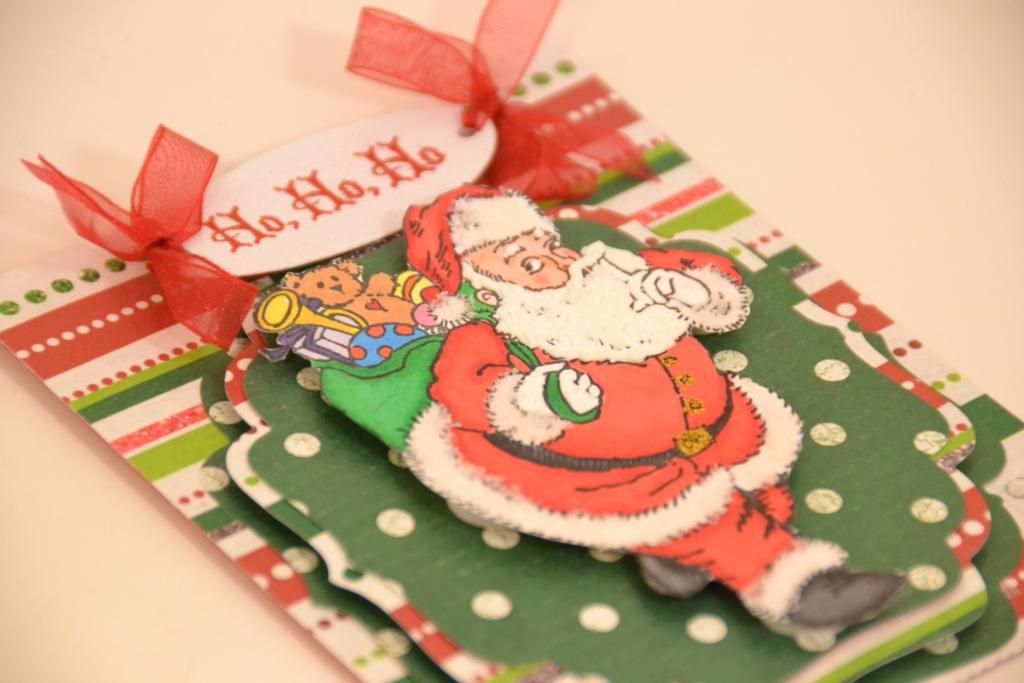
I assembled the card.
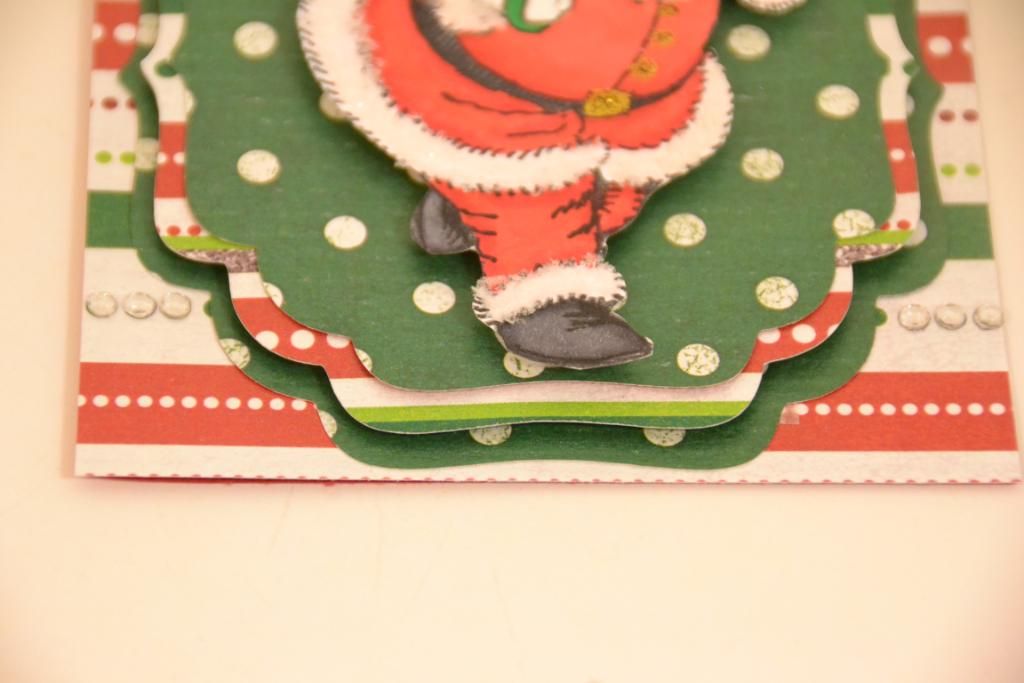
Finally I added some bling on the sides with my IRock from Imaginesce.
I love this card! 
I hope you enjoyed this card and some of the tips to improve your cuts and stamped images. As always I appreciate your comments and of course subscribing or following us here at She's A Sassy Lady and on my personal blog at 217 Creations.
Have a creative day!

November 7, 2011

Piggie Note Pad


Hi, I am delighted to be a Guest Designer at She's A Sassy Lady today!!  This is Lori from Scrappin' My Stress Away.

My niece just celebrated her 6th birthday.  She LOVES piggies!!  My gift to her is a day with Aunt Lori where we get pedicures and paint pottery (unless she chooses something different).  But I can't come empty handed to her birthday party, so I made her a piggie notepad and matching card.


I found this pig from Disney Pixar Toy Story.  I put the shadow layer on my gypsy at 4.18 inches and cut some out of white cardstock.


I cut out the another piggie at 4.29 (with the layer) for the cover.


I made the card the same size as the notebook cover.  I just welded two piggie shadow layers together for the card base and cut out a second piggie face.


Here is the card.


I wasn't sure how to bind my notebook without punching through the piggie's ears, so I used my Bind It All on a scrap piece of paper.


I put the scrap paper at the top of the notepad and centered it.

Then I used my Crop A Dile to punch three holes in the cover, back and the pages.


I trimmed the wires down to fit the note pad.


The trick is to flip the back cover over the front and poke the wires in.  Then bind it in the Bind It All.

The back of the wires will be hidden in the back of the notepad.


I used pink stickles to add some sparkle.
I had to put a little ribbon on her too!!


Here are Sabryna's piggie cupcakes.

Here is Sabryna surrounded by her friends ~ such a cutie!! 

As always, I am honored to be on Sheila's blog!!  Thanks for joining me!

November 6, 2011

Creating Bargello Designs with Paper

Hi, my name is Carolyn Lineberger and I am honored to be the guest designer for Sassy Lady today.  When Shelia contacted me about creating a project for this blog, I was beyond excited!  I hope you will enjoy the project and will want to create your own designs using Bargello.
Bargello is similair to weaving; however, the strips are not woven.  The strips are glued into place, cut again, and then arranged to form patterns.  Helene Metivier is credited  with adapting Bargello to create paper quilts.  I found the instructions for Bargello Designs with paper in THE ART AND CRAFT OF HANDMADE CARDS by Diane Maurer-Mathison (2003).

You will need:

**1 patterned sheet paper/cardstock (with at least 3 different colors)
**3 sheets coordinated solid colored paper/cardstock
**1 sheet white/neutral background paper
**Paper trimmer
**Double-sided adhesive film (I used a Tacky Tape sheet)
**Scissors
I liked this patterned paper.  I used a red marker to add the color.

Cut 1/4 inch strips of the patterned paper and solid paper using the paper trimmer
Lay the adhesive sheet on a flat surface and completely remove the top layer.  Lay the strips down horizontally alternating the colors and patterned paper.  Be sure the strips touch each other and they are perfectly straight.  Place the patterned paper in a pleasing design.
When the surface is covered, trim away the excess paper on the sides.
Cut this block vertically into 1/4 inch strips.  This will form small blocks of color on the strips.
Check the white/neutral background paper to be sure the edges are straight.  I lay the paper on my  trimmer and run the blade down the edge just to be sure.  It is important this sheet be perfectly straight!  Remove the backing from the strips and begin laying them on the background paper to form a pattern of your choice.  Arrange the strips to form a pattern by moving strips up or down a colored square to form a consistent pattern.
Notice the pattern at the bottom of the design.  Continue placing the strips on the background paper until you get the desired results. 
Then layer the design on a card front.
Now...let's take it a step further!
Here is a card that I made using the black, red, and white Bargello Design.
I cut 1 1/2 inch squares from the design and arrange them on a card front, added a ribbon and sentiment.

The Snow Couple!
I used shades and tints of blue paper to create a Bargello Design and then made a card using the Snow Couple from the Cricut Cartridge "Winter Woodland". 
The frame is a Spellbinder die.

I hope you have been inspired to try Bagello Designs! 

Please come for a visit at
Carolyn's Creative Corner

November 5, 2011

Christmas Tags

Christmas is just around the corner and I don't know about you but I am already feeling the pressure. So I have been working diligently to get all the things that need to be done. Today's project is Christmas gift tags. Aren't they just too cute? My daughter Heather is going to a scrapbook workshop and they need to each bring a tag to share. Well she didn't have the Create A Critter cart so I cut two for her. But because I used a larger paper I cut 8 and got 6 for myself! I just love when you can mass produce something to fit your needs.

Just a simple little video to share the mass production of these adorable Christmas tags. With just a few clicks of your Gypsy You are ready to place on your mat and cut.

See how easy this is just get your colors changes lined up on you screen.

Then do the same for your mat.


 After they were cut I assembled all the little penguins. I stamped a sentiment on the background and was ready to assemble all the pieces together.


Just a short little video demonstrating how to put these adorable tags together, plus this weeks challenge is announced along with the prize.

Here is a close up of what the tags look like. Each tag is 4 inches high and 3 inches wide. They are so simple to make and as cute as can be. The printed paper is from last year's Christmas stack from My Mind's Eye. Don't you love the glossy effect on the snowflakes?

Here is another close up of the tag. I am trying to get a good photo of the shine on this paper, it is awesome. I hope you enjoyed this little project.
This week I Challenge you to make a Tag!  Any kind of tag and link it up. A winner will be chosen by Random.org and will receive a wonderful little stamp set. Please link up your project by 3p.m. on Friday November 11 and the winner will be announced the next morning.
Thank you for your sweet - sweet words of encouragement. Your comments continue to inspire me to keep sharing with you.

Winner Of The Old West Cart & A Big Thank You To Our Sassy Lady Followers

I have been so BLESSED to have each and everyone of you as followers. I am amazed that we have exceeded 1200 followers this week! This has been an incredible 2 years serving and sharing with you. She's A Sassy Lady now has 26, yes an incredible team of 26 talented designers! Each month they share one project complete with tutorial with you. And that is what keeps this site so fresh they only share 1 design per month. I want to thank each and every one of them too for the love they have for crafting shines through each and every day!
Then I want to thank Chris of Get Inspired With Chatterscene. Chris is the talented lady that redid my blog. May I urge any of you that is needing or wanting a makeover to use Chris. She is so amazing and professional and her rates are extremely reasonable. She will help you every step of the way. Thanks Chris for our new look and be prepared to do this again next November..... we'll make it an annual housecleaning!
Well I am rambling.... lets get to the winner. It is Eva at Eva Scraps 'n Cards. This is her entry.  Eva please hit the contact button above and send me your full name and address.
And I want to tell you I had so much fun reading these entries. You are all so wonderful and have touched my heart in so many ways. Thank you everyone for your sweet sweet words.  Be sure to keep playing along and checking back as we will be giving away prizes from time to time.  I don't know of anyone I would rather share with than our Sassy Lady followers!

Our 1st Weekly Challenge Winner

Good morning. I am so excited to announce our weekly winner. Considering there were only four entries the odds were great for winning this one. Guess my timing was a little off to have a Christmas project so close to Halloween.... Be sure to come back in about an hour or two for next week's challenge. An easy one that I expect lots of entries. The entries were fabulous and I thank each of you for entering and you can check them all out at the bottom of this post.

So our lucky winner is number 1, the Christmas Card from Carolyn's Crafty Corner. Carolyn please email me your address so that I can get your monogrammed note card sent out to you right away.

Again congratulations to our lucky winner. Thanks everyone for playing along.