April 17, 2011

Digital Children's Easter Cards

Hello, these are the 8 Easter cards I made in Dallas for my granchildren. These were of the first digital cards I made and I tell you I was lucky that Melissa of Melissa Made was with me because without her I would have flunked digital cards!!! First I have to thank her for showing me the digitals at Tiddly Inks. I started with a couple of Freebies of which this is one and have since become a customer of theirs and have a mini collection of digital stamps. And yes, I am still using my Crayola markers that I spent $3.99 on so you can see I am getting my monies worth!
This is the first one I started cutting on and as you can see I cut it too narrow for the front of the card. Melissa came to the rescue and helped me by showing me that I needed to mat the stamp. She said because I made it so narrow I needed a little something more to make it look nice. So she suggested the flowers and we used skittles for the inside of them. Now this will make a great card for a little girl. Melissa reminded me just line with our Cricut cuts and the papers we use that it is all in the details.

We added either butterflies or flowers to each card and as you can see each of the bunnies has glitter on it's ttail. Isn't that just too cute. Oh, if you want to see a larger photo just click on it to see it enlarged.
Next I moved on to Digital Delights by Louby Loo and got this Freebie.... note their Freebies change from week to week. I learned bout them from Mary at Cardz TV as she does a feature once a week using digitals while making cards. These were a lot of fun to do and I used my Stickles to enhance these little eggs.

Aren't these just too adorable. I love these little Easter cards and they were soo easy to do. Inside each of the bunny eggs I used my computer to print You are Egg-ceptional! I know the children will love all of these brightly colored cards.
Then I took a regular A2 envelope and stamped the fronts with brightly colored Easter eggs with my CTMH stamps. Won't they be a fun card to receive?
I hope you enjoyed them too and will give digital stamps a try. They are really great for those times that you can't use you Cricut but you just have to have a card. Thank you for your sweet sweet words of encouragement. You comments continue to inspire me.
signature

April 16, 2011

Another Dallas Stampede Card!

We played a wonderful table game in Dallas. Pam of The Bug Bytes, Melissa of Melissa Made and Elizabeth of 217 Creations each designed, cut and prepared cards for someone else to put together at the Stamped. Well I liked my card so much that I cut 2 more using scrap paper just for myself. You can never have too many birthday cards!
This is the coolest card as children just love it! Everything they do is interactive so this card fits bill. It takes a little more time than a regular A2 card but very much worth the effort when you see the smile on the face of the person that you give it to.

Look at this little monkey, isn't he just too cute?
And the DCWV Animal stack is just perfect for this card design with the little monkey!!

This first video shows how to get ready for a crop or swarm, how to pack and what to pack to enable you to be productive while you are visiting and enjoying yourself. I was able to complete a 2 page layout, 2 Happy Birthday Cards, 2 Happy Birthday Spinner Cards, 2 Get Well Cards and 8 Easter cards at the Stampede as well as take an afternoon class with Teressa Collins and get a good start on a personal album! That is a lot considering all the play time I was able to get in! And I was able to do that because I took the steps in this video.


This second video is me racing against the clock. What you don't see is the little group of ladies that were passing the other slider card around and watching how to put this together. I did it in less than 10 minutes! Yeah which means my card fit with in the allotted time our little contest allowed! You see I was a little worried that the person that drew my card wouldn't be able to complete but I was able to do it. If you would like the Gypsy file for this card just click HERE (NOTE THIS FILE IS A GYPSY FILE). You will need to change the center art to what ever you prefer as the file is set up for a little butterfly.  Now I challenge you to make a slider card and then link it up right here on Shes A Sassy Lady for ALL to enjoy. Oh how fun it will be to see all the different versions and it will be so easy too as you have my file to work from. Just think you can change that center to anything you want, just make sure it is kind of round so that it will twirl easily. Have fun and I can't wait to see what you come up with!
I hope you enjoyed today's post. Thank you for your sweet sweet words of inspiration. Your comments continue to inspire me to keep sharing with you.
signature

April 15, 2011

Just in time for Easter


Hi Everyone,

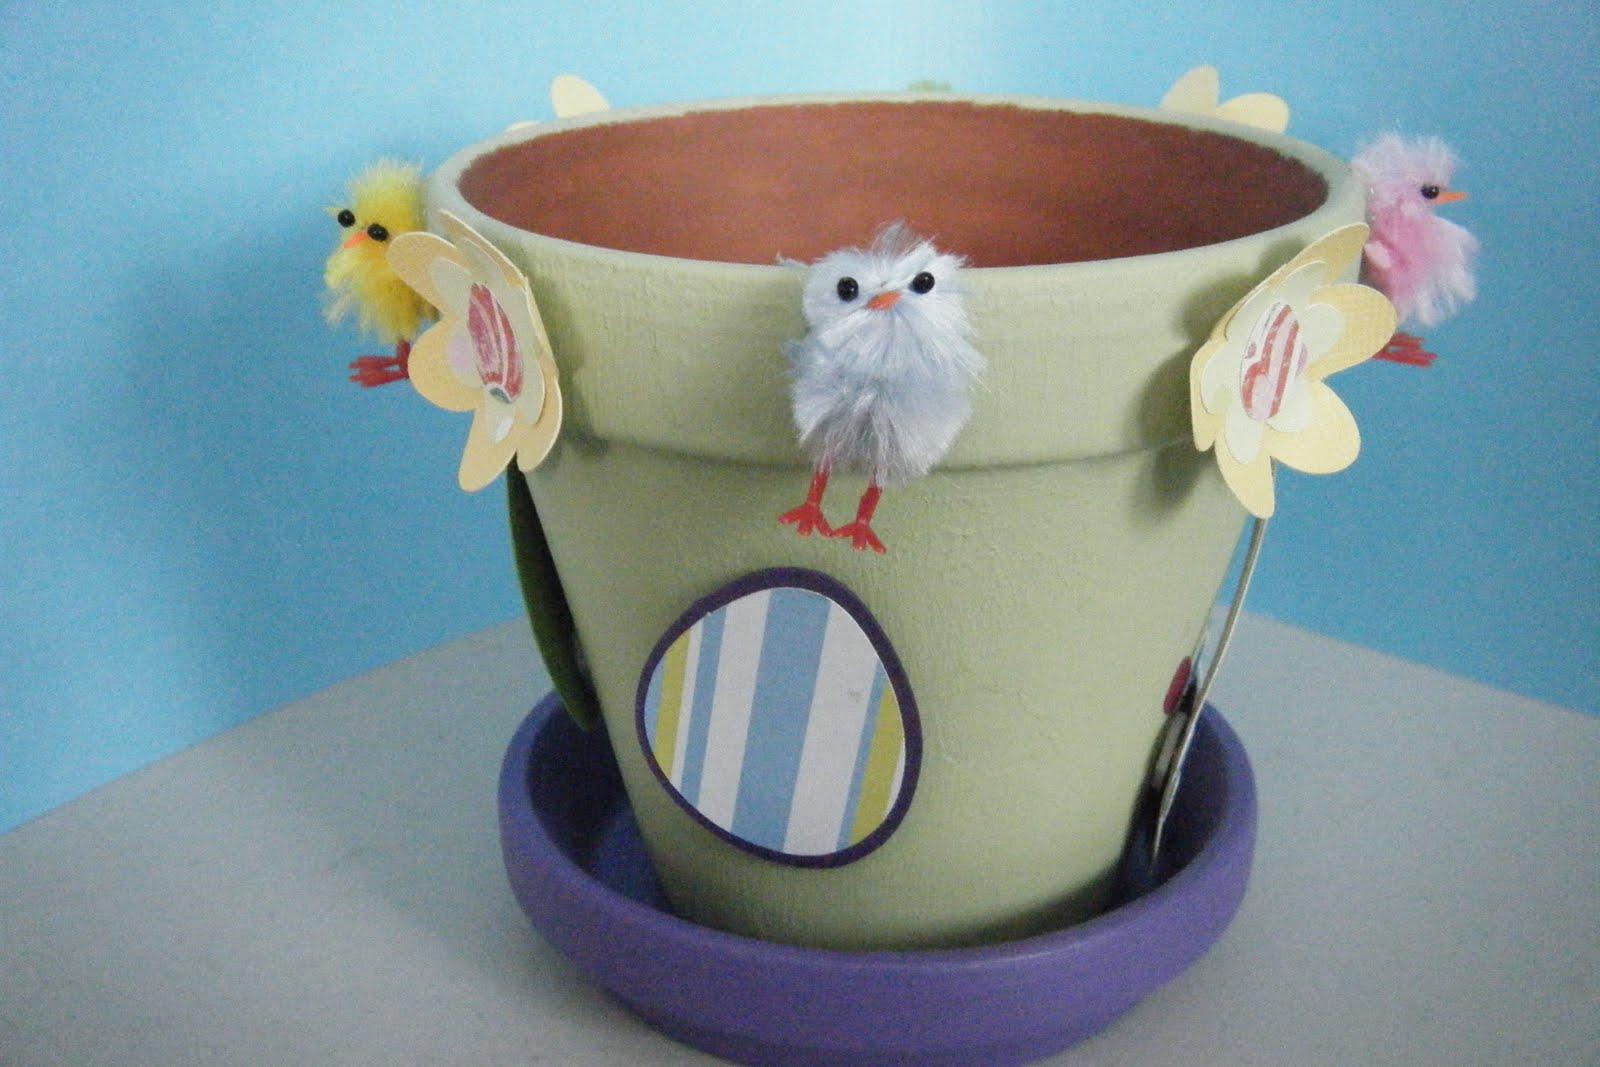
It's Lisa from Lisa's Craft Room coming to you today with my monthly design. Thanks again to our Hostess, Sheila for having me. Since Easter is almost here, I decided to make this cute project. I've been wanting to do something with this flower pot for a long time.


I painted the pot green and the bottom purple, I didn't worry about the inside of the pot because it will be covered when a plant is in it or some Easter grass and goodies.


I found these cute chicks at a book store, I adhered them on with my hot glue gun.


The flowers are from the Serenade cartridge and all the other cuts, the bunny, eggs and basket are from the Doodlecharms cartridge. They were adhered using pop dots.


Just a little something cutesy for a decoration. Thank you Sheila for having me again. Thanks for stopping by. See you again soon.

April 14, 2011

Monthly Scrapbook Calendar Pages

Hello everyone! This is Java Jen from Java Jen Creations and I want to, first of all, thank Sheila for having me here today! It is truly an honor!

For my project today, I want to share with you something that I do each month to make it easier to scrapbook my monthly pictures.  As I have taught scrapbooking classes through the years, a common dilemma with my customers and friends has been what to do with those everyday pictures that are not part of a big event or holiday. I say that the everyday happenings in our lives are just as important as the big celebrations so why not recognize that in our albums!? Each month I create a calendar page that hangs on our fridge so that we can write our everyday comings and goings. When the month ends, I put it in our family scrapbook and simply create simple pages with all of the pictures that I took that month. It has been such a great way to remember our everyday moments that might have otherwise gone unnoticed and it makes for wonderful reminiscing when we sit down to review past years! More than once, we have been trying to recall when a particular "something" happened and one of my kids said, "Get the album! It's in there!"  (That made me feel particularly good!)  My, I've been wordy today!! I better get to some pics! Here are some pics of the calendar pages I have made recently - starting with this month's that is currently on our fridge. Under each picture, I have listed the cricut cuts and what cartridge I used for them. I'm not listing specifics, like sizes and papers used on all because this is a project that is so easy to personalize to your tastes and style. Obviously, all the pages are 12x12 and I used a calendar grid from Creative Memories. The Fridge Frame is also a Creative Memories product that I have had for years but sadly, they don't make it anymore. :(  You can simply hang your calendar page up with some strong magnets for the corners. Ok, on to the pics!
"APRIL" - Designer's Calendar
FLOWER and "spring has" and "Sprung" - Creative Memories Cheerful Seasons

All elements used on this page are from the November Club Ruby designers kit. To find out more about this club, check out Club Ruby Designers , a fantastic monthly club full of inspiration!

DECEMBER - Designer's Calendar
ANGELS and TREES - Winter Frolic
K & Co. - background paper


JANUARY - Designer's Calendar
printed background and snowflake paper - Mr. Frosty Imagine cartridge
snowflakes - Creative Memories Cheerful Seasons
stickles


printed background paper - Yummy Imagine cartridge
Die cuts - all printed and cut in layers from Yummy cartridge
FEBRUARY - Thickers
stickles

MARCH - Creative Memories sticker letters
all other stickers and accents - DCWV Spring stickers and accents
background paper from Club Ruby kit

Pumpkins from pre-loaded Imagine shapes and printed with Imagine
Sticker letters

AUGUST - Designer's calendar
"Happy Trails" - Going Places cartridge
Clock - Designer's calendar
background paper - DCWV

SEPTEMBER - Designer's calendar
"back to school", "Labor Day" and "school starts" - Designer's calendar
Apple - Makin' the Grade cartridge
"7" - Makin' the Grade cartridge

Thanks for stopping by today and don't forget to make those everyday moments ones to remember!  Stop by my blog: Java Jen Creations anytime to say Hi!

April 13, 2011

Bottle-cap mania!


Good morning! This is Beatriz from Amazing Grace and today I am bringing you a very simple but fun and sassy project called bottle-caps art. All you need is bottle-caps, tacky glue, glossy accents and your favorite photos, papers, buttons and/or bling.


 They are very simple to make. Punch out your paper/photo to fit your bottle-cap. You can add glossy accents for  a shiny look. Embellish to taste and voila! They make great embellishments and you can make them in advance with your scraps and have them ready when you crop. Have a blessed and happy day!

April 12, 2011

A Lavish Altered Book

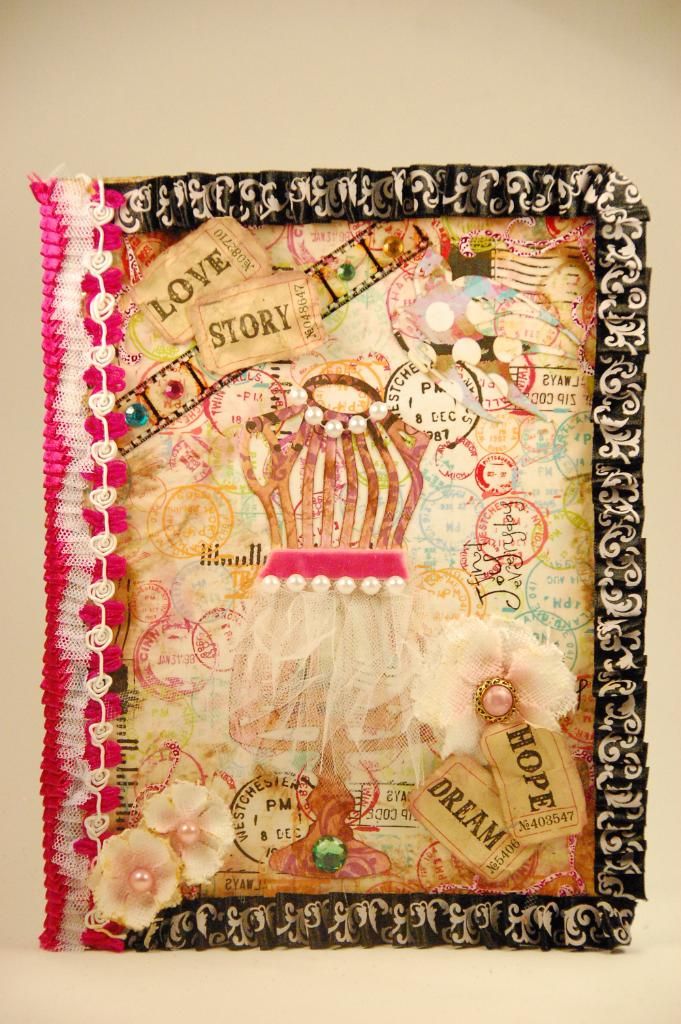
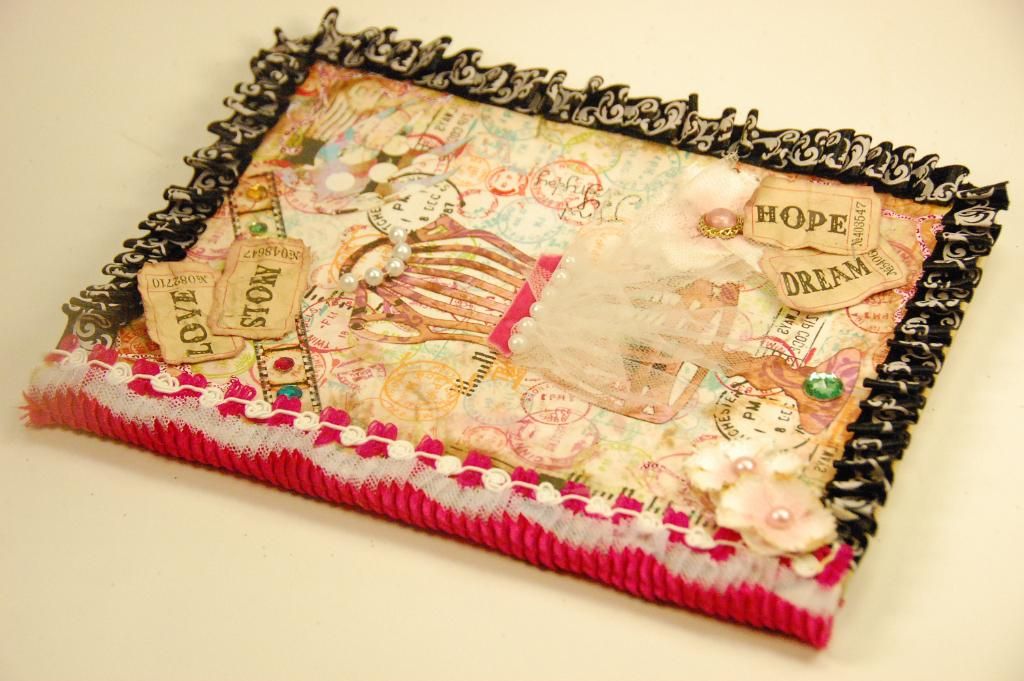
 Hi Everyone! This is Elizabeth from 217 Creations. I think most of you know by now how much I love to alter items.  My Cricut makes this so easy to do!  I can't wait to share all the details with you! I made this album with my neighbor's daughter Abby.  She just got her Gypsy for Christmas and her favorite cartridge is French Manor.  She has good taste! It's mine too!  She picked out the cuts and we sized them together.  She also picked out most of the embellishments and the paper.  She even got her hands into the inking! LOVE IT! So here's our project!
 I started with a composition book I bought on the after school clearance at Target for 10 cents!
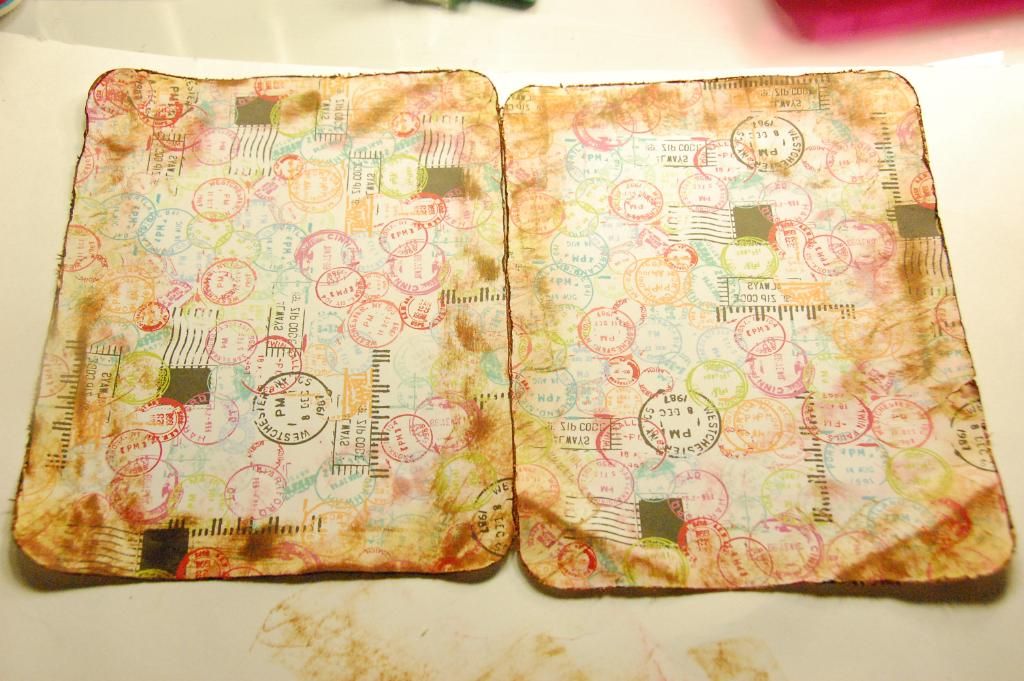
I traced my cover size on to the back of this ultra cute paper from Me and My Big Ideas. I used my paper trimmer and cut the cove rout. I distressed the edges and added Distress Ink in the following colors: Scattered Straw, Vintage Photo, and Victorian Velvet.
Next I used Modge Podge to seal the papers to the book.  Because Distress Ink is formulated to react with water, it will bleed a bit with the Modge Podge BUT I wanted that! I wanted that smeared, torn and worn, found in your grandma's attic look.
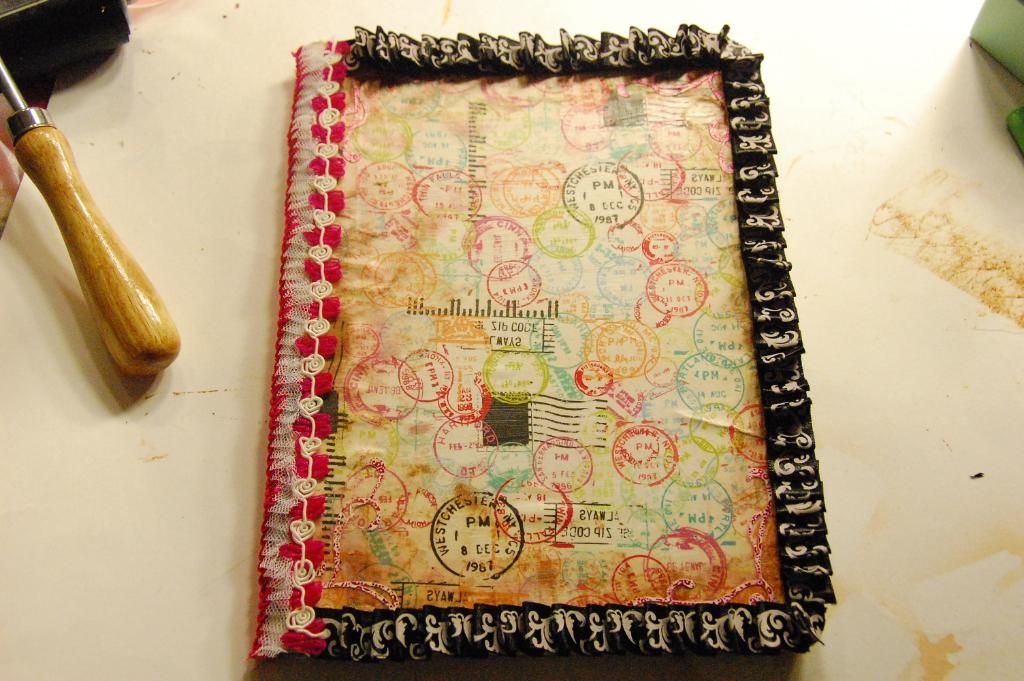
Once the Modge Podge dried, I took a couple of strips of Terrifically Tacky Tape (TTT) and ran it down the spine and bit over the edge.  I then pressed this gorgeous ribbon onto the TTT covering the spine and overlapping the front and back bit.
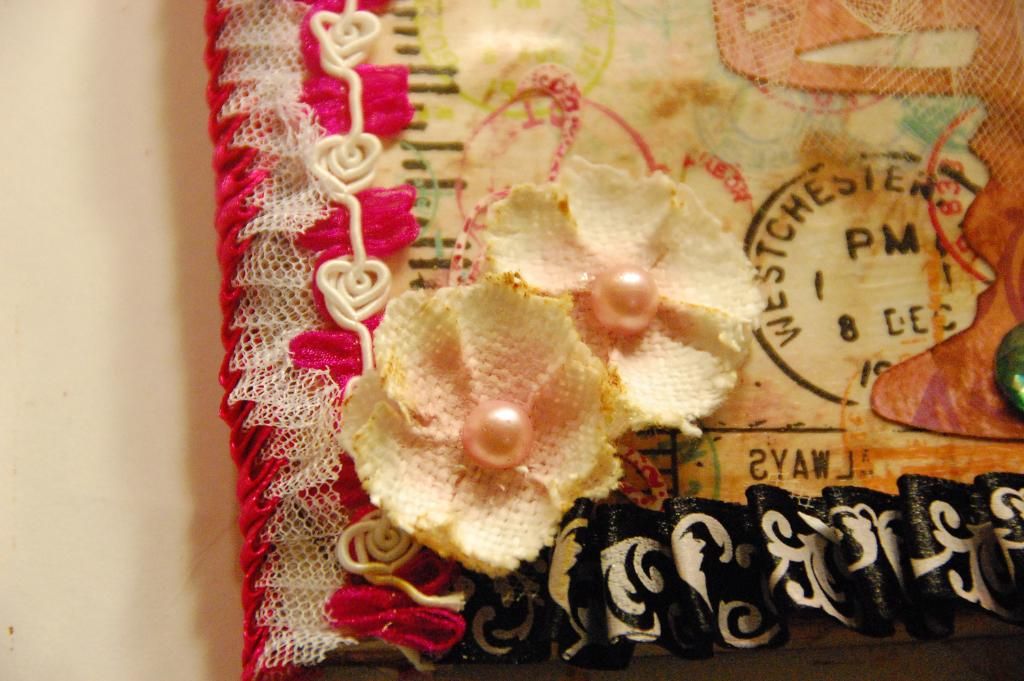
Next I hand pleated the black ribbon onto the edges with TTT.
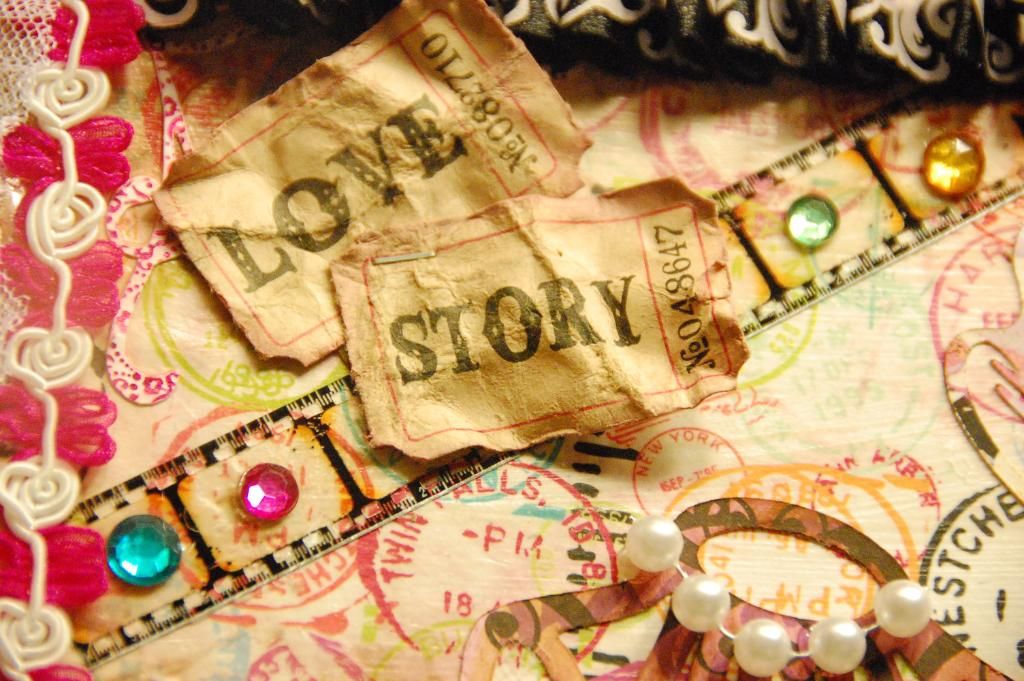
Then I began embellishing the cover. I started with a strip of Tim Holtz Film Strip.  To adhere it, I covered the entire backside with Tombo Vellum adhesive.
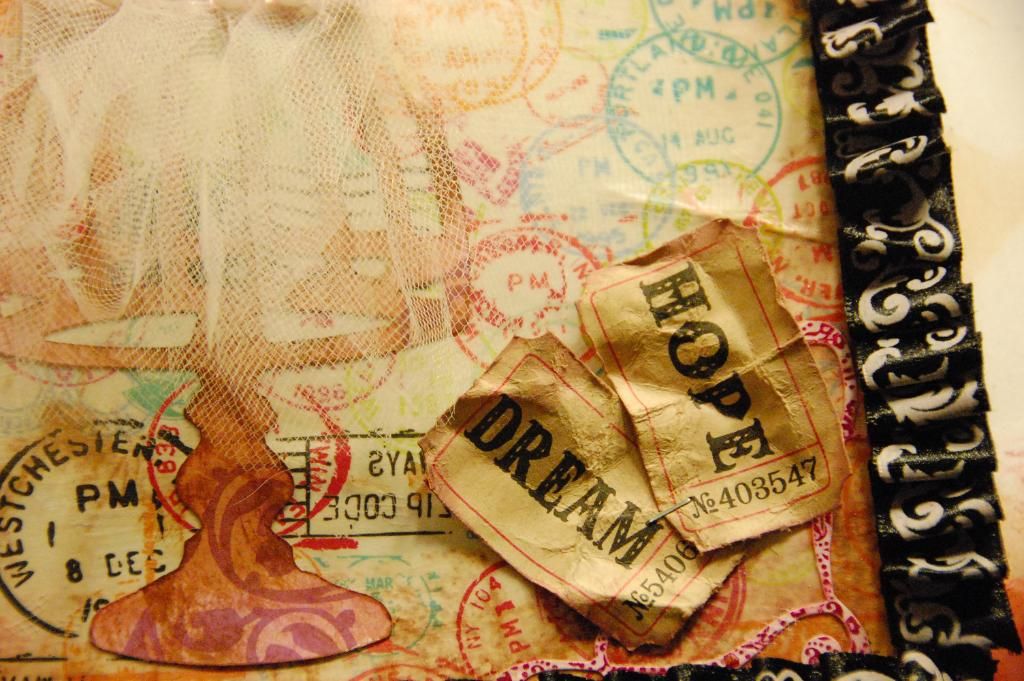
Next I altered and distressed these tags from Tim Holtz.  First I inked them.  Then I spray with Glimmer Mist and then I crumple and wait to dry.  Then unfold.
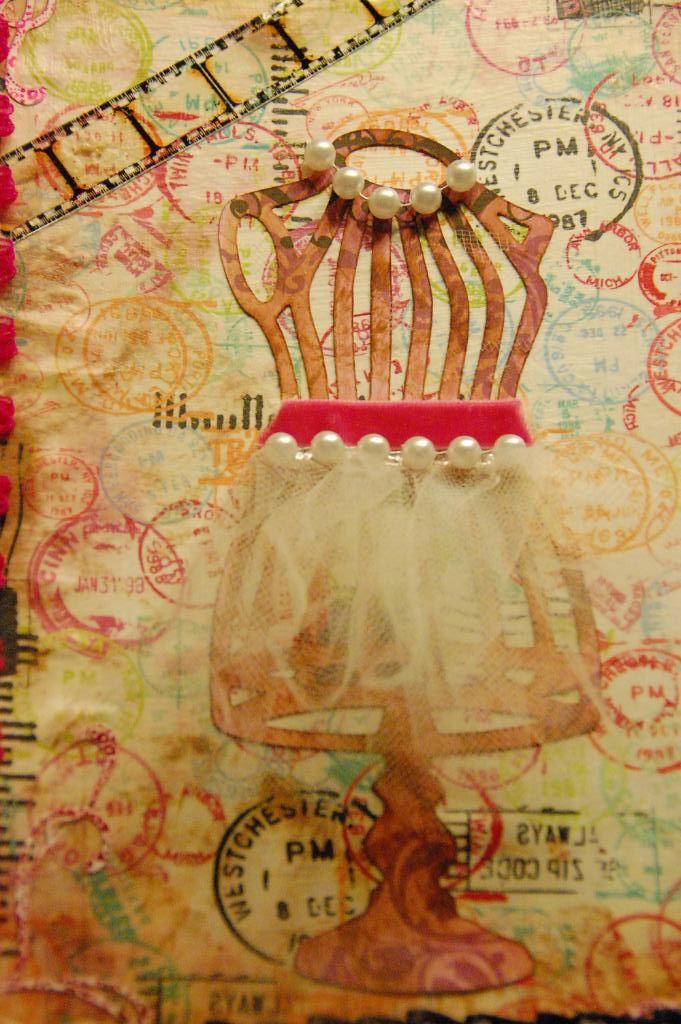
I then used this cut from French Manor.  This dress form is cut at 6.53 inches. Then I inked the cut with Vintage Photo Distress Ink.
To finish the form, I placed a strip of TTT and then pressed the tulle into the TTT, creating a skirt.  I repeated this a few times and then added a strip of velvet ribbon for the belt.  Finally, I adhered the pearls to the skirt and the necklace.
Next I used the Tim Holtz Tiny Attacher to pair up the tags.  I then hot glued them to the cover.
 
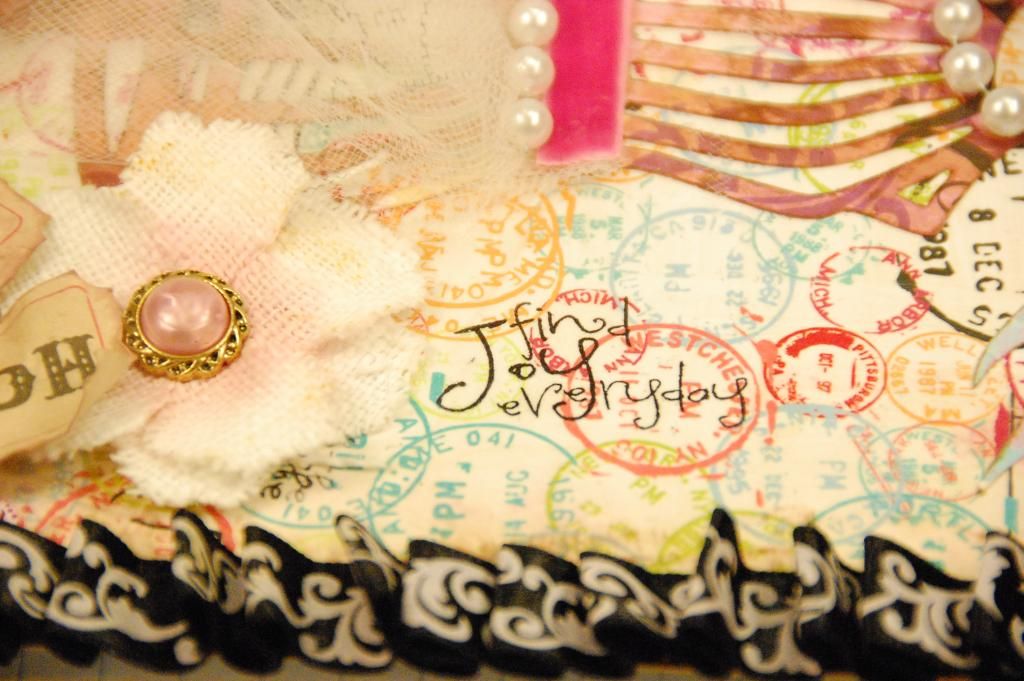
I added these flowers from Prima and stamped the sentiment "Find Joy Everyday" from Pink By Design Enjoy the Journey.
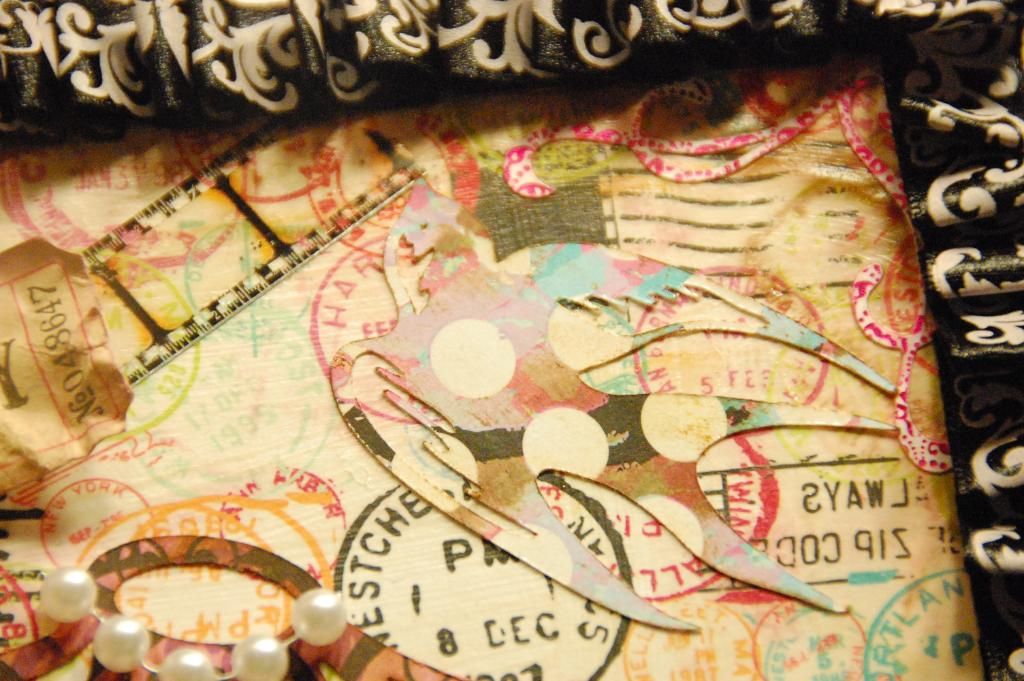
 I added this bird from French Manor.  I cut it at 2.06 inches. finally I inked the edges of the pages with Scattered Straw and Vintage Photo.
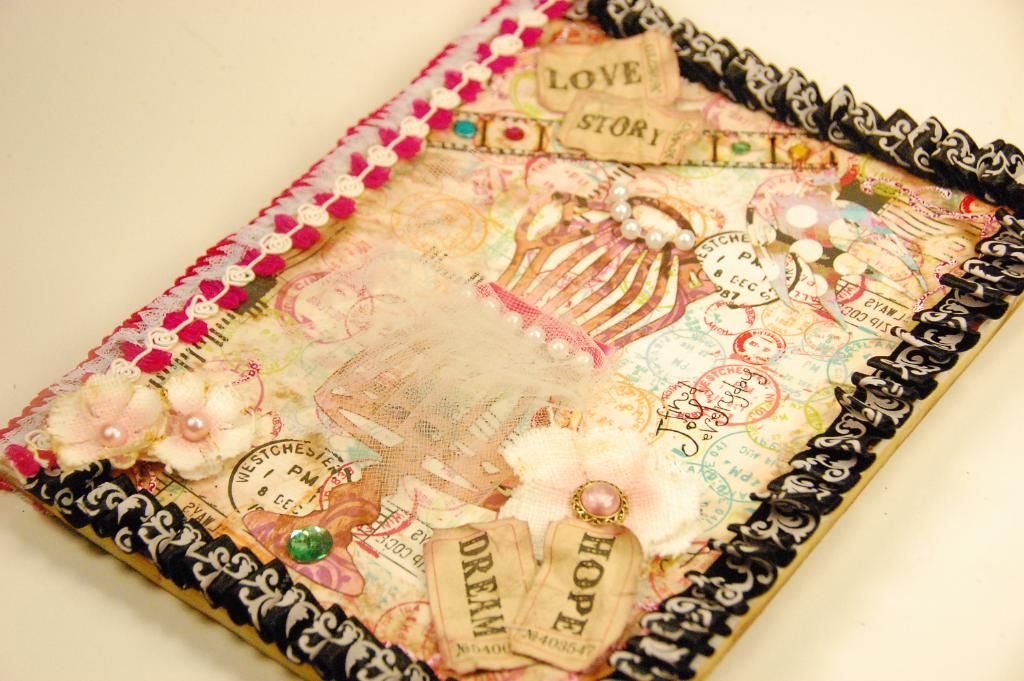
Here are a few angles.  Remember you can always click on any photo to enlarge and see more details.
 Thank you for leaving comments both here at She's A Sassy Lady and on my personal blog at www.217Creations.com