


I am thrilled to be guest designer once again! I know that we have all been inspired by a single picture---not necessarily a photograph. yet, when the time comes to create the project there are no "perfect" paper matches. Today's Frugal Friday will finally put an end to that situation!
I just love this picture! It was a free download from The Vintage Workshop (they have great stuff!)
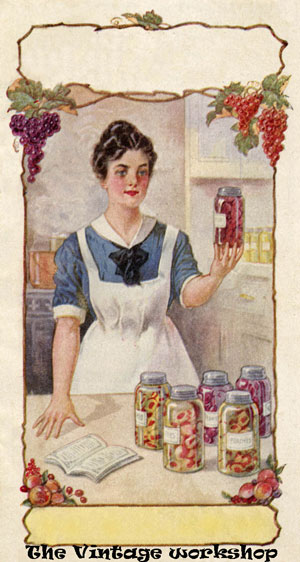
It just screamed to be used with my PC Preserves cartridge in something more than a card. When I finally decided on my project, I had no (none, nada, niente) coordinating papers in my stash---and of course it was very late at night. Thank goodness for my Photoshop Elements. (Keep in mind, any graphic program can do similar functions!)
The tools that I used in the program included:
- Open a background
- Setting the size of the background
- Using the "color picker"
- Using the flood fill
Open the Inspiration piece. Enlarge the background of the picture to 8 x 8". Flood fill the background with a color that coordinates.

Now the fun part! I will outline the process for one color, but it is simply repeated for each color that is desired.

Find the "color picker" tool for your program:

Zoom into the area of the picture for the color desired. Using the tool, click on the color. The selected color should appear as the primary color (color 1 or foreground color).

Open a new background. Set the size of the background at 6 x 6" (this is the size of 1/4 of the Cricut mat).
Fill the mat with the color.

Send to your home printer. Voila! Custom matched colors. I printed 5 colors; the greens I simply adjusted the light and dark of the color using the color bar of the program.

After printing, I trimmed the papers to 6 x 6" squares. I like to seal the printed pages with Krylon Preserve It for Photos; I get no bleeding or running of colors!

On to setting up the Gypsy to cut your fruits from Preserves!

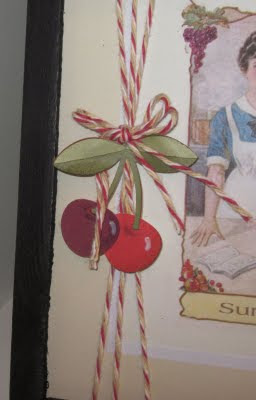
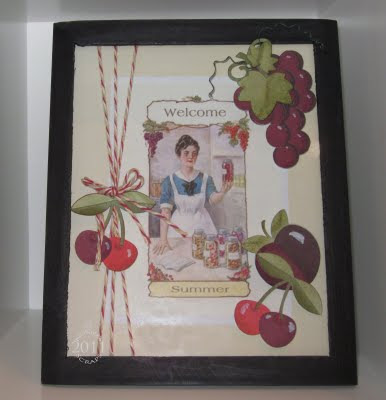
To finish, I purchased a 5 x 7" frame. Since the "mat" coordinated with my picture I framed it with the canning picture. I wrapped yarn (yup!) around the glass and the picture/mat.
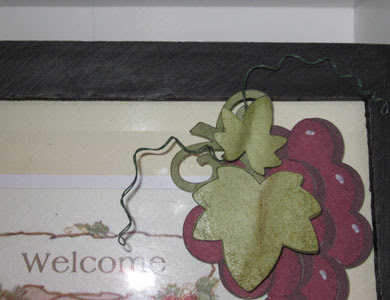
I then added the whole thing to the frame. I added some curls of green florist wire to the grapes to mimic tendrils.
Finally, I arranged the fruit on the glass around the picture. I adhered it all with pop-dots.


8 comments:
what a really great idea! thanks for sharing... and sheila, love the new blog design!
What an awesome tip. I would have never thougt to do this. Thanks for sharing this great tutorial with us today.
Awesome tutorial.
Sheila the blog is looking awesome. Love the bright colors, the pictures and the flowers.
Really cool idea~~Thanks for sharing with us
**Sheila**love the new look of your blog
Hugs,
Stacy
Sheila, I love your new look and check your blog nearly everyday. Thanks for sharing!
Doris
What a great idea! Thanks for sharing your knowledge & beautiful project.
Beautiful card, Sheila! I love the new look of your blog!!
Kimberly
Wow super idea!! Love how this turned out - I've really been wanting this cart too but haven't broken down yet! Now I might have too! LOL - gorgeous!
Hugs,
M
Post a Comment