


Hi all! I hope you are having a wonderful day. This is Jeannie from NonnasScraps.
I am so excited to be the guest designer today! I just love this place and I hope you do, too!
Father's Day is just around the corner. I don't know about you, but I think finding "guy" sentiments or stamps is tough! So, I have resorted to another source, the dictionary!

This card just screamed, "Classic!" to me (that describes my husband to a T!)
Here's what I found in Merriam Webster's on-line dictionary:
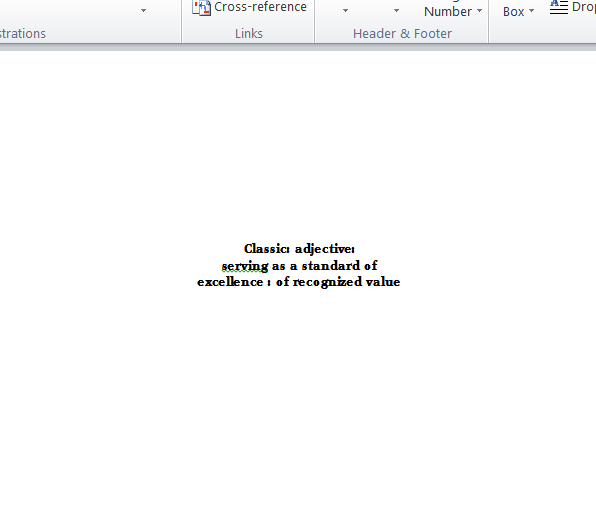
a : serving as a standard of excellence :
of recognized value<classic literary works>
c : characterized by simple tailored lines
in fashion year after year <a classic suit>
Woo hoo! Letter A is perfect! So, off to print using my home computer.

- I first opened Microsoft Word 2010. (A similar word processing or graphic program can be used.)
- I then set my page margins :
- Select Page Layout: Margins

Select "Custom" margin; set values to "3"

- In the Word Document, I typed my text. (see the specifics for this card below) and set the justification to centered. I also chose the color for my text at this time.

- Select Insert: Shapes

- I wanted to print on a circle, sized 3 x 3", so I selected a circle and adjusted the size.

- I then sent the Word Document to the my home printer. (Hint: Note which is the "leading edge" or the one that exits the printer first. This edge will go into the printer first in a later step.)

- I gathered the shape to be printed upon, the printed sentiment sheet and either temporary glue stick or blue painter's tape ( Don't know why I got the glue stick--- I really prefer tape.)

- I adhered the cut to to the paper, using the printed shape as a guide. I made sure that the "leading edge" was securely adhered to the paper.

- I returned to my Word document and deleted the MS Word shape, so that all I print is the sentiment.
- I then sent the document a second time to the printer. Hint: Be sure you know which side will be printed and send the leading edge into the printer first.)
- Voila! I had a perfect sentiment printed in the perfect place!

- Specific ingredients for my card:
- Mojo Monday Sketch 235 April 2, 2012, Sketch by Teresa Kline
- Lettering Delights digital papers: Generations and Heritage
- Font: Traveling Typewriter
- Google search for antique car silhouette image (converted in MTC software)
This is a great way to print to any cut, making use of all of the TTF that are available from so many sources!
Thanks for stopping by!


6 comments:
What a handsome card. I too have a hard time with manly cards. Great tip with the shapes. Thanks for sharing.
What a great tutorial on using word. AND the card is awesome ..
Love your card, so manly and I love your tutorial on word... I never thought of doing that and it sure would make life easier! Thank for sharing this with us today.
Fantastic card! Thanks for sharing this tutorial!
What a great idea!!! Great tutorial! I think I'm going to give this a try! Thanks for the inspiration! Your card is fantastic!!
What an amazing card! I love everything about it!!!
Post a Comment