August 11, 2015

Saving an "Epic Fail"

Good morning - Adrienne from Eagle Canyon Arts.  It's always a pleasure to be a part of Sheila's talented Sassy Lady design team.  Thank you, Sheila. 

Every once in a while, things get messed up and aproject has to be "re-thunk" as my mum used to say.  That's what happened on the grand children's Birthday card project.

Cricut cartridges used:
Pooh Font
Everyday Paperdolls (for the butterfly)
Art Philosophy (for failed rectangles)

CTMH Supplies used:
Dotty for You Papers (retired)
Jubilee  Papers (retired)
Jubilee Compliments (X7181C)(this item is "while supplies last")
Bronz Glitter Gel (Z1483)(this item is "while supplies last")
Colonial White Cards (X1410)
Topiary Ink (Z2155) 
I wanted to revisit the "Gap Card" idea ever since Cocoa's Mom demonstrated one a couple of months ago using Design Space.  Since I'm still chewing on switching to that method, I pulled out my trusty Gypsy.  Everything looked terrific on the Gypsy after I got it all designed.  The "back" of the card can be seen at the top of the Gypsy window, with the bottom "gap" containing the Birthday child's name.
 
THEN, here is what happened when the Cricut machine got 'hold of the design.  It's little noggin and the Gypsy demonstrated "Epic Fail" in communication.  This has only happened one other time to a project I worked on.  I have no clue WHY it happened either time. 
 
The name letters and the butterfly cutout all turned out fine. SO, it was on to "Plan B".  Since the top part of the card, originally to be the back, was still intact, I cut 2 of those off the yellow cardstock, inked the edges and used them to cover the front of 2 plain cards.  Then I added the names, embellished with some Glitter Gel and a Jubilee Compliments strip.  Lily has a butterfly, so Ethan has fireworks!
 
Whew!  Epic Fail saved!  Thanks for biting your nails along with me  - better than a mystery book, eh?  Well, maybe not that good, but certainly a challenge.
Blessings,
Deut. 3:21-28

August 10, 2015

Sydney Make a Birthday Card For The Card Party


Hello I hope you are having a great day. I have been so busy. I just got back last night after 3 weeks away from home and couldn't get my computer to work. I called Geek squad and here we are. This is a card my little Sydney made for our little card party a few weeks back. It is so easy and looks as cute as can be. This card was cute from my Silhouette.
Then Sydney ran the frosting through my Sizzix Big Shot. She made the little flowers by punching them out with one of my old punches using scrap glitter paper.


See how easy it was to put the card together, Easy as can be!


The stamp was from Stamps of Life and Sydney added a few flowers on the inside too.
 

This is a copy of the finished card. It was a little large so we used the envelope punch to make envelopes for it. Doesn't it look as cute as can be?
Thank you for spending time with us today, I hope you enjoyed Sydney's little card. Be sure to learve a little blog love for her.

August 7, 2015

Welcome Baby Girl

Hello Sassy People!

I read somewhere August is known as the busiest month for birthdays/births. I do not know how true that is, but my mom was invited to a baby shower for a young lady who is due in August. She asked me to make an adorable card and I believe I did just that. 


Since the lady is having a girl and I decided on a pink and brown color scheme. I love those two colors together; almost as much as baby blue and brown. The card was made using a Silhouette file (bib card) and I used a stamp set for the bear and sentiment by Inkadinkado. I used Cocoa Momento ink to stamp the images. I used Copic markers to color the bear image. I added faux stitching to the card because it looked unfinished to me. The file came with a bow, but I decided to use ribbon instead. On the inside (not pictured) I added the same pink and brown polkadot ribbon as well faux stitching.


Mom couldn't show up to the baby shower with just a card right? I surprised mom by making a simple two tier diaper cake. It really is the perfect gift! I mean, parents can never have too many diapers for a new born! Anywho, I used the same color scheme and ribbon to tie the card with the gift. On the base of the cake is a sturdy board covered in white tulle (to hide the base). I assembled the “cake” and had to “cute it up”. I used TTF to make the “Welcome Baby Girl”. I typed out the sentiment (brown) used the offset feature in the software to create a shadow (pink) and repeated that to create the white border. The cake topper is a Silhouette file (3D Buggy). It was very easy to put together. To keep the topper in place, I used pins. Between the layers, I added more white tulle as well as in the buggy. 


I used a large cello bag to package the cake and that was it! I hope you enjoyed today’s project! Remember to stop by often to check out the talented DT! Thanks for stopping by, Kenya~

August 6, 2015

Set of Four Apple Thank You Cards

Hi everyone--it's Sonya from Sonya's Paper Trail.   Today is the first day of school for my son, so it seemed fitting that I share a "school" themed project today.  It seems far too early for school to be starting.  For some parts of the country/world, I know you have a few weeks left of your vacation; but for us, we're back to the routine of school today.

I have a good friend who is a middle school math teacher.  Her son and mine play sports together and we've become very good friends over the past year.  She has mentioned how she always likes to have thank you notes on hand, so I decided I'd give her a few cards to be able to use throughout the school year.

The cut file came from the Silhouette Online Store.  It included the background card, apple, stem, leaf and the tag.  The whole package!


I used some Stampin' UP! patterned paper that I've had around for a long time.  I love simple stripes and polka dots.  So very useful and versatile.


I used a different "thank you" stamp for each card.  Each image was a My Craft Spot stamp that I had in my stash.  I also had the baker's twine in my collection for a couple of years.  

Even though everything I used was on the older side, I'm positive my friend won't care one bit and will be thrilled to have some fun cards to use.  Do you know a teacher who might enjoy some cards?  It might be fun to surprise him/her with a matching set! 

I hope you have a wonderful day and have time to do something creative!


August 4, 2015

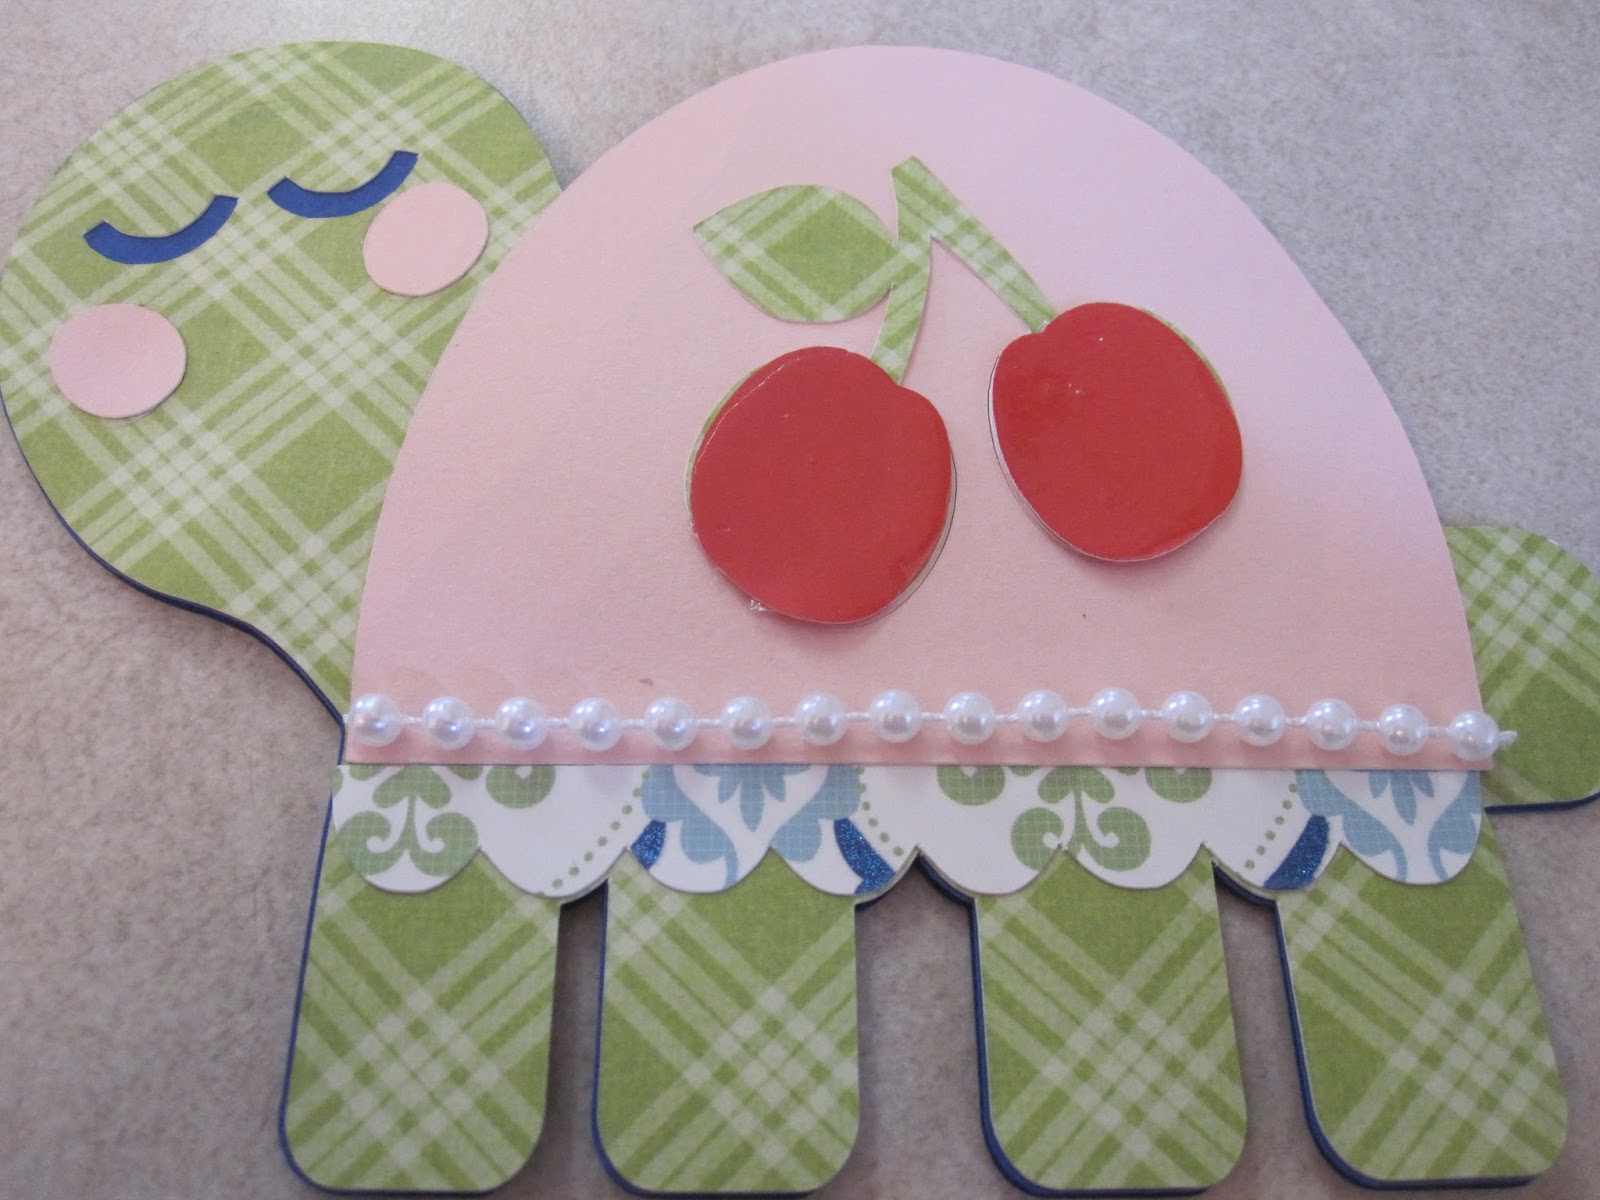
Carissa's Little Turtle Card Makes A Great Card Party Card


Good day, join us today where Carissa makes another card for the card party. This is actually her first video and Carissa was a little scared. This is such an adorable card I think I will want to make more! I duplicated the base and welded them together after I had sized everything.


This is just so easy to put together. Carissa put together in no time at all. The cherries had CTMH liquid glass on them to make shiney. She also used gle as it was difficulty to line up with the ATG.


Here is another close up of the card. We used a lot of scrap paper to finish this card off and it turned out as cute as can be.


The inside boasts a stamp from Stamps of Life and as you can see it goes just perfect! The card fits in a standard A2 envelope making it easy to mail.
I hope you enjoyed today's post. I know Carissa enjoyed sharing with you! Be sure to leave her plenty of blog love.

August 3, 2015

No Soliciting - Funny

Hello this is Lori from ScrappinMyStressAway with a fun project today!  My friend saw a sign similar to this on FaceBook and asked if I could make her one.  She is a beer girl - no wine or foo foo drinks - so she thought this was perfect!!  She has had a lot of foot traffic in her neighborhood this summer.  With 2 dogs, it gets crazy when solicitors come to the house several times a day!!
I started out with a black burlap canvas panel from Michaels size 9 x 12.  If you only have a white canvas, you could paint it black for this step.
I used my cameo but this could also be made with another cutting program.  I put a 9 x 12 rectangle on my mat colored black as my canvas.  I made 2 rounded corner rectangles in white.  I did an internal offset of the smaller rectangle to create the red one.
 
I used the cutting tool to trim the top off of the bigger white rectangle to mimic the original sign.
 
No Soliciting is LEArchitect font and I made a compound path with the red rectangle that "cut out" the letters.
 
I used Arial font for the first three sentences.
 
I used Front Page News font for the Seriously sentence.
 
I used Impact for Please Go Away!
 
All of these fonts were either on my computer or downloaded from dafont.com. 
I used the white spaces to help me size the words.
 
I separated the pieces and cut the white on one mat, the black pieces on another mat and finally the red.  I could have combined the black and red on one mat, but I made other black and red cuts at the same time!
 
The hardest part of using vinyl on canvas is getting the vinyl to stick to the canvas.  The larger white pieces adhered pretty well.
I hot glued twine to the back of the canvas and added two felt feet on the bottom of the back.
 
My friend was so excited about this - she sent me a picture of the sign hanging on her door!!
 
Thank you Sheila for having me on your blog today!!!