Showing posts with label Celebrations. Show all posts

April 3, 2012

Shape Birthday Spinner Card

 Well hello, it's Sheila from She's A Sassy Lady and today I am so excited to share this shaped spinner card with you on The Bug Bytes and Cricut Is Close To My Heart. This is such a fun card and is great for children and adults alike. I used the Close To My Heart Art Philosophy cartridge for the base of this card, George for inside the spinner, Birthday Bash for the butterfly and Celebrations and Sentimentals for the sentiment.

Now wasn't that easy... I just love these fun interactive cards, don't you? Be sure that you have all your supplies on had and it will be easier to put your card together.
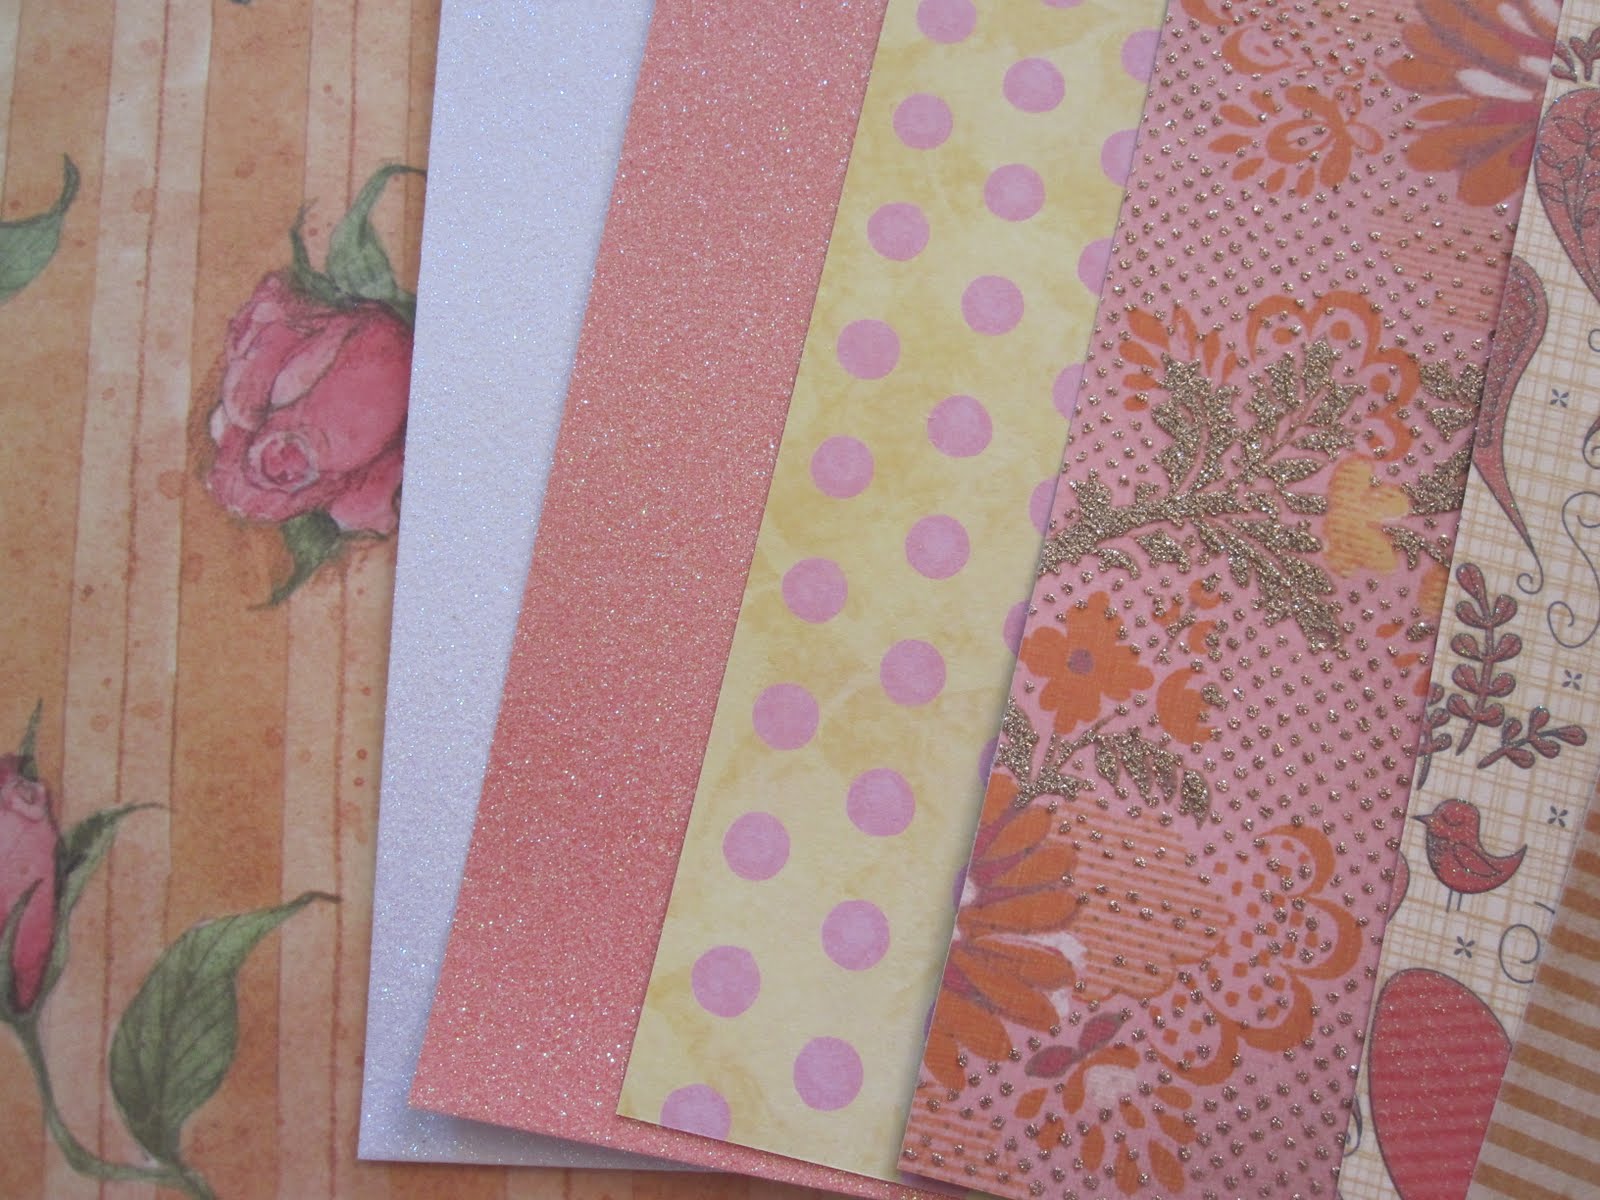
 Don't you just love this paper? It is from the Close To My Heart Lucy paper packet. I used Martha Stewart glitter glue in place of stickles as I was out of pink. I inked all papers with Cotton Candy Ink Essentials.
 Doesn't the inside of the card look beautiful? I love the layers and there is still room to write a little message to the person receiving this card. Won't they feel special when they see all the work you did to put a smile on their face.

I sure hope you liked today's card and give it a try on your own. Click HERE if you would like the Gypsy File for this card or HERE for the plain rectangle Spinner card. I challenge you today to make a spinner card of you own. Link it up by 4:00pm, April 13 and you might win a stamp set!!! Now remember this must be a new card, not something you made before. Winner will be announced on She's A Sassy Lady the morning of the 14th.
Thank you for your sweet Sweet words of encouragement. Your comments inspire me to continue sharing with you... See you Saturday at She's A Sassy Lady for Gypsy Made Simple.
Again thanks so much for visiting me today! Well March was an exciting month for me. So many friends signed up with CTMH and I am so thrilled about that! There are also a few things that CTMH did during the month that we want to introduce to you, so we are going to have a little prize for this month on She’s A Sassy Lady for you!  I am going to be giving away a great stamp set to one lucky person …
Nice, isn’t it? Well, you have the opportunity to win this! For the entire month of April, anyone who goes to the SassyLady CTMH site and registers to receive the brand new monthly newsletter will be entered to win the contest! On the last day of April, I will randomly draw a winner from the list of customers and announce the winner here on May 1st (no purchase necessary)!
Cool Huh? CLICK HERE for the registration page!
Each month, you will be the first to get the latest information on CTMH specials, techniques, tips and what is going on! Be sure to register today.

August 2, 2011

Happy Birthday Tri-Fold Card

+
Good Day! This is Sheila and today I get the privilege of sharing with both you Bugs Byte and She's A Sassy Lady followers.
Ever since Provocraft came out with the E2 I have been fascinated with the Tri-Fold Card. I quickly decided not to use up a couple of months of my scrap budget to purchase the E2 however I had to have that Tri-Fold Card!
The card presented some interesting design challenges for me yet I am getting pretty good at altering my template and quickly coming up with a new design for any given occasion. I did just that with this card but ran into a few challenges along the way in cutting and thought I would just go through those, so as you make your cards you can hopefully alleviate those same mistakes and whiz through your card.
Look at these yummy papers I picked out. Only the bottom sheet was a full sheet of paper and it was from K and Company. The rest of the papers were all left over pieces from various vendors. I was so happy that I had so many sparkly piece left.

I just love this base paper and it really made all the colors of the card come together.... this was my blunder though.... I forgot that we are looking at the inside of the card in this photo. That is how I designed the card so when you are laying out your mat remember you are looking at the inside. See I had a perfect cut but I forgot to flip my paper and the opposite side was too pink for my elements so I had to re-cut the base of the card.

I thought I would show you how some of my other elements were laid out. this however was my second mistake. I mixed paper depths and that created a problem as it didn't cut through on the center piece so I had to run it through again. Because I was using scraps another design had to be used. Again remember to plan carefully.

See how only parts of the cut made it. Now I must caution you if this happens you can always take off the other elements and re cut just remember DO NOT SAVE the work or they will be gone.

Then I scored my card and folded the flaps. Now you need to know I did not make score marks but you can easily see where the sections meet, score and fold there.

I have a busy schedule this week getting ready for out of town guests so I placed each card and all the pieces in a little Ziploc bag so nothing would get lost while I was waiting for a few extra minutes to put this together.

The first thing I did was put the elements together. After adhering the pieces of the cupcake together I stickled the frosting to make it look like sprinkles.

I put the little pieces of the hat together. I cut it and the horn out twice so it would be thicker. Now I did all the dots as I had gold speckled paper and didn't want to loose that sparkle effect. If I was using a plain paper I would cut the holes to have 2 colors. Cut for your preference and adjust accordingly.
I then adhered the tassel at the top of the hat. Isn't this paper awesome?
Then I put together the little horn. After it was dry I stickled the paper part that would move when you blow with pink stickles. This gave it a polka-dot effect and made it sparkle too like the rest of the paper.

I then proceeded to put the card together. And this was so simple after all the elements were together. I adhered the Happy Birthday first and then moved on piece by piece until the card was complete.

 Look at how this just shimmers, don't you just love the paper on this?

Thought you might like to see the card straight on with both flaps closed, don't you just love that layered look? I like that it gives plenty of opportunity to write on the inside.

 Even when it is laying down this card looks good. Don't you just want to pick it up and look on the inside?

I hand cut the sentiment area the same and attached to the inside of each flap. This offers plenty of room to get personal and write a special note. I also thought that for the right flap you could turn it in to a little pocket to hold a check, cash or a card.
 Just another close up of the card.

That hat is so unique with this paper.

And one more glimpse of the completed card. I sure hope you liked today's project. If you would like the free Gypsy file, just click HERE.
I just love these Tri-Fold cards and hope you enjoyed learning a little more about them. Thank you for your sweet sweet words of encouragement. Your comments continue to inspire me to share with you.


November 6, 2010

Gypsy Made Simple - Shaker Card

This is a MUST HAVE Card for your card stash. I had a hard time deciding what to make this week until I saw my first Shaker card done by Shantaie Fowler of Inking Pink featured on the Circle Blog last week. WOWSERS how fun are they? Well you know I just had to have for my stash, which means you also need it for yours for that SPECIAL person you really want to know just how much you care!
So let's get to work! Get yourself something you enjoy drinking turn on your Gypsy and follow along to learn how to make this AWESOME card! Remember if you do not have the carts I use just use ones that you do own.

This first video is the basic card and the layers build from there.
Here is a close up of my Gypsy screens. I thought you might like to see that. I have so much free space that after this video is over, I will go back and rework the file to have two up so that I can cut 2 cards at once.


The last video finishes up so that you would have one card ready for good cut.
This is a close up of the file after I reworked the file. Notice there is two of everything so that I can have two complete cards.
Here are the pieces for the front of the card and I added an extra square to make the inside of the card more attractive. This is optional.
The third page cut is for the acetate on the left and then an area for the sentiments on the inside of the card. Again this is optional.


This video shows how to assemble your Shaker card, so be sure you take a couple of minutes and look it over so you can assemble your card.
The first thing you do is cut all your pages.
These were all the pieces for both cards.
The solid base I used had a white core so I inked the edges to give it a nicer look.
Then I put the front of the card together reserving the skittles and glossy accents until the card was assembled. I used my ATG all around the back of the front making sure there were no gaps. I then place the acetate on the back.
Then I used this wonderful foam tape and placed it all around the edge making sure there were no gaps that the confetti could escape from. Then I sprinkled confetti in the center of that and carefully centered the backing sheet and pressed down securely creating a sealed area for the confetti to move around in.
Isn't this cool? Shake - Shake - Shake, shake your booty! LOL How fun is this?
As soon as I got done playing I moved on to the base of the card. I thought I was going to put ribbon on an tie a bow, well that didn't look good so I left the ribbon you couldn't see as it was taped on and used my pink ATG to get plenty of adhesive on the back of the shaker. I then centered it on the base of the card.
I put together the inside of the card, I really like the way these optional cuts look. After that was done I added my skittles to the hat and glossy accents to the title to complete my card.
Now doesn't that look awesome? Lots of steps I agree but if you do one step at a time you are bound to get to the finish line and have a beautiful card to give someone special in you life! I sure hope you liked today's project and will make one for yourself as this is a MUST HAVE CARD!

Now I CHALLENGE YOU TO MAKE A CARD AND LINK IT UP TO MY BLOG so we can see what you did and what style you chose. The skills that you are learning will be your stepping stones for everything you design in the future. Remember if you have any questions be sure to email me at ShesASassyLady@hotmail.com or if there is any area that you want me to cover please do the same as I am using your questions and suggestions for future Gypsy Made Simple features.

Thanks for your continued support and sweet words of encouragement. Your comments are what inspire me to share with you.
signature

October 30, 2010

Gypsy Made Simple - Large Window Cards

Isn't this a great card? I love the glittery look to it and the feel of it as the complete base of the card is so nice and thick. Today you will learn how you can make a large window card with more than one component on the inside. So, go get something to drink, turn your Gypsy on and lets get to work. Don't be afraid to put me on pause and go back and get a step completed so you can go on to the next step. By the time you watch both videos you will have a 5x5 window card completed and ready to cut!

On video one we get the base of the card completed and ready for welding.
This is a close up of my Gypsy screen of the complete base of the card.
This is a close up of the layers separated for cutting.


On video two you will make copies of your components weld your base and complete the card. I also eautiful as can be!want to make note that there were indeed cards made from the last two weeks, I had the linky on there wrong so it didn't show, when I fixed that there they were as can be!
Look at the YUMMY papers I picked out so shiny and glittery! I just wish you could see this card in person as it is much prettier than the photos!
First I scored my card then I trimmed the inside crease off so it would fold perfectly and my cuts would line up. Then I took the front base and just dabbed a little black ink on the crease.
In this photo you can see when I Glue it down you will not be able to notice the crease.
I used glue in the center and my ATG on the outer edges.
I places the mesh over the letters on the mat as it was easier to transport and then line up on the final card.
Here is the inside of the card. Since my base was black and white I did not ink the edges of the sentiments paper.
I used the I-Rock setter to set the gems in. Personally I think I should have used a larger gem but that is all I had.... Oh my I feel a shopping trip coming on! (Note, I did shop and got all kinds of goodies along with plenty of new gems!!!)
Didn't this turn out awesome? I just love the window cards.
That's it for today and I want to thank you for spending time with me, I sure hope you learned something new and enjoyed today's projects.  That wasn't as hard to do as you thought, was it?

Now I CHALLENGE YOU TO MAKE A CARD AND LINK IT UP TO MY BLOG so we can see what you did and how much you are growing with your skills. These skills that you are learning will be your stepping stones for everything you design in the future. Remember if you have any questions be sure to email me at ShesASassyLady@hotmail.com or if there is any area that you want me to cover please do the same as I am using your questions and suggestions for future Gypsy Made Simple features.

Thanks for your continued support and sweet words of encouragement. Your comments are what inspire me to share with you.

signature