Well hello, it's Sheila aka SassyLady today I want to show you what it takes to become a Sassy Card that some lucky person will receive in the mailbox. It isn't easy and I make lots of blunders before the final card is actually sent. Let me take you down the wrong road first... Along with a crooked little mug this little guy has had a hard time just making it to card form. Let's face it we all go through projects like this but the main thing is to keep going until we have a final project. Hang in there with me.

The above card became a prototype. This card is a time eater, well the prototype was because of my blunders!

Let me say that the cut size is perfect!!! No problems with the size, I laid the paper wrong on the mat and boy did that create a mess! and I think that is why his little mug never fit right, or it could be when I flipped the card becasue the color had a little flaw... I ran into the problems putting this little gem together too. Let's go through this step by step. The cut is wonderful, just be sure you cut one accetate of the plain box. I think I bumped my head when I decided to flip the base card!

I put all my pieces in a zip lock bag... notice the ribbon it never made it to the final card. I remembered it after all pieces were intact and you can not take the window out after you have everything glued down. I always put the ribbon on last... not so with this card. To put together properly place all your top pieces together and also your ribbon then adhere the window, frame and zebra pieces. Reserve tying until the card is put together.

Next problem I didn't want the window to move so I used the zig two-way glue all along the edge. Don't do it!!! The glue got too close to the edge and went on the accetate.... what a nightmare trying to remove this. The right way is to use your ATG or I used the Glue Glider Pro along the edge. Then I ran into the next couple of problems. I used my Zyron and ran the frame and zebra pieces thru. Oh it worked great except for the little glue balls that come off of that. On normal paper it would be fine. I am using accetate as a little window.... it looks wonderful until you get glue or glue balls on it and you try to clean off! I have had baked on chicken, beans or pork chops that come off a glass baking dish easier than getting that glue off! So use the ATG guns for the frame and very carefully the Zip Dry Glue or ATG for the little bodies.

See the glue didn't even get that close...

It looks even, doesn't it? Wrong it seeped out. Be VERY careful if you use glue.

Now doesn't that look cute witht the window in? Now just add the body part layers.

I used a white mat on the bottom and then I took the piece that came out of the frame and placed back in the window added some Zip Dry Glue and brought my back up to the front so it would be centered perfectly from the window.

I left the little eye pieces in so it would look like the back of the zebras head.
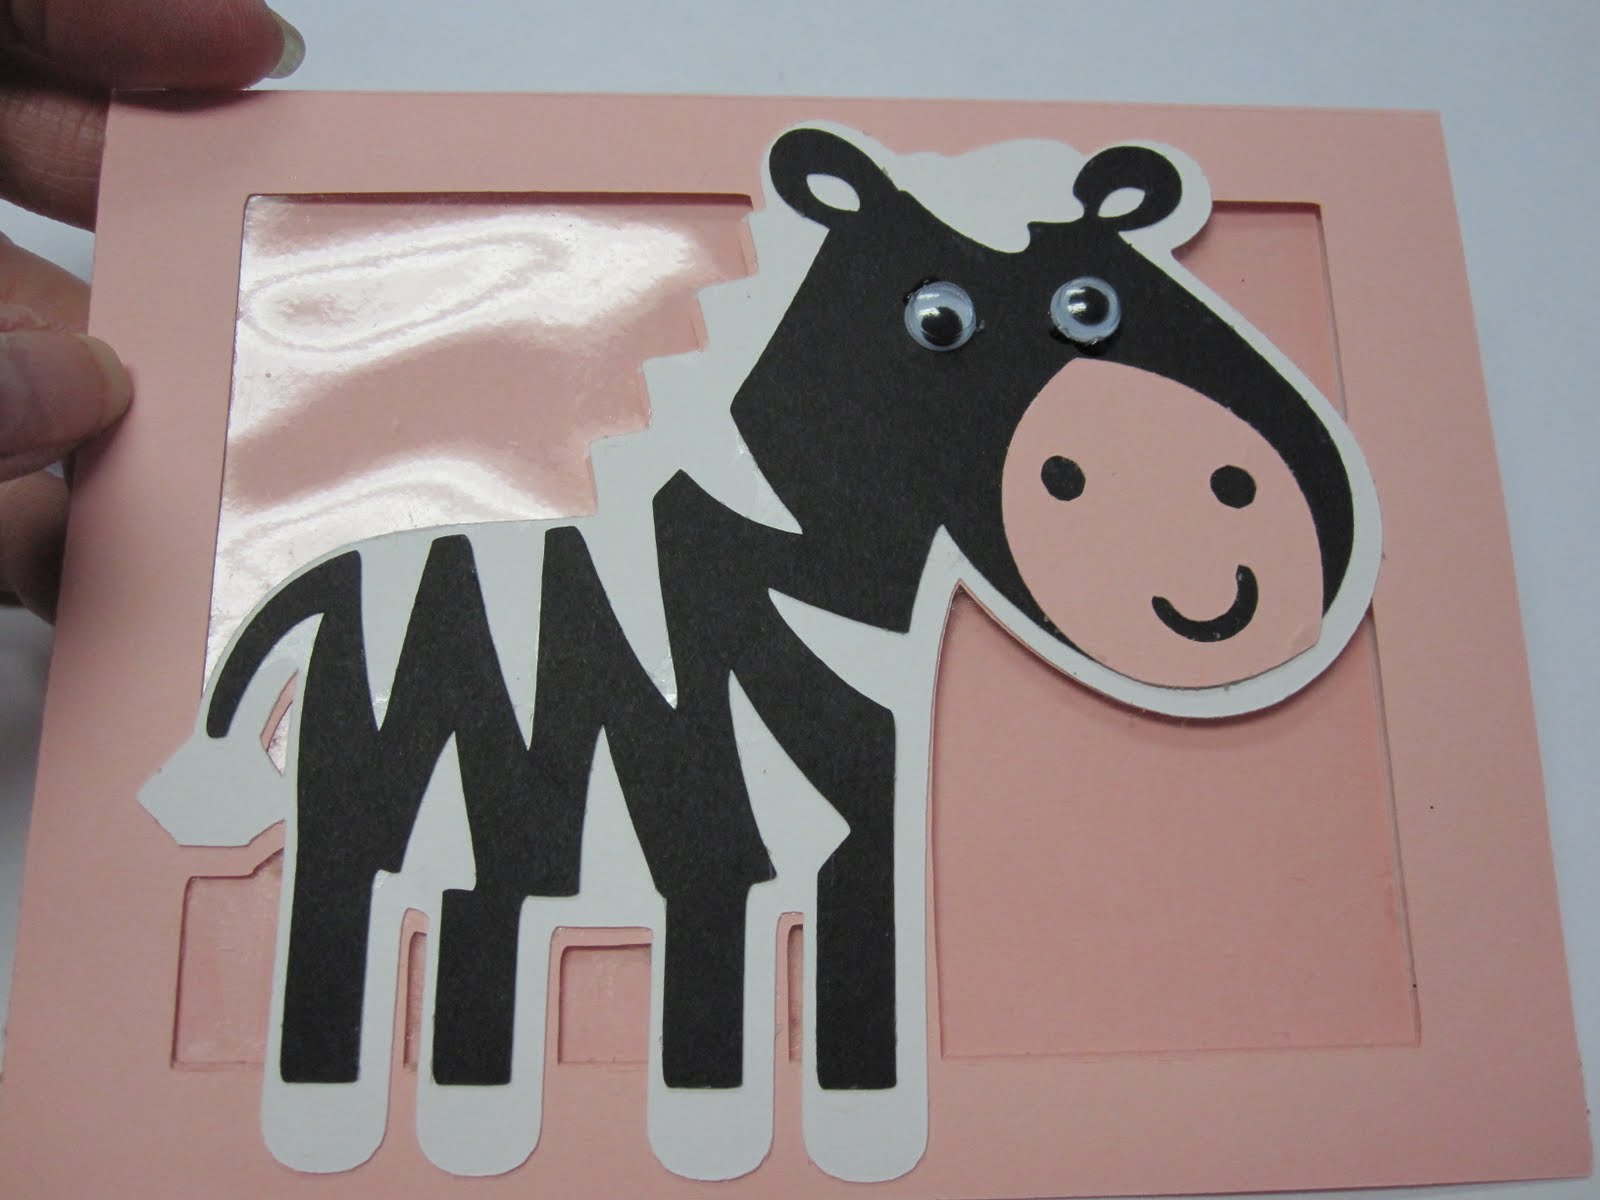
This is the completed prototype ready for a final cut and some bright Sassy papers. Mind you this card is good as it is, and I will use and send out. I guarantee you the little window is clean!!! But to be a Sassy Card ready for give-away it must go together easier and look great, so this is the right way to put this card together...
First I picked out a yummy paper and cut. Then I placed all the items in a little baggie for when I had time to put together. If you do this at home be sure to prepare all pieces ahead of time. I trimmed the frame just under an 1/8" so it would close properly.

I made sure to mark the top with a little arrow, leaving now margin for error, and placed it in the little baggie.

I chalked his/her little mug and make sure if you do this at home to make the mouth darker and keep the little mouth in reserve.

Notice I took a little piece of mesh and placed behind the head since out gypsy does not do hide contour I wanted to keep those eyes so they would be glued down for the back of it's head. I started sticking my other little parts on it too so nothing would get lost.

When it was time to put my kit together I got out my Zip Dry, Glue Glider Pro and the little kit. I set aside 10 minutes to do this and it took twelve.

Take your goodies out of your little bag you made and get them in order. That way you will make sure you have everything and you will move faster in the long run. You will also have a good idea of what order to assemble. I try to make 5 cards per week so I always have something on hand to do during my down times. If I miss my lunch with the ladies I just close myself up in the office later in the day and make a little card with one of my handy kits. Some cards are easy and only takes 3 minutes to put together, but not this one!

Here is a good shot of the Zebra and his/her little face attached to the mesh.... no lost parts here.

Then I just start assembling, easy as 1-2-3!

The front of my card went exactly as planned I even remember to put the ribbon on this time before glueing in the window!

Then I glued around the entire edge and on his/her little body... notice how the ribbon is taped down? I didn't want it to fall off in this process. I did not place a bow in until the card was completely together.

I then placed the accetate down.

Then I used my Glue Pro Glider around the entire edge of the frame and placed it on the card. Lining up the bottom and sides.

See how nicely it fits and it is so nice and colorful. I then added the white of the Zebra, and then used Zip Dry glue to the black of the Zebra remembering to place a small piece of ribbon around the neck and tape down before completed and placed the Zebra back onto the window. It looks as if one piece because it matched perfectly.

I adhered my paper to the inside bottom of the card so the inside matched perfectly.

Doesn't that look nice?

The card looks nice from all directions. I love this paper from the DCVW Mariposa stack.

Now see how much easier it is when you know what you are doing. I love the little window in this card and you know, its ok to see handwritting through it. I remember a couple of years back finding a letter from my wonderful Aunt Marion and I just stared at it without even reading just remembering how special she was to me. You see she has been gone for many years, but I recognized her handwritting and imediately my heart was filled with love and my head was filled with fond memories of times gone by. So thats where the Sass is in this weeks card... just a sweet little glimpse of special little words that your loved one will hold onto and treasure for a lifetime!

I know this was a long post today, but hopefully you learned something new and if nothing else will continue with a project to completion in the future rather than just scrap it. Beauty is in the eye of the beholder. Remember the recipient will never know where your mistakes are, only you will.
Everybody can have this card all you do is download and you can make your own with this Sassy Zebra - Gypsy Kit or Sassy Zebra - DS Kit. ENJOY & HAPPY NEW YEAR!
Thank you for your sweet words or encouragement as they always inspire me to keep scrapping any sharing things with you.