Showing posts with label Tri-Fold Card. Show all posts

July 7, 2012

Gypsy Made Simple - 3 Fold Coyote Card


Good morning! Sure hoping you are having a great summer, enjoying the warm weather and all that comes with it. This week I am revisiting the Tri-fold card with a new design. I made this card for a dear lady that you probably know; Audrey from Cute And Some. She has been busy taking care of an ill family member for the last couple of months and has been away from crafting and blogging. All that know Audrey, know that she is a special lady that always has a sweet word of encouragement to those around her. So I had to come up with something special for her.
I absolutely love the Tri-fold design on a card as it is so unique, almost like a shape card on steroids so I had to do another! This design is similar to Amy at The Stamping Tree, I scraplifted a card that she made from my Gone Fishin' Shark Card. Amy did a wonderful design and I have been wanting to give it a try ever since I saw it.
So grab a cup of coffee, turn on your Gypsy and let's get to work.


Now see with this easy template it is very each to make a card of your very own. Click HERE to down load the Tri-Fold template.


I wanted you to see the steps I take on some of these cards to make them stand out, expecially those with the old cuts with no layers.

This is what the coyote looks like before and after it has a little inking. Dont you love the difference? I used some Tim Holtz distress inks and a black marker.


See how nicely this card comes together. I ready all the little pieces first and then assemble it. I used a lot of different ink from Close To My Heart. I reuse the daubers but keep them in there own little case that is labled thanks to Ian over at A Newbie Crafter. Ian designed the lable with all the Close To My Heart Ink names for the dauber case and I love it.
Here are just a couple of photos showing what it looks like as you open this card. As you can see there is plenty of space to stamp a sentiment of write a little note.

I just love the inside of this card. I had plenty of room to write a little note to Audrey and I sure hope this card put a smile on her face.

Here is a close up of my Saguaro Cactus. I couldn't remember the name of it if my life depended on it while making that video! Don't you just love the effect of the sponge on it? It looks like litle needles all over it.


With this close up you can see the little Micro Beads on the moon, isn't it awesome?


Don't you just love how that little coyote just peeks out and howls at the moon? Click HERE if you would like this card file too. Don't forget I made the card two up so you will have two cards when you complete it.
Here is what my finished cards look like. You can see I added a couple of hand drawn stars with a gel pen on the one on the right and I really like that. I hope you like today's post. I sure had fun making and designing this card and I am sure Audrey will love it, don't you? I hope you have a great week. I challenge you to make a card of your own this week and link it up. Click HERE for the template and HERE for the Coyote Card file and be sure to link up your card!
Thank you for your sweet sweet words of encouragement. Your comments inspire me to continue sharing with you. Have a blessed week.

October 8, 2011

Re-Visiting The Tri-Fold Card With A Little Blog Candy


Don't you just love the new E2 Machine? I do too but I didn't buy one as I really didn't need it. And you know I love that exclusive cartridge that they have for those nifty tri-fold cards and decided we needed to make them on our Gypsy, so that is exactly what we are going to do! You know sometimes when you are creating a design it is just impossible to keep it all in your head. For those moments I get out the paper, pens and even markers so that I can tell shat side of the paper my design goes on. Even at that I sometimes second guess myself but that is why the paper is so helpful as you have a reference point. 
This is one of those designs. It is a difficult design that is made easy just by planning and taking it one step at a time. So get your cup of coffee or tea, turn your Gypsy on and let's get to work. This is going to be a long post but the finished card is so worth all the steps you will take to complete it. Oh, and along the way we are going to make a template so you can make another sometime in the future.

First I want you to start out by making the boxes for the base of your card. You can use any cart that you want for the artwork to go on your card but you first need to complete the base. I need you to make 4 boxes: 2x11.50 (square corner), 3.87x2.30, 4.25x3.80 and 3.50x2.30 (all 3 rounded corners). Once you have them made we will continue.


Now you need to line up these boxes as shown in the video. Make sure the final size on your screen is 5.50x11.50. Then you will group and weld the base of the card together.
Once you have this done save your design as 3-Fold Template so that you will always have that to work from. After your artwork is added you will do a Save As with another name so that you will have 2 files. As you are watching this you will see that I made a major sizing error. I didn't change the video as in the 2nd video I discover the error and fix it. I left it as you need to know how to fix your card if you do the same.


Please use what ever cart you have in your collection for artwork to add to the base of your design. Separate out so you have a page for the three elements you choose making it easy for you to layer.

Because of the complexity of the card I took some of my scrap paper and made a practice cut to make sure it cut and folded properly and it was perfect. I have to admit when I have a challenge like this one it gets the blood stirring and keeps me awake until I have a completed project! Watch the next video to see how it all comes together.

I have to admit this was a fun card to do! It was a challenge but well worth the effort!

Now I challenge you to make one of your own and link it up to my site. I will use random.org to select 1 lucky person to win a stamp set! You have until 10/14 3PM to link up your card and the winner will be announced on the 15th.
Thanks for joining me today and I sure hope you learned something new that you can use on your Gypsy. Thank you for your sweet sweet words of encouragement, your comments continue to inspire me.

August 2, 2011

Happy Birthday Tri-Fold Card

+
Good Day! This is Sheila and today I get the privilege of sharing with both you Bugs Byte and She's A Sassy Lady followers.
Ever since Provocraft came out with the E2 I have been fascinated with the Tri-Fold Card. I quickly decided not to use up a couple of months of my scrap budget to purchase the E2 however I had to have that Tri-Fold Card!
The card presented some interesting design challenges for me yet I am getting pretty good at altering my template and quickly coming up with a new design for any given occasion. I did just that with this card but ran into a few challenges along the way in cutting and thought I would just go through those, so as you make your cards you can hopefully alleviate those same mistakes and whiz through your card.
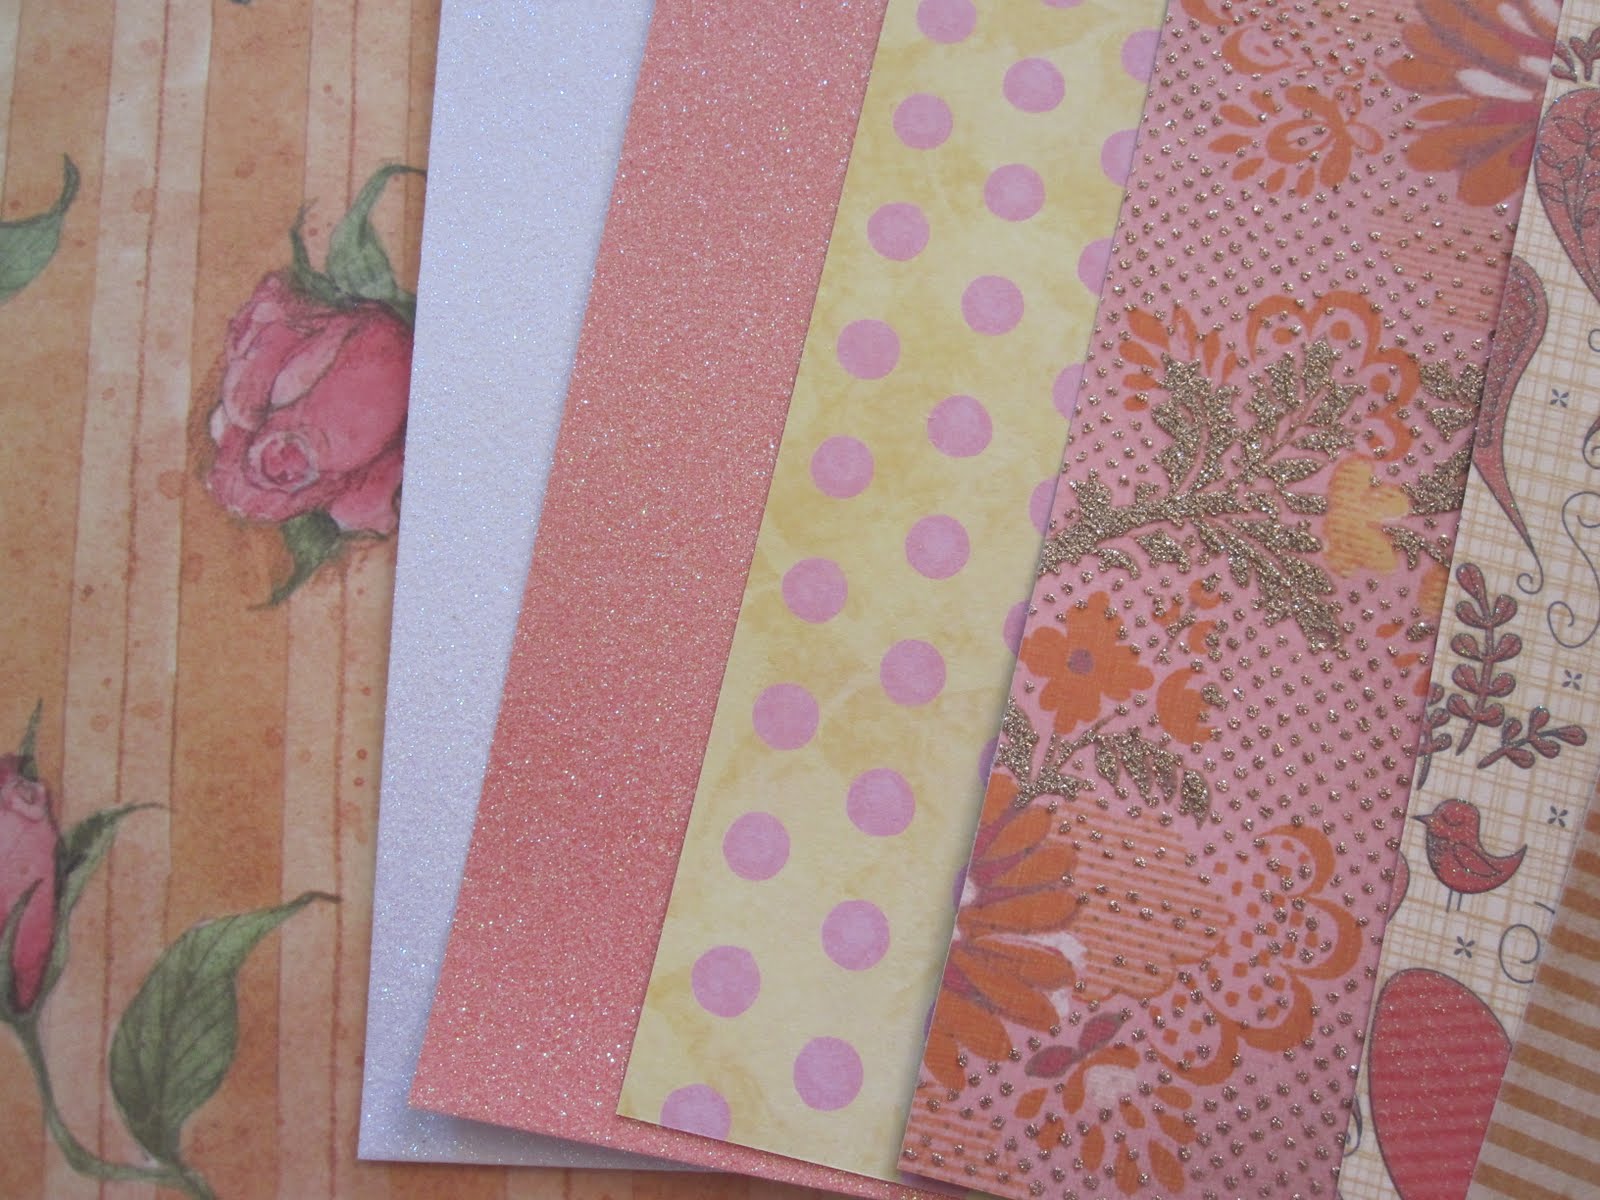
Look at these yummy papers I picked out. Only the bottom sheet was a full sheet of paper and it was from K and Company. The rest of the papers were all left over pieces from various vendors. I was so happy that I had so many sparkly piece left.

I just love this base paper and it really made all the colors of the card come together.... this was my blunder though.... I forgot that we are looking at the inside of the card in this photo. That is how I designed the card so when you are laying out your mat remember you are looking at the inside. See I had a perfect cut but I forgot to flip my paper and the opposite side was too pink for my elements so I had to re-cut the base of the card.

I thought I would show you how some of my other elements were laid out. this however was my second mistake. I mixed paper depths and that created a problem as it didn't cut through on the center piece so I had to run it through again. Because I was using scraps another design had to be used. Again remember to plan carefully.

See how only parts of the cut made it. Now I must caution you if this happens you can always take off the other elements and re cut just remember DO NOT SAVE the work or they will be gone.

Then I scored my card and folded the flaps. Now you need to know I did not make score marks but you can easily see where the sections meet, score and fold there.

I have a busy schedule this week getting ready for out of town guests so I placed each card and all the pieces in a little Ziploc bag so nothing would get lost while I was waiting for a few extra minutes to put this together.

The first thing I did was put the elements together. After adhering the pieces of the cupcake together I stickled the frosting to make it look like sprinkles.

I put the little pieces of the hat together. I cut it and the horn out twice so it would be thicker. Now I did all the dots as I had gold speckled paper and didn't want to loose that sparkle effect. If I was using a plain paper I would cut the holes to have 2 colors. Cut for your preference and adjust accordingly.
I then adhered the tassel at the top of the hat. Isn't this paper awesome?
Then I put together the little horn. After it was dry I stickled the paper part that would move when you blow with pink stickles. This gave it a polka-dot effect and made it sparkle too like the rest of the paper.

I then proceeded to put the card together. And this was so simple after all the elements were together. I adhered the Happy Birthday first and then moved on piece by piece until the card was complete.

 Look at how this just shimmers, don't you just love the paper on this?

Thought you might like to see the card straight on with both flaps closed, don't you just love that layered look? I like that it gives plenty of opportunity to write on the inside.

 Even when it is laying down this card looks good. Don't you just want to pick it up and look on the inside?

I hand cut the sentiment area the same and attached to the inside of each flap. This offers plenty of room to get personal and write a special note. I also thought that for the right flap you could turn it in to a little pocket to hold a check, cash or a card.
 Just another close up of the card.

That hat is so unique with this paper.

And one more glimpse of the completed card. I sure hope you liked today's project. If you would like the free Gypsy file, just click HERE.
I just love these Tri-Fold cards and hope you enjoyed learning a little more about them. Thank you for your sweet sweet words of encouragement. Your comments continue to inspire me to share with you.