Showing posts with label Art Philosophy Cartridge. Show all posts

August 11, 2015

Saving an "Epic Fail"

Good morning - Adrienne from Eagle Canyon Arts.  It's always a pleasure to be a part of Sheila's talented Sassy Lady design team.  Thank you, Sheila. 

Every once in a while, things get messed up and aproject has to be "re-thunk" as my mum used to say.  That's what happened on the grand children's Birthday card project.

Cricut cartridges used:
Pooh Font
Everyday Paperdolls (for the butterfly)
Art Philosophy (for failed rectangles)

CTMH Supplies used:
Dotty for You Papers (retired)
Jubilee  Papers (retired)
Jubilee Compliments (X7181C)(this item is "while supplies last")
Bronz Glitter Gel (Z1483)(this item is "while supplies last")
Colonial White Cards (X1410)
Topiary Ink (Z2155
I wanted to revisit the "Gap Card" idea ever since Cocoa's Mom demonstrated one a couple of months ago using Design Space.  Since I'm still chewing on switching to that method, I pulled out my trusty Gypsy.  Everything looked terrific on the Gypsy after I got it all designed.  The "back" of the card can be seen at the top of the Gypsy window, with the bottom "gap" containing the Birthday child's name.
 
THEN, here is what happened when the Cricut machine got 'hold of the design.  It's little noggin and the Gypsy demonstrated "Epic Fail" in communication.  This has only happened one other time to a project I worked on.  I have no clue WHY it happened either time. 
 
The name letters and the butterfly cutout all turned out fine. SO, it was on to "Plan B".  Since the top part of the card, originally to be the back, was still intact, I cut 2 of those off the yellow cardstock, inked the edges and used them to cover the front of 2 plain cards.  Then I added the names, embellished with some Glitter Gel and a Jubilee Compliments strip.  Lily has a butterfly, so Ethan has fireworks!
 
Whew!  Epic Fail saved!  Thanks for biting your nails along with me  - better than a mystery book, eh?  Well, maybe not that good, but certainly a challenge.
Blessings,
Deut. 3:21-28

July 14, 2015

Anniversary Card Box

Good morning - Adrienne from Eagle Canyon Arts.  It's always a pleasure to be a part of Sheila's talented Sassy Lady design team.  Thank you, Sheila.

Last time I shared a card I made for an anniversary and said it would take a box to hold it because of the flowers, which were too big to fit in an envelope.  So this time, I made a box for the card. The box was made with the CTMH Artiste Cartridge (Z1790) using.Cricut 12" x 24" Antiquity cardstock and Dotty for You papers (retired).

Other CTMH Supplies used:
Stella Complements (retired)
Green Glitz Glitter Gel (retired)
Flowers made with Art Philosophy Cartridge
Teal Shimmer Trim (Z1918)

The two pieces were "scored" for easier folding.  These score marks can be removed if one is using a Gypsy (yes, I'm still "old school" - don't know if the same holds true for the new design center software).  I chose to use them for this project, just to make sure I got everything folded correctly.
Using the scoreboard and bone folder also was very helpful on this project.  there were a lot of lines to draw.  Making them straight ensured the box came together well.
It took a little guesswork to make the box to fit the card.  Dimensions aren't always perfect as specified on the cartridges, particularly when the measurements include flaps.  Using a height of 5 1/2 inches (the card is 4 1/2 inches in height) gave me a comfortable margin of error and still made both pieces of the box small enough to fit on the Cricut mat.
 The top of the box required the larger paper and 12" x 24" mat.
The bottom of the box fit nicely on 12" x 12" paper.
Here is the card with the finished box top shown in the back.  This was a fun project with a little bit of guesswork on the size.  I do wish there was a sure-fire way of eliminating that.  I haven't found one, though.  Thanks for walking along with me on this.  If you have any questions or comments, let me know.
Blessings,
Psalm 46: 1-11

June 30, 2015

Happy Anniversary!

This little card just came together from some odds and ends I had lying around after finishing other projects.  Sometimes my penchant for hanging on to things comes in handy. The fan and card were made with the Cricut Pagoda cartridge.  The flowers were made with the Art Philosophy (Z1686) cartridge.  

Additional CTMH supplies:

Inks - Sweet Leaf (Z2153), Lagoon (Z2195) 
Bitty Sparkles - (Z1263) 
"The Happy Couple" Stamp (D1539) 
The other 2 little flowers are retired. 
Sentiment
Now my only other challenge is making a gift box to put this fabulous little card into for the lucky couple!  There's always another project!
Blessings,
1 John 1:5 - 2:2

May 25, 2015

Welcome Baby

Good morning - Adrienne from Eagle Canyon Arts.  It's always a pleasure to be a part of Sheila's talented Sassy Lady design team.  Thank you, Sheila.

A baby's arrival is always special.  Here's a card for some friends of ours who are expecting. 

Close To My Heart Supplies needed:

Blossom Papers (X7196B)
B is for Baby Stamp (D1561)
4 My Friend Stamp (retired)
Cricut Art Philosophy Cartridge (Z1686)
Sweet Leaf (Z2153), Sunset (Z2191), and Sunflower (retired) inks 

The stamp collection provides the cutting size (height) information to use on the "Welcome Baby" stamp.  It also tells where to look in the book for the shape, which is helpful.  I raised the cut out up using 3D squares.  Edges of sections were distressed with Sweet Leaf ink.
Inside, a cute rocking horse and sentiment.  This was a quick project even using the Cricut machine (I used my Gypsy, too!) to cut the front stamp frame.  Hope you enjoyed it!

Blessings, 
Psalm 57:1 - 11

May 14, 2015

Ladies Tea Party

Hello everyone!! Java Jen here from JAVA JEN CREATIONS to share my Ladies Tea Party decor! Thank you, Sheila, for another opportunity to share!!  Our church has a Ladies Tea every year and all the hostesses decorate their own tables however they choose. Of course, my Cricut Explore made this quite easy!! Here is a pic of my table all ready to go! 


I made various flowers, including some 3-D ones to scatter around the table.


I thought the Kraft paper paired with the different colors of glitter paper would make a colorful statement that could easily be seen through my clear glass plates! 

Each hostess also made the food for her guests so I made chicken salad sandwiches and orange tea cookies. The placemat under my tiered display is just a flower doily enlarged to fit nicely inside a 12x12 square of kraft paper. 

Thanks for stopping by today and be sure to stop back often to see so much daily inspiration!! 

                                                 Java Jen


October 14, 2014

Autumn Is Busy

Howdy!  Adrienne here from Eagle Canyon Arts.  Thanks to Sheila for having me as a guest designer this month.

We had the pleasure of attending a family wedding recently.  Since it was fairly close to home, we made a road trip of it and had a great time.  The card I made for the bride and groom (my husband's brother) used these supplies: 

CTMH -
Free To Be Me Papers (Promotional, retired) 
Daisy White Paper(1385) 
Sparkles Flourishes (Z1812) 
Opaques Pearls (retired) 
Art Philosophy Cartridge (Z1686) 
Stamp - "The Happy Couple" (D1539) 
Inks - Sorbet (Z2164), Lagoon (Z2195), Hollyhock (Z2128) 
Liquid Glass (Z679)

Non-CTMH Supplies -  Copic Markers Y38, YR18, YR02 
Adhesives of choice (I love my ATG tape runner!)
 
Inside of card
The flowers came together quite nicely on the Cricut cartridge - I have found using an old hemostat from my working days is great for hanging on to that bitty internal edge and winding that flower until it is nice and "set".  The CTMH Liquid Glass works very well to hold the flowers in place once they have been formed, needing only a minute or two for setting them on the bases.
Lucia and Brian
The wedding was lovely.  The bride and groom are a terrific couple and we know they will be happy.
Adrienne and David
The next day we all went to Niagara Falls together and had a marvelous time. Thanks for following along on this project.  Contact me with any questions or comments.
 I Corinthians 13:13

September 9, 2014

Jesse's Card

Howdy!  Adrienne here from Eagle Canyon Arts.  Thanks to Sheila for having me as a guest designer this month.

As summer moves into fall, we continue to celebrate birthdays and other special times with family and friends.  Here is a card I made for a musician friend who celebrated his 85th birthday recently. 

Supplies needed:

Lollydoodle Papers (retired) 
Sorbet Ink (Z2164) 
Juniper Ink (Z2165) 
Universal Backgrounds Stamp (retired)
Cricut Art Philosophy Stamps (Z1686) 
Mini Medley Accents (retired) 
Tim Holtz Music Tape
 

Retired elements can be substituted with other available stamps and embellishments. All paper edges were inked.  The zip strip was added for accent, as was the triangle repeating stamp on the plain blue paper.  Since Jesse is a musician, the background music stamp added a nice touch on the inside of the card. 

Have a wonderful time with your end of summer, beginning of autumn crafts!  Holidays are fast approaching - ghosts and goblins will overtake us next month!

Blessings,
                                                                           Proverbs 17:1  

August 14, 2014

Birthday Memory File

Happy Thursday!  Java Jen here from JAVA JEN CREATIONS and it's my turn to be a guest designer here today! Today I want to share a memory file that I made for a friend's 16th birthday about a year ago. (Life has been a little busy and crazy so I pulled this one out of my archives to share today!) :-)  I love Heidi Swapp's memory files so I created one to help my friend remember her special day! Here is a picture of the completed file and then I'll go into more detail.


I started with a plain, standard size file folder.


Next, I covered it with paper and stamped the corners with some decorative stamps in my stash.


I then began making some elements and embellishments for the cover and inside. I used several Cricut cartridges, including Fabulous Finds, Graphically Speaking, Art Philosophy and Tags, Bags, Boxes and More. I stamped them with stamps I had.

Next, I made a mini book to go inside for putting pictures. I, again, used stamps from my stash to decorate the pages. You will notice that all the edges are inked. I like how that really completes the look. I just used some paper scraps to make page-turning tabs.

Now for the fun part of putting it all together! I forgot to mention that I used Kraft paper to line the inside of the folder. The pockets on the right side are from 7 Gypsies and the tags in those pockets are from My Mind's Eye. 


More close-ups:
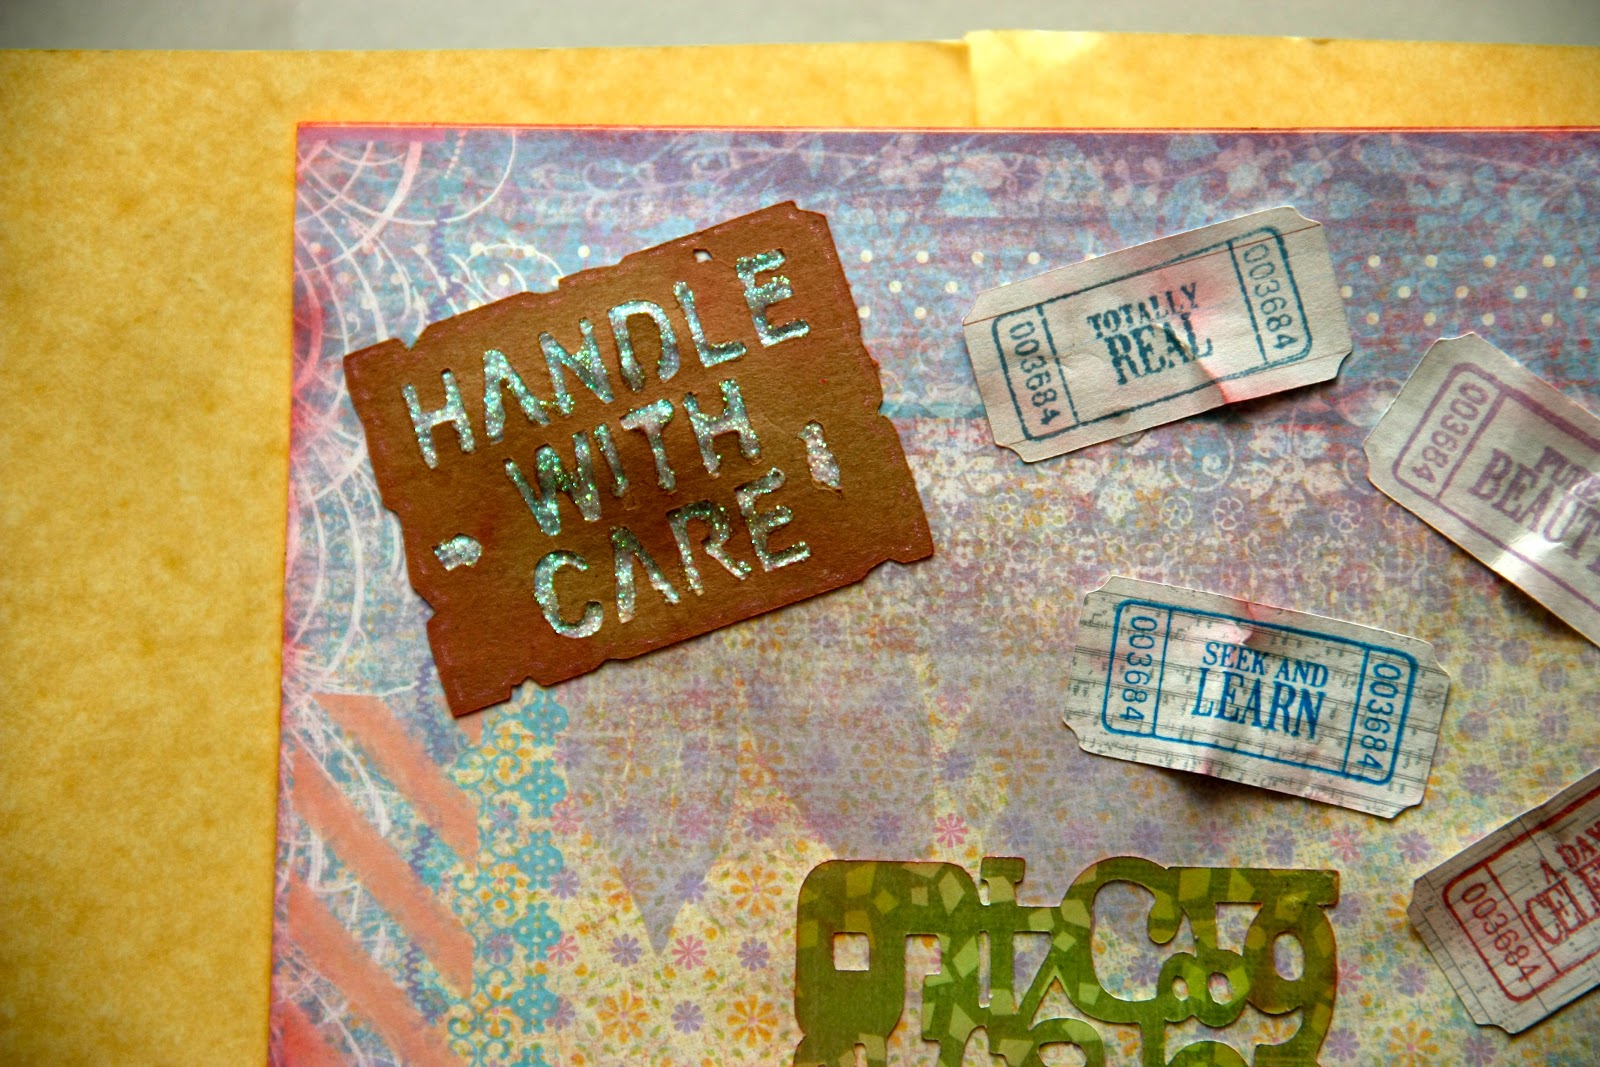
I used Liquid Glass from Close To My Heart to accent the letters.

I wrinkled up the tickets before adhering them to add some dimension.


Another look at the finished file:


Thanks for stopping by today! I hope this inspires you to make a Memory File of your own!


Java Jen


June 12, 2014

Country Picnic Bridal Shower

Hello everyone! Java Jen here from JAVA JEN CREATIONS to share with you a fun bridal shower that I helped plan for a sweet young lady at our church! We went with a Country Picnic theme and we had so much fun! Thanks, Sheila, for allowing me to share the fun here!! Here are a few pics and then I'll give you more details under each one:

These are the centerpieces we made featuring the, ever popular, mason jars! The mats are 12x12 Kraft paper that has been corner punched with a Lucky 8 punch and an 11x11 bandanna paper that was also corner punched with my Lucky 8 punch. The "Mr. and Mrs." tag was from the Sweethearts Cricut cartridge and was cut at 3".

This was a cute journaling prompt tag that my friend found on Pinterest so I printed them and then created a tag to fit it! This is a tag that I found on the Art Philosophy Cricut cartridge and, using my Gypsy, I unlinked the H and W to stretch it to the size I needed it to be! Even with all the advances with the Cricut, which, for the record, I LOVE----- I still LOVE my Gyspy!! :-)

This little purse that I made from the Bridal Shower cartridge, was made to hold little cards that everyone wrote a little sentiment on. 

This shower was a gift card shower so we found an oval bucket to stick skewers in that we hot-glued mini clothespins to, to hold the gift cards. (Sorry the picture isn't that great but I forgot to take a pic at home so it's a little busy in the background! :-/ ) The "Mr. and Mrs." is from Tie the Knot and the Monogram B is from Tie the Knot as well. We put some paper straws over some of the skewers for more pops of color! 

The bride is the one in the center and she was thrilled with the theme!


We had catered box lunches and this was our place setting.

This shows a little more closely, the corner punches.

I cut hearts from Sweethearts and punched holes to "tie the knots"! :-)

Another view of our yummy place setting. :-)

Thanks for stopping by today! Hope you're having a super fun, family and friend-filled summer!