Showing posts with label Don juan. Show all posts

July 14, 2011

Using Sketch Sheets to make a scrapbook

Hello everyone!! Java Jen here from Java Jen Creations again! Thanks so much, Sheila, for allowing me to share here again!  Hope you're all having a great Thursday! Our summer has been filled with lots of traveling so far and we've been having lots of great family time!!
We all know how to scrapbook our own pictures by grouping pictures from particular events or themes but it becomes a little more difficult when we are asked to do someone else's pictures. I want to show you how easy it can be by using the FREE sketch sheets that are available to print at Above Rubies Studio ! A friend at our church asked me to make a scrapbook for her daughter's 1st birthday. She brought me the pictures that she wanted in it and we decided together, what pictures would go on what pages and what page titles would work for each one.  If you go to the Above Rubies Studio site , you will see a link on the right side to download and print the free sketch sheets. There are many different ones, depending on what your project is.  I used the ones for 12x12 layouts.

The nice thing about these sketch sheets is that you can simply give yourself a blueprint to work off of. On the back of the pictures, I used a sticky note with the page # they belonged to. We had these sketch sheets filled out and pictures sorted in about a half hour!  I managed to take pictures of several of the completed pages before we left for vacation but I'll have to post the others later. 

 I used Storybook for the font for her name.
 I used Once Upon a Princess for the word Princess and the crown.  With my Gypsy, I welded the words "Our Little" using the A Child's Year font.

The words on the pages above and below were welded using the Birthday Cakes font. The expectant mommy is from New Arrival. The tags are from Don Juan. I used a clipboard stamp from a new set I recently purchased from My Creative Time with Emma . I just love her stamps!!


These pages were so much fun! I used a cloud cut from Create a Critter and embossed them with the Swirls cuttlebug folder - then inked them with a light pink ink! So easy to do but it adds so much pretty detail! The newborn cut is from New Arrival and the words were welded using the Baby Steps cartridge.

Close up of the embossing and inking and the little newborn cut.

You'll notice that I left journaling places on each page or two-page spread so that they can fill in the details of their stories. That is definitely something that I always encourage my customers to do. I can't do that part for them! :-) The "Grand Adventure" cut is from Baby Steps.


I hope this project encourages you to try these sketch sheets for yourself! Once you have your sketches done, just pull out your Gypsy and design away! That's the other reason this project was manageable! 

Have a fantastic day and thanks for stopping by!

June 17, 2010

Bless Our Nest - My Debut

Hi Everyone. My name is Lisa Sylvia of  Lisa's Craft Room. I am making my debut today. I was so honored and touched when Sheila asked me to be a designer for She's a Sassy Lady. Sheila, thank you so much for asking me to be part of your Team. I don't by any means consider myself a designer, but, when we use our imagination and put our creativity to work, I guess it is designing, and of course the Gypsy girl is a big part of that. :)

Since I am a scrapbooker first, I decided to do a 12 x 12 page layout. I love making cards, but haven't done a page in a while. LOL, It's funny because, I had asked Sheila why we only do once a month and she said because it is a lot of work. Well, you were right Sheila, WOW, to come up with an idea, put it in the Gypsy, design everything, figure it all out, put it on paper, then Post it all, WHEW...but, it was so much fun and I enjoyed doing it.

Well, here I go. I was inspired by this, which is hanging up in my Scraproom. I loved it when I saw it, I just thought it was so cute.


And here is my layout. This is our first home, we bought it in July, 2005. This is the side view, in the backyard.
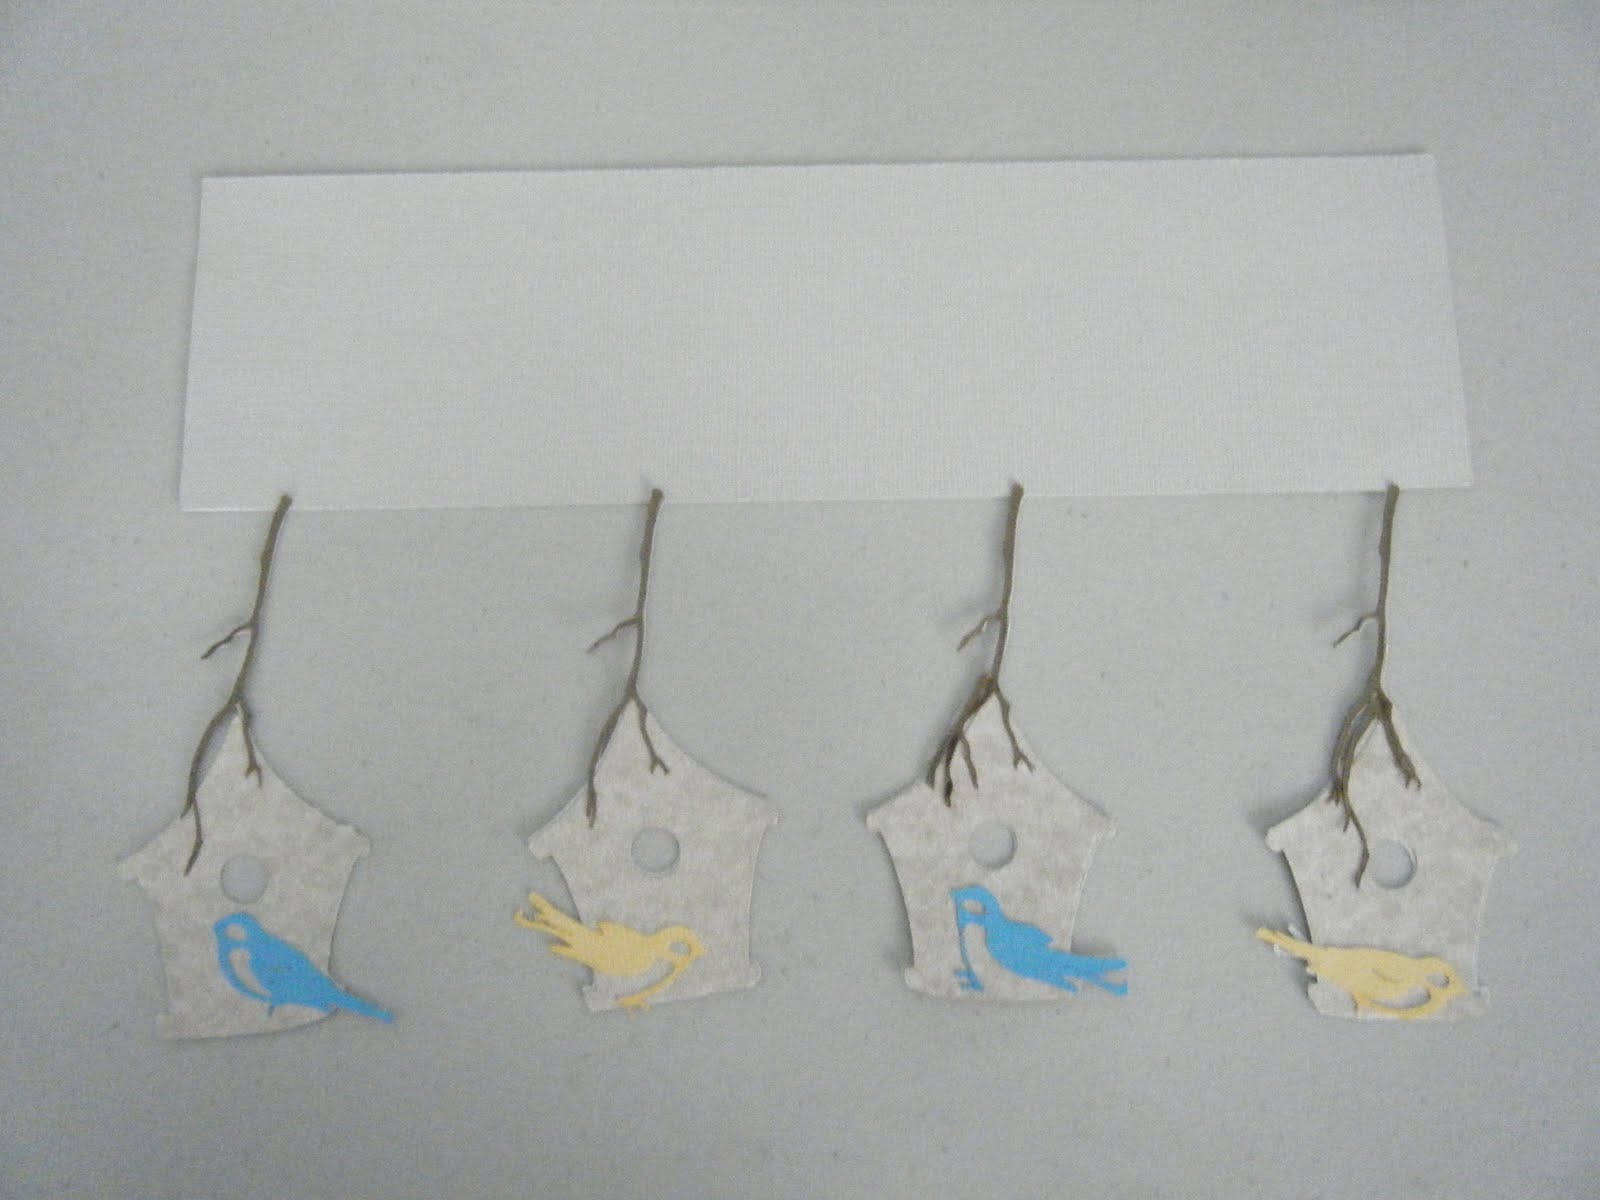
I first started out with a frame from Stretch Your Imagination, the size is 3" x 11". Then I added branches from Home Decor, 2.81" x 1.75", the bird houses are from Stretch Your Imagination, 2.11" x 2.50", the birds are from Home Decor, 1.12" x 0.75".
On the second page, (Layer 2), my title is from Don Juan, Bless is 3.38" x 2.41", our is 2.36" x 2.41" and nest is 2.92" x 2.50". I welded each word together.
I then welded everything together, unfortunately for some reason the birds didn't weld the way I hoped they would, and I figured out it was because if you put something in mid center, it can't weld, (see, I'm still learning), so at least their tails welded and I was able to use them as a guide when I cut out the birds.

I then separated everything to cut out in the colors that I wanted, I don't know if there is an easier way to do that, but that is the only way I know for now. I used the Hide Contour feature for the frame, whis is awesome. I'm so glad we finally got that, it was well worth the wait. I guess I could have just deleted it :)
Then came putting it all together. 

 
I used my two way glue pen for the branches, and the birds, they were so dainty.
See what I meant about the birds. I made the birds blue and yellow to represent two parakeets that we had until they passed. We bought them for our son when he was 3 years old and we had Chee Chee (blue) for 13 years and Teenie (yellow) for 11 years.


Then I cut out my title using Navy Blue cardstock.

I used my white gel pen to dot the title. 

I smooched the roofs of the bird houses to give them color. I love Smooch, for those who don't know what it is, it resembles fingernail polish/paint and you just brush it on what you want to highlight and give a little shimmer. I only have Red, Green and White. I might have to invest in more colors :)

Then I added some dimensionals to the bird houses.

I used my ATG 714 on the frame, I love this gadget.

Then adhered it all to my 12 x 12 gray cardstock.


Added my picture to a piece of navy blue cardstock, to match the title. The picture is a 4" x 6". So I just eyed the mat and left a little border around each side.

Added some raffia to two of the branches, and stickles to each of the bird's tails. You can see the Smooch on the roofs.

Then cut out a 1" bird's nest from Create a Critter and added some Dazzling Diamond glitter.

 Lastly, I tied a navy blue ribbon around the page and did a little journaling.


Thank you Sheila for giving me a chance. I hope I made you proud ;) To all of my blogger follower friends, Thank you for following and for your sweet comments. It means alot to me. I hope you enjoyed my debut.