Showing posts with label TBBM 2. Show all posts

March 13, 2014

Christmas Swap Tags 2013

Happy Thursday, everyone! Java Jen here from JAVA JEN CREATIONS to share the tags I made for our Sassy Designers tag swap this past Christmas! Thank you, Sheila, once again for the privilege! I had planned on posting this months ago but it has been a crazy couple of months, with moving into a new house and starting a new job! At any rate, here is a pic of the finished tags and then I'll share some step-by-step pics.


Cricut cartridges used:
Tags, Bags, Boxes and More 2 - Tag, 6.25"H
CTMH Artbooking ----> ornament overlay- 5.12"H,
 ornament medallion - 2"H,  and snowflake - 1.75"H

Here are the tag and overlay cuts before adhering them together.

I stamped my blog stamp and signed the back of each one before finishing them so I wouldn't mess anything up on the other side. :-)

Here is a trick I used to get an even coating of adhesive for the glitter to adhere to. I ran my tags through the Xyron sticker maker, making sure the side that got the "sticky" on it was the side I wanted the glitter on. 

Here is the tag before pulling it off the Xyron backing sheet.

After pulling the tag off of the backing sheet, you can see the full layer of adhesive exposed.

First I adhere the overlay......

Then I randomly sprinkle my first glitter color over the adhesive.

Then I sprinkle the other color in the bare spots to fill the tag completely in.

I had to switch shades of my glitter colors before I was completely done with all my tags so I actually got two different hues on my finished tags. I think I really like them both! :-)

Here are the ornament medallions with the snowflake. I attached them with pop dots.

I finished them off with some Liquid Pearls to accent the ornaments and some ribbon. 

There were 16 of us in this swap so I made 16 of these lovelies! :-)  I love looking at them all completed! 

Thanks for stopping by today and be sure to stop by here everyday for lots of creative inspiration! 


July 11, 2012

Quick cupcake card

Hi Crafty Friends :)
Adele here to share a quick card with you today.

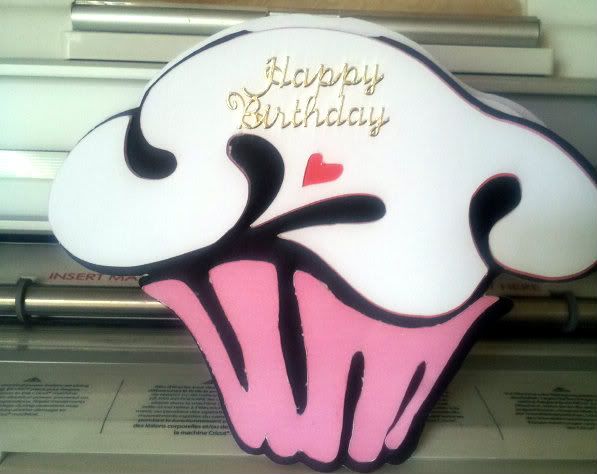
This card was made in about 10 minutes, my neighbour's Grandaughter has a birthday and my neighbour wanted me to make her a cupcake card with a hidden flap so she could attach money without it being obvious, so here is the card I made for her


This is a trifold card, hinged at the top of the front part of the card


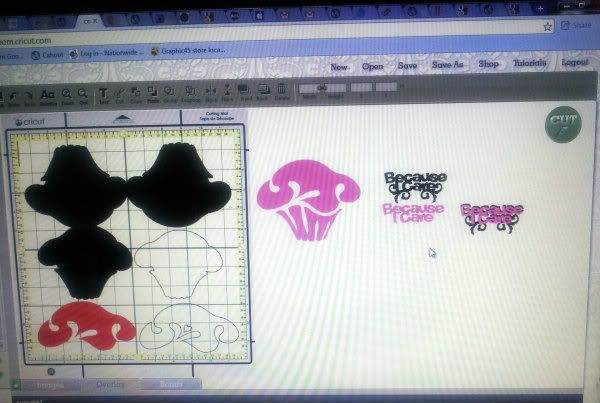
The card base was made using 'Home Decor' welding 3 cupcake shadows at 4.333 for the front/back and the smaller cupcake shadow (flap) sized at 3.986 to form the trifold base. 
The phrase is from 'TBB&M2' sized at 1.583 and 1.014 respectively, 

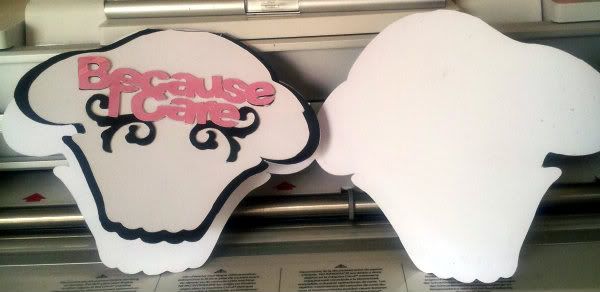
This is the inside of the card 


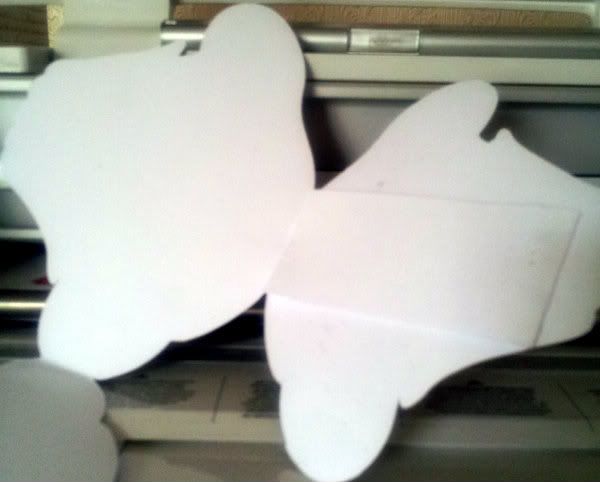
And this is the hidden strip that I hand cut, to hold the money


Like I said, this only took about 10 minutes to create and put together :)

I hope you enjoyed my quick card project today.

The CCR file can be downloaded HERE

The Gypsy file can be downloaded HERE

Thank you Sheila for allowing me to share my project with you all this month :)

Happy crafting everyone :)

Hugs

Adele

April 9, 2012

3D Tea Cup from TBBM2!

Hello my Crafty friends!  This is Kimberly over at My Craft Spot and I have a fun 3D project for you today!  (Scroll down for a video showing how to assemble the tea cup.)


I cut and scored the Tea Cup (page 29) at 9 inches from the Tags, Bags, Boxes & More cartridge.  It's great to have two sided patterned paper for this project!  I thought it needed a little something along the top of the cup, so I added this (1 by 11) border, which I cut at 1 inch from the Paper Trimmings cartridge.


The sweet little tag is from my new Tiny Tags stamp set.  I stamped the outline, stitching, and sentiment.  Then I trimmed around the outline and matted the tag with brown patterned paper from Crate Paper. 


I tied a bow on the handle with Vanilla Bean Crinkle Ribbon and then attached the tag with twine (American Crafts)


The doily was cut at 3 inches from the Sophie cartridge.


I used the red tape from Provo craft on the tabs.  The blue patterned paper is from My Minds Eye and the cream paper is bazzill.  I stamped the sentiment on cream paper from Close to My Heart.


This would look great with a cupcake in it or filled with treats!


Here is a video showing how to assemble this fun tea cup:


Here is a video showing how to cut and score using the Tags, Bags, Boxes & More 2 cartridge and the Cricut Scoring Blade:


Come join the fun at My Craft Spot!  Click HERE for my Blog Makeover Giveaway!!

March 12, 2012

Tags, Bags, Boxes & More - CD case!

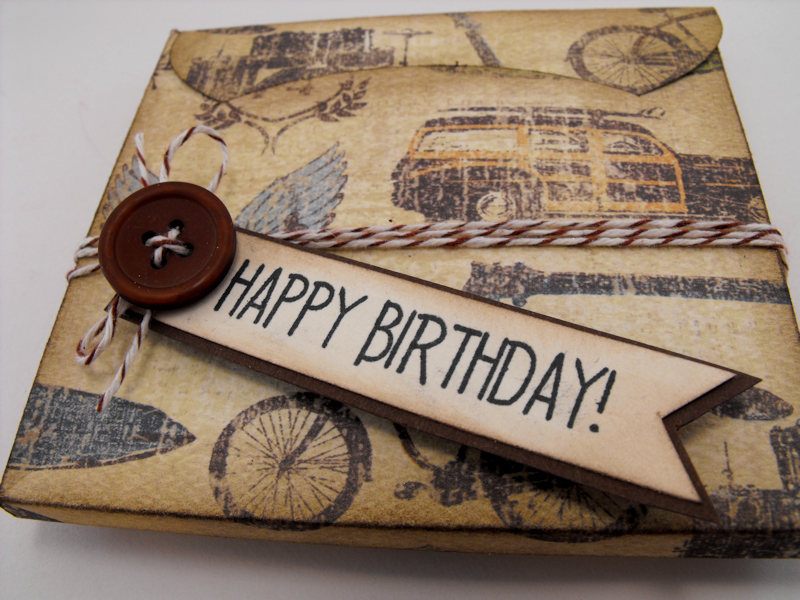
Hello my crafty friends!  This is Kimberly (My Craft Spot), and I am so happy that it is my turn to share a fun project and a couple of videos with you!  I have been having so much fun with the new TBBM2 cartridge!  I love that it cuts and scores!  Today's project is the CD case.  This one is cut just the right size to hold a gift card - maybe to a favorite music store!


I cut this CD box at 9 inches from the Tags, Bags, Boxes & More 2 cartridge.  (Scroll down for a video showing how to cut and score with this cartridge and your cricut.)


This is what it looks like when it is open:


I inked everything with Walnut Distress Ink.


The stamped sentiment is from the Inside & Out stamp set #2.  I hand cut the tag and then tied the tag and button on with Vintage Chocolate Bakers Twine.


Here is a video showing how to cut and score this CD case with the Cricut:


Hint:  Be very careful not to bump the carriage when you are switching between your cutting and scoring 'blades'.  Also, It doesn't matter which you do first, the most important part is that you push the "Load Mat" button so that you start at the exact same location for each 'cut'.

Here is a video showing a quick overview of the TBBM2 cartridge:


 Come join the fun at My Craft Spot!  More videos, projects and weekly challenges with prizes!


Happy crafting!