Welcome to my fun little site. My name is Sheila, you may know me as Sassy Lady. I am a Chicago transplant to the Birmingham, Alabama area. I like to say I am southern by the grace of God! My blog was started to share with family and friends my love for scrapbooking and of course special moments with those around me. Being an avid scrapper I also dabble in card making as I love to remember people and their special times with a card. Click Here To Read More!
Grab my button for your blog! Copy and paste the text below:
GET $10 OFF DIGITAL SOFTWARE
CLICK PHOTO TO ORDER YOUR SOFTWARE TODAY. YOUR DISCOUNT CODE IS STMMMS32096
Unless otherwise stated within the post, this is my original work or design. You are free to use any of my designs as INSPIRATION for your own personal use. My work is not for use for publication, contest, message board entries or for profit. If my designs inspire you in any way please give credit where credit is due. If you post information about my files to any message board or mail group, please direct users to this blog rather than attaching the file itself. Leave me a comment and by all means post a link to my blog. Thank you!
Happy Thursday, everyone! Welcome to She's a Sassy Lady! Java Jen here from JAVA JEN CREATIONS. Thank you, Sheila, for allowing me the privilege every month - I really look forward to this each time! :-) Since my crafting workload has recently increased, I decided that I needed to make some embellishments and Cricut cuts ahead of time so that they are ready to go when I need them! (I just became a COOKING WITH CRICUT designer and got hired as a paper crafting instructor at Joann Fabrics!)
With that said, I decided to make good use of my Art Philosophy cartridge! I'm going to put in a plug for Sheila here and say that if you don't have a CTMH consultant and you don't have this cartridge........ BUY IT FROM HER NOW! :-) Sorry to yell, but, seriously, this is one rockin' cartridge!! :-)
If you saw my post here last month, I cut a bunch of images and stamped them with Valentine sentiments and patterns.
There are so many CTMH stamp sets that coordinate with this awesome cartridge and it really takes "cricutting" to the next level!
I chose cuts that were marked on the stamp sets and filled them in with patterns from the Imagine cartridge called Vintage Papers.
I used the February Stamp of the Month for my first set of cuts.
The measurements to cut the images at, are right on the clear sheet the stamps are mounted on. I filled them in with prints from the Vintage Papers cartridge. I just LOVE the variety of prints on this cartridge!
I love these prints so much that I decided not to stamp on all of them!
I think these are some of my favorite patterns:
Next, I used the November Stamp of the Month and a different ticket cut to make a set of the monthly tickets - ready to go for a future project.
Here are a few more stamp sets that I will be using to make even more things ahead of time:
Finally, I threw together a quick card with a few of my embellishments just for fun!
I hope this inspires you to take the time to create some embellishments, tags or cuts ahead of time so you can put something together quickly when you need to! I know that I plan to do a lot more of this for sure!
Thanks for stopping by today now go create something beautiful!!
Good Morning Everyone! This is Chris from Get Inspired With ChatterScene and I am very honored to be guest designing here at She's A Sassy Lady again this month! TY so much Sheila for having me!
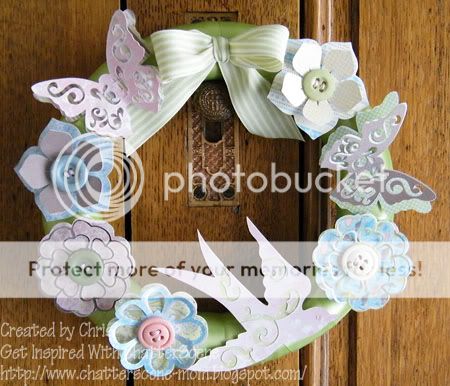
Well I am ready for spring so I decided to focus on a spring themed related project!
For this project I used my Cricut Imagine.
I used two cartridges. Cricut Imagine Blossom and Cricut Sophie Cartridge.
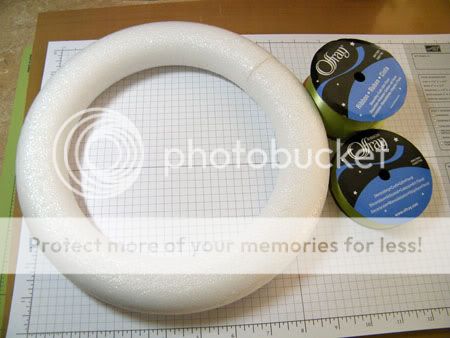
These are the supplies I used. I ended up adding a SU ribbon to the mix that isnt shown in the
photo.
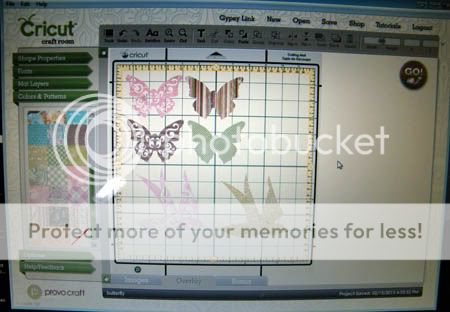
I went into cricut craft room and flood filled flowers, butterflies, and bird using the Sophie and Blossom
cartridges.
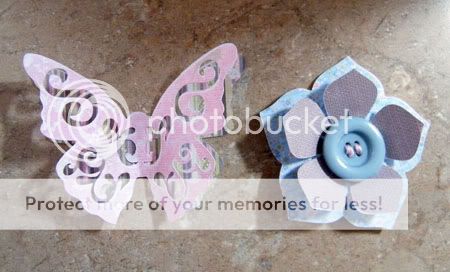
Assembled the items with some cute buttons.
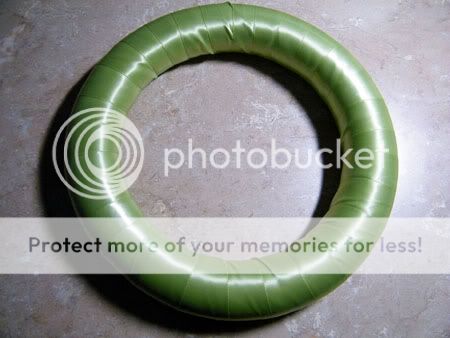
Wrapped the circle with the ribbon.
And then glued the flowers, butterflies, bird, and bow to the front of the wreath.
Hi everyone! This is Kristy from craftin-on-my-door and I want to thank Sheila for allowing my to be her guest designer again today! I look forward to my monthly She's a Sassy Lady posts!
If you are a follower or just stop by my blog you know that I just received my Imagine in July, and I'm in {LOVE}!
Why did I wait soooo long? I honestly thought I didn't (need) this machine?! Well, I was wrong! I have been creating project galore with this big beauty of a machine! The possibilities are endless with this amazing machine!
So, today I thought I would show you a layout that I created in about an hour and a half! (That's REALLY quick for me!) My goal was to only use "one" cartridge for all prints and cuts...sometimes I get a little overwhelmed with too many choices. I was hoping to create and finish a page quickly by setting a goal!
Here's what I used to put this page together, plus some tulle, adhesive, adhesive foam, a piece of 12 x 12 pink paper (yes, I know I could have printed the background paper too, but I'm trying to use up what I have), and some yellow scraps.
I flipped the bathtub and print/cut it and all it's layers at 5". Then I reversed the flip and print/cut more bubbles for my pics.
Then I selected this shape from the bonus content...
and then flood filled the image with this fun light blue striped pattern paper. It was printed and cut at 10.6" (rel).
I glued the fun background shape (off centered) down onto my pink paper.
I glued the first layer of the bathtub straight down to the background. Then I cut a piece of gold tulle, tied it in the middle with a piece of twine, and taped it onto the back of the next layer of the bathtub. I used Glossy Accents and chunky glitter on the bubble layers, and added some Glossy Accents to some of the bubbles. Then I used foam adhesive between each layer. I have to say...I'm lovin' how this turned out!
Next, I glued down a scrap strip of yellow Stampin' Up paper onto the middle of the page. Using my ATG glue gun I ran glue down the back of another scrap of the yellow paper and then folded the piece back and forth to create some dimension. I did this for 2 pieces and then cut a "dove tail" off of the ends. For the last step of these quick and easy borders just run another line of glue onto the flat scraps (that are already glued down) and stick your pleated pieces on top. Then I added the title using some Thickers stickers.
I stuck my pictures down and added some more bubbles to some of the pics.
To be honest with all of you, my handwriting is not my favorite. That's why I try to type or use stickers for a lot of my journaling, but I have come to realized that Little Stinkerbella will want to see "my" handwritten journaling one day! So, Little Stinkerbella this is for you...
That's it! Can you believe it, less than 2 hours! I challenge all of you to pick one cartridge and put together a quick, easy, and cute layout! If you do please make sure you stop by my blog HERE and leave me a comment with your blog link. I'd love to stop by and check out what you've created!
Hi ya everyone this is Melissa from Melissa Made. Thank you Sheila for inviting me to design once again today! I've been using my Imagine a bit lately because my Expressions conked out on me. I have to admit I'm loving this machine and even have managed to get a few more carts for it. Today, I thought I would help those that love their Gypsy and have yet to use it with their Imagine.
First, here's a quick video on how to attach your Imagine Cartridges to your Gypsy once you have the application installed. I apologize for the video quality - it's a bit blurry as I typically don't do videos - but it's clear enough to understand.
Now, let's learn how to use the Gypsy with the new cartridges that you've attached.
First, select the Imagine application on your Gypsy. For this project I chose the print and cut button.
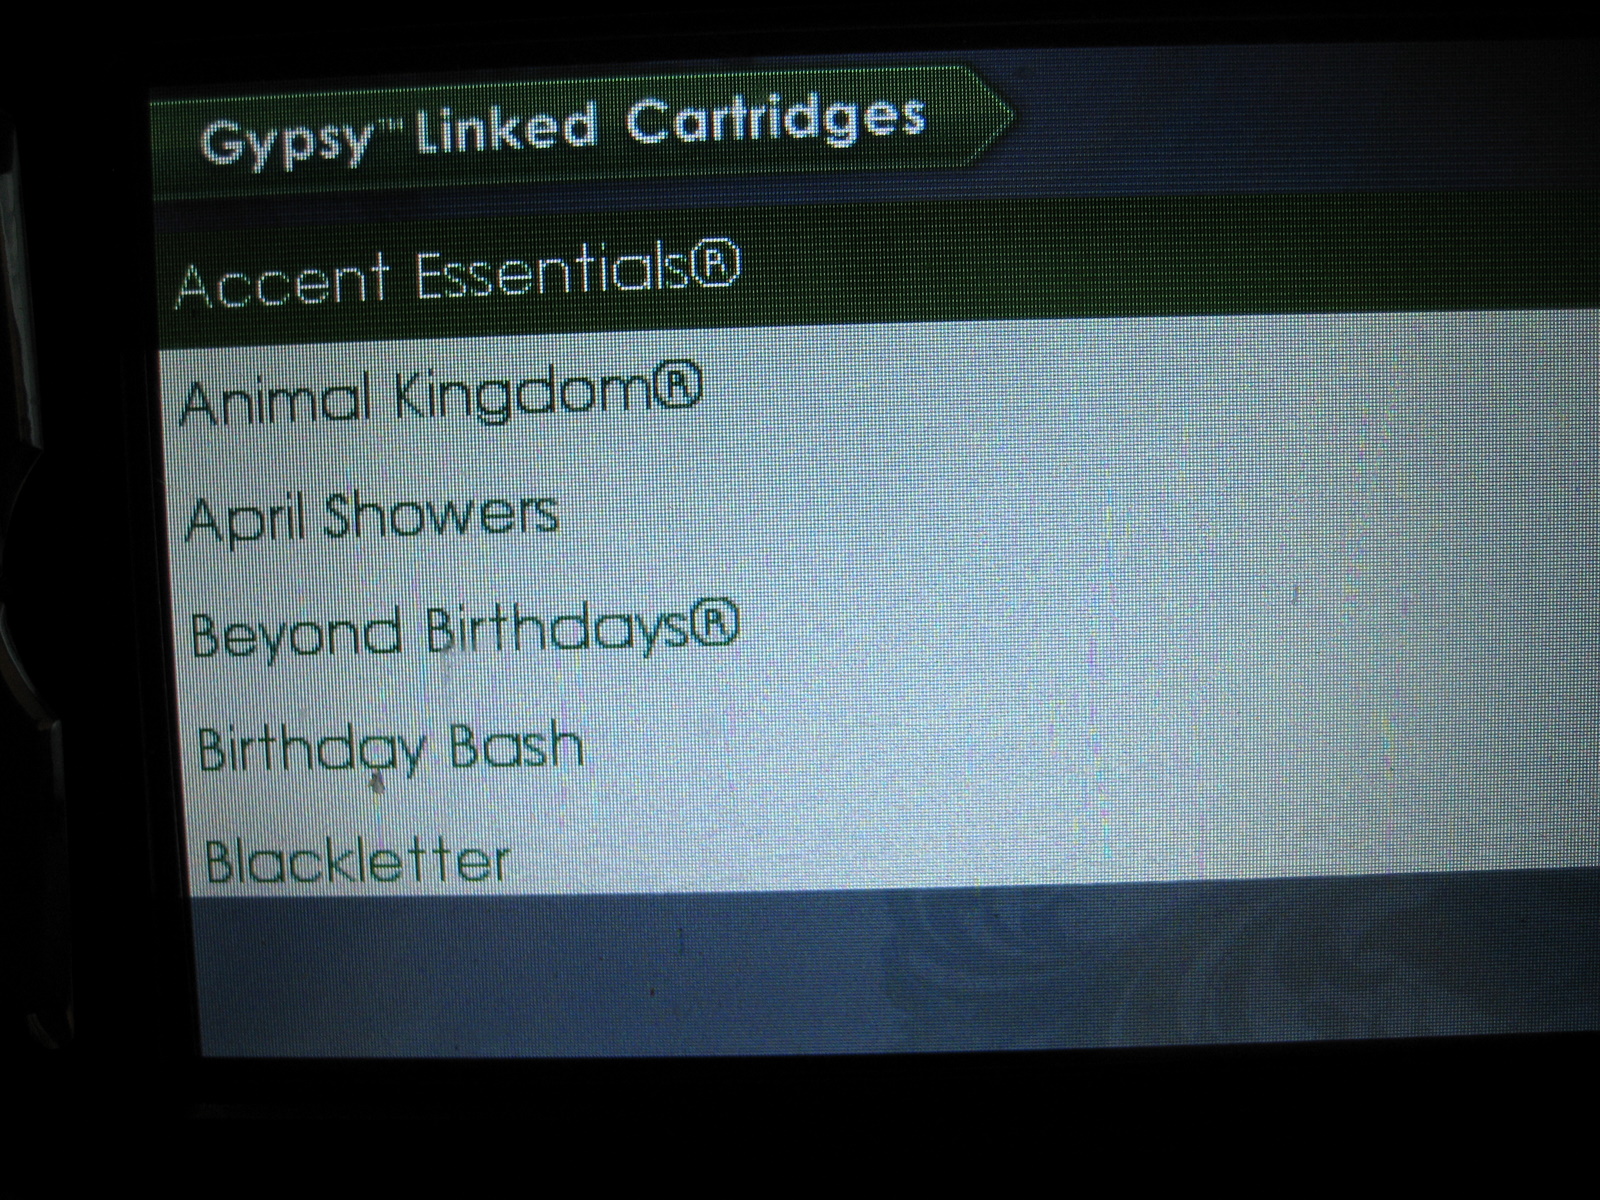
On the bottom left hand side of the screen you should now see three little icons. The first is your basic cricut cartridges. The second is the imagine itself that comes preloaded with a few fun shapes. Last, is the list of your Imagine cartridges. I chose this icon to select the paper I wanted.
I wanted to use the Audrey Imagine Cartridge for this project.
Because the Audrey cartridge is a pattern only cartridge it takes me to this next screen.
I tap on this screen to select this cartridge. Next, I choose the cricut cartridge I want to work from.
For this card I wanted to use Cindy Loo. I scrolled down the list until I got to Cindy Loo and selected it by tapping on the cartridge.
Once you choose the cartridge the screen will appear that's a replicate of the keypad. I chose the frame option.
I then chose the little frame with the birdhouse on the bottom right corner.
Once I selected the frame it comes up at the top of the screen in the bar. In this bar I tapped on the frame I chose and the edit button appears. Here you can do three things. Edit with the pencil tool, duplicate with the squares at the bottom and also the remove button which is the red circle.
I chose the edit button - the pencil by gently tapping on it. On this screen I can add my pattern paper to my image. I clicked on the blue pattern.
Once the pattern was added I decided to change the size to fit on my A2 sized card. In the above picture you can see the little + and - with numbers on each side. I touch the + to increase the size and the - to decrease the size. This is fabulous because once you change the frame size any extra additions such as the layers for the house will automatically be the correct size.
I then chose the imagine icon at the bottom to go to those great extra shapes that come preloaded.
I chose this square for some patterned matching paper.
I chose a red pattern and then clicked next. I then chose the duplicate square after gently tapping on the square in the bar.
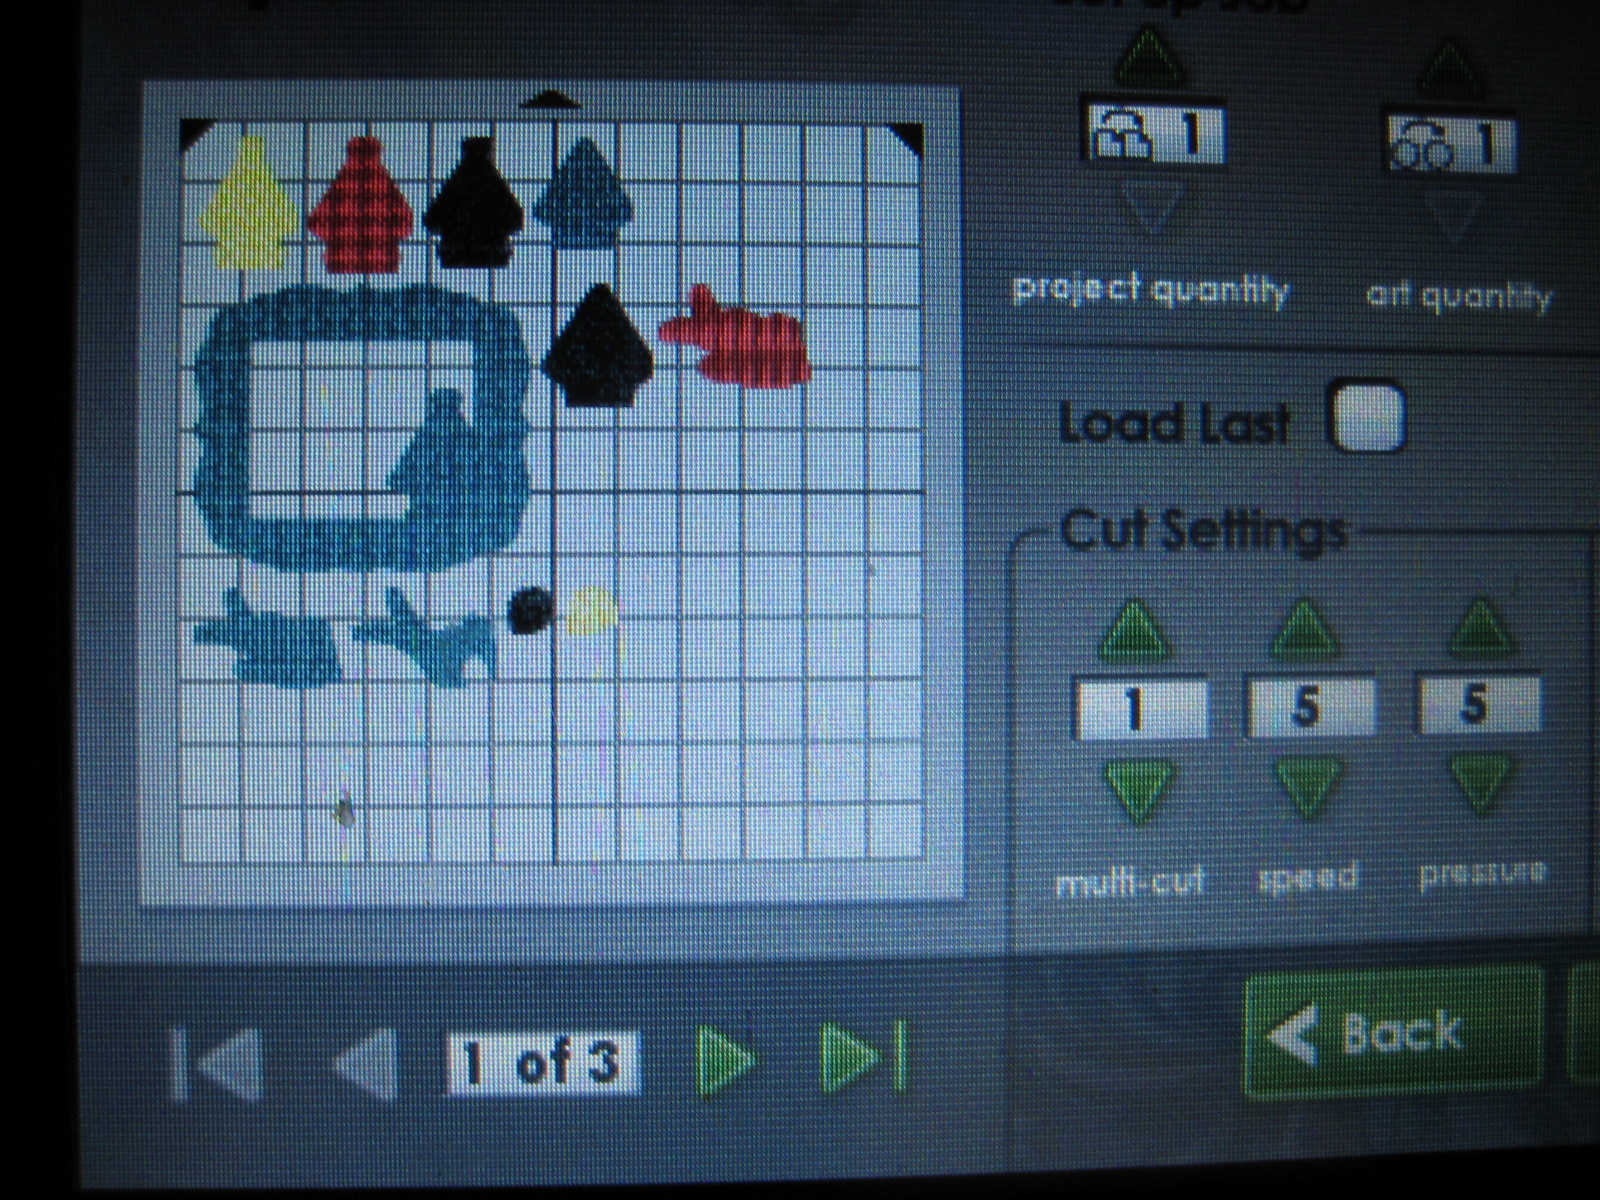
Once I duplicated the square I chose the duplicate and changed the pattern. I chose the next button on the screen and could then see each page that would need to be print and cut. Here are three pages. They are viewed starting with the last page and you can scroll back to see each page. When you go to print and cut they will print in order page 1 to page 3.
As you can see on the first page I added a few elements following the same directions as before. I will often click back and forth between these pages to see the size of the images I'm adding. Once I am ready to print I hit the next button.
The screen will then direct me load the mat and away it goes. I decided to make a second card as well with the left over bird and I did print some extra paper. I added a sentiment from Straight from the Next too.
Thanks for checking out my tutorial today and for more fun projects using the Imagine stop by Melissa Made. Please leave comments and ask questions below!! I love to hear from you!