January 28, 2015

Learning How To Use The Slice Feature On Design Space


Isn't this little southern belle bear just adorable? I just love playing with my Explore and Design Space as it offers so many features to make designing easier. I never thought I would set aside my Gypsy Woman, but I have. Join me today and learn how you too can make a project using the slice feature. This is just a short video and it will help you.


Now wasn't that easy? I always put my project back together when I adjust it so it is easy to remember just what it looks like. Then I play with the colors to make sure it will look ok using the paper I have.


Well I hope you enjoyed today's post and learned something along the way.
Thank you for your sweet-sweet words of encouragement.  Your comments continue to inspire me. Have a blessed day.

January 27, 2015

Looking For A Few Sassy Designers


Our designers have been with us for a couple of years and we are going to bring in a couple of new Sassy Designers. If you are interested please email me at macsheilam@gmail.com . Please leave me your full name and a link to your blog if you have one.

Learn To Weld On Design Space


Hi, Sheila here. I hope all is going well with you today.

Learn how to weld letters in design space quickly by watching this short video. Learning this will help you in card making and scrap booking.


Now wasn't that easy? Just practice and it will get easier each time. Thank you for joining me today. I hope you learned something new and can put it into practice with your projects.


Thank you for your sweet-sweet comments, they continue to encourage me.

January 26, 2015

Learn How To Make A Shape Card On Design Space

 
Here is my cute little hedgehog. All you have to do is make an inquiry on your design space and then choose the artwork you like too.


Now wasn't that easy? The programmers for Provocraft did a wonderful job designing this program. It is so much easier than the Gypsy I can hardly believe it. This is the first time that I did a video capturing my screen so please be patient. There is one thing that the video cut off (it will only do 10 minutes) and that is to attach the score line. So after you group it also use your attach button in the edit box and it will work out great.


I hope your enjoyed this video. See how easy it was to put together....
 
 
This is a closeup of the paper I used. It is from My Minds Eye and it is so nice and shiney I love it. The photo on Design Space was solid colors but I thought I would Sass it up a little.
 

I did use glossy accents as you can see and it is still wet but you can see it looks adorable.


This is the inside of the card. I used a stamp from Joy's Life, the Barnyard Punny set.


Well I sure hope you liked today's post and learned a little something from the two videos. If there is something you would like to learn or can't figure out on DS just contact me.

January 23, 2015

A Friendship Card And Encouragement Card


Hello, how are you? This weeks card is a nice simple one. I just used this piece of art from Design Space at a 5x5 size. Then I hand cut a 10x5" paper for the card scoring it to a 5x5.


Now wasn't that easy to put together? As you can see I am using this for our upcoming card party. We will used it as a contest card as it is easy to put together.


I then found the above stamp in my stash and used the brown ink and stamped the inside of the card. At first I thought of making it a Valentine card but I really like it as a friendship card.


This card is the 2nd card in my video. My camera ran out of juice so there is no instructions. I thought I would show you a close up of the card as it turned out so nice and also makes a great friendship card.


This is a close up of the front. As you can see there are many layers of this card.


This is the close up of the inside of the card. I love how this card turned out. I love the intricate cuts on this card.

Thank you for joining me today for this post. It was a great getting this card ready for the card party. And, I love sharing what I do with you. Thank you for your sweet-sweet words of encouragement. Your comments continue to inspire me.

Have a blessed day.

January 19, 2015

SILICONE BABY BOTTLE NIPPLES & ADHESIVES (What???)


Hello, everyone, and a happy 2015 to you.  I hope you all had a beautiful holiday and are settling into the new year doing what you love, especially crafting!   
This is Charlotte C, and I’m excited to share with you a video I found on YouTube about sealing your liquid adhesives with, of all things, silicone baby bottle nipples.  I for one get so frustrated with Zip Dry and Glossy Accents and Scotch Quick Dry – always sticking pins and paper clips into the nozzle to get the darn things flowing.  And now with some foam tape and silicone nipples the problem has been solved.  The link is to a video by Follow The Paper Trail and I hope you find it as useful and informative as I did.  https://www.youtube.com/watch?v=huZXoBncje0


Thank you for visiting today and thanks to Sheila for allowing me to once again be part of her wonderful blog.  I am always inspired and often amazed at all the talented women who are part of this site, especially Sheila, and I wish you all good health, happiness and love in the year ahead.
 

January 17, 2015

Anna Griffin Style Birthday Card


Don't you just love this card. It can be found on the Cricut Explore project list. I didn't have all the items so I altered it to make it my own. I made this card for my mother's birthday and she liked it. Shh, don't tell anyone but this is also going to be a card everyone will make at the February card party!!!


This is a close up of the front of the card and as you can see everything is layered.


See how I had to alter things to get it to work out. We were to use Anna Griffin's sticker but I was out of them so I had to make my own. This is actually the display card. I used a silky ribbon just like she does on the rest of my cards.


Don't you just love the layers on this card. Like all Anna Griffin cards it is filled with detail. I love it.


I decided to go with a simple stamp on the inside. Well I hope you too, do some of the projects that are on the Explore Design Space. Just alter it to make it your own.

Well I hoped you like todays project. It shows you that you can take a base, adjust and call it your own! Thank you for joining us today and for your sweet-sweet words of encouragement. Your comments continue to encourage me.

January 16, 2015

A Baby Shower Card


Hi Everyone,

It's my turn to share a project this month. Thank you Sheila, as always :)
I am going to a Baby Shower in a few weeks and figured I would have plenty of time to make a card. So I decided on this animal mobile card. Isn't it so cute?
I love how it came out. The base of the card is green card stock, cut at 8 1/2" x 5 1/2" and scored at 4 1/4". The layer is a lighter green card stock, cut at 5 1/4" x 4".

This was a rough draft on what I wanted it to look like. I ended up changing the sentiments.


 I used the Create a Critter cartridge and cut the animals out at 1" except for the giraffe, which is cut at 1 1/4". I just added some eyes and mouths with a marker, the lion, I did rough lines to make the mane stand out more. It's a little challenge working on tiny cuts.


I cut light green yarn into strips to hang the animals from, and glued them down, then I cut two strips of tan card stock and glued them down almost crisscrossed. I used that darling ribbon as a border across the bottom.


I added some of the same yarn to a light green button, tied it in a knot and glued that down. The sentiments are from Robin of My Pink Stamper.

Thank you so much for taking the time to stop by, have a great day. :)

January 13, 2015

Bittersweet Days

Howdy!  Adrienne here from Eagle Canyon Arts.  Thanks to Sheila for inviting me to be a guest designer this month and Happy New Year!

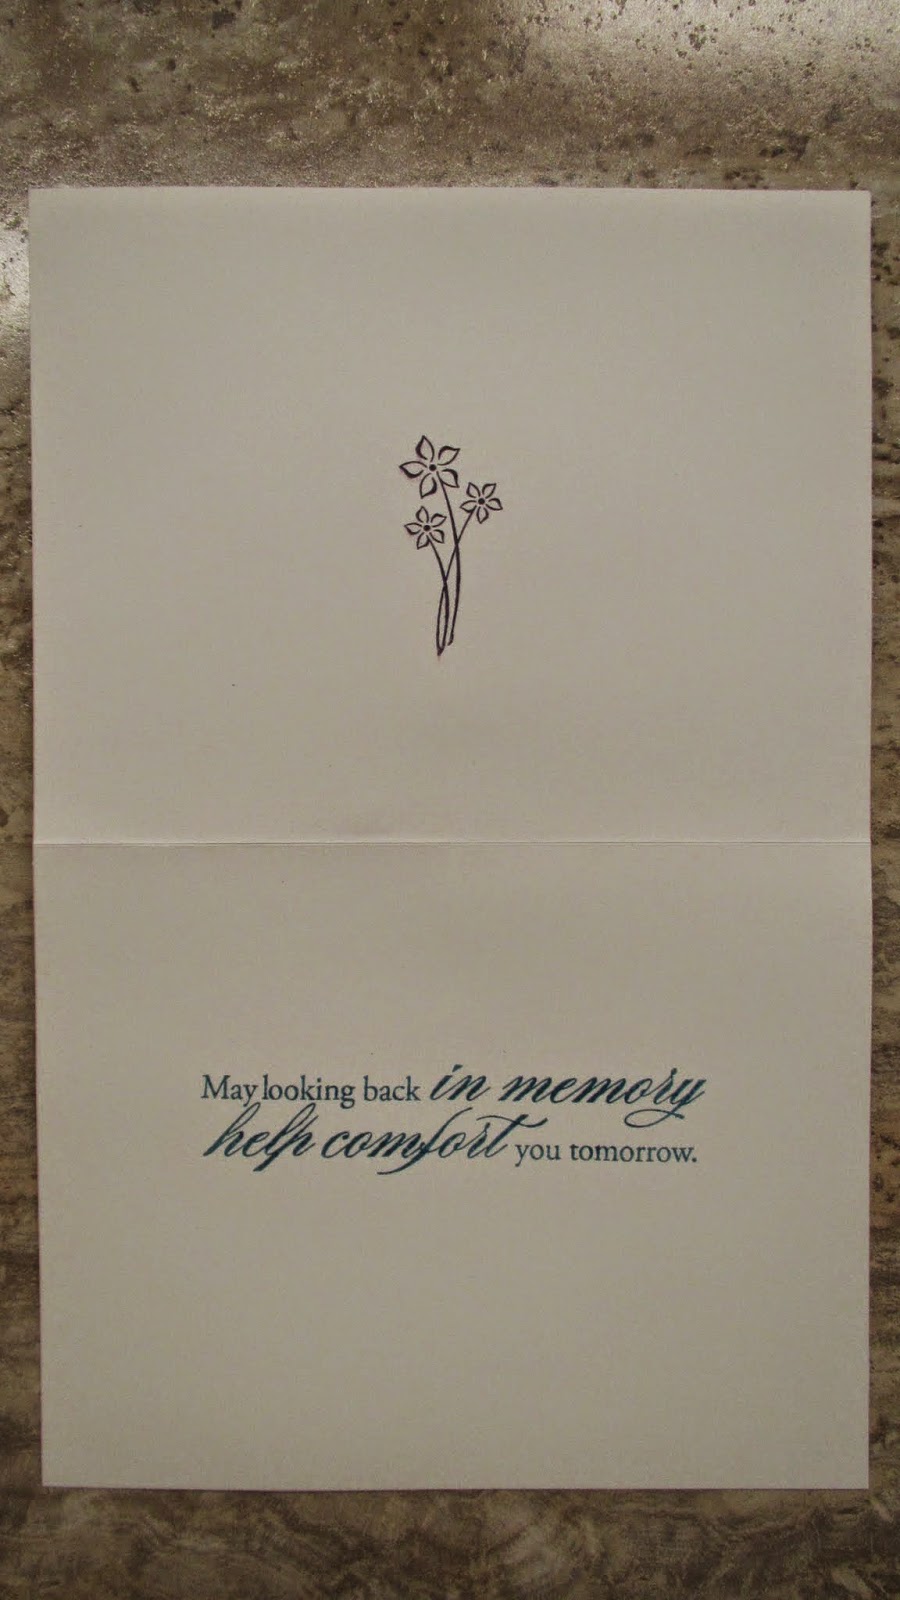
Sometimes in the midst of celebrating the joy of holidays, we also experience the bittersweet occasion of mourning the passing of a friend or family member.  Such was the case for us last month.  Here is the card I sent to the family. 

Supplies needed:
Twilight Ink (retired) 
Avonlea Papers (retired) 
"Be Still" Stamp (A1141) 
"Words of Comfort" Stamps (retired, suggest "Look to the Light" B1428) 
Just Blooms Butterflies (retired)
I sanded the edges of the papers to give them a worn look.  The butterflies were daubed with a couple different colors of ink to match the paper color.  Inside, the card has a fitting expression with a small grouping of flowers. Thanks for looking at this project.  Best wishes for the New Year!
Matthew 7:7

January 5, 2015

Friends!

Happy 2015!!!

Lori here from ScrappinMyStressAway.  I am excited to be featured at She's A Sassy Lady today!

One of my resolutions this year is to spend/invest more time with my friends!  I get caught up in my job and being mom.  Many of you know I am a daycare provider 50 hours a week.  I love it most of the time and my biggest bonuses are kisses, smiles and hugs!!

I am also a uniform washing, carpool driving, gatorate fetching and loudly cheering baseball mom,  I am involved with Tanner's school parties and field trips and play dates.  

All of this leaves me partially fulfilled and totally exhausted!!

It is easy to say no thanks when friends call.  It is easy to veg on the couch with a good book.  I am going to start saying yes more often.  I am going to line up a babysitter or evening with Mimi and Papa when Mike's work takes him out of town.

I am not a big wine drinker, but I do enjoy pedicures, shopping, lunch and movies with friends!

I made my sign by selecting this image from the Silhouette store.  I filled in the color and sent it to my printer.  I printed on laminated burlap and trimmed it to fit an 8x8 tin.  The tin is from Michaels in the dollar bins.

I inked the edges of the burlap and glued it to the tin.  I have a tutorial for a similar project HERE.


This is a small sign to remind me of a big resolution!!!  I hope you have a wonderful 2015!!!


January 1, 2015

Cheers!

Hey everyone.....It's Sonya from Sonya's Paper Trail.  I'm super excited about this card as it checks a couple of things of my "goals for 2015" that I shared yesterday on my blog.  

Check it out:


My first goal is to use my Copic Markers more...and I used them to color this sweet image with that ginormous glass of bubbly (perfect for celebrating the new year, no?!).

I also am wanting to use my stamps that have, sadly, never seen ink.  While this is a new stamp to my collection, it sat a few weeks without ink.  It's called "Cheers" by My Favorite Things.

One of my other goals this year is to spend more time creating and less time shopping.  I started this last year and it worked really well for me.  For this card in particular, I found some Echo Park "Sweet Day" paper scraps and made them into this card. 

I used one fun, often forgotten, product on this card called Glossy Accents.  After I colored the glass of bubbly, I applied Glossy Accents all over the top of the glass to make it look nice and shiny--like real glass!  

Last year for each post I did at She's a Sassy Lady, I made a Christmas card. I had a lot of fun doing my cards throughout the year and will continue to do so and share on my personal blog near the 25th of each  month.  I'd love to hear what your goals are for 2015 for your papercrafting!

Cheers,
Sonya