Showing posts with label Adele. Show all posts

July 10, 2013

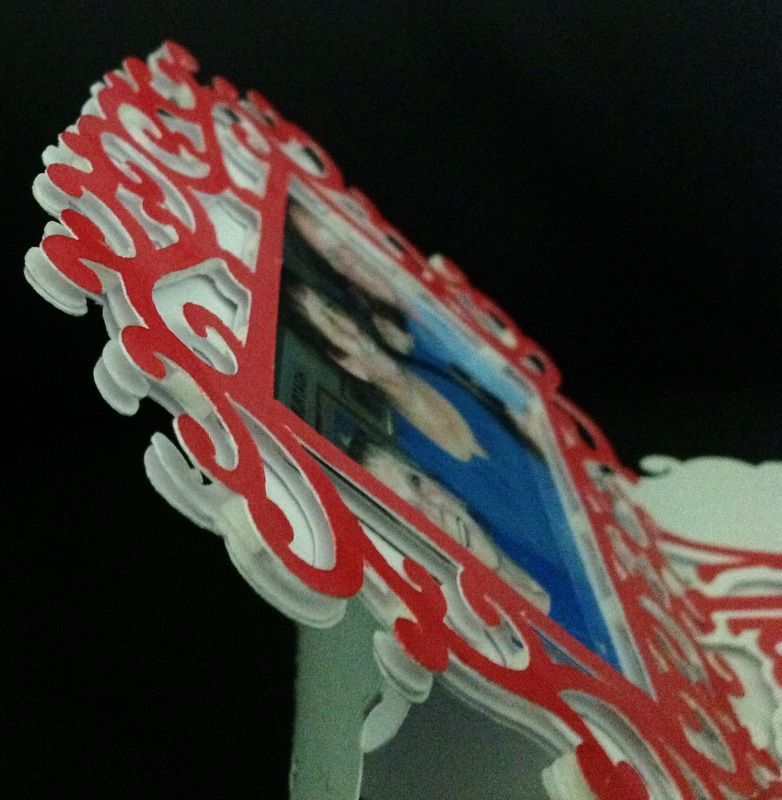
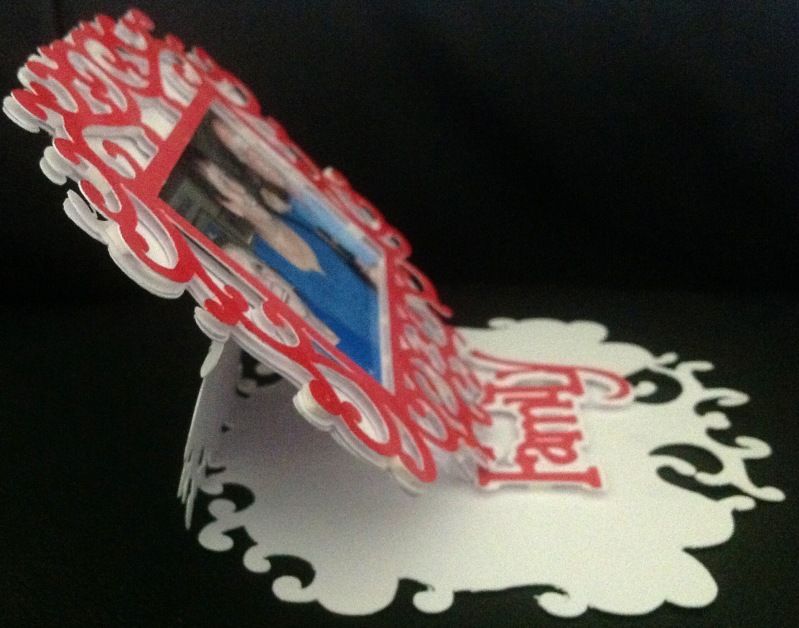
New Stand Card-Oval

Hi crafty friends :)
I am sharing this post here and on my own blog Adele's Creations

Today I'd like to share another stand card I made using Silhouette Studio DE.

I have been asked by many of my UK friends to make more of these style cards, so here goes :)


Here is what is in the file


I used a Hunkydory topper in mine but you could easily put a photo in it :)
The back has a solid area to fit your sentiment on to.

For anyone who would like this Studio file, you can get it HERE
Please remember to leave a comment if you download this file :)

Thanks for stopping by today
Thanks Sheila :)
That's it for another month, see you then :)

Happy Crafting :)

Hugs


June 12, 2013

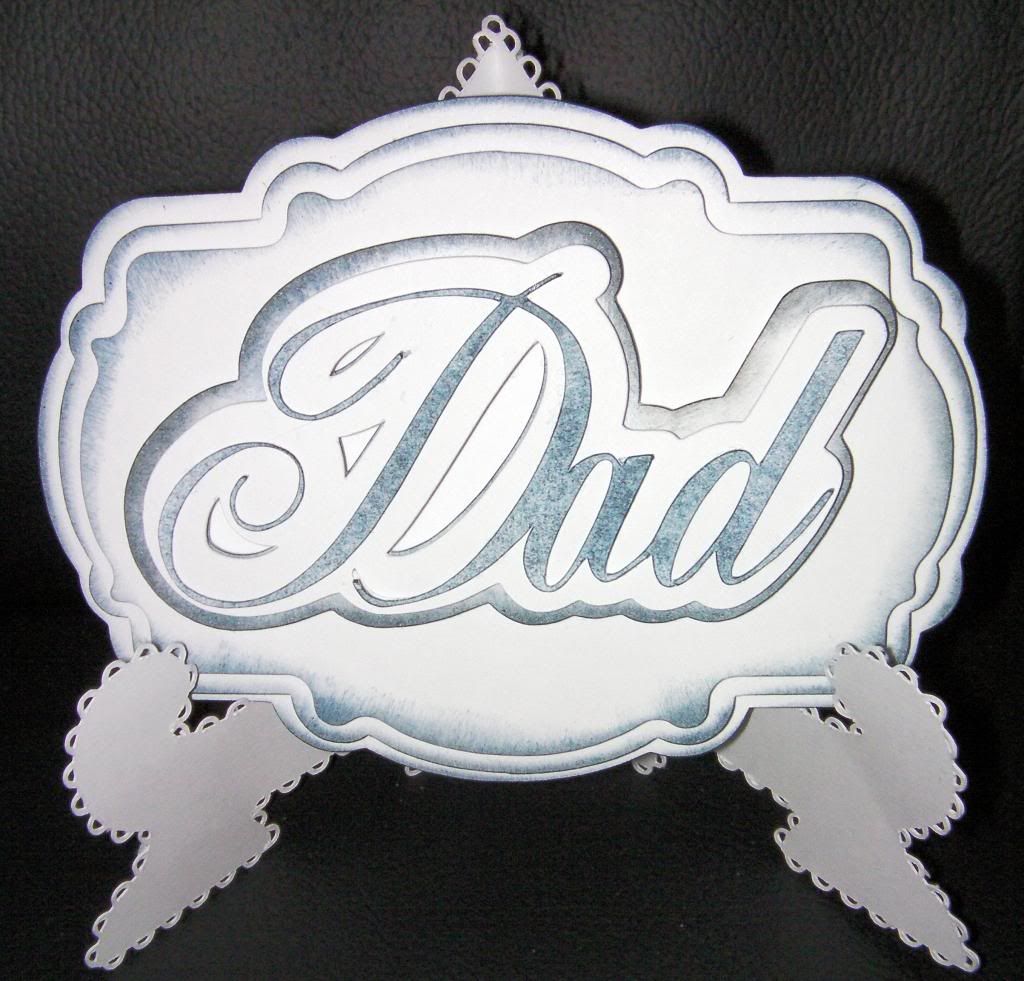
Dad Plaque

Hi Crafty Friends :)
Today I am sharing my Studio project with you here and at my own blog Adele's Creation's

This project is a small Dad plaque, I lost my Dad back in 1979, I know many of you will be in the same situation come Father's day, so on his Birthday & on Father's Day, I display my little plaque, this way I still get to honour his memory as a Father :)


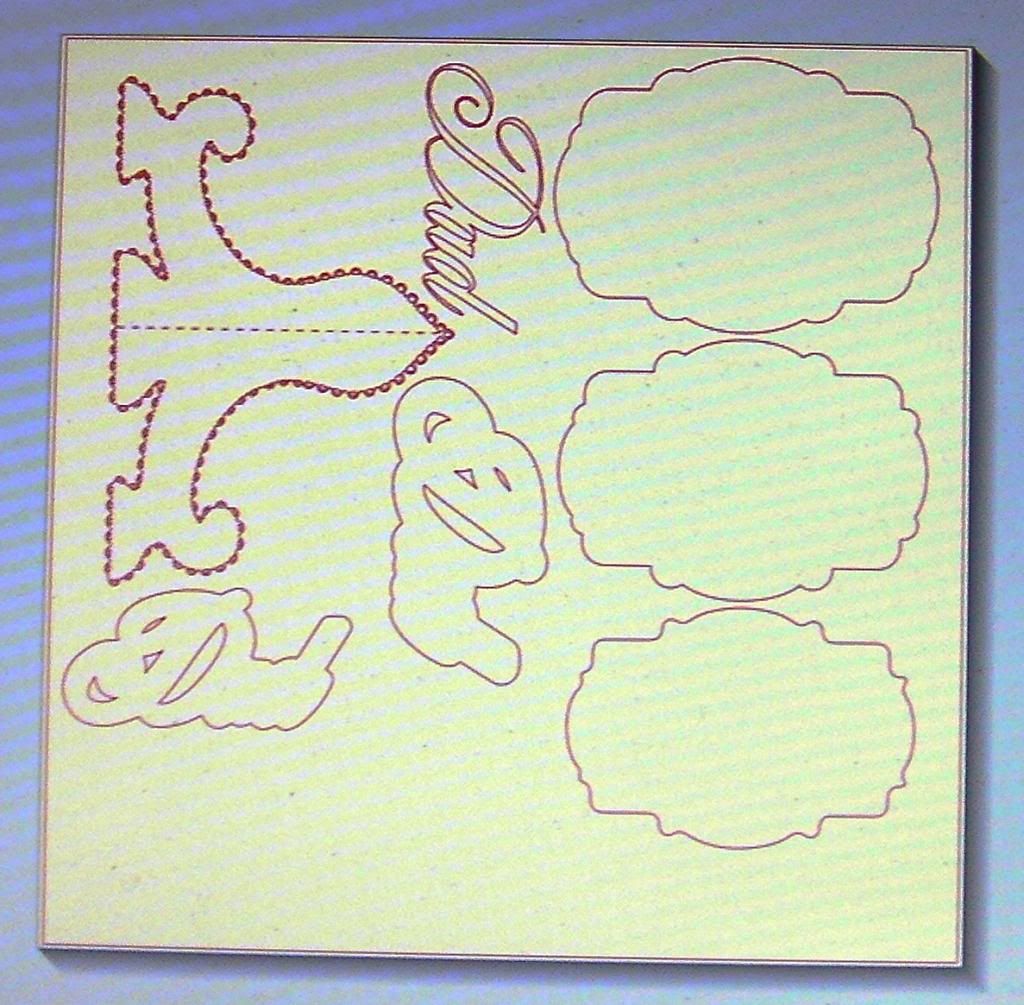
This is what is in the file


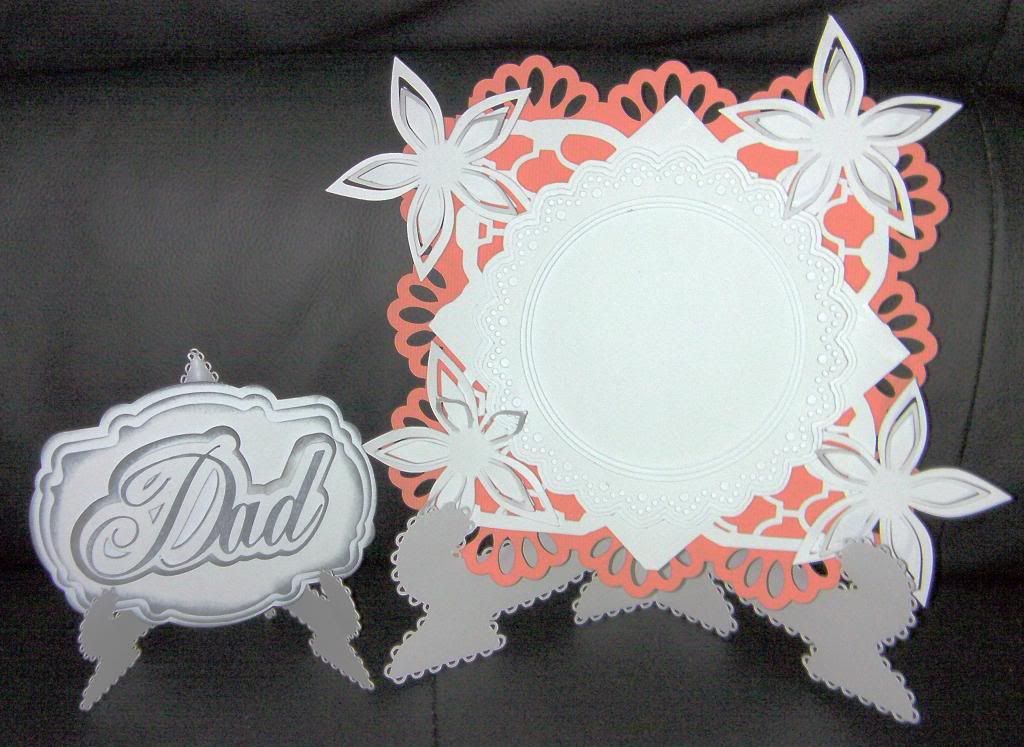
You can see the size comparison in this next picture


The plaque measures 5"x3.75" without the stand

If you would like this Studio file you can get it HERE

Thanks for stopping by today and thank you Sheila for allowing me to share my project :)

Happy Crafting everyone :)

Hugs

Adele

May 8, 2013

Sympathy Card

Hi Crafty Friends :)
Today is my day to share with you here and at my own blog Adele's Creation's
Sadly I had to make a Sympathy Card for my dear Nieces, my Sister-In-Law died aged 49 on 1st May, very suddenly, after being told the tragic news last week she only had a few weeks to live.

I used my Silhouette Cameo to cut my design, though parts were bought pieces from the Silhouette online store for speed.

My card base is 6"x4.25"

This a screen shot of what I cut, though didn't use some I just wanted to fill up my card stock.


This is a screen shot of the parts I made myself, these are available for free download at the end of this post.


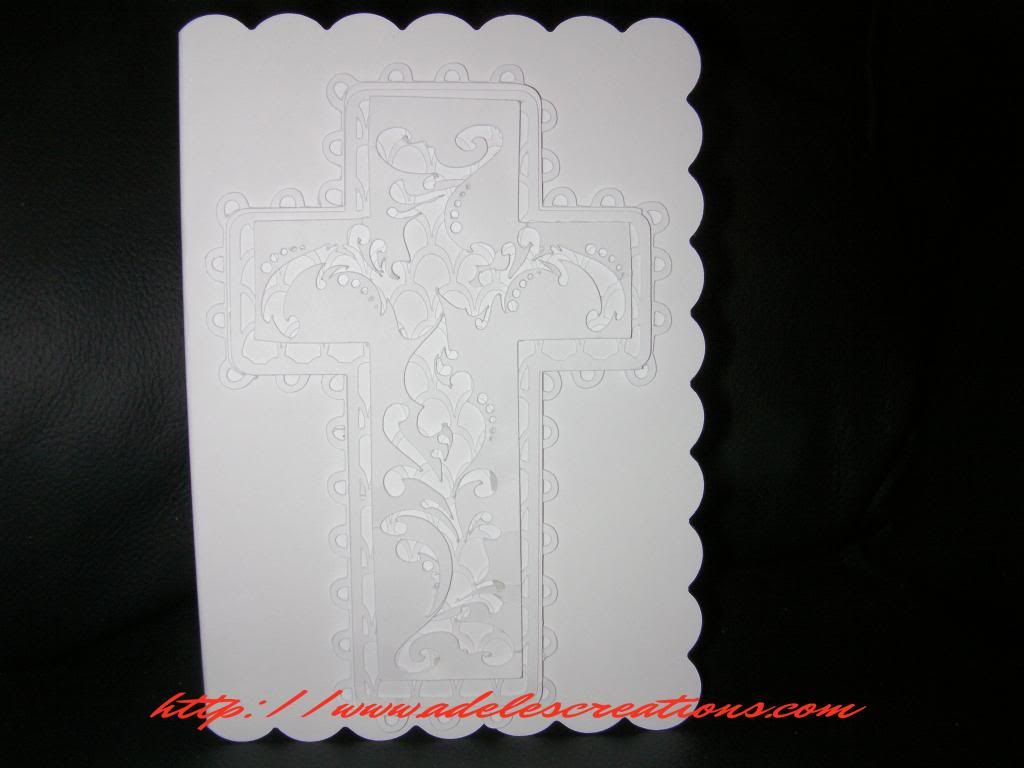
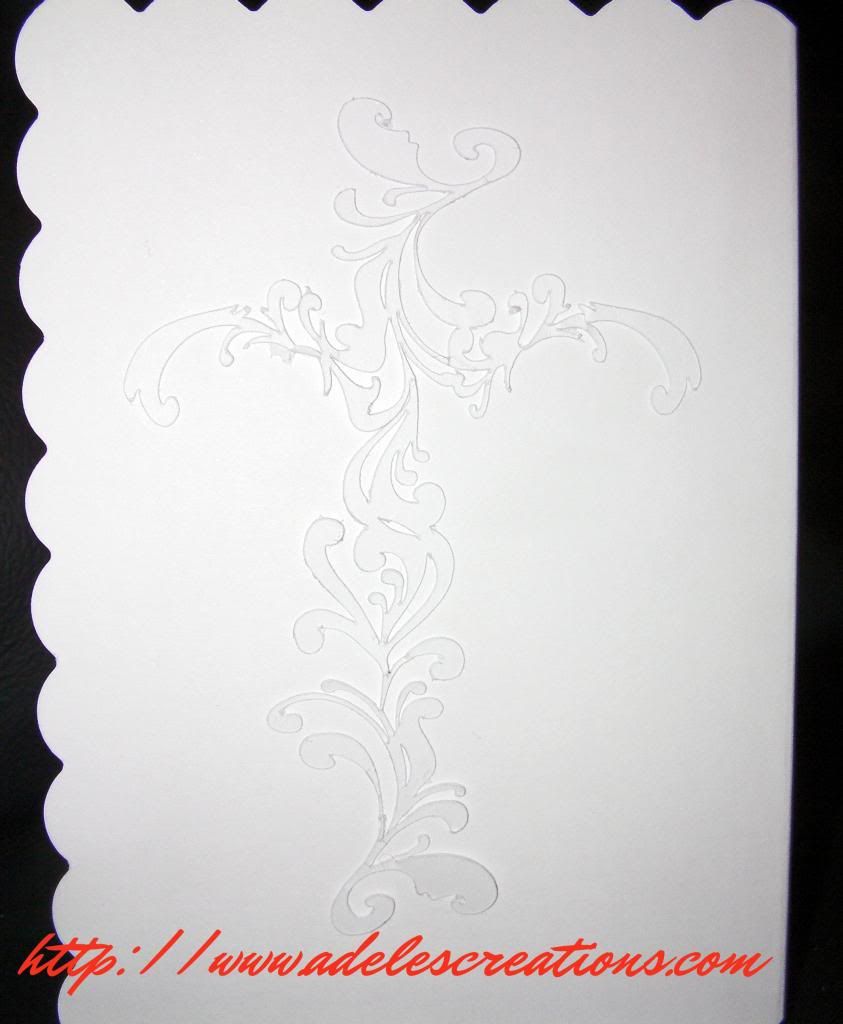
This is the back of the card, using the cut-out element from the Store bought cross.


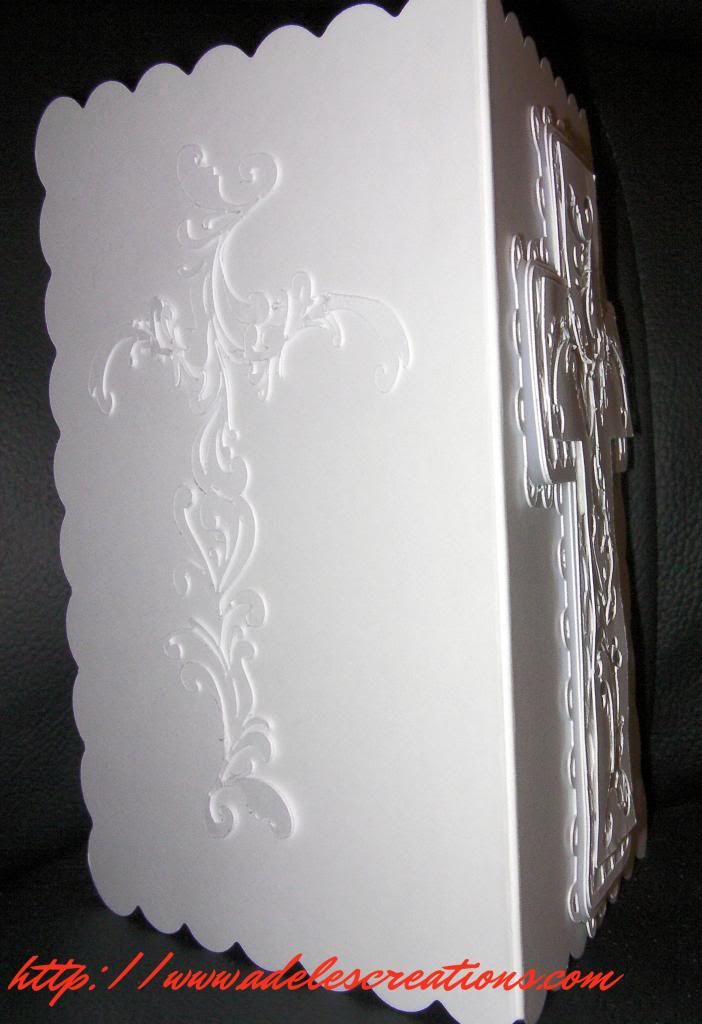
Here is a side view, as you can see, all the cross layers are mounted using foam tape or glue pen.


Well that's it for this month, thank you Sheila for having me :)
If you would like the lattice and scallop part to the cross you can download it HERE

Happy crafting :)
Hugs
Adele

April 10, 2013

Heart Butterfly Card

Hi Crafty Friends. 
Adele here to share another project with you here and on my own blog Adele's Creation's

I designed a card using Studio to create a heart with a butterfly 


This is another intricate design so a new blade and mat would be useful
The card measures 6" x 4.5"
I used a silk card to cut this design, it is heavy weight card stock but oh so pretty in real life.


Above is the screen shot of the design in letter size, so SD user's can cut this too


I tried to take a picture showing the dimension of the butterfly a little better


Sorry my pictures are bad :(

If you would like this Studio file you can get it HERE

Thanks Sheila for having me again this month

Happy crafting

See you next month

Hugs

Adele

March 13, 2013

St. Patricks Day Card

Hi Crafty Friends :)

Today I get to share with you here and at Adele's Creations

I decided to make a St. Patrick's Day card
This design was made from scratch using Studio and my Cameo


I have 2 designs for this card base, the one above and also a print & cut element


They both look great 

If you would like the file foer these cards you can get it HERE

Thanks for stopping by today and thank you Sheila for allowing me to share with your followers :)
until next month

Happy Crafting

Hugs

Adele

December 12, 2012

Santa Gift Card Holder

Hi Crafty Friends :)
Today I get to share my project with you here and at Adele's Creation's

Here is my project, a cute little gift card holder


For this card holder I used Teddy Bear Parade Cart, sizing the bear and accessories @ 3.236  relative.
Also, I used CTMH Artiste for the card holder base, sized @ 5.25 
If using single sided card like I did just cut this twice.


The sentiment on the back is one of my own stash elements I created on my other cutter :)


The inside is left blank at the moment as I'm not sure who is getting this one !!


This was really simple and quick to create & put together 


I have the cut files for both CCR & Gypsy if you would like them

CCR file HERE

Gypsy file HERE

Well that's it my friends, don't forget to stop by on the 15th for the Holiday Blog Hop at The BugBytes :)

Happy Crafting 

Hugs

November 14, 2012

Merry Christmas Card-December 25th

Hi crafty friends :)
Adele here to share my project with you all here and at my blog

Today I want to share a card I made using the Teresa Collins cart December 25th.


This was simple to create in Craft Room by just using the phrase "Merry Christmas" from TC's cart and adding an oblong from craft room basic shapes to create the base shape of the card.

I copied, pasted and flipped, then welded both bases together to form the card base


I combined the 3 snowflakes to use as an embellishment, 
I used glossy accents and a sprinkling of iridescent glitter to give it some glitz and sparkle :)


Sadly the pictures don't show the true sparkle, my photography skills are pants :(

This card is quick, easy and elegant, I have the Craft Room and Gypsy files to share if you would like to create this card too :)

Craft Room file can be downloaded HERE

Gypsy file can be downloaded HERE

Thanks for stopping by today.

Thank you for having me again this month Sheila

Happy Crafting

Hugs

Adele

October 10, 2012

Cameo Warlock Root Box

Hi crafty friends :)
It's Adele here to share my monthly design team project :)

Today I have a Cameo project to share with you, sadly my Imagine died and that was my fifth :(.
As there are no more to replace it with, I am forced to use my Cameo exclusively until I can find another Cricut machine :(
So onto my project.

This box from Lori Whitlock is on the Silhouette America's site for $0.99, it's just perfect for holding my treat's inside.
I made a matching card which I will share the file at the end of this post.


The card stands at 4.5" tall, the box is 6.75"
Taking the warlock root element and the bottle front from the studio cut file, I was able to match the card  with the box, easy right !!


Everything came together quickly, so I'm a happy chappie, as I have a few of these to make :)

The card I used for the box was Bazzill basic 12x12.
For the matching card, I used Centura Pearl (Crafters Compnion) this is really heavy pearl coated card stock, it is about the same weight as thin chipboard and is 300gsm, I use this card a lot for box envelopes and the like, luckily my Brother A3 printer takes this heavy card to print, you obviously can use what ever card weight your printer can manage :)


If you would like the Studio File you can get it  HERE

Thanks for allowing me to share my monthly DT project here Sheila :)

Happy Crafting :)

Hugs

Adele

September 12, 2012

Easel Framed Card

Hi Crafters :)

Today I'm sharing my post here at Sheila's blog and at my blog

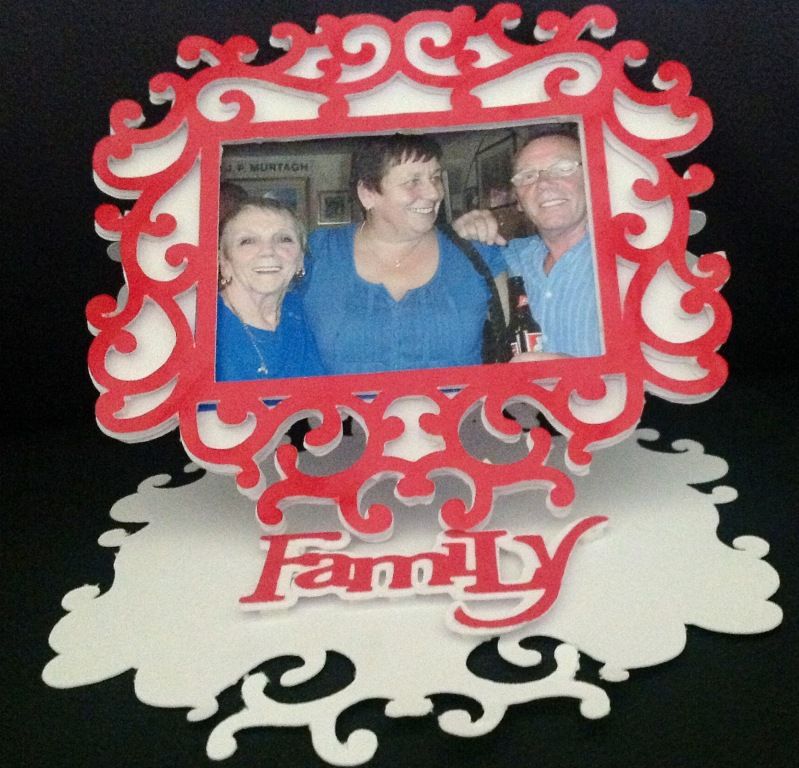
I just recently had a Family reunion in Brighton, my eldest brother came down from Scotland to join us, we had a blast as we hadn't seen him for years, so I wanted to make a special card for my Mum, it's an easel framed card I designed using Fancy Frames as my base, with the phrase from Gypsy Wanderings.


This card measures 5" x 5.5" , it holds a 3.5" x 2.5" sized photo.

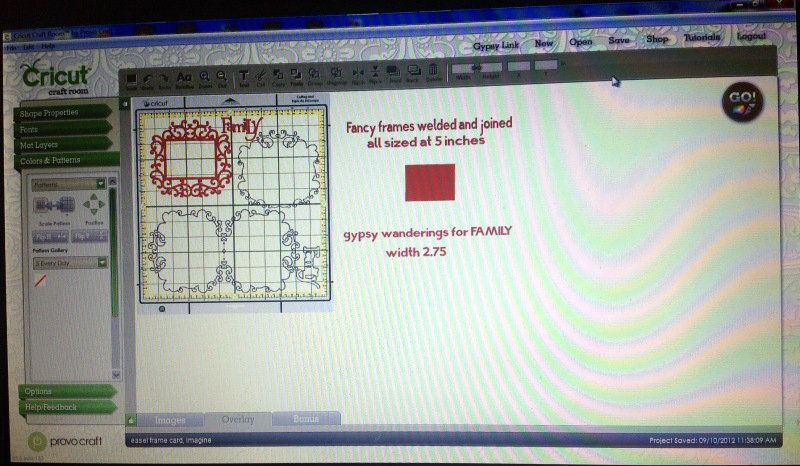
All the frame cuts were set at 5", 2 shadow cuts were flipped and welded together to form the base.
The "Family" phrase was cut at 2.75" wide, from GW

I used foam pads (pop dots) to adhere the frames together, then adhere my picture to the back of the opening, next I adhered the assembled frame and picture to my shadow frame, then glued the bottom half of the shadow cut to the folded card frame.


I also used foam pads on the phrase to give the dimension needed to be used as a stopper when the card was erect.


My Mum will love this card with her, my eldest brother and his wife :)

Because of my poorly eyesight right now, I used CCR to design in, though I have made the file available in the Gypsy format too, for those that want it, the files are below

Gypsy file can be downloaded HERE   (Expression mats used)

CCR file can be downloaded HERE  (Imagine mats used)

Thanks for popping by today and thanks Sheila for allowing me to share my DT project with you all :)

Happy Crafting

Hugs

Adele

August 8, 2012

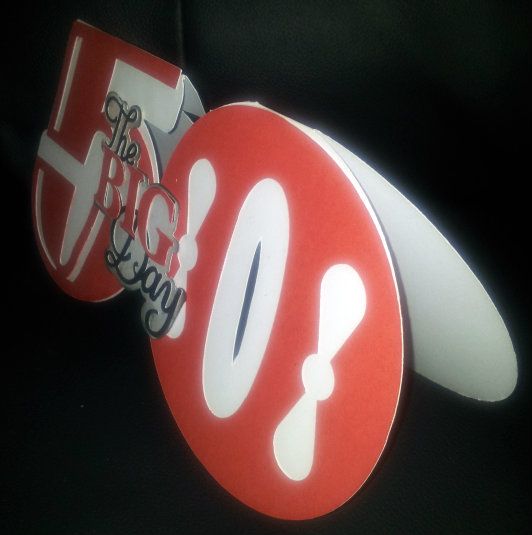
50th Birthday Card

Hi crafty friends:)
Adele Here to share my DT project with you all!

Today I made a 50th Birthday card for my Brother-in-law
He is a massive Liverpool fan, so the colour choice was easy :)


I used Out of Character for the "5" & the "O" and used Phrases for the "The Big Day"

The "50" card base was made using the shadow feature of the numbers, sized at 5", welded and flipped


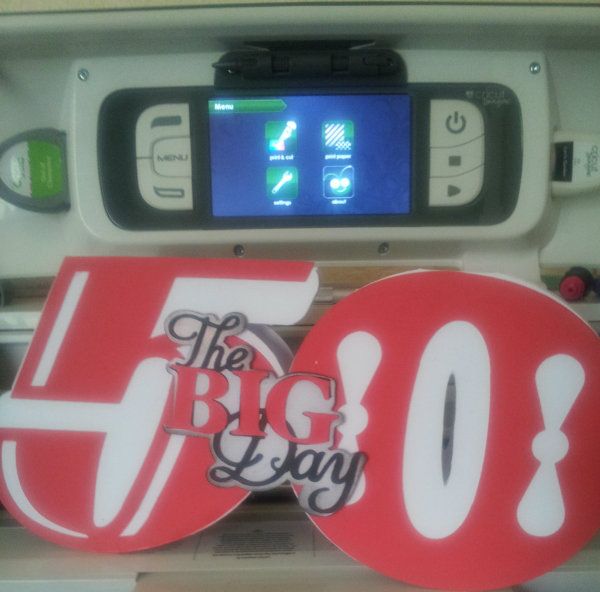
This is a large card measuring 10.5" x 5", 
large cards are very popular at the moment :)

After folding my base card, I attached the "5" & "0" on the front, then layered the phrase and pop dotted it on the front, easy as that, quick but effective :)

The picture below gives a perspective of the size in relation to the Imagine screen


If you would like the Gypsy file for this card, you can get it HERE
If you would like the CCR file, you can get it HERE

Thank you Sheila for having me again this month, I really enjoy being part of this wonderful DT :)

Happy Crafting

Hugs

Adele

July 11, 2012

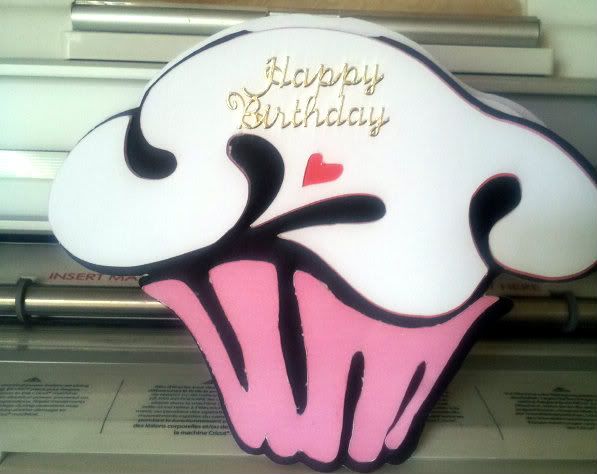
Quick cupcake card

Hi Crafty Friends :)
Adele here to share a quick card with you today.

This card was made in about 10 minutes, my neighbour's Grandaughter has a birthday and my neighbour wanted me to make her a cupcake card with a hidden flap so she could attach money without it being obvious, so here is the card I made for her


This is a trifold card, hinged at the top of the front part of the card


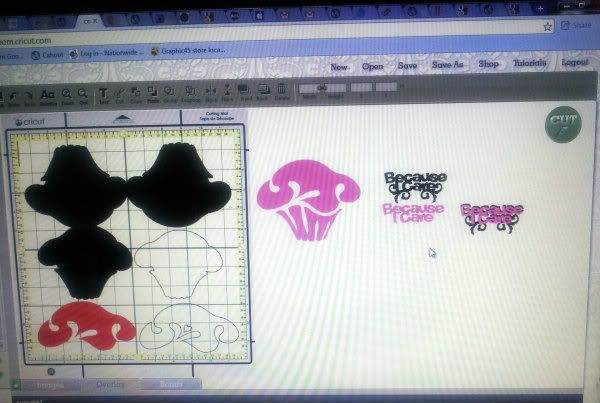
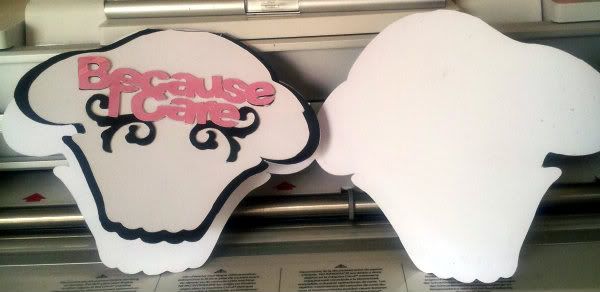
The card base was made using 'Home Decor' welding 3 cupcake shadows at 4.333 for the front/back and the smaller cupcake shadow (flap) sized at 3.986 to form the trifold base. 
The phrase is from 'TBB&M2' sized at 1.583 and 1.014 respectively, 

This is the inside of the card 


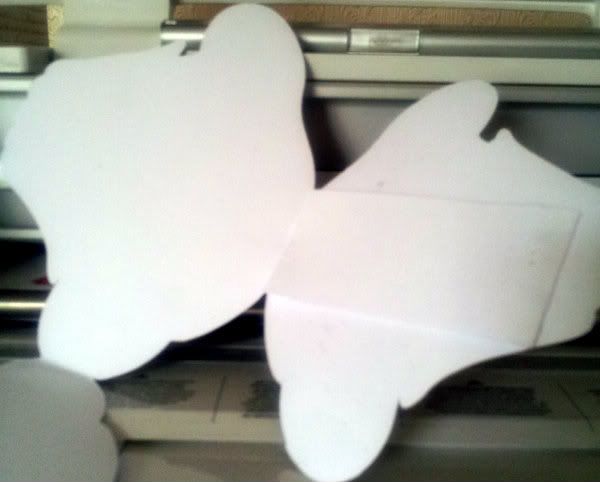
And this is the hidden strip that I hand cut, to hold the money


Like I said, this only took about 10 minutes to create and put together :)

I hope you enjoyed my quick card project today.

The CCR file can be downloaded HERE

The Gypsy file can be downloaded HERE

Thank you Sheila for allowing me to share my project with you all this month :)

Happy crafting everyone :)

Hugs

Adele

June 17, 2012

KISS Teapot Card

Hi Crafters :)
Adele here from adelescricutcreations

We are keeping things simple ( in Sheila's words "Keep It Sassy Simple ) :)

So..on to my KISS project, this little card was very quick to make
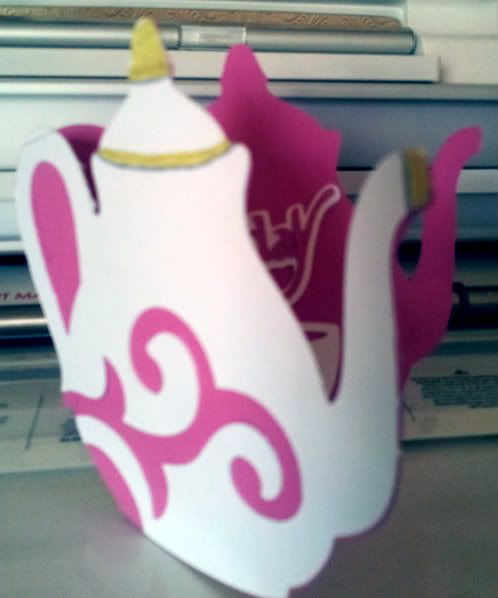
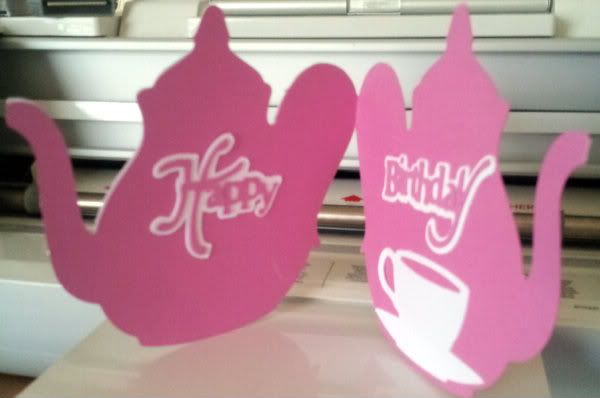
My Sister just loves tea, so with that in mind I made this Teapot card from Damask Decor & Gypsy Wanderings


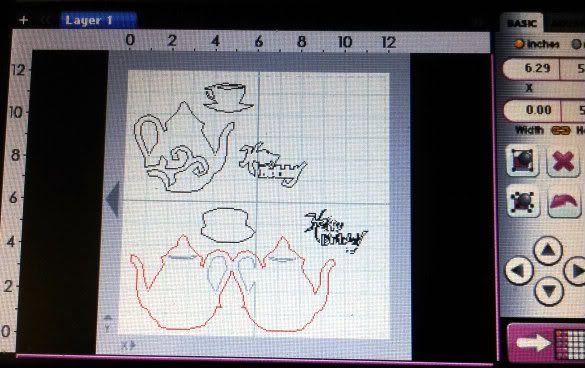
Here is the Gypsy Screen, nice and simple :)


The base card was made by welding two "Layer1" teapot's together, (one flipped)  from Damask Decor.
These are tiny so were sized at 15.35H and 5.20W

The top layer for the Teapot was from key feature "Card", this was sized at 4.18H and 4.70W
The cup was cut at 11.04H and 2.80W another tiny one from key feature "Layer2" I didn't use the "Shift" for the shadow layer though it is on my Gypsy screen, it is sized at 9.11H and 2.77W.

I then switched to Gypsy Wanderings and got the "Happy Birthday" sentiment, the shadow was cut at 2.00H and 3.21W, using "Phrase & Shift", the layered part was cut at 2.00H and 2.94W


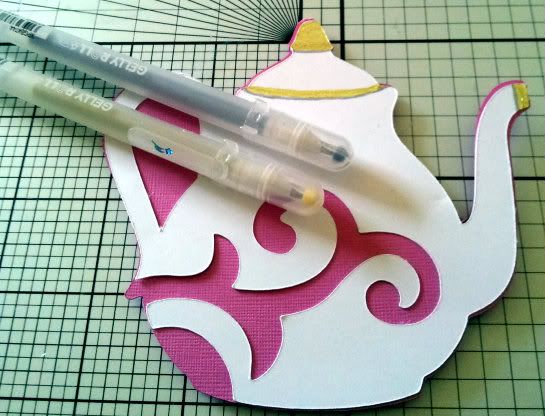
I added a gold glitter Sakura gelly roll pen to enhance the lid and spout, with silver to add highlight's  the final card measures 4.5" x4.5"


My card was complete but I want to show you another thing I made, not sure what I'll do with it yet but hey...it was fun making it LOL!!

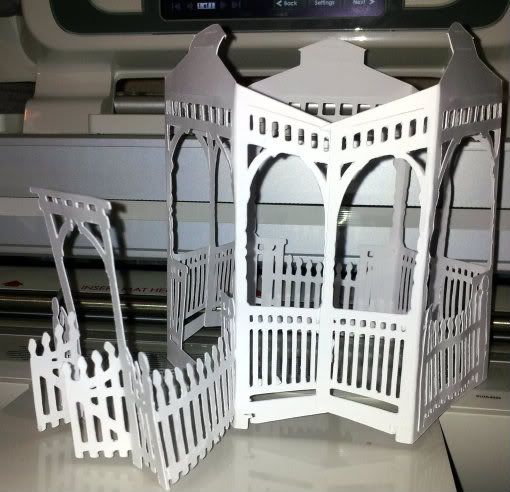
This was using 3 Gazebo pieces joined together with 3 fences and a gateway from Spring Cottage cart


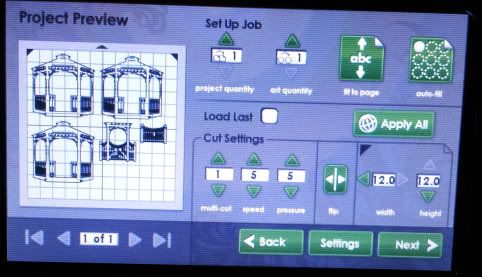
This was the last time I got to play with CCR as it has stopped working for me at the moment, so had to revert to showing you a screen shot from my Imagine direct.

Well that was my KISS project for this month, I hope you manage to get time to make a quick project yourself

Thanks for stopping by

Happy Crafting :)

Hugs

Adele

May 30, 2012

3D Shelf Card

Hi Crafter's :)

Good Day, Adele here from Adele's Cricut Creations and today I am sharing my 3D Shelf Card with you here at She's A Sassy Lady.

I created this card after receiving over 400 requests for the Template from last year


I used my Imagine & Baby Boutique for this card, after printing 2 12x12 sheet's of white paper in 2 BB patterns
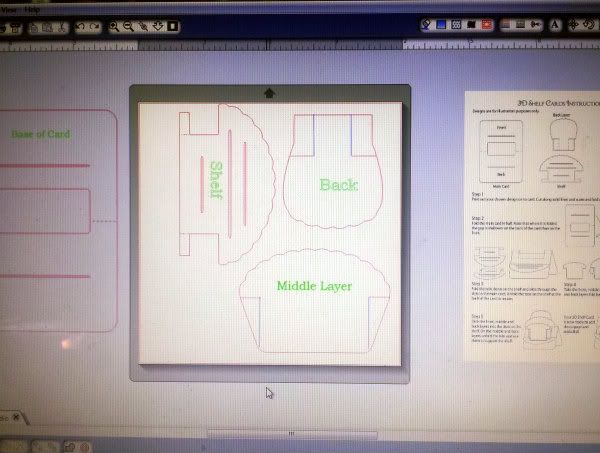
I used my Template to cut out the shapes I need (this time I used my Silhouette to cut the shapes out)

Here is the Template in JPeg format
Here is the Studio File


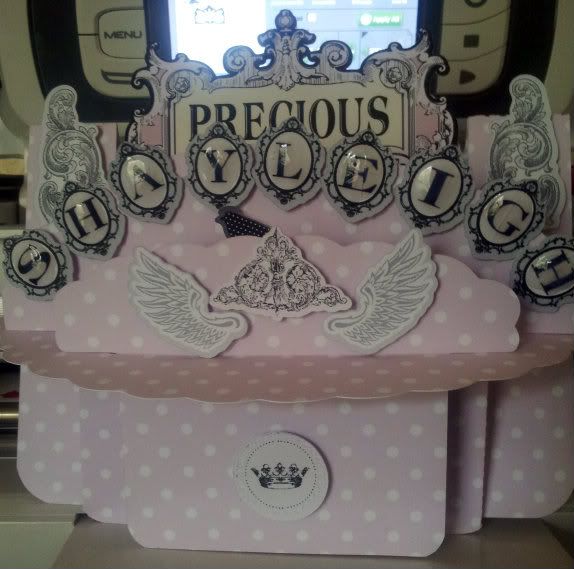
After cutting the shapes from my 2 BB printed paper I added the embellishments below


Precious was cut at 2.5", all the rest were cut at 1"


I added glossy accents to the letters for added shine :)

I hope you enjoyed my 3D Shelf Card.

Thank you Sheila for allowing me to share my project with you today :)

Happy Crafting

Hugs

Adele

May 20, 2012

Loony Tunes 3D TV

Hi Crafters,

Today is my turn to share on She's A Sassy Lady blog

For this project I wanted to make something quick for my youngest Grandaughter's 1st Birthday, as a lot of us have a Silhouette as well as our Cricuts' I decided to make this 3D TV from one of my many craft CD's


I have had my Silhouette for over 4 years and have accumulated literally hundreds of CD's to craft with :)
This one is from Loony Tunes and one of my favourites, just by importing the jpeg into the studio software I was able to print & cut with ease :)


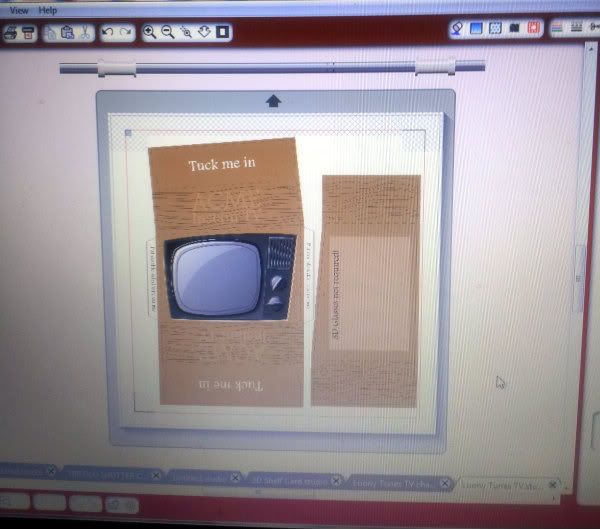
Print this page on card stock

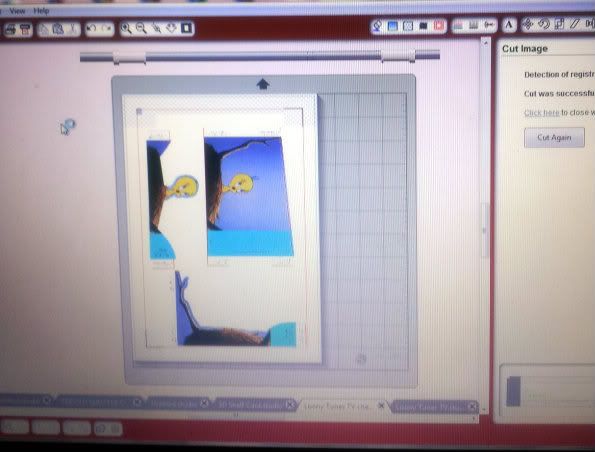
Print this page on paper as opposed to card


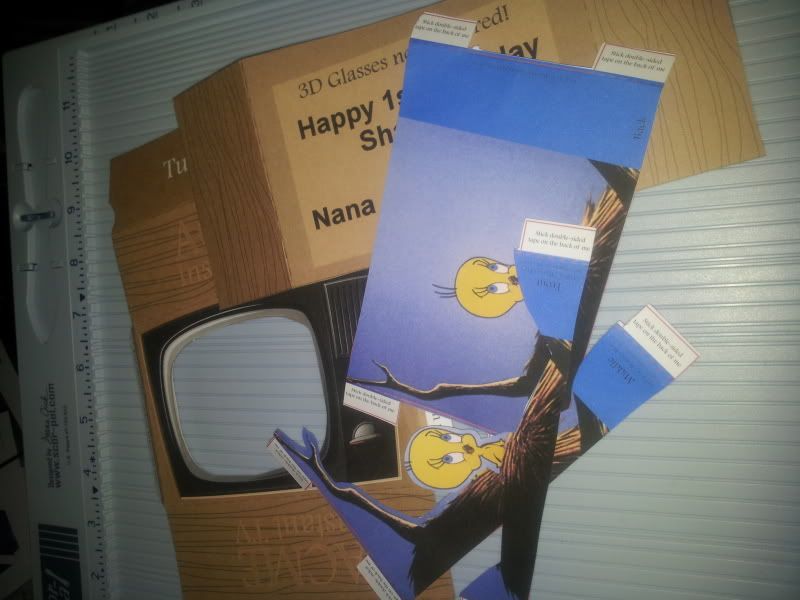
The next step is to put it together, again very easy as all the instructions are printed on the pieces.


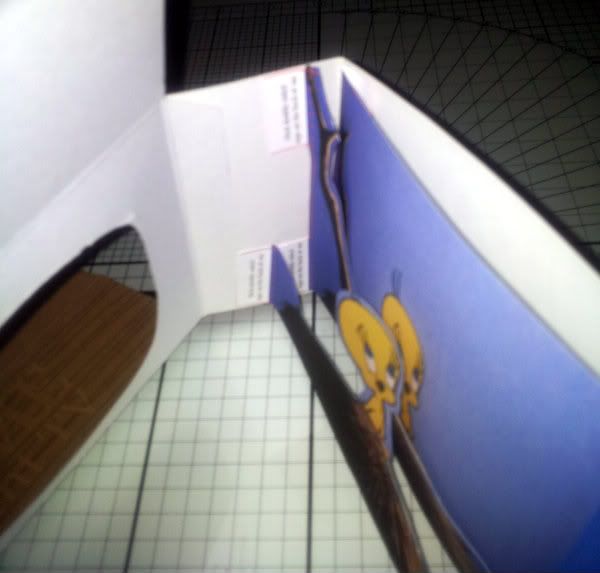
The spacing of the pieces need to be like the picture below

I left a gap at the front to add acetate, you don't need to do this and can space your pieces better to suit your needs.


I have added the Studio file HERE if you would like it

Thank you Sheila for allowing me to share my project with you all today :)

Happy Crafting

Hugs

Adele