Showing posts with label New Arrival. Show all posts

October 24, 2011

It's A Boy

Hey y'all! Happy Monday! Aymee Gandy of 'A Scraphappy Southernbelle' here with you on this gorgeous fall day to share a little card I made. I hope all of you had a wonderful, relaxing weekend! Did you enjoy it? We had perfect weather here, great football games, and a lot of relaxation/play time with our new Yorkie puppy. It was a fabulous time!

Anyways, I have created a card for my brother and sister in law. As you may already know, they are expecting their second baby in April. Well this past week we found out that they are having another boy!!! Carter (that's my nephew) will have a baby brother!!! My whole family is so excited to welcome this new little one into our lives! I can't wait to meet him! To congratulate them on finding out that it's a boy, I decided to make a little card to send out. Instead of going with the traditional blue tones of baby boy cards, I wanted to switch things up a bit and went with a mixture of lime greens and grays. I hope they will like it!

I used my Cricut Gypsy to design the card and cut it out on my Cricut Expression. This was a very easy and fun card to create. I had it finished in a little over an hour, so not too bad. Here is my project:

"It's A Boy" Card

Supplies Used
Cardstock: The Paper Studio, Bazzill Basics Paper
Patterned Paper: First Edition Paper
Twine: My Craft Spot
Button: The Paper Studio
Pearls: Queen & Co.
Glitter Glue: Stickles (Ranger Industries), Eucalyptus
Electronic Cutter: Cricut Expression (Provo Craft)
Software: Cricut Gypsy (Provo Craft)
Cartridge: Gypsy Font, Gypsy Wanderings, New Arrival
Adhesive: Helmar
 The outside shape of the card is from the Gypsy Font cartridge. The bottle in the background is from the Gypsy Wanderings cartridge. I added a little twine bow/button combo to glam up the bottle just a tad.
 This border is from the Gypsy Wanderings cartridge. I used pop dots to pop it up for added dimension. I then added some Stickles for a bit of bling.
 For the inside of the card, I cut out the same shape that I used on the card front in coordinating papers. I then cut out my sentiment from the New Arrival cartridge.
 I finished off the back of the card with more coordinating paper and my custom stamp.
I hope you have enjoyed this card and that it will inspire to get crafty today! Thanks for stopping by the Sassy blog! We sure have enjoyed having ya! Enjoy the rest of your week!

Happy Scrappin'!!!

July 16, 2011

Gypsy Made Simple - Tri-Fold Thank You Card

Good morning. It is another Gypsy Made Simple Saturday and this week I am revisiting the Tri-Fold card to make a thank you card for our very own Aymee Gandy of A Scraphappy Sothernbelle. She was so nice to restructure this blog. Hopefully she will have recieve the card before this posts.
This was a very popular post when I did this a couple of months ago. Click HERE if you need to go back and get the basics for making the card. Remember I  asked you to make a Tri-Fold template on your Gypsy. Today we will see just how easy it is to go to that template and produce a card in no time at all!


This is a great little video that shows you step by step how to make your card from that template. Now remember if you get lost just stop the video, rewind and get back on track. Or you can stop it at any time to catch up to where I am.


Now this second video show you that how to flip you art so that you copy will be in the right direction. Note something note show is the half flower. I cut 2 for each card, 1 of the flowers is flipped side to side as I ran it on both sides of the card flap as I liked the way it looked that way. I hand cut the area for my sentiment with the scraps that were left over. The card file has it set up that way and it is set up for a 2 card cut.


The papers I chose was from K and Company it was from the spring collection. It is hard to see but the center of the Daisy had a little pink and gold in it so I used pink and gold stickles in the center of the daisy.


First I cut all my pieces and sorted them. Then I scored the base of the card.

Then I used Glossy Accents on the daisies as they have a soft sheen to them. I put the Glossy Accents on lightly and then rubbed it on with my finger tip so it would just have a light coat on it. Afterwords I thought you could use decoupage to do the same thing. I set them aside to dry and had dinner with hubby.

I then attached and stickled the centers of the daisy. It always amazes me how different they look when wet and when dry! I later added a little pink to it also to match the daisy on the inside of the card.

I then assembled the cards..... I placed the half flower to the right flap on both the front and the inside of the card.


I used foam tape between the large flowers for dimension. Be careful not to go over the height of the base of your card or it will not fit in the envelope properly.

See how pretty they turned out! I just love daisies don't you? I didn't need much space to write but you could have made 3 separate sentiment areas if you wanted to

This is the only photo I got of the front of the cards before I dropped Aymee's in the mail. I sure hope she liked her thank you! I sure appreciate her hard work.
This week I challenge you to make ANYTHING with your Gypsy! Then link it up to my blog. If you have seven items then link up all seven! If you only have time for one project, WONDERFUL, just link it up. I love seeing all your BEAUTIFUL designs, it truly inspires me to keep on creating as I learn so many wonderful things from you!
Click for your 3Fold-TY-Sassy Lady Gypsy File and you can download to your Gypsy.
Thank you for your sweet sweet words of encouragement. Your comments continue to inspire me to keep sharing with you!

July 14, 2011

Using Sketch Sheets to make a scrapbook

Hello everyone!! Java Jen here from Java Jen Creations again! Thanks so much, Sheila, for allowing me to share here again!  Hope you're all having a great Thursday! Our summer has been filled with lots of traveling so far and we've been having lots of great family time!!
We all know how to scrapbook our own pictures by grouping pictures from particular events or themes but it becomes a little more difficult when we are asked to do someone else's pictures. I want to show you how easy it can be by using the FREE sketch sheets that are available to print at Above Rubies Studio ! A friend at our church asked me to make a scrapbook for her daughter's 1st birthday. She brought me the pictures that she wanted in it and we decided together, what pictures would go on what pages and what page titles would work for each one.  If you go to the Above Rubies Studio site , you will see a link on the right side to download and print the free sketch sheets. There are many different ones, depending on what your project is.  I used the ones for 12x12 layouts.

The nice thing about these sketch sheets is that you can simply give yourself a blueprint to work off of. On the back of the pictures, I used a sticky note with the page # they belonged to. We had these sketch sheets filled out and pictures sorted in about a half hour!  I managed to take pictures of several of the completed pages before we left for vacation but I'll have to post the others later. 

 I used Storybook for the font for her name.
 I used Once Upon a Princess for the word Princess and the crown.  With my Gypsy, I welded the words "Our Little" using the A Child's Year font.

The words on the pages above and below were welded using the Birthday Cakes font. The expectant mommy is from New Arrival. The tags are from Don Juan. I used a clipboard stamp from a new set I recently purchased from My Creative Time with Emma . I just love her stamps!!


These pages were so much fun! I used a cloud cut from Create a Critter and embossed them with the Swirls cuttlebug folder - then inked them with a light pink ink! So easy to do but it adds so much pretty detail! The newborn cut is from New Arrival and the words were welded using the Baby Steps cartridge.

Close up of the embossing and inking and the little newborn cut.

You'll notice that I left journaling places on each page or two-page spread so that they can fill in the details of their stories. That is definitely something that I always encourage my customers to do. I can't do that part for them! :-) The "Grand Adventure" cut is from Baby Steps.


I hope this project encourages you to try these sketch sheets for yourself! Once you have your sketches done, just pull out your Gypsy and design away! That's the other reason this project was manageable! 

Have a fantastic day and thanks for stopping by!

March 10, 2011

Baby Shower Invitations / How to simplify a project with multiples

Hello everyone!!! I'm so thrilled, excited and honored to be a guest designer here at She's a Sassy Lady today!!  I've been a follower of this amazing blog for quite some time - so to be designing here is just so cool! :-)
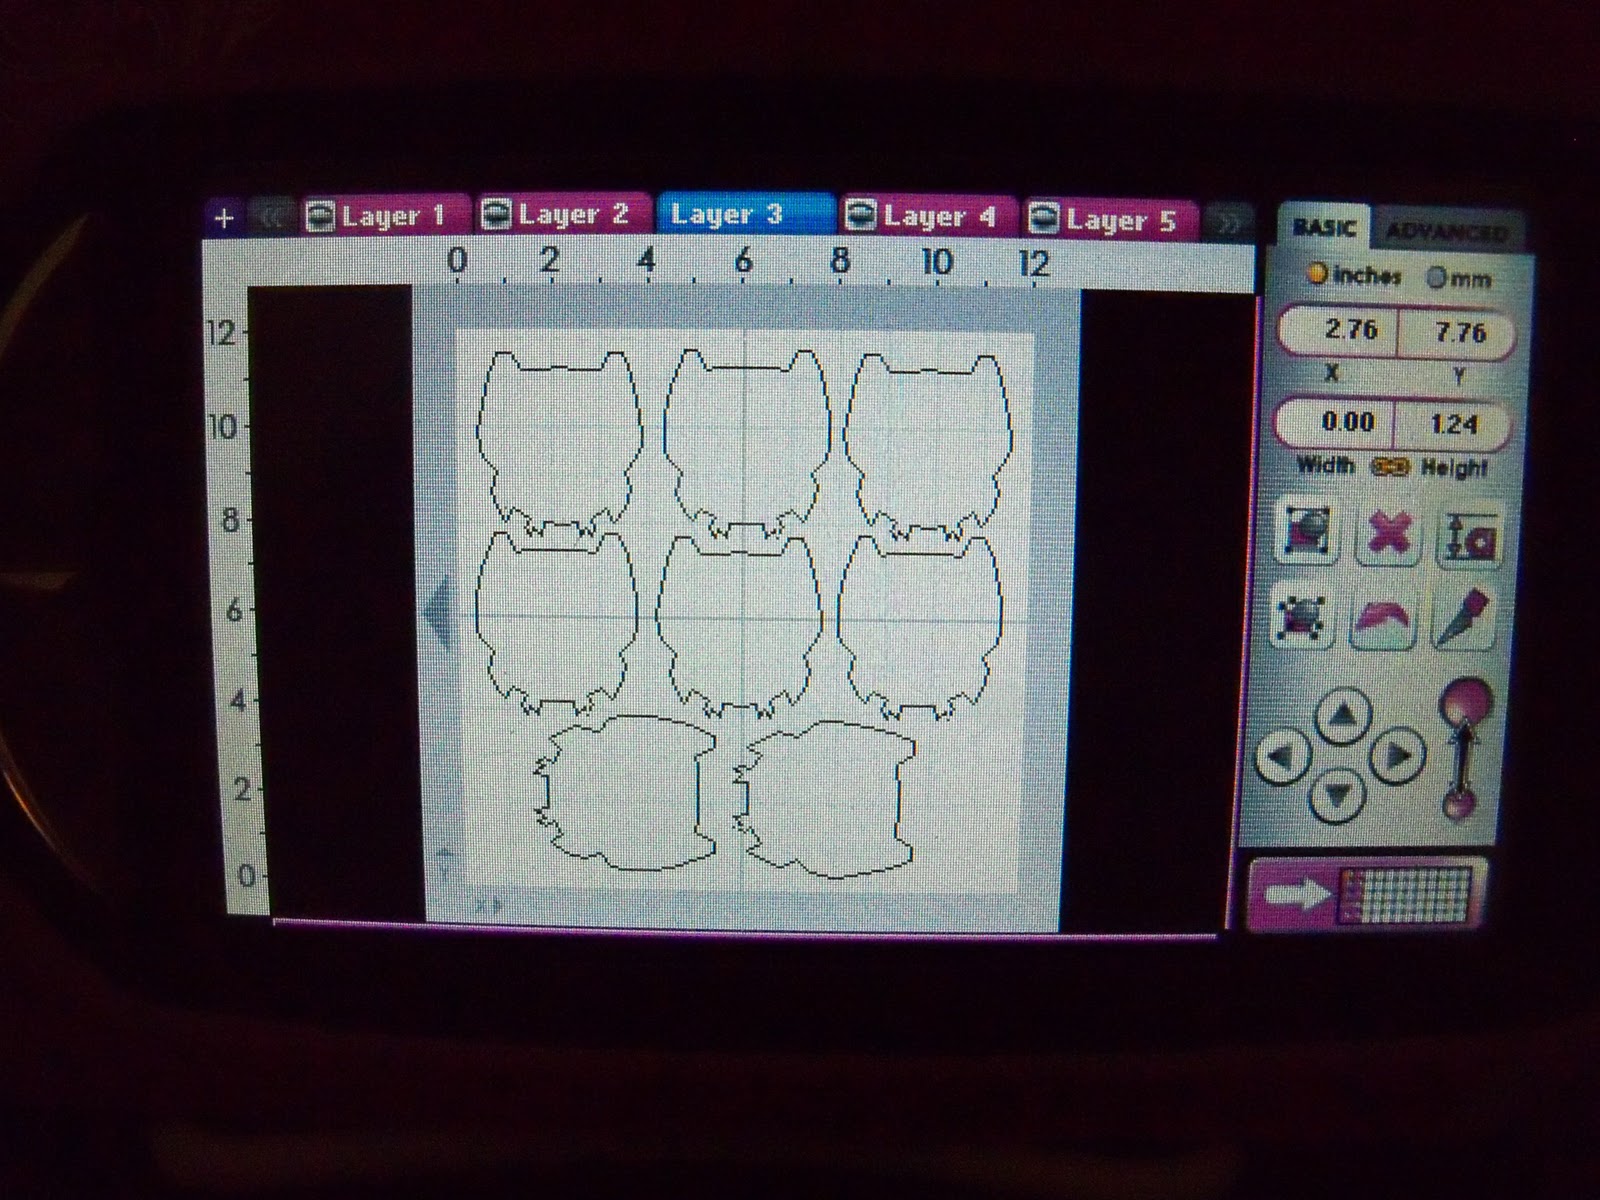
Anyway, on to my project - I made baby shower invitations for our daughter last September so I thought I would revisit this for today since I have been out-of-state since March 2nd and I don't have access to my craft room!  She chose owls as her theme so we found an adorable one on Create a Critter. In this post, I will be showing you how to create multiples of images and layers so that you can assemble lots of cards more quickly.  We started out thinking that we would only need about 30 of these invites, but once we started preparing our guest list....... ummmm...... we found out that we were going to need about 100!! Yikes! (We have a big family and lots of friends!) Good thing I had my Gypsy to make this easy! Here we go!


Here are pics of the completed invites. We varied the background colors so they wouldn't all be the same. (My daughter's idea!)

These were some of the other color combos that we tried.

We ultimately decided on these colors.

This was how I laid out my paper when I was ready to cut. I had already figured how many of each sheet I would need so I simply needed to just load my mat each time and cut using my Gypsy. A little prep work made it so easy!!


These are pics of the inside. The "It's a Boy" and "You're invited to a baby shower" stamps are from a Martha Stewart set. The "registered at" stamp is from MFT Stamps. I cut the onesie from the New Arrival Cartridge to use for additional information that we needed to tell the guests.  I used the Cricut markers first, then I cut so it would be outlined. I really like how this looks!  I stamped "note" on the onesie as a heading for the additional info. (I only remember that this stamp is from a Stampendous set.)

This is the label on the front of the card that says "Whoooo's having a Baby Shower?" I wrote "Whoooo's having a" and then stamped "Baby Shower".  Notice that I was able to make sure that I was cutting on an 8.5x11 size paper since that is the size of white cardstock that I had. This label is on Fabulous Finds. (I love that cartridge!)

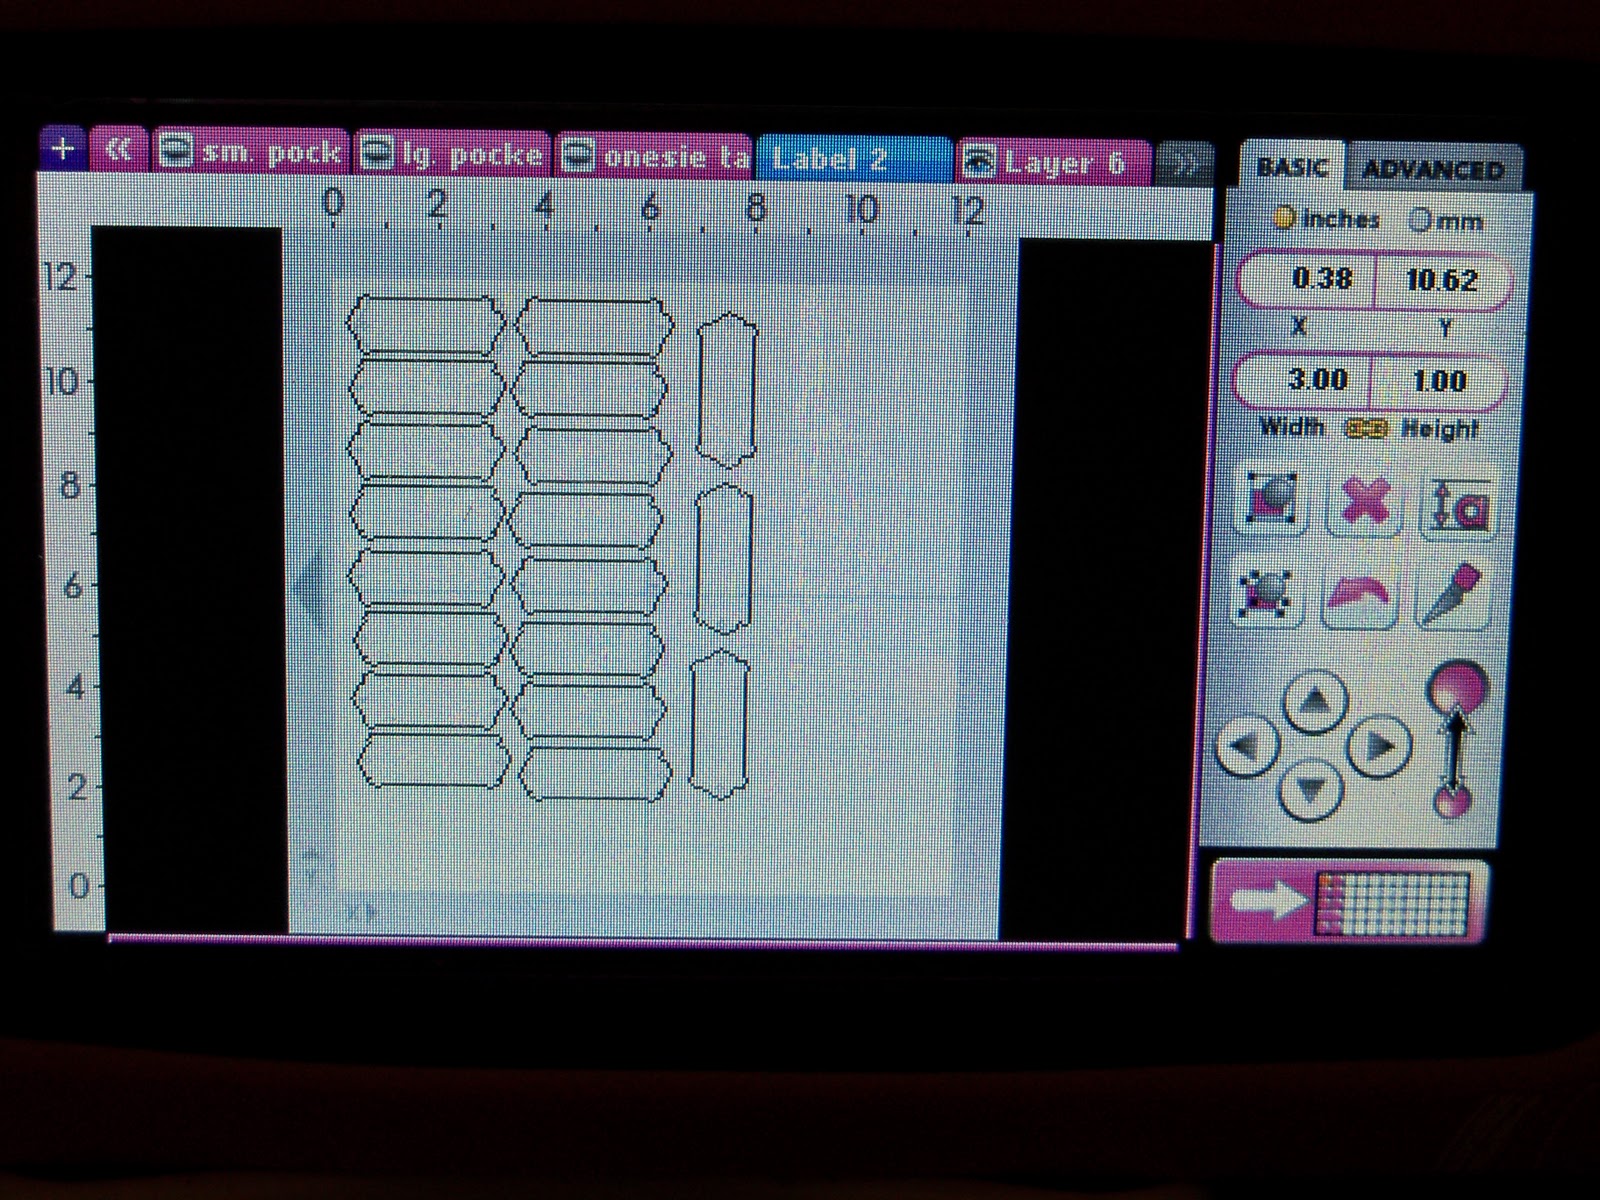
Once again, I had white cardstock in 8.5x11, so I positioned the onesies to fit within that size. The Gypsy makes it so easy!

The pocket on the inside of the invite is just a piece of cardstock cut to size. Since I was making 100 of these, using my Gypsy made it way easier to do this instead of cutting them all individually. This pic is for the larger pocket - (I made 2 different card sizes.)  The pic below is for the smaller pocket.


When I create a file that I am going to use to cut out multiples of layers, I always have one page that contains all the layers if possible.  That way, if I need to make just one more of something, I don't need to cut out whole pages of layers. I usually make this the first page of my file. 

These next few pics are showing how multiples of layers can be positioned on your paper to minimize waste.


Look at all those little feet and beaks! I was able to cut out 40 sets from one 12x12 piece of paper! 

Here they are all finished and ready to address and mail! Whew!! This was a fun project and I was able to do it without going crazy because of my Gypsy!  Thanks so much for stopping by today and I would love to hear your comments as well as questions, if you have any! Stop by my blog anytime to see some other projects that I have done - Java Jen Creations . I would love to hear from you!  Have a crafty day!!

September 9, 2010

Big Boy Aiden

Well hello, Sheila here from Shes A Sassy Lady and it seems like such a long time since I was here at Tuesday Treats. It's just been a busy, busy month, imagine that! You know we all lead such busy lives that it feels so good to just close the door and let your imagination go crazy and just have fun with a layout. So once again I didn't follow Pam's guide lines and went outside of the box. You see, I was just in Chicago for my little Carissa's 6th birthday and in the midst of the party and all the goings on was our little1 year old Aiden. He was so happy and ever so busy with his little toys that I just had to do this page - his way. I didn't know what I was going to do until Friday came along and the wonderful ladies at Stuck On U Sketches challenged us with this wonderful sketch... and once again I was out side the box. You see flowers, I see toys.

After designing the page on My Gypsy Woman I went hunting for just the right papers. I choose My Minds Eye, Twinkle Twinkle little boys stack and I love the sparkle it added. I then got out the scrap box and just used scraps for the toys.
Here is a close up of the background paper. The little brown squares made it possible for me to sent the rhinestones on this pastle paper.
I then turned to all the little toys and got them ready. First I chalked.
Then I inked and put together.
Until I had all my little toys together. I didn't get complex on the little toys becasue they weren't complex, they were just simple little plain line toys for a 1 year old boy.
I then added my rhinestones.
And placed my little toys around the photos.
After I had the toys on I used the glossy accents on the tires of the truck as I couldn't handle and postion while wet so I waited until it was all together.
Isn't that just too cool? Aiden't little world is one filled with joy and imagination and wonder. What a great place to visit.
This is a close up with all the little toys.
And the completed page. How much fun is that? See sometimes you just got to go the fun route. I would like to add that this sketch is perfect for Home Decor, Home Accents and Accent Essentials, but the toys were a better choice for my little Aiden. I sure hope you enjoyed today's project.
Thank you for your sweet words of incouragement, as they continue to inspire me to keep sharing with you.
signature