






Showing posts with label Silhouette. Show all posts
November 15, 2014
Using Scraps Can Make Great Cards
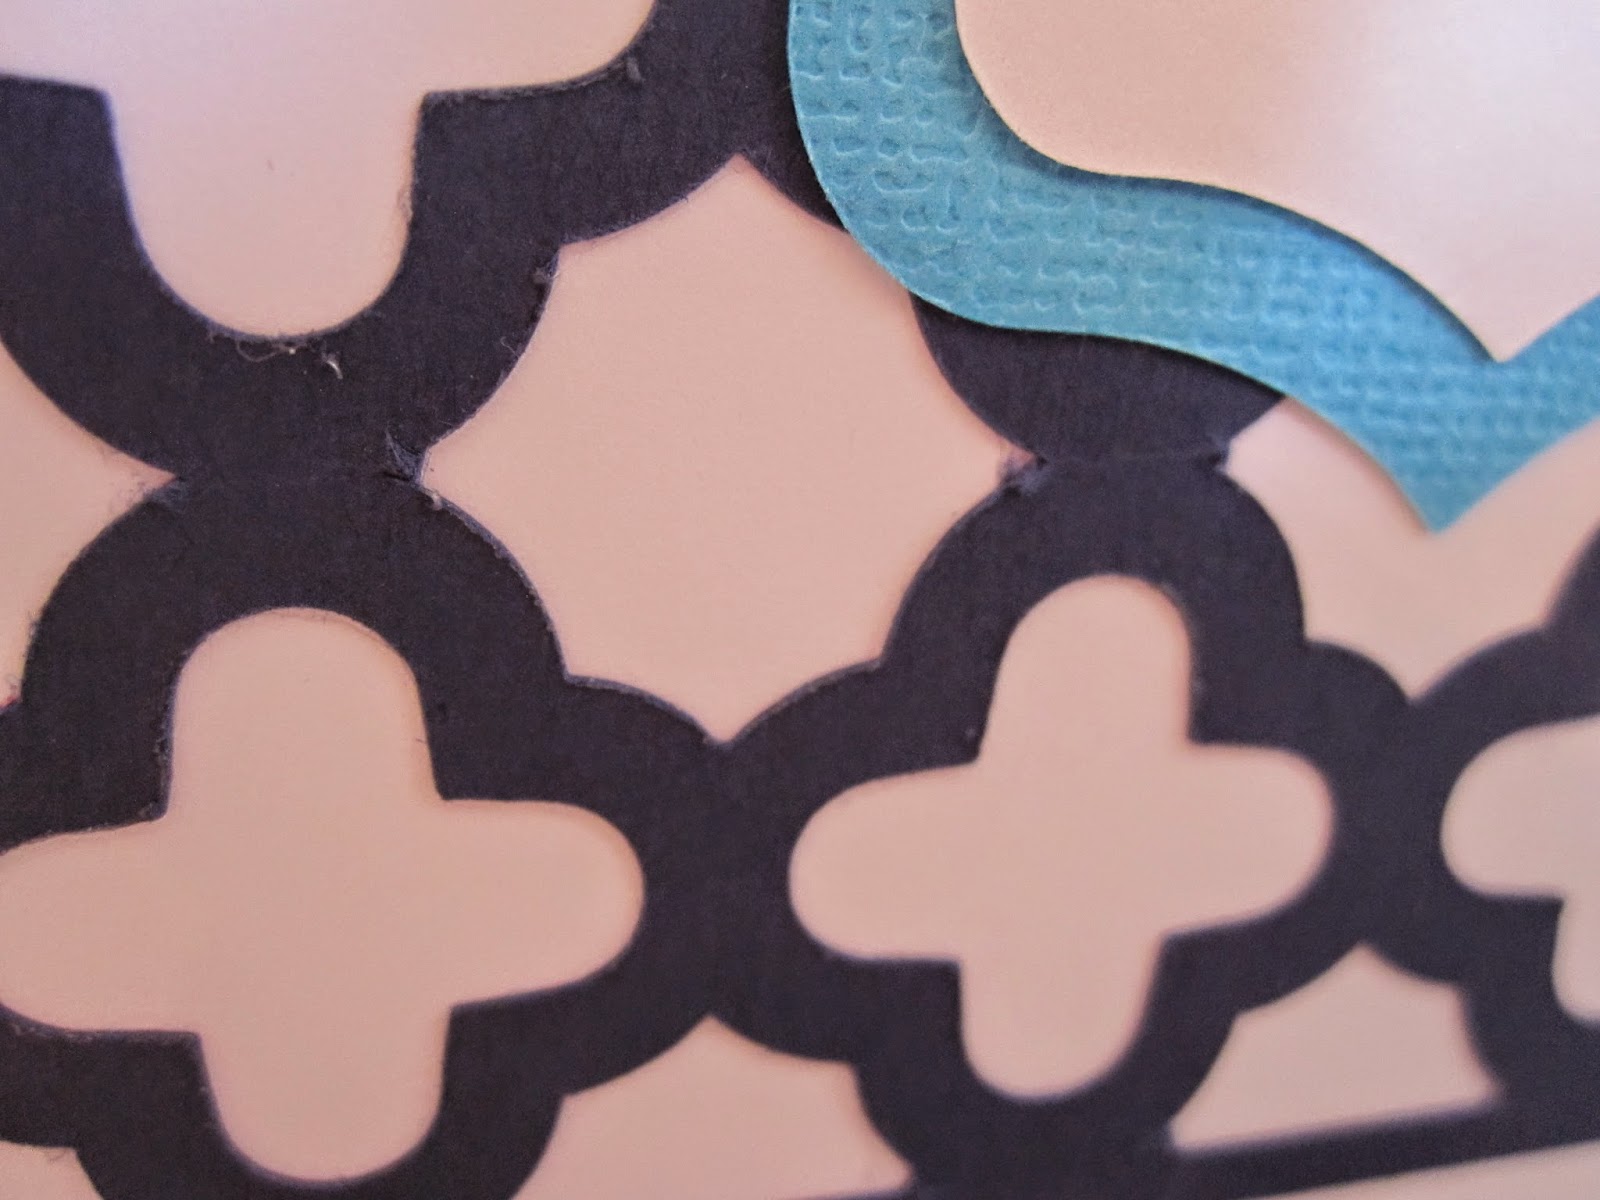
Isn't this beautiful? I had 4 sheets of green paper left over from a project so I cut them into A2 size cards. I had 1 sheet of 12x12 paper with this pattern on it from My Minds Eye and fussy cut the little patterns to produce the front of these 8 thank you cards.
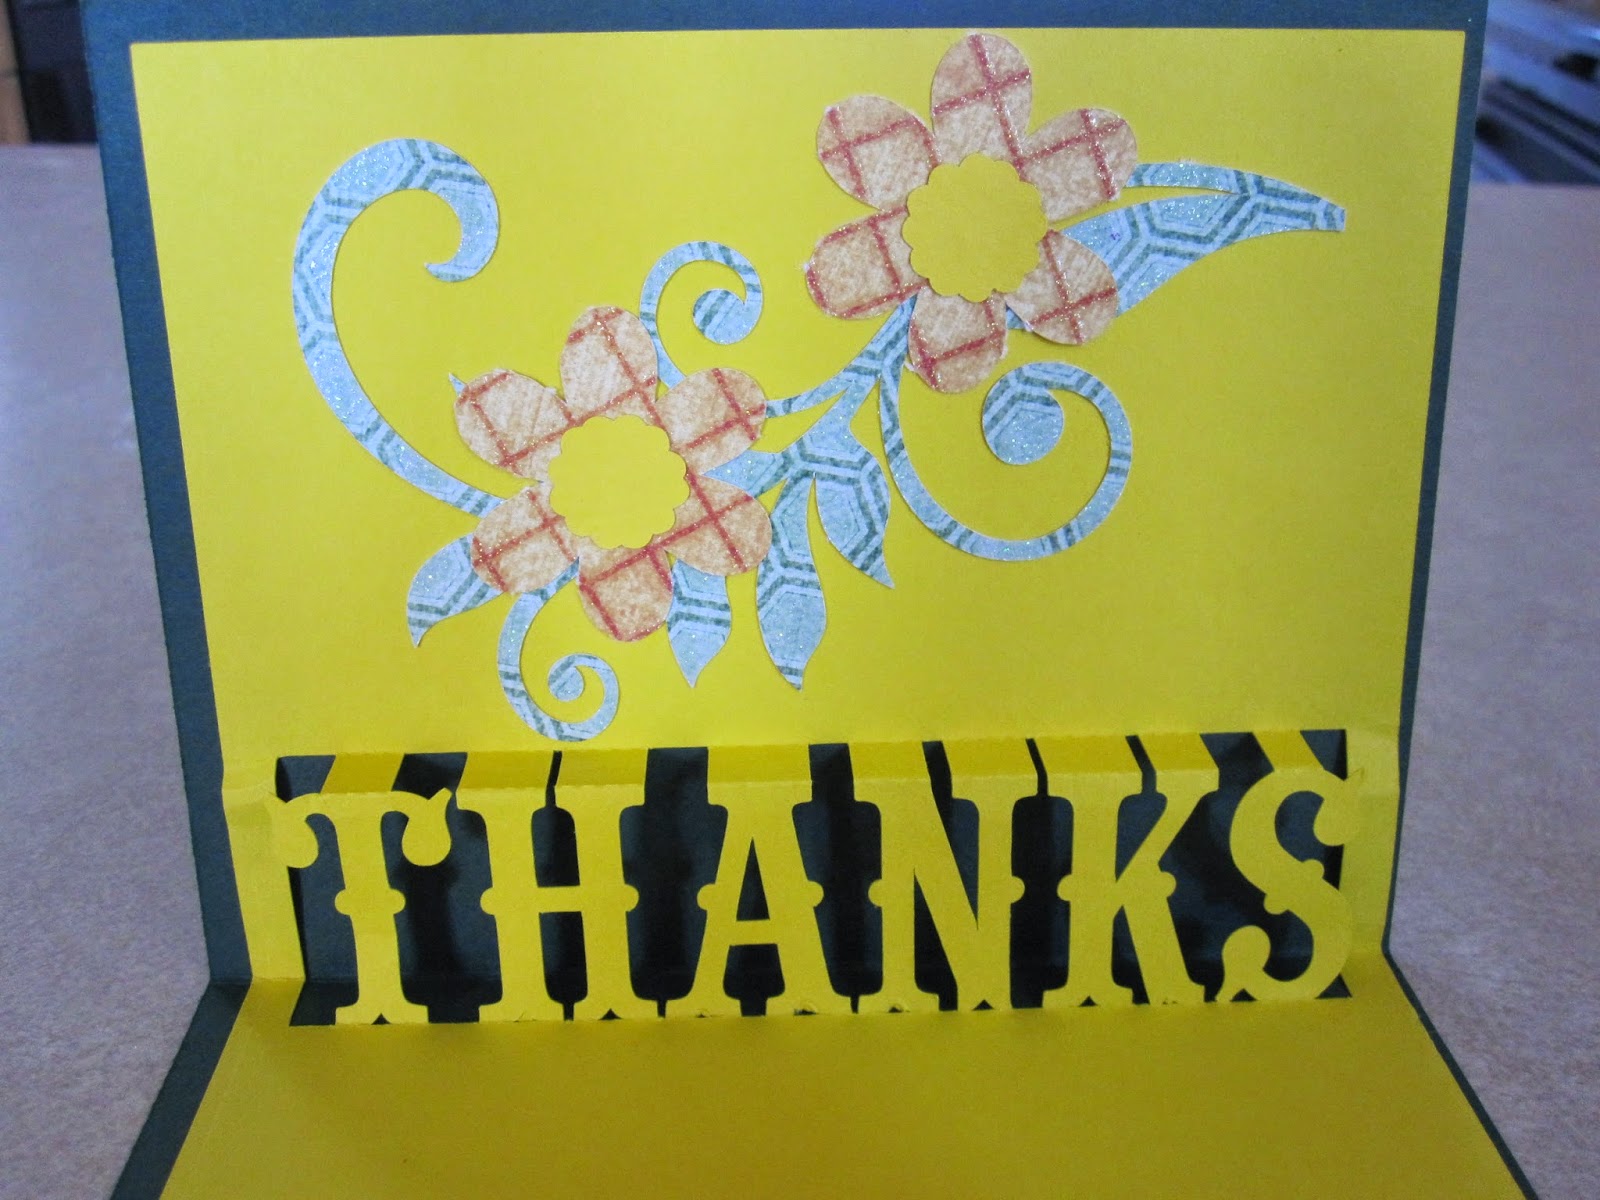
This is the inside of the card. Again I used left over paper from another project to make the pop up thanks on the inside. I had left over half sheet from the same stack and used them to cut the flowers.
This is a Silhouette file and cut great.
These are photos of the close up of each card.
I needed a bunch of tank you cards as my handsome hubby had major surgery and many people from church brought over meals for us, and I wanted to thank them with beautiful handmade cards.
It's amazing what you can do with a sheet of pattern paper isn't it?
Here is another...
And another....
I made eight cards all together and hand to make even more.
I hope you like these cards I am sharing and you too use your scraps.
Thank you for joining me today. And, thank you for your sweet-sweet words of encouragement. Your comments continue to inspire me.
November 7, 2014
Cross Encouragement Card
Good afternoon, this is a fast project that I used 3 sheets of paper on. I used my Silhouette Portrait for it and use these cards for encouragement. So often we have a friend that is hurting so I try to keep cards like this on hand for them.
See how easy that was? I just love the crosses and was able to use scrap paper to make them. They are beautiful, aren't they?
Here is a close up of the cross on the front of the card.
I hope you enjoyed our post today. Thank you for your sweet-sweet words of encouragement. Your comments continue to inspire me.
September 27, 2014
Sympathy Card
Welcome to She's A Sassy. Today we are featuring a Sympathy Card. This card was cut with the Silhouette Portrait a week before hubby gave me my wonderful Cricut Explorer, he made me feel so special when he bought it for me. The design # is 57435 for those of you that have the Silhouette.
Look how easy it is to make this card. In the video I use my Xyron for an adhesive for the words With Sympathy. Since then I have been using Aleen's Adhesive repositionable spray and it is so much easier to work with.
Here is a close up of the paper I used. I got lucky and found a DCWV stack called Cinnamon Lustre, from Joann's for only $6! And look how beautiful the paper is.
This is a close up of the lettering on this card and it is awesome. I love how it looks up against the background of the card.
Here is a close up of the inside of the card. I use a stamp from Stamps of Life and from Close To My Heart and hey go great on this card.
Here is the final card and I love it. I put the 4 together in no time at all. Thank you for joining me today I really enjoyed my time with you.
Thank you for your sweet sweet words of encouragement. Your comments inspire me to continue sharing with you. Have a blessed day.
September 24, 2014
Happy Birthday Card
Hello, hope you are having a great day. Today I am sharing an easy birthday card that you can put together in a very short time. As you know I just co-hosted a Card Party and this was one of the cards I brought. I was getting low on birthday cards so I set up a multiple cut on my Silhouette Portrait. I was able to cut 12 cards in no time at all.
See how easy that was to put together. I used a lot of Xyron because it was going to the card party and it would take too long for us ladies to glue it on. At home I use a spray adhesive and it works great.
This is a close up of the cut and most of it was a clean cut but I did have a few problem areas as my mat was wearing out. Fortunately I got all my cards cut for the party. I did order 4 more so now I am in good shape. I have to admit the hard part was loading enough pieces for the mat. Now that I have my Cricut Explorer I will just say cut 12 and it will do all the hard work for me! I love my new EXPLORER!
Well I hope you like my birthday cards and today's post. I hope to have a couple more posts for you this week. Thank you for your sweet sweet words of encouragement. Your comments always inspire me to keep sharing with you.
September 23, 2014
Lemonade Crunchy Ice
Good Morning, Sheila here with another quick little card. This is the first time I used a pnc file to do a print and cut on my Silhouette..... can't wait next week I can use my new Explorer to do that! Hubby bought me a new Explorer and I am having so much fun designing on my computer. Can't wait to get home and cut out what I did.
Now how much easier could it get to make a little card? And it makes such a wonderful little friendship card.
This is the inside of the card. I used a stamp from Stamps Of Life and it is just perfect with the little mice.
Thanks for joining me today. I hope you enjoyed this little post and come back again real soon to visit. Thank you for your sweet comments and words of encouragement. Have a blessed day.
September 22, 2014
Little Ladybug
Isn't this card just too cute? And, it was so easy to make. I just made 2 bases and mirrored the top one, welded and then cut the little pieces out. With only 2 colors it was really easy and it fits in an A2 envelope. This is a Silhouette design (the bug) and I turned it into a card. It stands on it's own too,
Now wasn't that easy to put together? I made mine for our September card party and we had so much fun with this little card.
I didn't have the freckles on the face until Abby suggested it. It really makes the face.
The stamp set is from Stamps of Life and goes perfect with this card.
I hope you enjoyed today's video. Thank you for joining us today. Your words of encouragement always inspire me. Thank you for your sweet comments.
August 15, 2014
Meet 5 Year Old Gavin And 11 Year Old Brother Justin, Getting Ready For Their Card Party
This is 5 year old Gavin's little doggie card and it is just as cute as can be. The boys were very upset that they couldn't stay for the girl's card party so we got to work and prepared for a little party just for the boys and boy did we have fun!
Be sure to watch Gavin in the following video as he will instruct you how to put this card together using the ATG gun and Xyron stickers.
Now wasn't that easy and so good for a little boy, don't you think?
This card is made by 11 year old Justin. Doesn't it look great? He used my Big Shot and a Sizzix folder to give the ball the proper effect. He cut the card on the Silhouette Portrait on his own.
Justin stamped the inside is of all the cards with this stamp as he felt is was great motivation for every football player and people in general.
Be sure to watch Justin's video to see how to put this card together.... you will love his remarks.
Now wasn't that awesome. I can't wait to see what Justin will be when he grows up.
Thank you for joining us today, I sure hope you liked our post. Thank you for your sweet sweet words of encouragement. Your comments will definitely light up two boys faces!
July 17, 2014
Simple Greeting Card Using Gelli Prints and Die Cuts
Hello Crafters!
Thanks Sheila for allowing me to post here today. Hope everyone is having a great summer and able to spend time with family and friends. During the summer months we are keeping it simple as it's a busy time of year for most of us. I wanted to make a few cards using some die cuts that I really like and some of my favorite embossing folders.
My card is an A2 size. To get that size, I took an 8.5X11 piece of whisper white card stock and cut it in half. After scoring it and folding it in half I cut a 1/4 inch off the front right front edge. I added a piece of double sided paper that was cut at 4.25X5.5 inches that I used a border punch from my stash to give it some delicate detail. It's adhered to inside of the front of my card.
Next I cut a piece of white card stock to 4X5.25 inches and embossed it with my Swiss Dots embossing folder.
I mounted it using foam squares to give it some extra dimension. I love the look.
Ii am learning to make gelli prints using my Gelli Plate and this project is a great way to use some of my favorite prints. Here are some of the gelli prints I have in my stash.
It's easy to use these prints in your favorite die cutting machine or with your Cricut or Silohouette.
I love Irises! This is one of my favorite images and I love the way it turned out using one of my first gelli prints! Next I had to cut my sentiment so off I went to my Silohouette and cut it from the gelli print. I used a font that is on my computer. You can use your Cricut or a die cut that you have.
I used the weld feature to weld my I to the H.
It cut perfectly from the gelli print. I do make sure to adjust my blade setting with each cut as that helps to avoid wasting paper. Next we are ready to assemble.
My two way glue pen came in handy for the delicate cuts and my silhouette tool was key in getting the sentiment off the mat.
I love the pop of the color on these gelli prints cuts and the Swiss dots embossing is a favorite look of mine.
I hope you enjoyed this simple and elegant card that is great for most occasions. Thanks for coming by She's A Sassy Lady today!
Happy crafting peeps! I'll see you next month.
Donna Lee
Labels:
card,
Cricut,
die cuts,
embossing,
embossing folder,
gelli prints,
Hi,
iris,
Silhouette,
Swiss dots
July 6, 2014
I'm Back With A Simple Strawberry Card
Isn't this card just too cute? Well I had so much fun making it on my Silhouette Portrait. I printed it and then I cut it out it was just so so easy that all I could think of was what a fast way to make a card. Love it!
Now wasn't that easy? So simple but it has been so long since I made cards I double checked every thing I did. It was so much fun to be back in my scrap room. I want to thank all the Sassy Designers as they held us through all the turmoil of the last few months. They are WONDERFUL & SO TALENTED!!! Thank You!
Here is a close up of the seeds, I used stickles.
I hope you enjoyed today's post. I sure enjoyed spending time with you. Thanks for joining us and for you sweet sweet words of encouragement. Your comments continue to inspire me.
July 4, 2014
Happy 4th Of July With A Simple Card Make 2 In Only 5 Minutes... It started With A Bad Cut!
Hello, hope all is well with each and everyone and you are enjoying the 4th. Well I walked into my scrap room for the first time an 3 months and my first card was a blooper. You see I used my Silhouette Portrait and printed my piece of art 2 up, forgot to run registration marks and cut. So you know me, I'm not about to throw anything out so in less than 5 minutes I put 2 beautiful cards together.
Now wasn't that easy and fast too. Unfortunately my mouth doesn't work as fast as the card and I just had to visit with you a little bit!
March 20, 2014
Bibbidi Bobbidi Boo Dreams Really Do Come True
Hello Everyone!
Donna Lee from StampinNScrapinWith DonnaLee here at She's A Sassy Lady. Thank you Sheila for letting me be a part of your blog this month!
Today I am sharing the my Granddaughter's birthday invitations. Here's a short video of the quick assembly after getting all my card stock cut, embossed, printed and cut using my Silhouette and the wonderful print and cut feature!
We are having a Cinderella themed party this year and I was thrilled to find a picture of Cinderella online that worked out perfectly for the size I needed for these invitations. I printed them on some glossy photo paper (Kodak) and then cut them using the Silhouette. While I enjoy my Cricut(s) and Gypsy so very much, I am learning what a whole new world the Silhouette offers as well. It's a great addition to my StampinNScrapin studio.
Below are a few pictures of my process of making all the elements and some of them put together.
I'll be back here next month with a 12X12 scrapbook layout using the Artbooking Cricut Collection and one of the fabulous backgrounds and some altered flowers so stay tuned!
Thanks for stopping by She's A Sassy Lady today! Wishing you a blessed and crafty week!
Blessings,
Donna Lee
Donna Lee from StampinNScrapinWith DonnaLee here at She's A Sassy Lady. Thank you Sheila for letting me be a part of your blog this month!
We are having a Cinderella themed party this year and I was thrilled to find a picture of Cinderella online that worked out perfectly for the size I needed for these invitations. I printed them on some glossy photo paper (Kodak) and then cut them using the Silhouette. While I enjoy my Cricut(s) and Gypsy so very much, I am learning what a whole new world the Silhouette offers as well. It's a great addition to my StampinNScrapin studio.
Below are a few pictures of my process of making all the elements and some of them put together.
I'll be back here next month with a 12X12 scrapbook layout using the Artbooking Cricut Collection and one of the fabulous backgrounds and some altered flowers so stay tuned!
Thanks for stopping by She's A Sassy Lady today! Wishing you a blessed and crafty week!
Blessings,
Donna Lee
Labels:
Birthday,
Cinderella,
cuttlebug,
honeycomb embossing folder,
invitations,
Princess,
Print and Cut,
Silhouette
Subscribe to:
Posts (Atom)