















Good Morning! It's time for Gypsy Made Simple and today we will learn how to make a template for what ever size item you continually make on your Gypsy.... for me it is the A2 card. You will learn just how easy it is to make a card and do it in just a couple of minutes! So get your self a drink, turn your Gypsy on and let's get to work.
This video will teach you how to make your own template. It will be great for making cards of any size that you constantly use. For me it is the A2 and A6 cards. In this video I am showing the A2.
 Here is a close up with our little A2 template in use. See how easy it is to just fit an object within the space we have? With using one of my hand made templates there is no extra measuring or sizing you just fit your art in the space provided and you are good to go! I love speedy solutions, don't you? Note I did not use the shadow feature as after I cut it I didn't like the look on the background paper that I ended up using.
WHAT IS OPEN IN TEMPLATE? WHY DO I NEED IT?
This is a wonderful feature that is great for making word books. As I am not a word book maker I really haven't used this feature that much. Personally I like just using the windows we have but to each their own! I did however, take a few photos so you could see how you can use it to make your own word books. Although I love all the gorgeous little books some of these talented ladies post on their blogs, I have 35 years of scrapbooking to catch up on before I start with the word books!


Again I am going to reiterate, I like the regular pages as I can have everything in one spot. This reminds me of when we first got our Gypsy and did not have pages... but let's move on. I made a simple design in the first photo of a 5.5x5.5" square and welded a start on it. I then saved it as 1. Then I went back and clicked on Open as Template.


The photo on the left is what appears. Notice all you need to do is start building all over again, you can copy and paste from the original on the template. After copying and placing on the layer one stretch to get past the edge of the star and attatch your next piece of art. When you go to save it will ask you to save as, all you do is rename it. To me this is a little confusing and a pain in the rear to keep opening and closing and saving and renaming when we can just add pages to our project doing the same thing. You do what you prefer, but the Sassy Lady will just add another page if you don't mind. Now it is great if you want to maybe change wording on a window card as an example. You want the original untouched but want something new, just alter and rename. Note I still do the samething on my regular files, but you need to be more careful my way as you could easily save over the original file and loose it. Personal preference is the key.


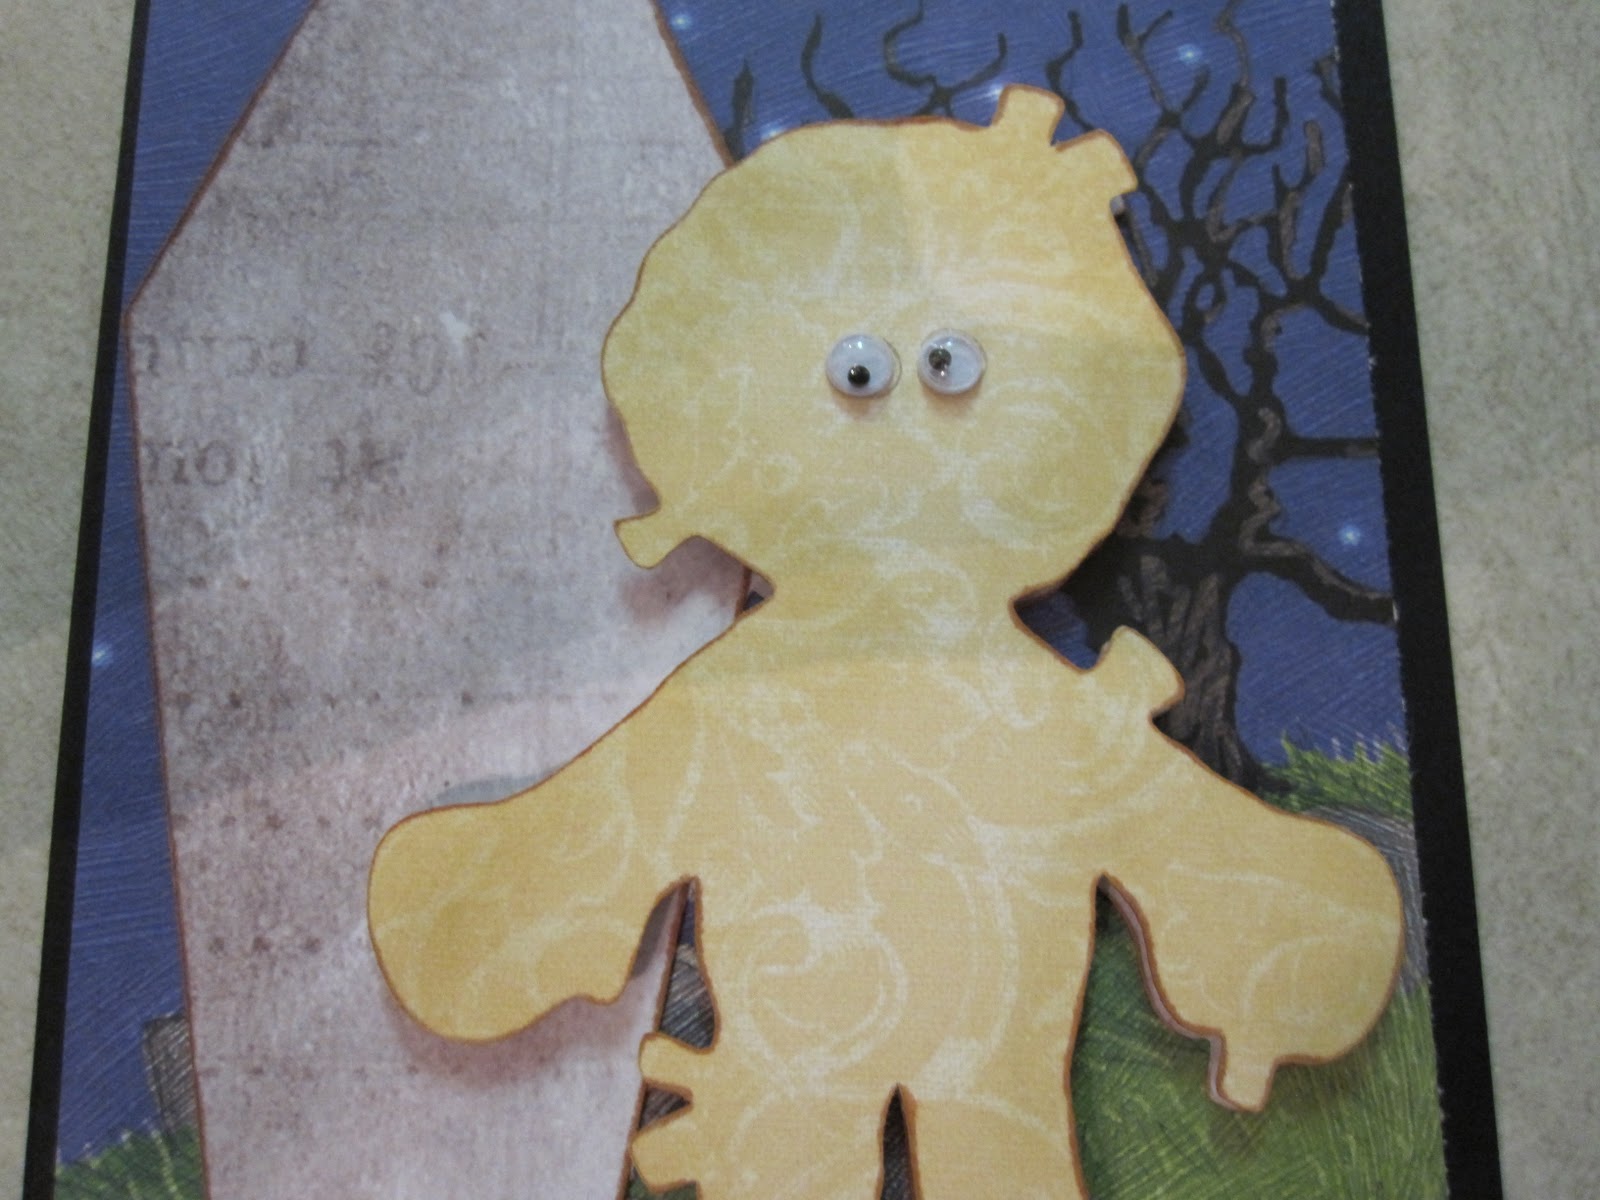
After I pop dotted the back of the mummy I attached him to the base of the card. Isn't he handsome?


This is the word scary from Happy Hauntings and I was surprised it was not welded but that's OK I just grabbed the drywall tape after I lined them up, added glue and positioned them where I wanted them.


Frankie has so many little parts, but he is a handsome little fella! I had to use a set of tweezers to pick up the little pieces.


I used Distress ink to outline his little body then I pop dotted him to attach him to the base of the card. I do think he is handsome and he reminds me of the first Halloween Hubby and I celebrated together.... shh don't let him know I am telling you this story!!! We dressed him up as Frankenstein and rather than go out and spend money on the green make up (we were so broke as newlyweds), I had the brainy idea of just adding green food coloring to make up! What a disaster, he looked great for the party but was very upset when the color didn't come off his face after the party.... Well after about a 1/2 of a jar of Noxzema we had success and I never used the cream in our house again as it just brought back memories that he chooses to forget. So keep that to your self please!!! LOL


And Frankie has his arms out welcoming all the links to this site. We would love to see the card you make using your template! And if you make two like I did just post em' as we love to see your beautiful work!
I hope you enjoyed today's post and that you learned a few little tricks that will help you when you are designing on your Gypsy. Be sure to link up your project, and keep those comments and questions coming. You can email me at shesasassylady@hotmail.com with your questions, and suggestions. I look forward to hearing from you.
That's it for today and I want to thank you for spending time with me, I sure hope you learned something new and enjoyed today's projects. Wasn't it a lot easier than you expected to make that card?
Now your task is to create a card and then link it up on my blog so we can see what you did and how much you are growing with your skills. These are basic skills that you are learning and they will be your stepping stones for everything you design in the future. I am so excited I have to add that we had 9 cards displayed from last week!!!! Hopefully we can beat that number with this post! Let's see you cards ladies!!!
Thanks for your continued support and sweet words of encouragement. Your comments are what inspire me to share with you.

















