Showing posts with label Gypsy Made Simple. Show all posts

February 25, 2014

Gypsy Made Simple - Spinner Birthday Card - Free Gypsy & CCR Files


I sure hope you are having a GREAT day! Today I am sharing one of my favorite cards... the Spinner Card. I thank Melissa at Melissa Made for she helped me along the way when I made my first Spinner Card. Melissa  gave me the dimensions of the slider and my Gypsy Woman did the rest! It was so much fun to make... Now I just use the same base and change up the little critter that moves along the slider. And they all look great!


This video is long but it goes all the way from choosing papers, to designing your card. Just click HERE for the Gypsy file, and click HERE for the CCR file. But remember you will need to watch the video to know exactly how to put it together. I cut my own 5x7 solid, 2 4.75x6.75 print, and 1 4.25x625 solid for the sentiment area.  I did not use the cuts on the file for them as I could move faster and have less waste. Carts used: George, Celebrations, Cricut Sampler, Sentimentals, and ZooBalloo.


This video shows you step by step instructions of how to put your card together... It is just so adorable when completed, you will love it!


This is the little bee and I made him from either Doodle Charms or Walk In The Garden. It became special just by adding a lot of chunky glitter. This is called Sprinkles and it is from Stamps Of Life, however it is very similar to the Martha Stewart chunky glitter. Isn't he just too handsome?


Here is how the front of the card looks. Notice how I stamped the slider giving it a look of a bee in flight. How fun is that? My stamp is from Stamps Of Life.


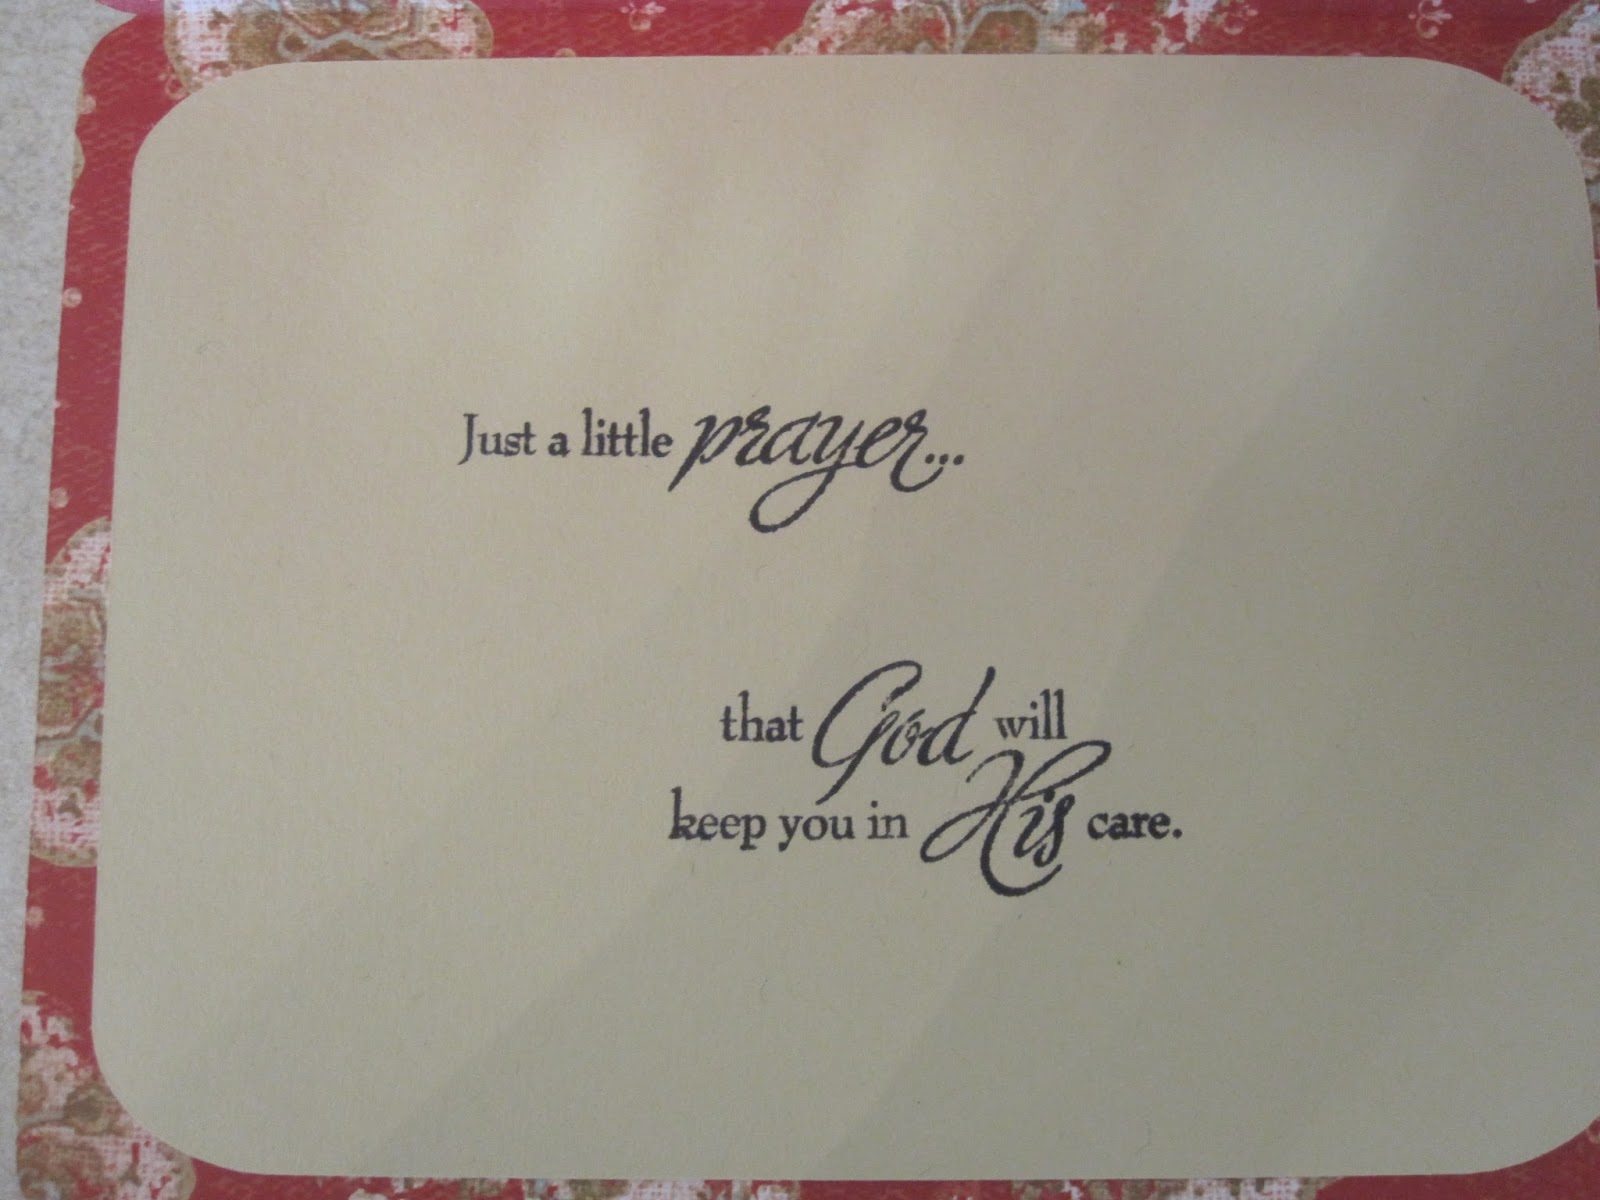
Here is the inside of the card.... I just love how festive it looks, don't you?


I hope you like today's little project and give it a try yourself. If you would like me to share your card on She's A Sassy Lady just mail it to: Sheila McShea, 3005 Stonecreek Trace, Helena AL 35080 as I would love to share it.
Thanks for joining us today and thanks for your sweet sweet words. Your comments inspire me to continue sharing with you! Have a blessed week.

July 24, 2013

Gypsy Made Simple - Shape Cards

Don't you just love fun cards.... those that bring out the child in your nature? I do. This card was so easy to make and so, so simple that it is must have in your card making arsenal. As long as you have the base of the card stored on your Gypsy as a template you can add any artwork you want to fit the occasion.


See how easy that was. Make your self a template and name it as such and when you need a fast card this little one will do the trick.... even if it is just adding words to the bottom.


These cards went together so fast and all I used is 1 1/2 sheets of 12x12 paper and 7 inches of trim that I picked up at Hobby Lobby.

Now doesn't this look cute? I must say the picture doesn't do it justice as it is so cute. The pattern paper are from Close To Heart, the Dotty collection, Coordination's for the gray and I used scraps for the white sentiment area.

I inked the edges with Cotton Candy ink and I love how it brings the pink to the inside of the card.

In less than a 1/2 hour these 2 cards were designed, cut and put together. Love that as I have such a busy schedule and often times I just need a card now! You know what I mean? This little card will do the trick.
Thank you for joining us today, I hope you enjoyed this little project and it helps you with your Gypsy. Thanks for your sweet sweet words of encouragement. Your comments inspire me to continue to share with you. Have a blessed week.

July 23, 2013

Gypsy Made Simple - Making A Shape Card From A Single Shape

 Don't you just love everything about summer? The bright sunny days that are so nice and warm, swimming, playing outside, visiting with friends and neighbors, backyard BB Q's just to name a few. Yup, summer is the best. And when you think of summer somehow you always get around to having icy cold water melon! YUMMY! Well today I thought we would practice making shape cards by taking a single shape and welding it together to produce a card. Add the layers and you have got a card that anyone would love to receive. So grab your coffee and turn on your Gypsy and let's get to work.


See how easy it is if you just take your time and go step by step, before you know it you are cutting your card out. I have to admit I am feeling a little strange on this one as I usually set up my card 2 up so that I end up with two but because of the size I only did one. Now I am just going to have to cut another so I have a spare!


Now wasn't that just too easy to put together? I just love this little card and I love how fast it was to make. This is just what we need for the summer months when we still have the urge to craft but don't have a lot of time as we are spending it with family and friends doing the things we love to do.


 I love how easy this card went together. I inked the edges using Close To My Heart ink in Topiary, New England Ivy, Colonial White, and Holiday Red using a simple round sponge that I cut into six pie shaped pieces.


I love how a little Holiday Red ink just gives the inside of this card the perfect look and feel and it took only seconds to apply. I used the word sweet right off the same cart; Simply Charmed.

Well this is the finished card and as you can see it stand up nicely too.
This week I challenge you to make a shape card from a single shape and then add the appropriate layers and link it up. You too will be amazed at how easy it it to make a shape card. Let's see what you do.
I hope you enjoyed today's post, I know I had fun spending time with you. Thank you for your sweet sweet words of encouragement. Your comments inspire me to continue sharing with you. Have a blessed week.

July 13, 2013

Sympathy Card Using My Gypsy & Expression


Good morning, I am so happy to be back with you today and able to share with you... we had a great vacation and it is good to be home and back in my craft room. I can not believe how many Sympathy cards I have had to use as of late. So I decided I better replenish my stash because nothing is worse than stopping to make a card when you are an emotional mess.


I also decided that it was time that I used up some of my stacks that were almost finished as I have so much paper that I really need to use what I have on had before I purchase more and you know I like you am always ready to get more paper!


Now wasn't that easy. I used the Close To My Heart Art Philosophy cartridge for my base card along with Wild Card for the words and look how beautiful this turned out. Easy Peasy! And the cards are so pretty.

 
 This is a close up of the front of the card. I just love the cut and it gives you a little peek to the inside.


Here is the inside of the card. I used the CTMH Card Chatter-Sympathy stamp set and I just love this sentiment. There are many more to choose from but this is more like what I would say.
Well I hope you can use what I shared in today's post to make a few sympathy cards for your stash. I know it is a subject we would all like to forget but we can't. These cards are too often hard to make and these cards should give you a strong idea of where to start.
Thank you for joining us today and for your sweet sweet words of encouragement. Your comments inspire me to continue sharing with you. Have a blessed week.

April 20, 2013

Gypsy Made Simpe - Making Scrapbook Mats And Pages


Well good morning! Did you hear the news.... Provocraft is discontinuing the Gypsy! I can hardly believe it as I and everyone I know that has one LOVES IT! Well I have been reading the message board and have found that there are still many people that want to learn to use theirs better so we will keep going on with this series for as long as you want it.  The good news is they will continue to support the Gypsy and we can send ours in to get repaired if it breaks! Thank goodness!!!
This morning we are going to work on a scrapbook project so go grab a cup of coffee and turn you Gypsy on and let's get to work.


Now see how easy it is when you work on the larger mat? It enables you room to maneuver when you are working with large objects. I love that for scrapbook pages.


Wasn't this just too easy to put together? I love that your whole page is a mat and all you need to do is just drop in you photos and you don't even need to crop or mat them... just so easy.


The hard part for me is always picking out the papers. The base of this is from My Minds Eye while the blue foil paper is from DCWV. All the scraps from the hats are also from DCWV and I just love how my expression cuts that paper.... just like cutting butter.


Don't you just love these little hats? And it was so easy to match up when I made the little tassels and trim out of the same paper as the heading.


Here is a closeup of the hats, they were just so easy to put together and will surely match and outfit worn at Aiden's birthday party.


Well I sure hope you liked today's post and can use the little tips I gave when you make your pages. Be sure to start creating and using your Gypsy to the fullest. And if there is something that you would like to know how to due just hit the contact button above and send me your request. If there is something you would like me to share just mail it to me at: Sheila McShea, 3005 Stonecreek Trace, Helena, AL 35080.
Thank you for your sweet sweet words of encouragement. Your comments inspire me to continue sharing with you. Have a blessed week.

April 13, 2013

Gypsy Made Simple - Word Frames For Scrapbook Pages

Good morning! This is such a fun little project and it is great for all people that scrapbook! Thanks to Kathy who sent me this great little note I bring this project to you.

HI Sheila,
I love your gypsy work..it is unique.
I am trying to make a square narrow border and then add lettering/images, for my grandson high school scrapbook. He is graduating on June 9, 2013. Can you help? I love using my gypsy.
Thank you,
Kathy

Well this just happens to be one of my favorite things to do on my pages so I want to share it with you and Kathy. So grab your cup of coffee turn on your Gypsy and let's get to work.


Now can't you see yourself doing these for your pages too? As you can see it is not the easiest thing to do as you need to be careful with what you are touching on your screen and you will be fine. This can be used in so many ways....
Now see above how you can weld your letters together, or...
You can leave them separate and they still look great. I just used some scrap paper to put this together for you so you can see the contrast between the frame and the letters. It really makes an awesome page.
And of course you can make artwork a part of your base frame too. Virtually anything is possible but remember you must start with a frame, any frame.
Thank you for joining us today at She's A Sassy Lady. I hope you enjoyed today's post. Be sure to get working on your projects and if there is something you would like to share with me and all our followers, just mail it to: Sheila McShea, 3005 Stonecreek Trace, Helena AL 35080.
Thank you for your sweet sweet words of encouragement. Your comments inspire me to continue sharing with you.
May God Bless You This Week.

March 30, 2013

Word Shape Cards

Good day! I can't wait to share this awesome little word shape card with you! So go grab a cup of coffee and turn you gypsy on and let's get to work on this wonderful little friendship card.


Now wasn't that easy. Just remember to set up a little template of 4.25x5.5"  for yourself so that you can check the sizes of your finished card a little easier. Also be sure to make it two up so that you end up with 2 finished cards; one to send and one for your stash for the future.


Now that was really easy to put together wasn't it? Notice how I adjusted after making the first card to make the second even nicer. So easy to do when you make 2 cards at a time.


Look how cute this turned out. I really think this paper has a western feel to it don't you? The out side or base of the card was from The Guys Stack from DCWV, white the inside lining and the top of the horse was the back of CTMH Footloose paper.


Here are the finished cards. Aren't they just too cute. I know I will be making more of these as they make a great friendship card.


Close up of the finished card.


Another closeup and this one shows you just how great those papers go together. You would thing they came from the same stack! I sure hope you enjoyed today's post. I know I enjoyed sharing with you. Thank you for your sweet sweet words of encouragement. Your comments continue inspire me to continue sharing with you. Have a blessed day.


March 24, 2013

GMS Tri-Fold Coyote Card Revisited


Good morning! Sure hoping you are having a great day. This week I am revisiting the Tri-fold card with a new design. I made this card for a dear lady that you probably know; Audrey from Cute And Some. She has been busy taking care of an ill family member for the last couple of months and has been away from crafting and blogging. All that know Audrey, know that she is a special lady that always has a sweet word of encouragement to those around her. So I had to come up with something special for her.
I absolutely love the Tri-fold design on a card as it is so unique, almost like a shape card on steroids so I had to do another! This design is similar to Amy at The Stamping Tree, I scraplifted a card that she made from my Gone Fishin' Shark Card. Amy did a wonderful design and I have been wanting to give it a try ever since I saw it.
So grab a cup of coffee, turn on your Gypsy and let's get to work.


Now see with this easy template it is very each to make a card of your very own. Click HERE to down load the Tri-Fold template.


I wanted you to see the steps I take on some of these cards to make them stand out, expecially those with the old cuts with no layers.

This is what the coyote looks like before and after it has a little inking. Dont you love the difference? I used some Tim Holtz distress inks and a black marker.


See how nicely this card comes together. I ready all the little pieces first and then assemble it. I used a lot of different ink from Close To My Heart. I reuse the daubers but keep them in there own little case that is labled thanks to Ian over at A Newbie Crafter. Ian designed the lable with all the Close To My Heart Ink names for the dauber case and I love it.
Here are just a couple of photos showing what it looks like as you open this card. As you can see there is plenty of space to stamp a sentiment of write a little note.

I just love the inside of this card. I had plenty of room to write a little note to Audrey and I sure hope this card put a smile on her face.

Here is a close up of my Saguaro Cactus. I couldn't remember the name of it if my life depended on it while making that video! Don't you just love the effect of the sponge on it? It looks like litle needles all over it.


With this close up you can see the little Micro Beads on the moon, isn't it awesome?


Don't you just love how that little coyote just peeks out and howls at the moon? Click HERE if you would like this card file too. Don't forget I made the card two up so you will have two cards when you complete it.
Here is what my finished cards look like. You can see I added a couple of hand drawn stars with a gel pen on the one on the right and I really like that. I hope you like today's post. I sure had fun making and designing this card and I am sure Audrey will love it, don't you? I hope you have a great week.
Thank you for your sweet sweet words of encouragement. Your comments inspire me to continue sharing with you. Have a blessed week.

January 12, 2013

Gypsy Made Simple - Elmo Window Car


Good Morning! Thank you for joining us today for another Gypsy Made Simple series. Today we will be making an adorable Elmo Window card. Now if you don't have that cart that is fine just substitute Elmo with another piece of artwork that you do have. So grab a cup of coffee or a diet coke, turn your Gypsy on and let's get to work.


Now that is what I call step by step! You have to admit it is easy if you just follow along step by step. The good new is thatif you get lost you can back up and watch that section over and over till you feel you understand it completely. Now that you have your design done go cut it out and I will meet you back on the next video where we will put these little cards together.


Now wasn't that easy? Most of the work is done after you desgin and cut out. I always think the hardest part is choosing the papers! There just is so many beautiful papers in different designs and textures you can use the same design over and over and the card will look different each time!
Now notice I did use the plastic from our cartridge packaging for the window and all I did was use my Cuttlebug and an embossing folder to make a design that I thought would go with the paper.


This is a closeup of the window on the front of my card.... isn't is just awesome? Sorry but I can' not remember the name of it, I just remember that I bought it at Hobby Lobby, if that helps.


This is the inside of the card. I used My Craft Spot's stamp set called Inside Out and just love how great it goes with this card. I inked the edges with Creme Brulee and it goes perfect with my paper from DCWV the Stripe and Plaid stack.


Now aren't these cards just adorable? Click HERE for your Gypsy file so you can make your own or do make your own and then link it up. Either way I want  to see the card you make! I Challenge You to make a window card and then link up your card and share it with all of us. We love to see what you do! Thank you for joining us today for our Gypsy Made Simple project.
Thank you for your sweet sweet words of encouragement. Your comments continue to inspire me to share with you!

January 5, 2013

Gypsy Made Simple, Making A Window Card With A Large Window


Good morning, it is time for another Gypsy Made Simple. It has been so long since I turned on my Gypsy I was amazed that I even remembered how to work it... now I can hardly put it down.


Today I am sharing a wonderful card with you that is so pretty it just shimmers in the light and yours will too! So go grab a cup of coffee turn on your Gypsy and let's get to work.


Now wasn't that easy?  Let me tell you all the work on this card is in the designing and at that it wasn't too difficult. This design makes the most amazing cards and you get to use up the plastic covers from your cartridges to boot! Love to recycle


See how easy that was to put this card together. You can use any paper you want along with any piece of artwork you like. Then you get to choose the embossing folder you like to make that window just glisten. I am so short of birthday and get well cards that I will be using this design alot with just a few changes in the art on the cover. I love it!


Thank you so much for joining me today. I hope you enjoyed today's post. Be sure to leave a comment as I will be giving away a Gypsy cover to 1 lucky person. Just much comment by 4:00PM on Friday January 12th to be eligible and the winner will be announced on January 13th.
Thank you for your sweet sweet words of encouragement. Your comments inspire me to continue sharing with you.

November 10, 2012

Gypsy Made Simple - Making Oversized Shape Cards

Good morning. I am so excited to be with you this morning. I stayed up late Thursday evening and got this cute little shape ready for you to make with me.... Now go grab a cup of coffee, or tea, turn your Gypsy on and let's get to work. You can work from any cart you want. I chose Create A Critter as it is just one of my favorite go to carts.


Now wasn't that easy... just a few little steps and you are ready to cut your card in no time at all. As this card is so large I will only be making one. Be sure to see yesterday's post for directions on making envelopes of any size. I have to go back and make on for this card.


Now let's get this card put together. It is so easy with just a few little steps you have a great card ready to send out.

See how I stickled the little feather area. It just offers that little extra something this card need to draw your attention to it. Granted the papers are just awesome they are from the Pemberly collection at Close To My Heart. I just love the colors and they cut so well on my Cricut.

Here is a close up of the card. I love how it came together and the size is wonderful... I will definitely be making a lot more of the larger cards. I hope you enjoyed today's post and come back and visit again real soon. Thanks for your sweet sweet words of encouragement. You comments inspire me to continue sharing with you. Have a blessed day!

September 22, 2012

Gypsy Made Simple - Christmas Tags - Making Multiples The Easy Way


Missed you the past couple of weeks while I was taking care of a few family issues. The issues are still there, as they are not going to change for a while. So we are just going to keep moving along, maybe a little bit slower than normal but we're going to keep Gypsy made simple going.

Well it is that time of year again where we are making multiples galore for our Christmas Cards and tags. And our little Gypsy is the perfect little tool to make your life easier. So go grab a cup of coffee and turn your Gypsy on so we can get some work done.

I am partaking in a Christmas Tag swap with designers from The Bug Bytes and She's A Sassy Lady and I have 15 tags to make. Only the first 15 to join became a part of the swap. Well I am still undecided and not sure if I am using this tag for the swap or for my gifts here at home, but either way they are great little tags and cute as can be.

I used my new CTMH Artiste cartridge for the tag and had to make it to the correct dimension, 6 1/4 x 3 1/8. That was the easy part. I then just made duplicates and cut my papers. I also used the little penguin on the Create A Critter cart and set up pages according to the size. Please watch the video so you will understand how it works.


Now wasn't that easy? You can do it too and I can't wait to see what you do do with your multiples!


I Challenge you to make a tag for Christmas and mail it to me. Be sure to sign your name on the back and list your blog if you have one. I will share these tags the first Saturday in November so all tags must be received by the 15 of October to make this date. Send to:
Sheila McShea
3005 Stonecreek Trace
Helena, AL 35080
Note tags will not be returned unless you send a self addressed stamped envelope to send it back in.
Thank you for joining us today.