December 23, 2015

I Went To A Painting Party And It Was So Much Fun


Well I hope you are having a great day. We went to Party Art in Helena, AL 205-263-2984 and had a great time painting. Since my project dealt with Christmas I thought I would share with you. I am so happy on how it turned out I am removing the picture over my mantle and replacing it with this one, My daughter Jennifer and granddaughter Sydney went also and we had so much fun.


This is my nativity seen. I white washed the background, and am getting ready to paint baby Jesus.


The star is awesome, you place glitter on it when the star is still wet.


This is another view a little farther away.


I thought I would take a few photos arount the room for you to see what everyone is doing.


Abby said what the outside design of this is but I can't remember.


This is Mrs. Nelson and her name will go in the center and go on her front door.


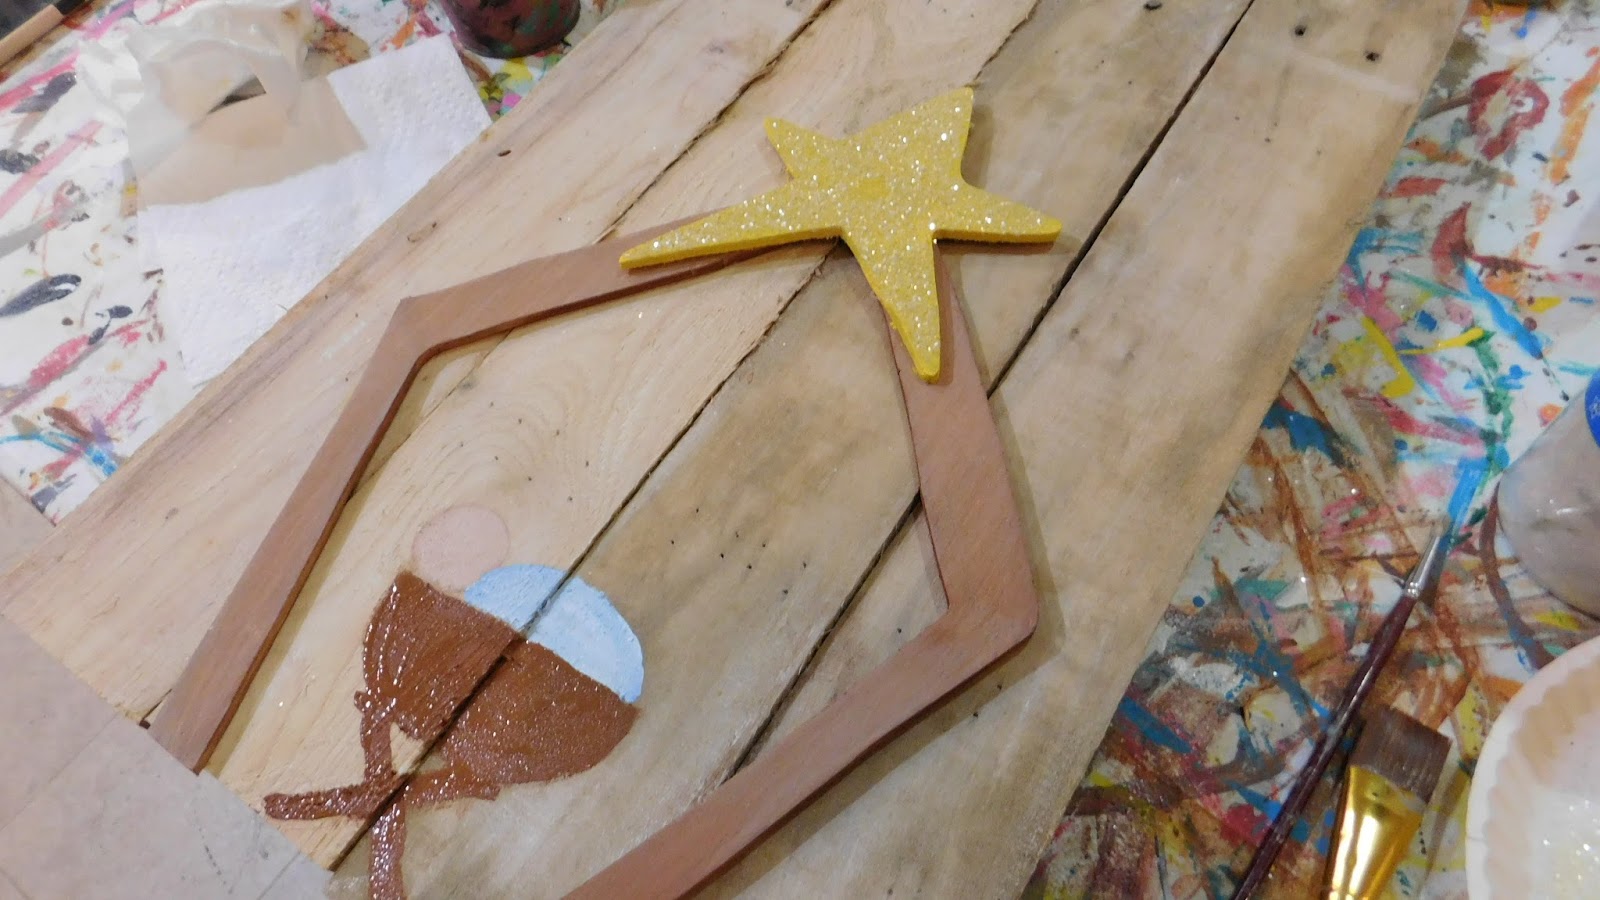
Here is mine again and it is coming along.


This is Abby placing the puff lettering on my nativity.


This is Jennifer and Lee, my little Sydney photo bombed them.


Lee is working on her door hanger, It turned out great. It is presents with her last name in the tag.


This is another mother and daughter team along with Abby. Both of the girls are 12 so they did need a little assistance.


Her is Sydney working on putting glitter on the dots. Jen helped by getting her dots wet so she can sprinkle her glitter.


Sydney is like me more glitter is better.


Jenny & Sydney still working on the glitter. her owl will be so cute.


She is painting a snowman.


 Jenny and I did the Nativity scene and sat across from each other.


Lee's finished door hanger.


Sydney with her owl.


 This is my daughter Jennifer, Sydney and myself with our completed projects. Just click on the photo if you want to make it larger.


This is Jennifer's scene.

And the front of it.


This is the other 12 year olds project.


The front door welcomes you.


This is a shot of the room.  I hope you enjoyed today's post. I sure had fun making it and hope you give this a try in the future. Thanks for your encouragement. Your comments continue to inspire me.

December 22, 2015

My Last Set of Tags For Christmas


Good morning I hope you are ready for Christmas. I am so excited as I am was ready very early this year and am looking for time with family.  My granddaughter Sydney was over and was so excited as the gifts were all under the tree. She knows she can't lift or shake them as her mom keeps a close eye on her. But she was over Saturday and we spent the afternoon baking, and while our breads are bars were in the oven she did a little peeking! There is nothing like the excitement on a child's face!


See how quick they go together. I just love how cute these are and they are big about a 5x7". So they do generate excitement for the children.


Here is a close up of the igloo and you can see how glittery paper I used, they actual sparkle under the tree!


Here is the sentiment I used, it is from Anna Griffin. I didn't have this cart but this was only 99 cents and I will be able to use over and over again for years to come.


Aren't they just too cute? Thank you for joining me today. Thank for your sweet word of encouragement. Your words continue to inspire me to share with you.

December 21, 2015

Halloween to Christmas


                Can anyone tell me what happened to 2015?  I can’t believe it’s nearly over and Christmas is just a few days away.  This is Charlotte C coming by with a very quick post.  Thank you, Sheila, for inviting me here again.
                I just wanted to share with you a transformation of a Halloween lantern I got from Dreaming Tree that has been transformed into a Christmas decoration.  If you’re not familiar with Dreaming Tree, it is a relatively new site for SVG's and PDF’s and freebies; I hope you get a moment to check out their amazing projects.
                I won’t bore you with the how-to on this project because the assembly tutorial is available on the site, but the original lantern looks like this.  And it is quite easy to put together, even though it looks daunting.


                All the pieces, including the PDF to print out the windows on vellum, are included with the kit.  However, what they did offer was a free PDF of Christmas inserts for the windows, so with a change in color of the frame, a little inking, I made this.


I took this picture with daylight coming through so you could see how nice the inserts look “illuminated,” but you can put a battery-operated tea light inside either through an opening left on one of the panels or by just separating the top from the bottom.  Right now I’m not thinking of doing that.  And it can be hung – a way to do that is provided also. 
                I’d like to wish everyone a blessed holiday, Merry Christmas, and good health and much happiness in the New Year.  See you next year!