Showing posts with label Silhouette Studio Files. Show all posts

April 23, 2015

Thank You

Hello Sassy People!

As many of you know, foiling is very trendy right now! A few years ago, I wanted to learn how to do this technique but the resources were very limited. Fast forward to January of this year, an easier foiling machine was introduced. In my excitement, I researched the price and was disappointed. I told myself I would save up for and hopefully catch the machine on sale. One day I was on Youtube and in my watch feed I saw a video on ways to foil by Jenny M. I watched it and excitement returned! She shared the laminator and laser printer technique and I was intrigued. I had the printer and a YourStory I just needed foil. I went to Hobby Lobby found foil and I was set…so I thought. I tried using the YourStory and it left a lot of black exposed. The results were not horrible, but not like I saw on the video. Then I used my cheap laminator and the results were much better, but not perfect. I think I may need to run the foil through twice. Anywho, here is a simple card I did using this technique. 


I used a file from the Silhouette Store. I brought it on to my virtual mat and filled it with black. I sent it to my laser printer. I cut the rectangle using the Lawn Fawn Stitched die and then ran it through my laminator. 


I layered a piece of foil card stock and that’s it! Not to shabby! One day I hope to get the foiling machine (it does a full 12” page beautifully). Until then, I will work to perfect this method on my laminator! 


I hope you enjoyed today’s project, Kenya~

February 6, 2015

Custom Gift and a Hello!

Hello Everyone!

My name is Kenya and I am one of the newest members of She’s a Sassy Lady! I am so ecstatic about being a part of this group and being able to share my projects with each of you! I hope you enjoy them just as much :) I also hope to bring a little sassiness to the team!

Just to share a little about myself: I am a married. My husband and I celebrated 15 years of marriage back in December. We have four daughters (10, 8, 6 (will be 7 next week) and 5 years old) and one son (4 months old). Yep, you read right; I am a mother to five wonderful children! I have been an “official” crafter for 5 years. I like to create everything from cards to mixed media! I am a cutting machine/tool junky! You will get to know that more as time progress LOL.

For my first project, I made a custom gift for someone. This gift was inexpensive to make as well as easy! I purchased a glass cutting board from the Dollar Tree. I already had vinyl on hand from a  different project and I used a file from the Silhouette Store. 

I opened Silhouette Studio Software and placed my image on the virtual mat. I did not need all of the parts of the file. I ungrouped the image and deleted what I did not need. 


Next I resized my image and moved the utensils how I wanted them on the mat. I then used a true type font for the name of the family. I used the Character Spacing/Kerning feature in the software which can be found under Text Style. Once I was satisfied with the kerning, I welded the name together. 


I grouped all of the images. Because the vinyl was going on the underside of the glass, I had to flip the image. 

I cut out the image and applied it to the cutting board. I must note, I cleaned the cutting board prior to applying the vinyl to ensure good contact of the vinyl to the glass. This is very durable and should last the recipient for years to come. 


I hope you enjoyed today’s project! I look forward to share the next project. Until next time, be safe, have fun and CREATE!! Kenya~

January 16, 2014

Birch Tree And Deer Silohouette - Masculine NoteCards

Hello Crafty Friends!

Donna Lee here with StampinNScrapinWithDonnaLee here today!  Thank's Sheila for having me over.

Nature is one of my favorite places to go to pray, meditate, and work out. At work we received a Christmas card from a vendor that had a couple of deer in a forest of birch trees. I loved it and wanted to try and make some general note cards using the idea of birch trees and deer. These cards are great for men or women, but I always need men cards, so I am making up a few different ones to have handy.

I was blessed to get a Silhouette Portrait over the recent holidays and while I was waiting for it to arrive I watched quite a few tutorials on You Tube and on the Silhouette America website. I saw many videos where they found images on Google and were able to use the trace feature to make a stamp or to simply cut the image. I made some basic notes on 3X5 index cards to use when my machine showed up.

Once I received the Portrait and got it set up, I made a quick birthday card for my Grandson using the trace feature and some simple images of Autobots and Rescue Bots that I found using Google Image search for his party that falls on Christmas Eve. He loves the Rescue Bots cartoons and I knew he would recognize this emblem of the Autobot.  It was easy to trace and reassemble on this card.


Here is the inside of his card with the Optimus Prime image I located using Google image search and was able to trace and cut. You can size it perfect to your card or project and I love that! I also appreciate that its a free image and I will only use it for my personal use.

After having played with several images and using different features on the trace window for practice, I was ready to tackle something with a little more detail.

I went out to Google and searched for birch tree deer and then clicked on images. This is the image that most closely matched my inspiration card.

It took me about 10 minutes to get this traced to my satisfaction and then I was ready to cut my layers using two different colors of 80# card stock.

I used just one side of the cut from my cocoa card stock to mount on a turquoise piece of card stock. The colors are not right in these photos so I apologize. It looks good with the kraft card base that is an A2 size and the turquoise mat is cut at 4X5.25. I am going to do this cut again using a silver foil paper on top of a brilliant blue mat and I think the contrast will be even better. 

I love the look of using silhouette images on cards that are based on nature. Here's a look at my cuts for my 2nd card. 

You can see I used some very narrow pieces of 3D foam tape to create that extra dimension on the card.


I layered the lighter natural colored card stock cut just off set about 1/16th of an inch to create a shadow. I also used some chalk ink to distress the trees and a red marker to color the bird.


Making the frame was really easy on the Silhouette. Again, I used 3D Foam Tape from Close To My Heart to pop it up to meet the height of my trees and deer. The tape comes with two widths in the pack which is really nice for those thinner cuts.


It's easy to group and ungroup an image on the Silhouette so that you only cut what you need. To be honest I was worried about learning the ins and outs of a new machine, but I love it and have been able to figure most things out pretty quickly. 

I am working on cutting a stencil of another image of birch trees and birds, so I will share that in the near future. I want to do a little more mixed media, so stencils are something I need to be able to make.


Thank you for stopping by my Stampin N Scrapin studio today! Check back again soon for more projects! 

Blessings and Peace!
Donna Lee

July 10, 2013

New Stand Card-Oval

Hi crafty friends :)
I am sharing this post here and on my own blog Adele's Creations

Today I'd like to share another stand card I made using Silhouette Studio DE.

I have been asked by many of my UK friends to make more of these style cards, so here goes :)


Here is what is in the file


I used a Hunkydory topper in mine but you could easily put a photo in it :)
The back has a solid area to fit your sentiment on to.

For anyone who would like this Studio file, you can get it HERE
Please remember to leave a comment if you download this file :)

Thanks for stopping by today
Thanks Sheila :)
That's it for another month, see you then :)

Happy Crafting :)

Hugs


June 12, 2013

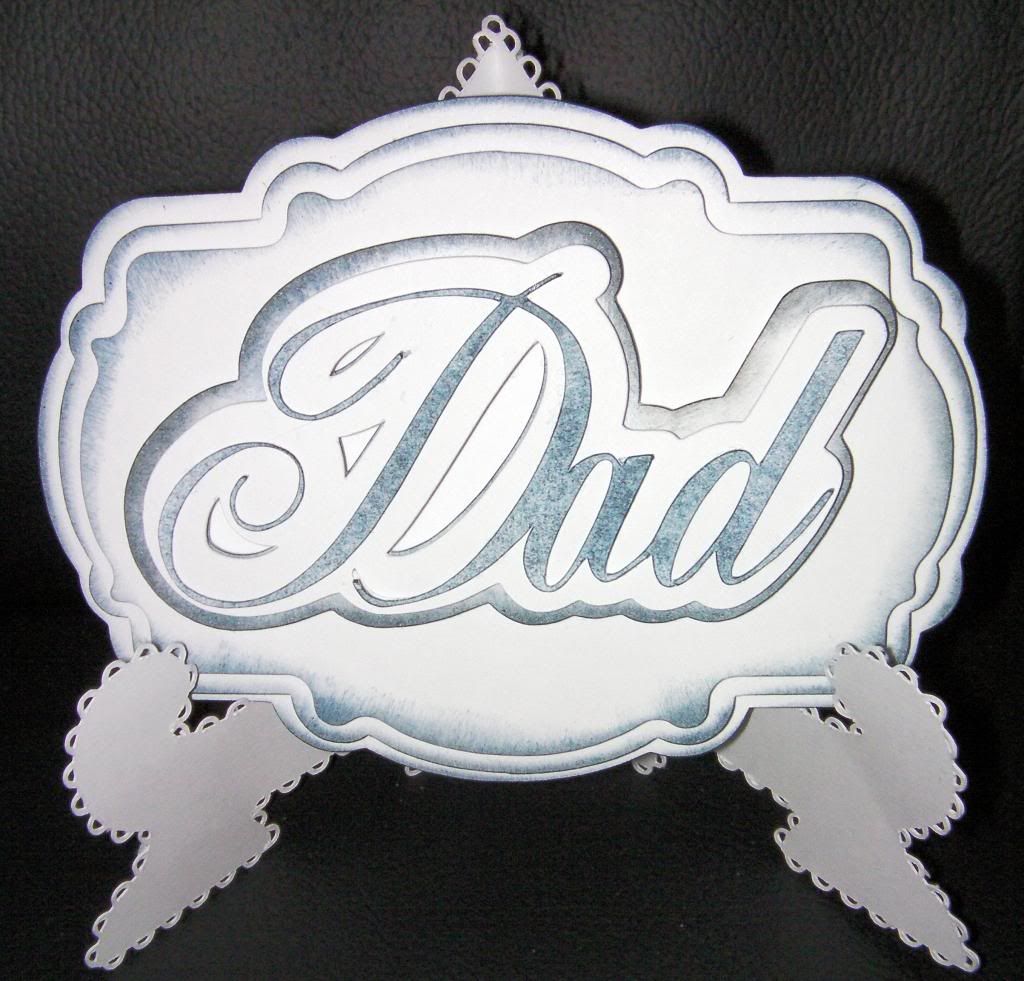
Dad Plaque

Hi Crafty Friends :)
Today I am sharing my Studio project with you here and at my own blog Adele's Creation's

This project is a small Dad plaque, I lost my Dad back in 1979, I know many of you will be in the same situation come Father's day, so on his Birthday & on Father's Day, I display my little plaque, this way I still get to honour his memory as a Father :)


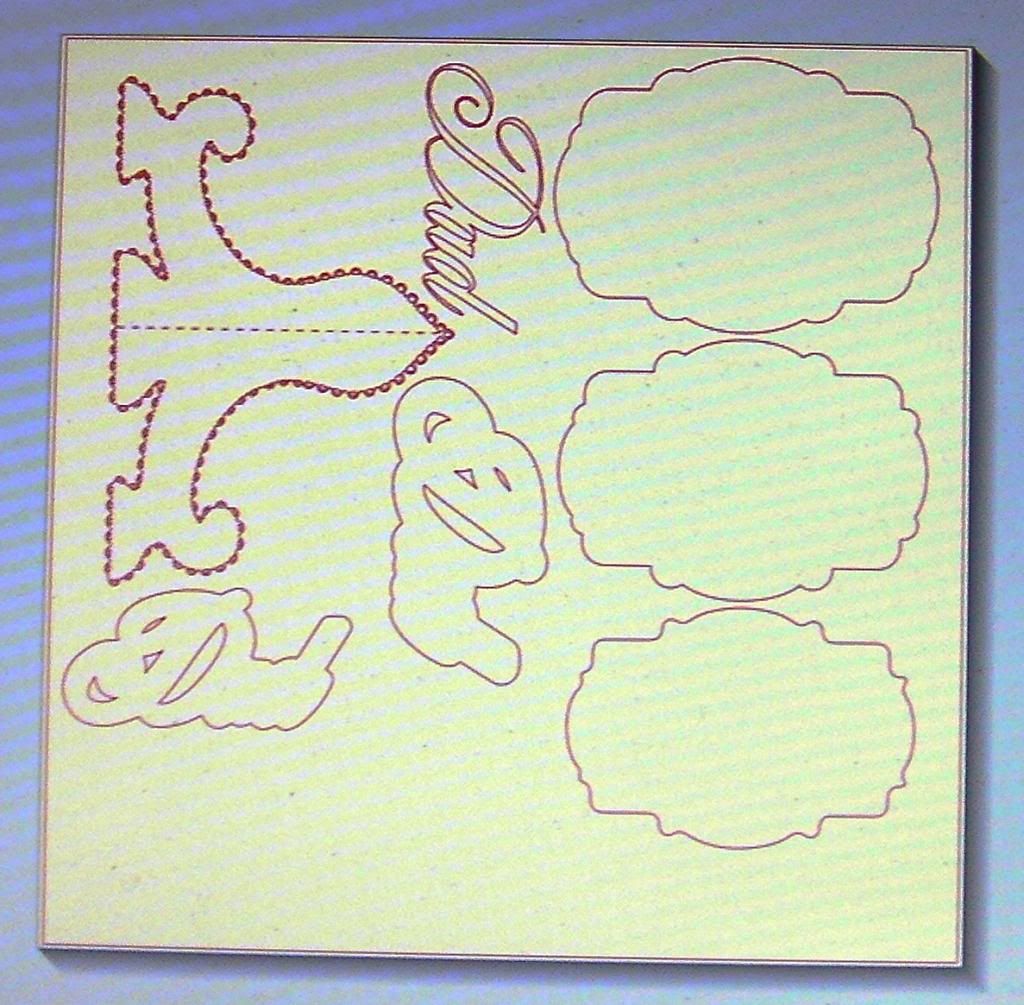
This is what is in the file


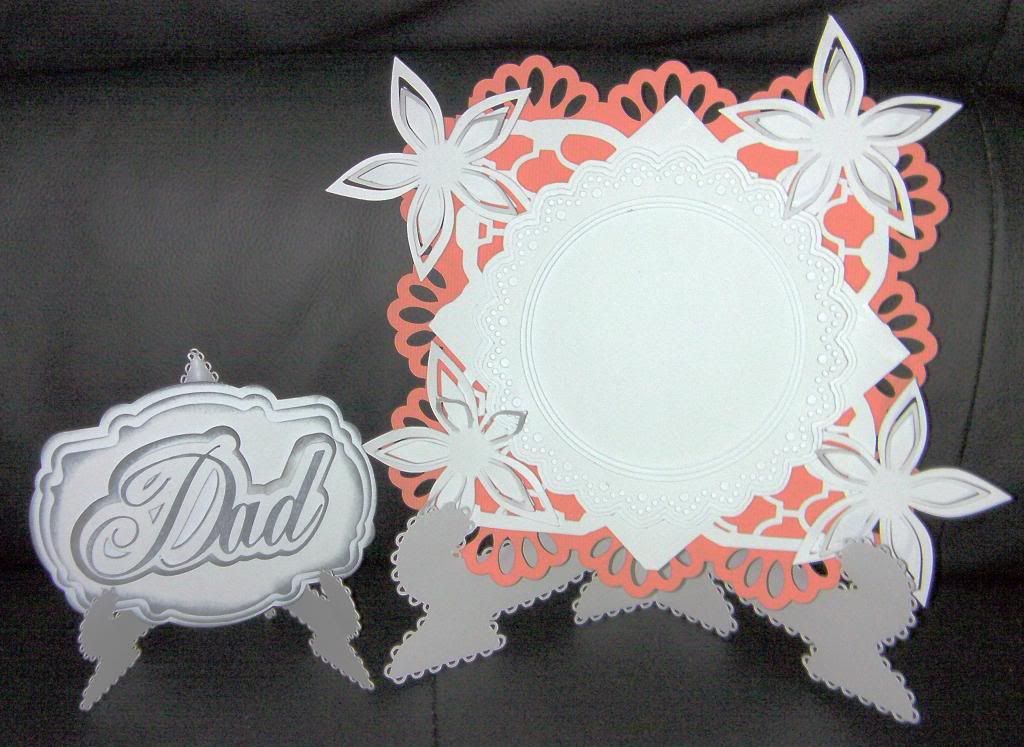
You can see the size comparison in this next picture


The plaque measures 5"x3.75" without the stand

If you would like this Studio file you can get it HERE

Thanks for stopping by today and thank you Sheila for allowing me to share my project :)

Happy Crafting everyone :)

Hugs

Adele

May 8, 2013

Sympathy Card

Hi Crafty Friends :)
Today is my day to share with you here and at my own blog Adele's Creation's
Sadly I had to make a Sympathy Card for my dear Nieces, my Sister-In-Law died aged 49 on 1st May, very suddenly, after being told the tragic news last week she only had a few weeks to live.

I used my Silhouette Cameo to cut my design, though parts were bought pieces from the Silhouette online store for speed.

My card base is 6"x4.25"

This a screen shot of what I cut, though didn't use some I just wanted to fill up my card stock.


This is a screen shot of the parts I made myself, these are available for free download at the end of this post.


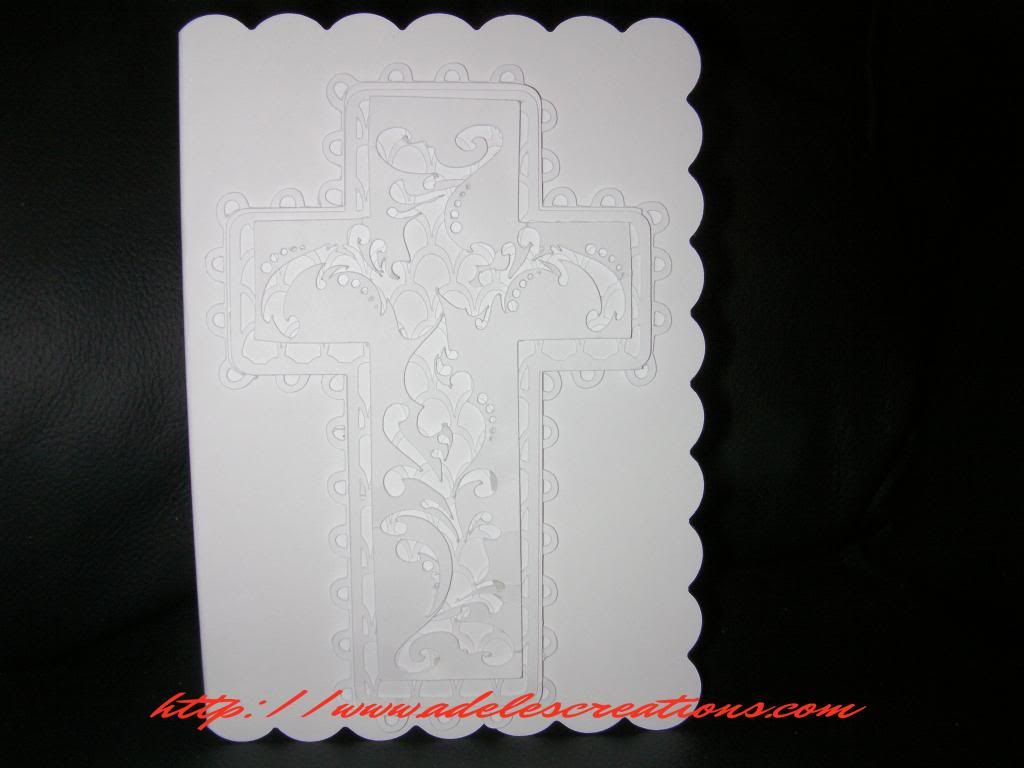
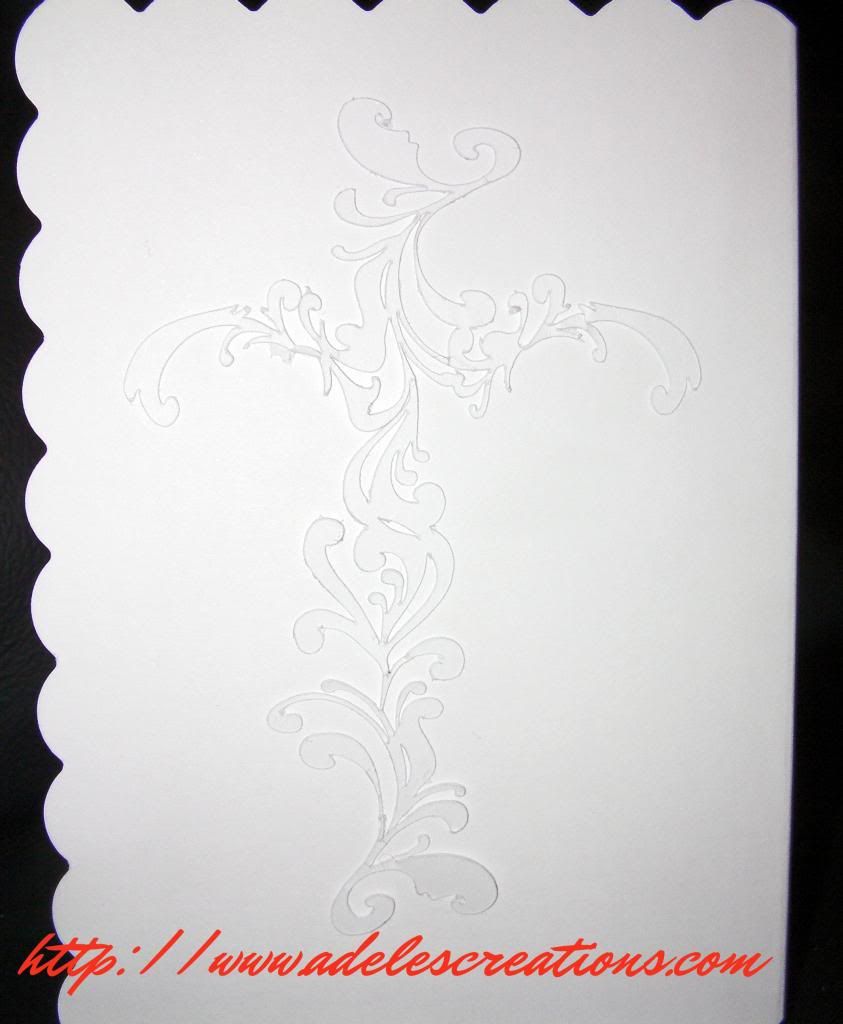
This is the back of the card, using the cut-out element from the Store bought cross.


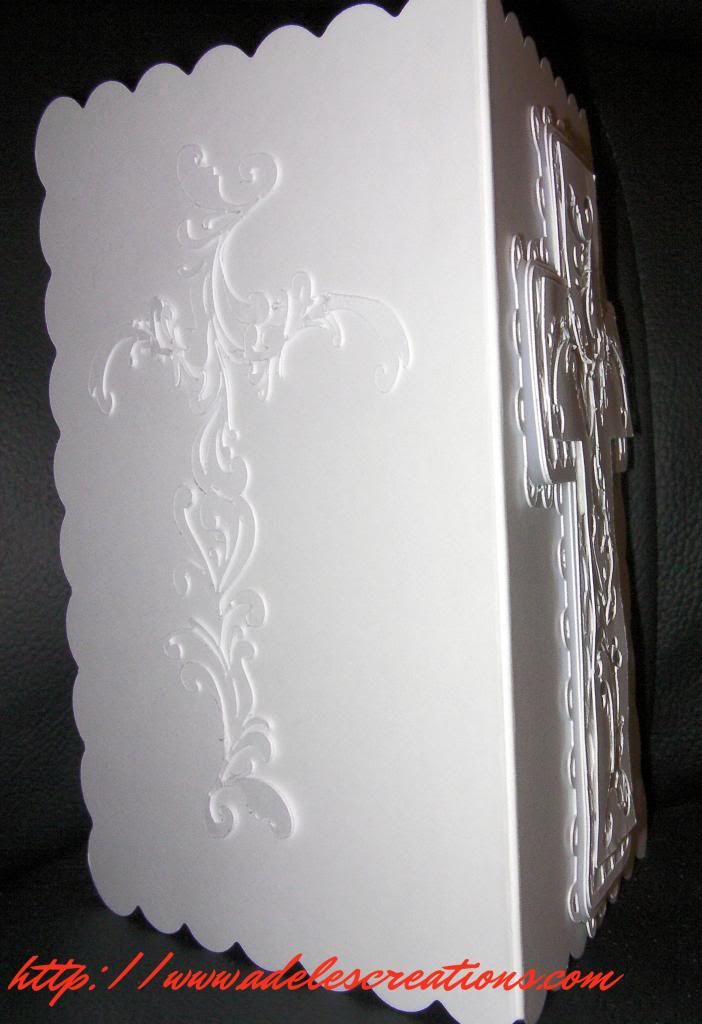
Here is a side view, as you can see, all the cross layers are mounted using foam tape or glue pen.


Well that's it for this month, thank you Sheila for having me :)
If you would like the lattice and scallop part to the cross you can download it HERE

Happy crafting :)
Hugs
Adele

April 10, 2013

Heart Butterfly Card

Hi Crafty Friends. 
Adele here to share another project with you here and on my own blog Adele's Creation's

I designed a card using Studio to create a heart with a butterfly 


This is another intricate design so a new blade and mat would be useful
The card measures 6" x 4.5"
I used a silk card to cut this design, it is heavy weight card stock but oh so pretty in real life.


Above is the screen shot of the design in letter size, so SD user's can cut this too


I tried to take a picture showing the dimension of the butterfly a little better


Sorry my pictures are bad :(

If you would like this Studio file you can get it HERE

Thanks Sheila for having me again this month

Happy crafting

See you next month

Hugs

Adele

March 13, 2013

St. Patricks Day Card

Hi Crafty Friends :)

Today I get to share with you here and at Adele's Creations

I decided to make a St. Patrick's Day card
This design was made from scratch using Studio and my Cameo


I have 2 designs for this card base, the one above and also a print & cut element


They both look great 

If you would like the file foer these cards you can get it HERE

Thanks for stopping by today and thank you Sheila for allowing me to share with your followers :)
until next month

Happy Crafting

Hugs

Adele

October 10, 2012

Cameo Warlock Root Box

Hi crafty friends :)
It's Adele here to share my monthly design team project :)

Today I have a Cameo project to share with you, sadly my Imagine died and that was my fifth :(.
As there are no more to replace it with, I am forced to use my Cameo exclusively until I can find another Cricut machine :(
So onto my project.

This box from Lori Whitlock is on the Silhouette America's site for $0.99, it's just perfect for holding my treat's inside.
I made a matching card which I will share the file at the end of this post.


The card stands at 4.5" tall, the box is 6.75"
Taking the warlock root element and the bottle front from the studio cut file, I was able to match the card  with the box, easy right !!


Everything came together quickly, so I'm a happy chappie, as I have a few of these to make :)

The card I used for the box was Bazzill basic 12x12.
For the matching card, I used Centura Pearl (Crafters Compnion) this is really heavy pearl coated card stock, it is about the same weight as thin chipboard and is 300gsm, I use this card a lot for box envelopes and the like, luckily my Brother A3 printer takes this heavy card to print, you obviously can use what ever card weight your printer can manage :)


If you would like the Studio File you can get it  HERE

Thanks for allowing me to share my monthly DT project here Sheila :)

Happy Crafting :)

Hugs

Adele

May 30, 2012

3D Shelf Card

Hi Crafter's :)

Good Day, Adele here from Adele's Cricut Creations and today I am sharing my 3D Shelf Card with you here at She's A Sassy Lady.

I created this card after receiving over 400 requests for the Template from last year


I used my Imagine & Baby Boutique for this card, after printing 2 12x12 sheet's of white paper in 2 BB patterns
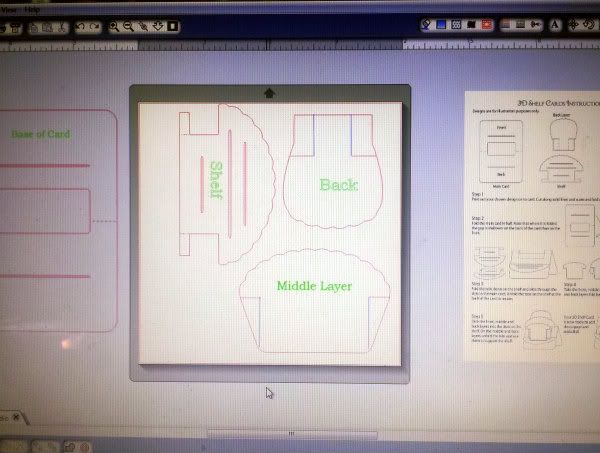
I used my Template to cut out the shapes I need (this time I used my Silhouette to cut the shapes out)

Here is the Template in JPeg format
Here is the Studio File


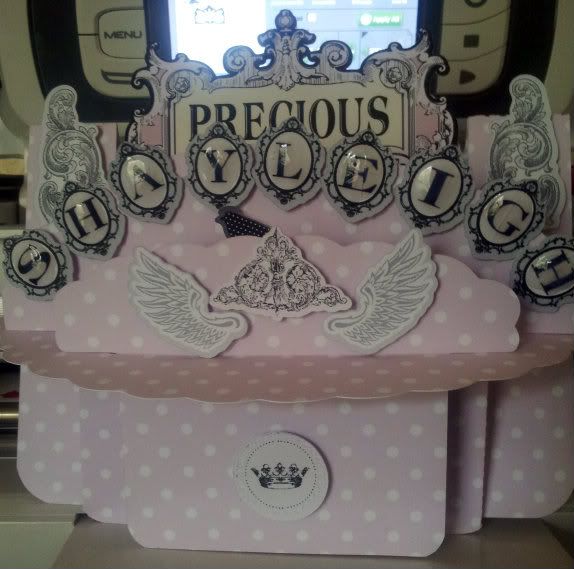
After cutting the shapes from my 2 BB printed paper I added the embellishments below


Precious was cut at 2.5", all the rest were cut at 1"


I added glossy accents to the letters for added shine :)

I hope you enjoyed my 3D Shelf Card.

Thank you Sheila for allowing me to share my project with you today :)

Happy Crafting

Hugs

Adele

May 20, 2012

Loony Tunes 3D TV

Hi Crafters,

Today is my turn to share on She's A Sassy Lady blog

For this project I wanted to make something quick for my youngest Grandaughter's 1st Birthday, as a lot of us have a Silhouette as well as our Cricuts' I decided to make this 3D TV from one of my many craft CD's


I have had my Silhouette for over 4 years and have accumulated literally hundreds of CD's to craft with :)
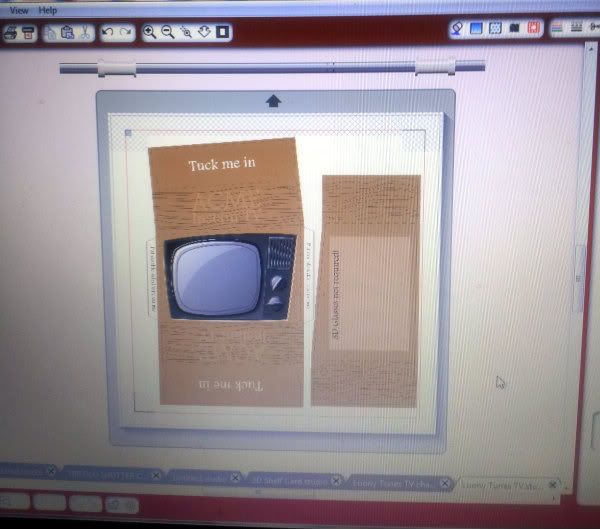
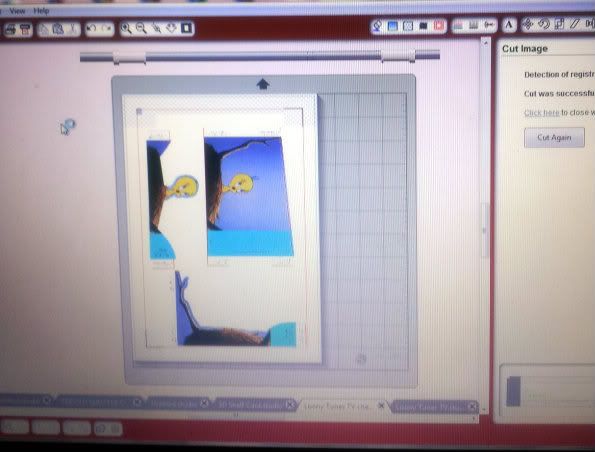
This one is from Loony Tunes and one of my favourites, just by importing the jpeg into the studio software I was able to print & cut with ease :)


Print this page on card stock

Print this page on paper as opposed to card


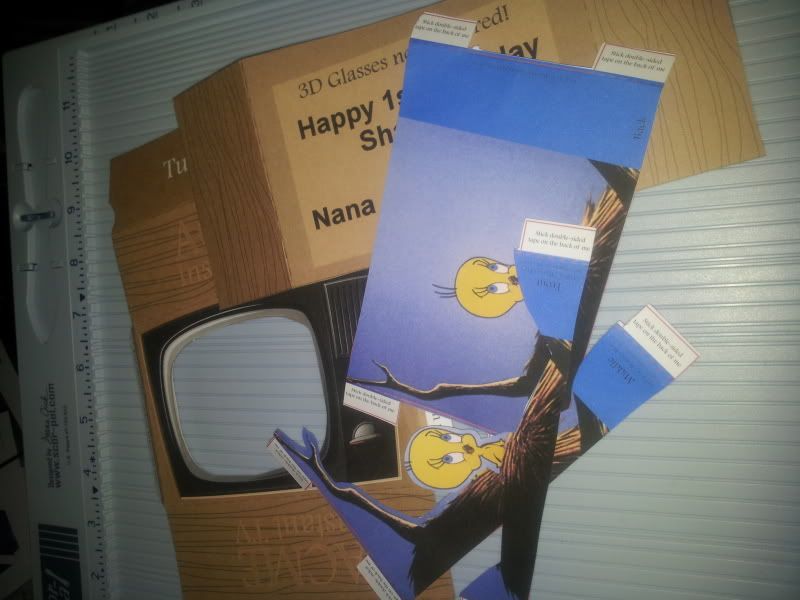
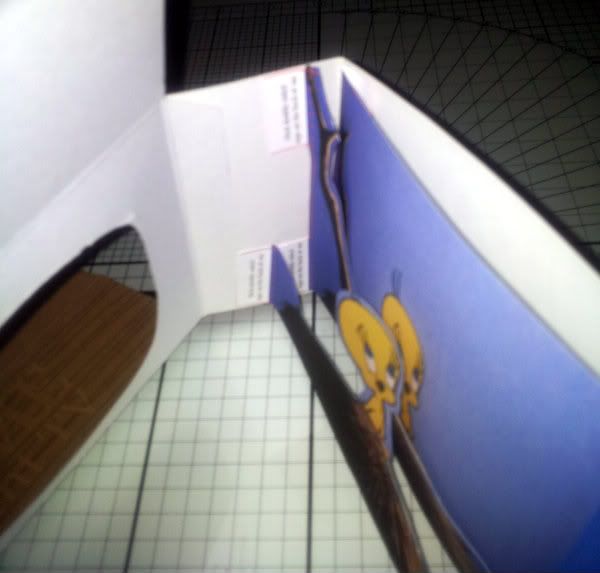
The next step is to put it together, again very easy as all the instructions are printed on the pieces.


The spacing of the pieces need to be like the picture below

I left a gap at the front to add acetate, you don't need to do this and can space your pieces better to suit your needs.


I have added the Studio file HERE if you would like it

Thank you Sheila for allowing me to share my project with you all today :)

Happy Crafting

Hugs

Adele