October 16, 2012

Waterfalls and Butterflies

Hi everyone, its Karon from Karon's Krafty Korner and my turn this month to be here to share with you.

I have decided to do a waterfall card, I have been meaning to do one of these ever since I started back into card making earlier in the year.


You will need to start off with an 8.5" by 11" piece of card stock.  Cut this in half, along the long edge, so that you end up with a piece measuring 8.5" by 5.5" and when folded a 5.5" by 4.25" card base.

My first two layers are cut at 5 3/8" by 4 1/8" and 5 2/8" by 4".  You can go ahead and stick these two layers together, do not stick them to you card base yet!


I stamped my four images (from a Recollections stamps set) onto four pieces of white card stock.  Each piece measuring 1 7/8" square.  I used blue ink to stamp the images and ink the edges of all the pieces of card.  Then I backed each of the images with a 2" square, in my yellow card stock.


Now we are going to form the waterfall element of the card.

You will need a piece of card stock 8.5" by 2".  You will score the this piece at the 1.75", 2.5", 3.25" and 4" marks.  (I used yellow for the card)


Before we assemble this next part, you will also need a piece of card stock to use as a band to hold the waterfall in place.  This is to measure 4" by 1".

In order to get the placement of your waterfall band correct, place your waterfall card stock on your card, note the long end when folded (from the 4" fold mark - place this at the top of your top layer) is on the bottom under the band and the shorter at the front of the band.  Lets secure the band with brads, before we continue.


(The base of my band was approximately 1.5" from the bottom.)


Slot the long side of your waterfall behind the band, you only need to secure the front of the waterfall to the front of the band.  Like so.


Next you now need to secure all your images to the folded edges.  Place the images, just under the score marks - this with let your waterfall move easier. Please note after positioning your first image, the rest of the images only need be secured with a little glue.


Now you can add the remaining images, remember secure them just below the the score line.


Now we need to add a little ribbon to the back of the waterfall feature, I used an eyelet to give a little extra strength and then added a little piece of rainbow ribbon.


Now you can secure this to your card base, and we are done.


You can pull the waterfall down using the ribbon.


I also decorated the inside of my card - I really do need to get used to doing this every time, it really finishes the card off.


I hope you have enjoyed this tutorial and were able to follow it:-)  Thanks Sheila for having me again this month.

Happy crafting.

October 15, 2012

Grave Robber

Hi Everyone Beth here from Thunderbirdlindybydesign, It has been a long busy summer, I have finally got a chance to get back into my craft room after several month's enjoying summer.  Thanks Sheila for allowing me to be a guest designer on Shesasassy lady.  I am hoping to be able to post more regular now, and I am keeping my fingers crossed. 

I decided to enter the Movable Monster/Frightful Affair contest on Cricut.com.


I got the idea for this when I was assembling the Movable Skeletons. I put one of their hands up in the air, and thought how fun to have one Skeleton robbing the other 2 in a graveyard. Maybe this is just my warped sense of humor, but I smile everytime I see the skeletons with their hands up in the air.

Anyway here are my instructions.

The Gypsy was used for the entire project.
I also used the following Carts
Movable Monsters
Frightful Affair
Art Deco
October 31
Old West
Ribbons and Rosettes

From the Movable Monsters Cart. I cut 3 skeletons and assembled them. The ribcage from one of the skeletons was 4.069, and I fit the other parts to that cut.
From Art Deco Cut the Hat and Coat sizing it to fit one of the skeletons. Old West was used for the gun cut @ 1.54. The Hearse was cut on a 12x24 mat. Cut 2 layers Black and one layer yellow. Cut several 3.5" x 11 inch strips of black paper and score .25 inches on each long side. Assemble on Black layer and one yellow layer for the hearse and adhere the scored 3.5x11 strips on the inside of the hearse around the edges. Adhere the other Black layer on the back so you create a 3D hearse.The Graveyard in the background is from a frightful affair, cut in a 12x24 mat. The words Grave Robber were cut from A frightful Affair @ 3.5. Cut the shadows also. From Ribbons and Rossette cut the spider Rosette sizing it to 2.5x11.62. You will need 24 of these, 2 for each Rosette. I put an oval frame under each assembled letter. Tomstones, Gargoyle, Fence, cat, moon, bats were cut from October 31. I place everything on the Mantel using strips of paper glued in a triangle shapes to make the Tomstones and the Gargoyles stand up.

Thanks again Sheila, it's good to be back, even if just intermittently.

Beth.

October 13, 2012

Christmas Tags Made The Old Fashioned Way

 
Good morning.... Sorry but I am away fro home this week... I went on a wonderful trip to Portland, Maine with my handsome hubby and we had the greatest time! But that didn't leave me any time to spend with my Cricut as I had to get back to work when I returned. Sooooooo... this week we are going to have a project that you can do with just paper, a 2 inch scallop punch, some stamps, ink and Zip Dry glue (or whatever your favorite is). You will also need a hole punch of some sort and string or twine for the cute little tags we will make.
Now I made 11 cute little tags on my lunch hour so just think how many you could do in a whole morning or afternoon.... probably enough for all your gifts this year! Oh don't forget to send me your tags so that I can feature them on the first Saturday in November..... Time is running out so get a tag in the mail to me today! (Sheila McShea, 3005 Stonecreek Trace, Helena, AL 35080)

First I used my Close To My Heart Scallop Punch (use what ever kind you have). I folded the paper so that I would have a card like look to the tag.


I turned the punch over so I could see what I was doing so that the tag would be strong at the top.... see the photo above.

After I had cut out the tags and a flat sheet to glue on the top so that the tag would be a circle I proceeded to stamp the parts.

I used my new Flakey Friends Stamp set from Close to my heart and stamped the little images on the plain scallop circle.
Then I used the Perfect Fit - Holidays stamp set and stamped the little HoHoHo on the inside of the folded scallop circle.

This is how that looked. Notice it still leaves plenty of room to place your to and sign your name on the tag.

I then used my colored pencils and colored all the little snowmen.... note I had fun with this as I don't get to color very often and I felt a great sense of accomplishment as it went so fast.... the good news was I didn't have to shade anything just color!

After I had all my little guys colored all I did was glue them to the base of the tag and waited a minute for them to dry.

Then I signed the back of each tag and dated them and punched a little hole to ready them for the twine or ribbon I was going to use....
I forgot that at home so I will have to finish this little project tonight! But I thought I better get this blog post ready as it is Friday and this is running in the morning.... See what happens when you are running behind!
 
 
I do have to tell you it was great just being able to create something.... It has been 3 weeks since I walked in my craft room to get supplies. The last time I was in there was to make the video to show you my Christmas papers and I still havent' put them away! I can't believe it is the end of October!
 
 
Oh well I will add the photos of the finished tags and I sure hope you like my little project. I know I am thrilled that I will have tags for the children's gifts and I was thrilled to be able to spend a little time with you!
 
 
Have a blessed day and thank you for joining me today. Thank you also for your sweet sweet words of encouragement. You comments brighten my day!

October 11, 2012

It's Movie Night!


Happy Thursday, everyone! It's my turn to share with everyone here and over at CRICUT IS CLOSE TO MY HEART ! I enjoy the chance to share with so many people! Today I decided to use my new Artiste cartridge for my project! If you thought that Art Philosophy was amazing - just wait until you see Artiste! There is so much packed into this cartridge - I LOVE, LOVE, LOVE it!!! If you don't already have a CTMH consultant, feel free to click HERE to go to my website to order either or both of the CTMH cartridges or any of the other awesome products that we have! Ok, commercial over, here is my completed project:


Here are the Artiste Cricut cuts and dimensions:
from pg. 67 - MOVIE NIGHT - 1.94"H
from pg. 67 - ticket with stub 1" H
from pg. 67 - film strip - stretched and rotated with my Gypsy to 8.82"W x 3.12"H
from pg. 77 - card front (yellow paper) 6.41"H

Now for some close-ups and more detail:
I started with a shelf from a paper cart that I had that broke. I have about 12 of these that I can use for various projects! I covered the shelf with paper from October Afternoon's Thrift Shop collection.

Partially completed. I think I picked a kind of busy background paper but it really looks better in person! The two cream-colored tickets and the pointing hand are stickers from the Thrift Shop collection, as well.

close-up of the film strip and the tickets

close-up of the titles

Just tied some twine around the corners for some added dimension


I attached this journal box with a temporary adhesive because I plan on laminating it before I permanently attach it. (I was out of laminating pouches when I went to put this together.) :-) That will allow us to write in and erase whenever we have a movie night!
I think it looks pretty cool hanging on my wall! I'm all ready for our next movie night!

Thanks for stopping by today! Have a creatively wonderful day!

Java Jen


October 10, 2012

Cameo Warlock Root Box

Hi crafty friends :)
It's Adele here to share my monthly design team project :)

Today I have a Cameo project to share with you, sadly my Imagine died and that was my fifth :(.
As there are no more to replace it with, I am forced to use my Cameo exclusively until I can find another Cricut machine :(
So onto my project.

This box from Lori Whitlock is on the Silhouette America's site for $0.99, it's just perfect for holding my treat's inside.
I made a matching card which I will share the file at the end of this post.


The card stands at 4.5" tall, the box is 6.75"
Taking the warlock root element and the bottle front from the studio cut file, I was able to match the card  with the box, easy right !!


Everything came together quickly, so I'm a happy chappie, as I have a few of these to make :)

The card I used for the box was Bazzill basic 12x12.
For the matching card, I used Centura Pearl (Crafters Compnion) this is really heavy pearl coated card stock, it is about the same weight as thin chipboard and is 300gsm, I use this card a lot for box envelopes and the like, luckily my Brother A3 printer takes this heavy card to print, you obviously can use what ever card weight your printer can manage :)


If you would like the Studio File you can get it  HERE

Thanks for allowing me to share my monthly DT project here Sheila :)

Happy Crafting :)

Hugs

Adele

October 9, 2012

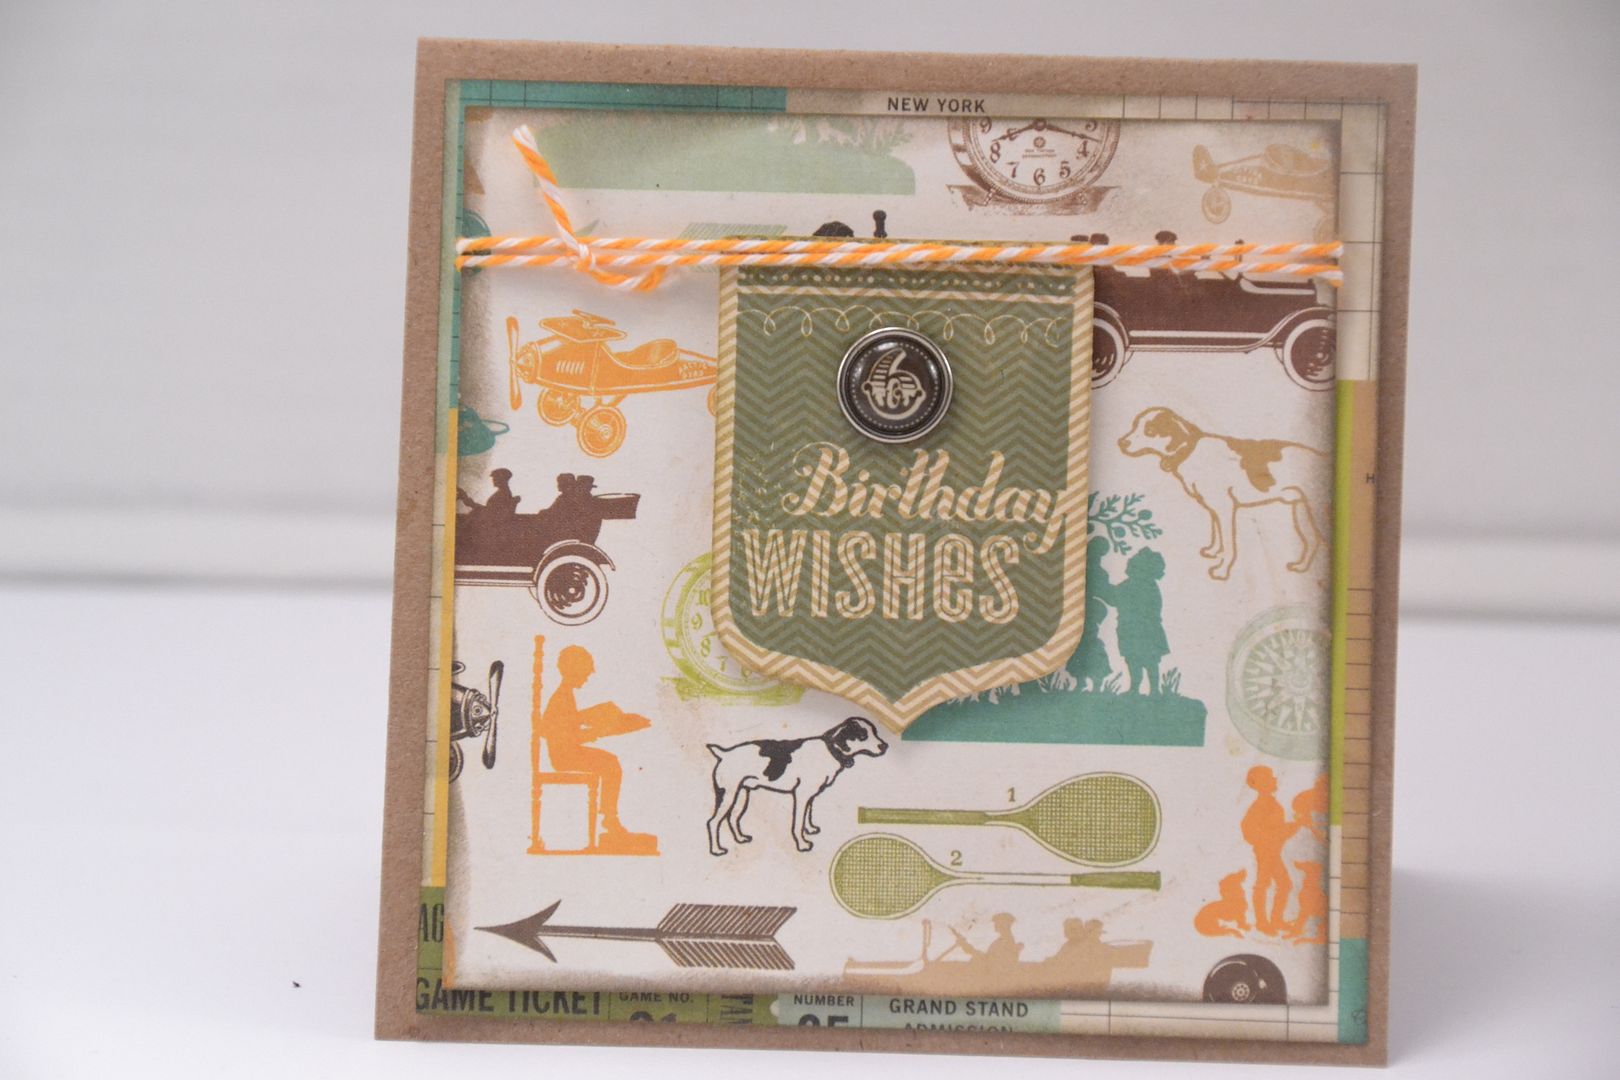
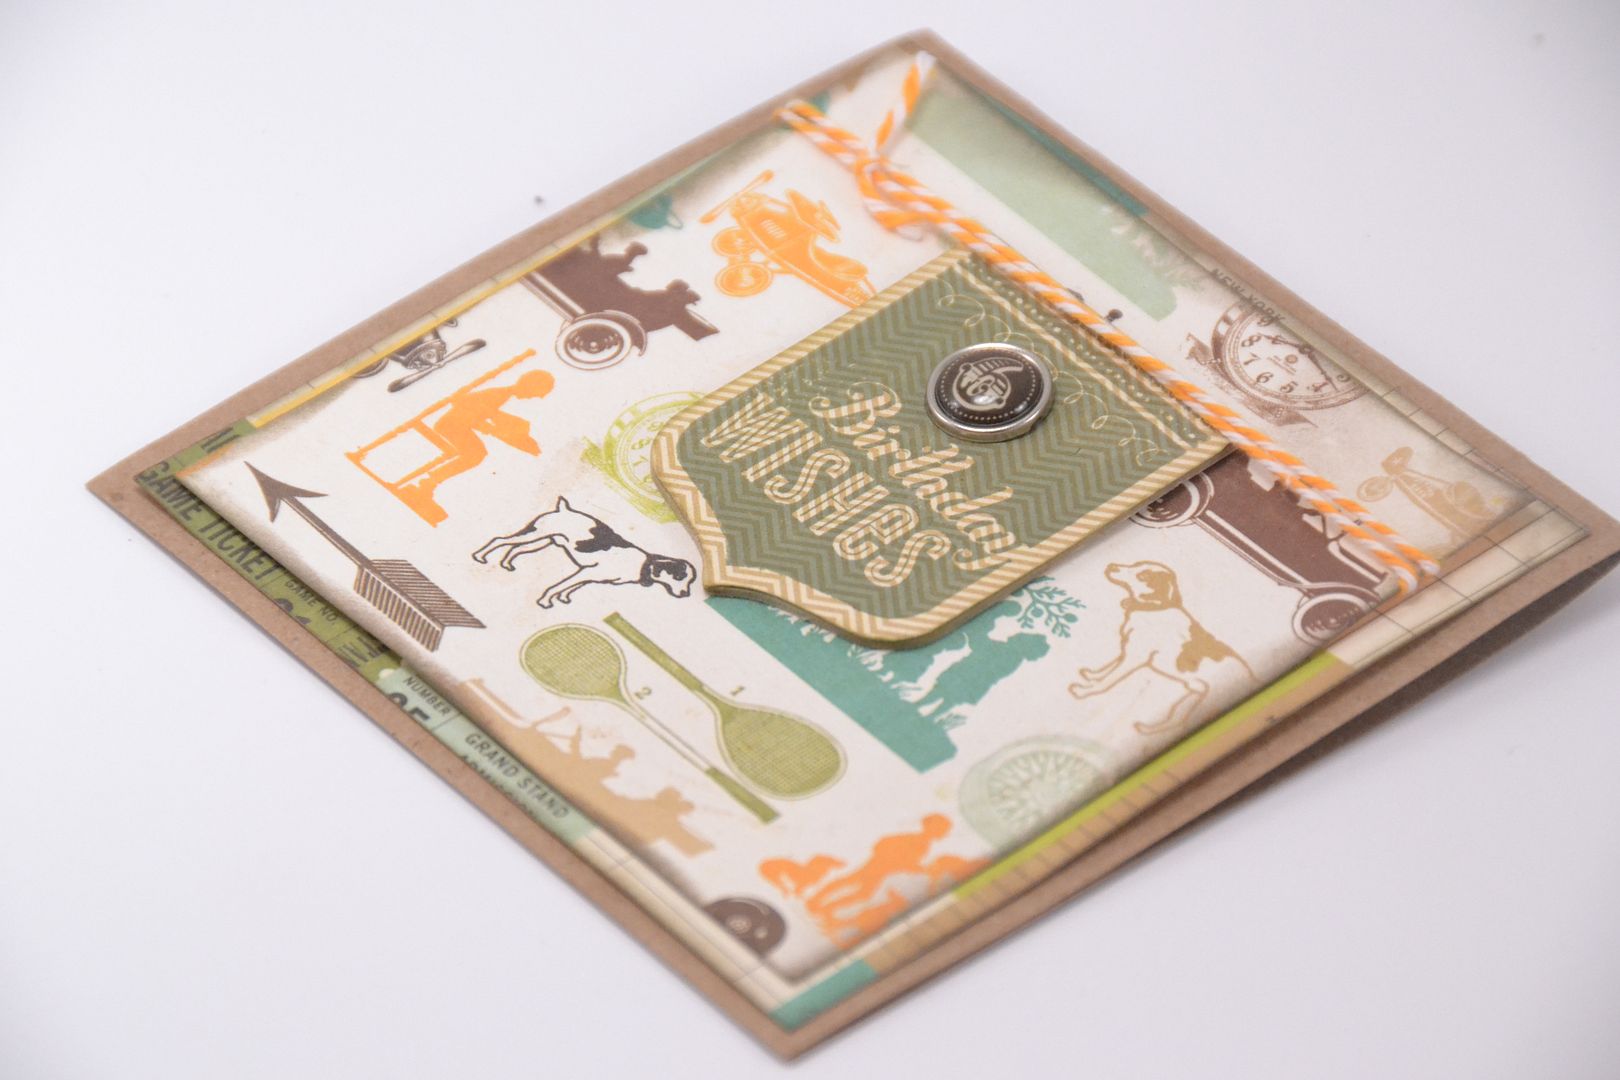
6 Birthday Wishes Card

Hi everyone! This is Elizabeth from 217 Creations. I suppose you can guess this card is for a 6 year old.  I made this card for my son Nicholas' birthday.  It's a quick and easy card but has a nice masculine feel.  The card is 4 by 4 with a kraft base.
The patterned paper is from Echo Park This and That 6 by 6 stack. The small banner on the card is from Close to My Heart.  These dimensional chipboard pieces are designed to work with the Cricut cartridge Artiste.  They also  coordinate with the stamp set that comes in the bundle.  Each stamp and chipboard piece is labeled with what size to cut the coordinating shape on your Cricut.  I stamped with Cocoa ink from CTMH. The small "6" brad is from Echo Park This and That decorative brad collection.  I hope you like my little card.  If you want more information on Artiste you can click on the labels to the side and see some more projects or you can order from HERE. 
As always thank you for leaving me comments and following us here at She's A Sassy Lady and on my personal blog at 217 Creations.