







July 13, 2013

Sympathy Card Using My Gypsy & Expression


Good morning, I am so happy to be back with you today and able to share with you... we had a great vacation and it is good to be home and back in my craft room. I can not believe how many Sympathy cards I have had to use as of late. So I decided I better replenish my stash because nothing is worse than stopping to make a card when you are an emotional mess.


I also decided that it was time that I used up some of my stacks that were almost finished as I have so much paper that I really need to use what I have on had before I purchase more and you know I like you am always ready to get more paper!


Now wasn't that easy. I used the Close To My Heart Art Philosophy cartridge for my base card along with Wild Card for the words and look how beautiful this turned out. Easy Peasy! And the cards are so pretty.

 
 This is a close up of the front of the card. I just love the cut and it gives you a little peek to the inside.
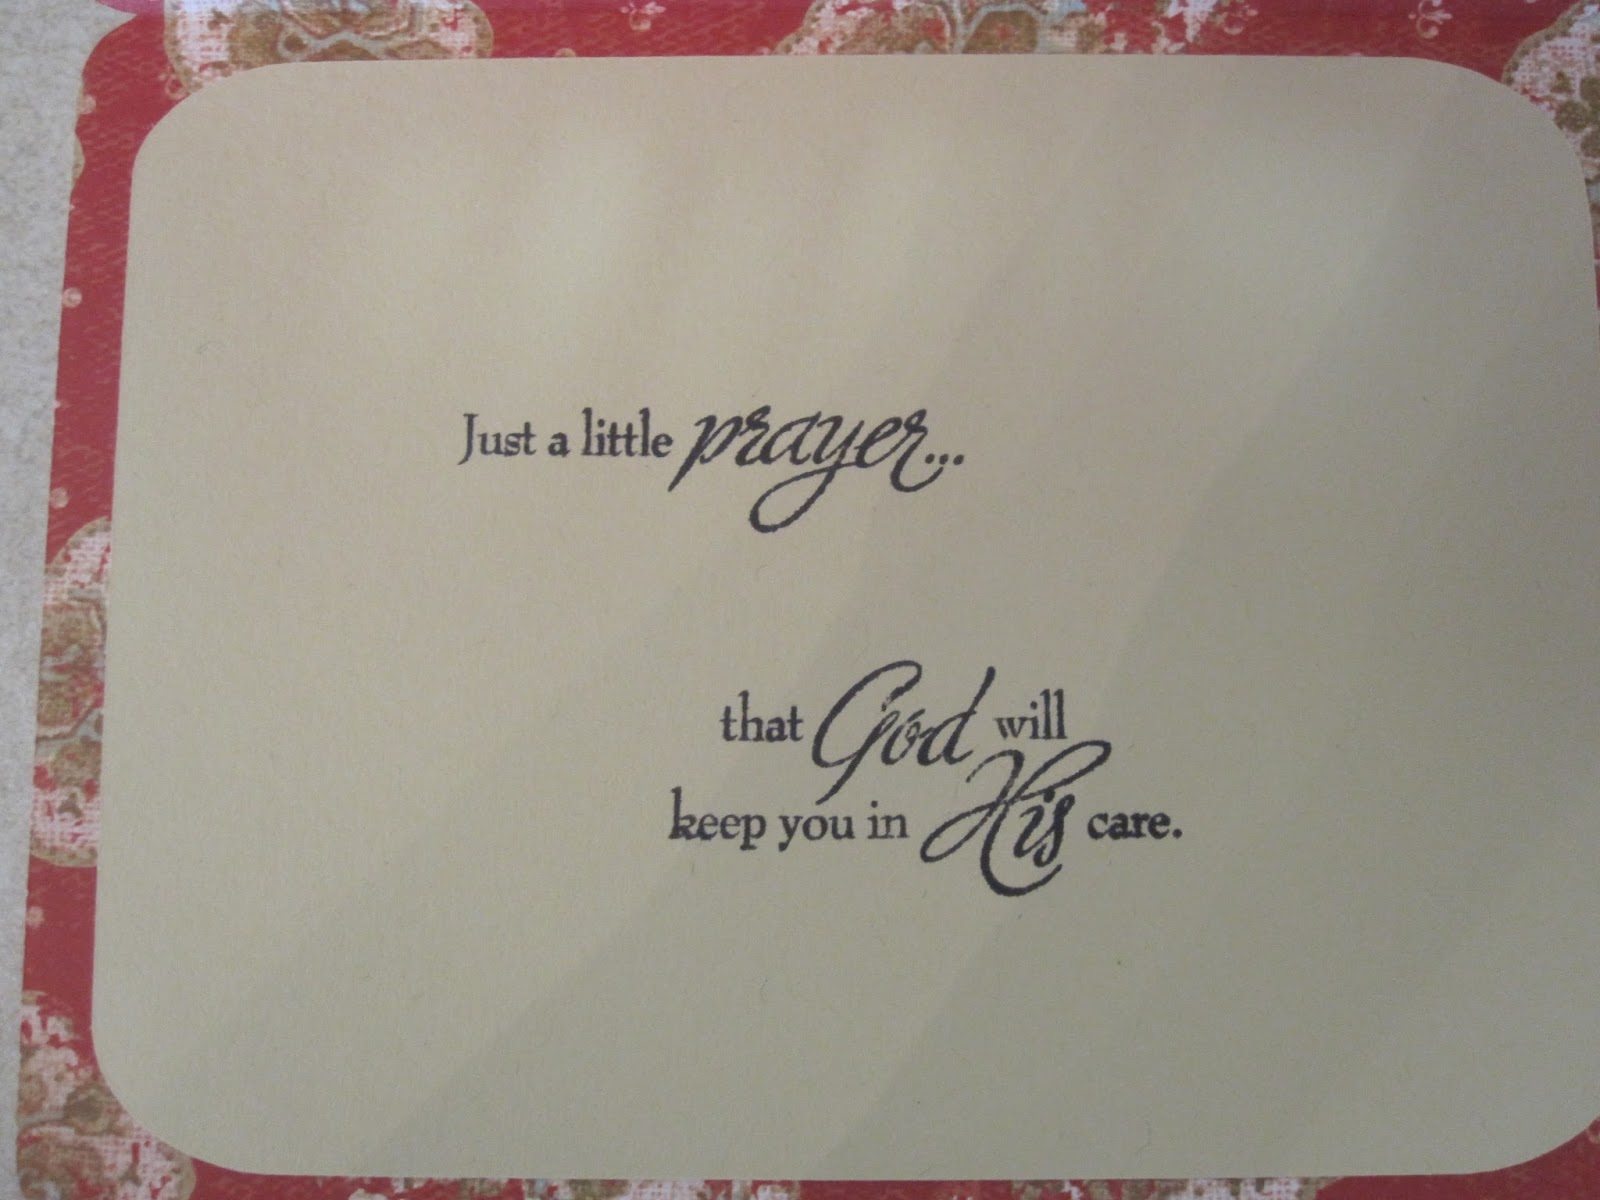

Here is the inside of the card. I used the CTMH Card Chatter-Sympathy stamp set and I just love this sentiment. There are many more to choose from but this is more like what I would say.
Well I hope you can use what I shared in today's post to make a few sympathy cards for your stash. I know it is a subject we would all like to forget but we can't. These cards are too often hard to make and these cards should give you a strong idea of where to start.
Thank you for joining us today and for your sweet sweet words of encouragement. Your comments inspire me to continue sharing with you. Have a blessed week.

July 12, 2013

Layered Card

Hello, this is Danita from danitasdesigns.blogspot.com
 
This is my project this month  for the  She's A Sassy Lady design team. I altered a card that I purchased from the Silhouette store and gave it a layered look.

I used a basic scalloped card from the Silhouette store. Here are the cut sizes I used to make this card.


This is the folder I used for embossing the layers.  It's the Anna Griffin "Poppy" folder.
 I added layers to give the card a more detailed look.


 Be sure to leave at last 1/4 inch at the top of the two smaller layers for gluing.

Finish the card by adding your favorite sentiment and embellishments.  Really simple!

Thanks for looking!!!

July 11, 2013

Happy 98th Birthday, Gma!

Hello everyone! Java Jen here from JAVA JEN CREATIONS and I am so excited to share some projects with you this month! Thank you, Sheila, for another opportunity!
Recently my Gma, (short for Grandma), turned 98 and we celebrated in grand style! I was in charge of the decorations and I had so much fun doing them! My Gma's sister turned 96 the day after her so we celebrated her too! I made a birthday banner, Chip Decor names and themed centerpieces.
I used the Country Life cartridge for the images in this centerpiece because it was perfect to represent her growing up years!

The main table that Gma and her sister Lucille sat at.

Close up of the banner made using Art Philosophy and Country Life.

Used the Hobby Lobby exclusive cartridge, Chip Decor to cover the Chip Decor letters.

Made this centerpiece using the Heritage and Country Life cartridges.

Gma and Aunt Lucille enjoying their cake and ice cream! 


Sorry for the glare in this pic but I used Create a Critter and Animal Kingdom for this centerpiece since Gma loves animals, namely cats! 

Thanks for stopping by today!


July 10, 2013

New Stand Card-Oval

Hi crafty friends :)
I am sharing this post here and on my own blog Adele's Creations

Today I'd like to share another stand card I made using Silhouette Studio DE.

I have been asked by many of my UK friends to make more of these style cards, so here goes :)


Here is what is in the file


I used a Hunkydory topper in mine but you could easily put a photo in it :)
The back has a solid area to fit your sentiment on to.

For anyone who would like this Studio file, you can get it HERE
Please remember to leave a comment if you download this file :)

Thanks for stopping by today
Thanks Sheila :)
That's it for another month, see you then :)

Happy Crafting :)

Hugs


July 9, 2013

Altered Butterfly Box

Hi everyone! This is Elizabeth from 217 Creations. Seriously I feel like I can't throw away great packaging lately. 
This is the before.  It is a wooden box that my Banana Republic Perfume came in.  

It has a magnetic full closure.
Here it is after I adhered Once Upon A Springtime from G45. 
The inside has moss from the floral department and a butterfly.  I am not sure where I place this.  Maybe I will give it to someone special.  But in the meantime, it is decorating my desk. Have a creative day!

July 8, 2013

Hush Little Baby


Hello again!  This is Melody again from A Splash Here and There blog.  Thank you Sheila for allowing me to share my projects with your blog readers once a month :).  Today's project is a baby shower card I created for a friend who is due to have her fifth boy in a couple of months.  This being her fifth child, in lieu of gifts, she had requested monetary donations to our kids' school (which she and her hubby matched) - I thought that was very cool!

This project was designed using the Silhouette Studio and all cuts were done using my Cameo.  The base of the card is called flourish frame single fold square card by Jamie Koay (Design ID #36826).  I used a square insert in white (to go behind the "window" of the card base) and embossed that with the Plum Blossom CB folder.  I sized a square to fit just inside the square in the middle of the card base and cut that in brown cardstock.  I then used the internal offset from that brown square to create a top layer, and inserted a digi stamp image of a baby and the moon by Polly Craft called Moon Lullaby.  I let the Silhouette Studio do the faux stitching on this top layer and wrote the sentiment "HUSH LITTLE BABY" in the Patchwork Letters font. Below is a screenshot of the top layer in the Silhouette Studio. 


I used the internal offset feature to create a personalized sentiment for the inside of the card using the fonts Coneria Script Demo, Fontdinerdotcom Sparkly, and Happy Sans.  I again let the Silhouette Studio do the faux stitching for me.  Below are the pieces to the card after cutting with the Cameo.

I normally print more than one image to allow for any coloring
mistakes. 
 
A close up of the embossed square and the top layer with the image.
 
I started assembling the card by attaching the embossed piece on the inside of the card, just behind the "window", using a Scotch liquid glue, then I attached a strip of sheer white ribbon down the left side of the front of the card and secured the ends of the ribbon on the inside of the card with Scotch tape. 


Then it was time for me to color the image for the top layer and the front sentiment.  I used Promarkers to achieve this task. After coloring I attached this top layer onto the brown piece to mat it (I used foam mounts for some dimension).  

 
I originally wanted to have the top layers centered on the square of the card base but decided to attach them a little offset.  I thought that was better.


To finish off the front I created the bow in the same sheer ribbon and attached a premade flower from a dollar pack I got from Michaels and some blue irock gems on the two corners. 


 I attached the inside sentiment too, making sure to cover the embossed layer and the tape holding the strip of ribbon.
 

Because the card is now very thick to fit in a regular envelope, I used the 3d cd box image by Jamie Cripps (Design ID #44960) to create a more roomy "envelope." 


To finish off the envelope I added some blue stars which were actually leftovers from another project a last week.


There you have it :).  Thanks again for stopping by and "see" you all again next month.







