December 13, 2012

Holiday Goodie Gable Box

Hello fellow crafters! Looks like we all survived 12/12/12! :-) Thank you, Sheila, for another opportunity to share a project with all of our fabulous readers! You can also view this project on my blog: JAVA JEN CREATIONS and over at CRICUT IS CLOSE TO MY HEART.

Today I chose to make a cute gable box from the Close to My Heart Artiste cartridge. If you don't already have a CTMH consultant, feel free to visit my website: www.ctmh.com/jenniebarger!


Here are the details:
This box is located on pg. 37 of the cartridge handbook and on pg. 7 in the instruction book.
I sized the box on my Gypsy at 4.41"H.
The tag is also on pg. 37 and is sized at 4"H.
Paper is from the Simple Stories Handmade Holiday Collection (which I LOVE!)
Megan Elizabeth Sparkle Lightz
"Merry & Bright" are cut from a clear overlay in the Simple Stories collection.

This collection might just be my favorite Holiday set!

Some views of the box in progress:


Ready to decorate

Love these Sparkle Lightz! They can be purchased at Above Rubies Studio.


All put together! I think this box would be great to gift some homemade candies!


Thanks for stopping by today! Take the time this season to enjoy your families and friends!

Have a blessed holiday season!

JAVA JEN


December 12, 2012

Santa Gift Card Holder

Hi Crafty Friends :)
Today I get to share my project with you here and at Adele's Creation's

Here is my project, a cute little gift card holder


For this card holder I used Teddy Bear Parade Cart, sizing the bear and accessories @ 3.236  relative.
Also, I used CTMH Artiste for the card holder base, sized @ 5.25 
If using single sided card like I did just cut this twice.


The sentiment on the back is one of my own stash elements I created on my other cutter :)


The inside is left blank at the moment as I'm not sure who is getting this one !!


This was really simple and quick to create & put together 


I have the cut files for both CCR & Gypsy if you would like them

CCR file HERE

Gypsy file HERE

Well that's it my friends, don't forget to stop by on the 15th for the Holiday Blog Hop at The BugBytes :)

Happy Crafting 

Hugs

December 11, 2012

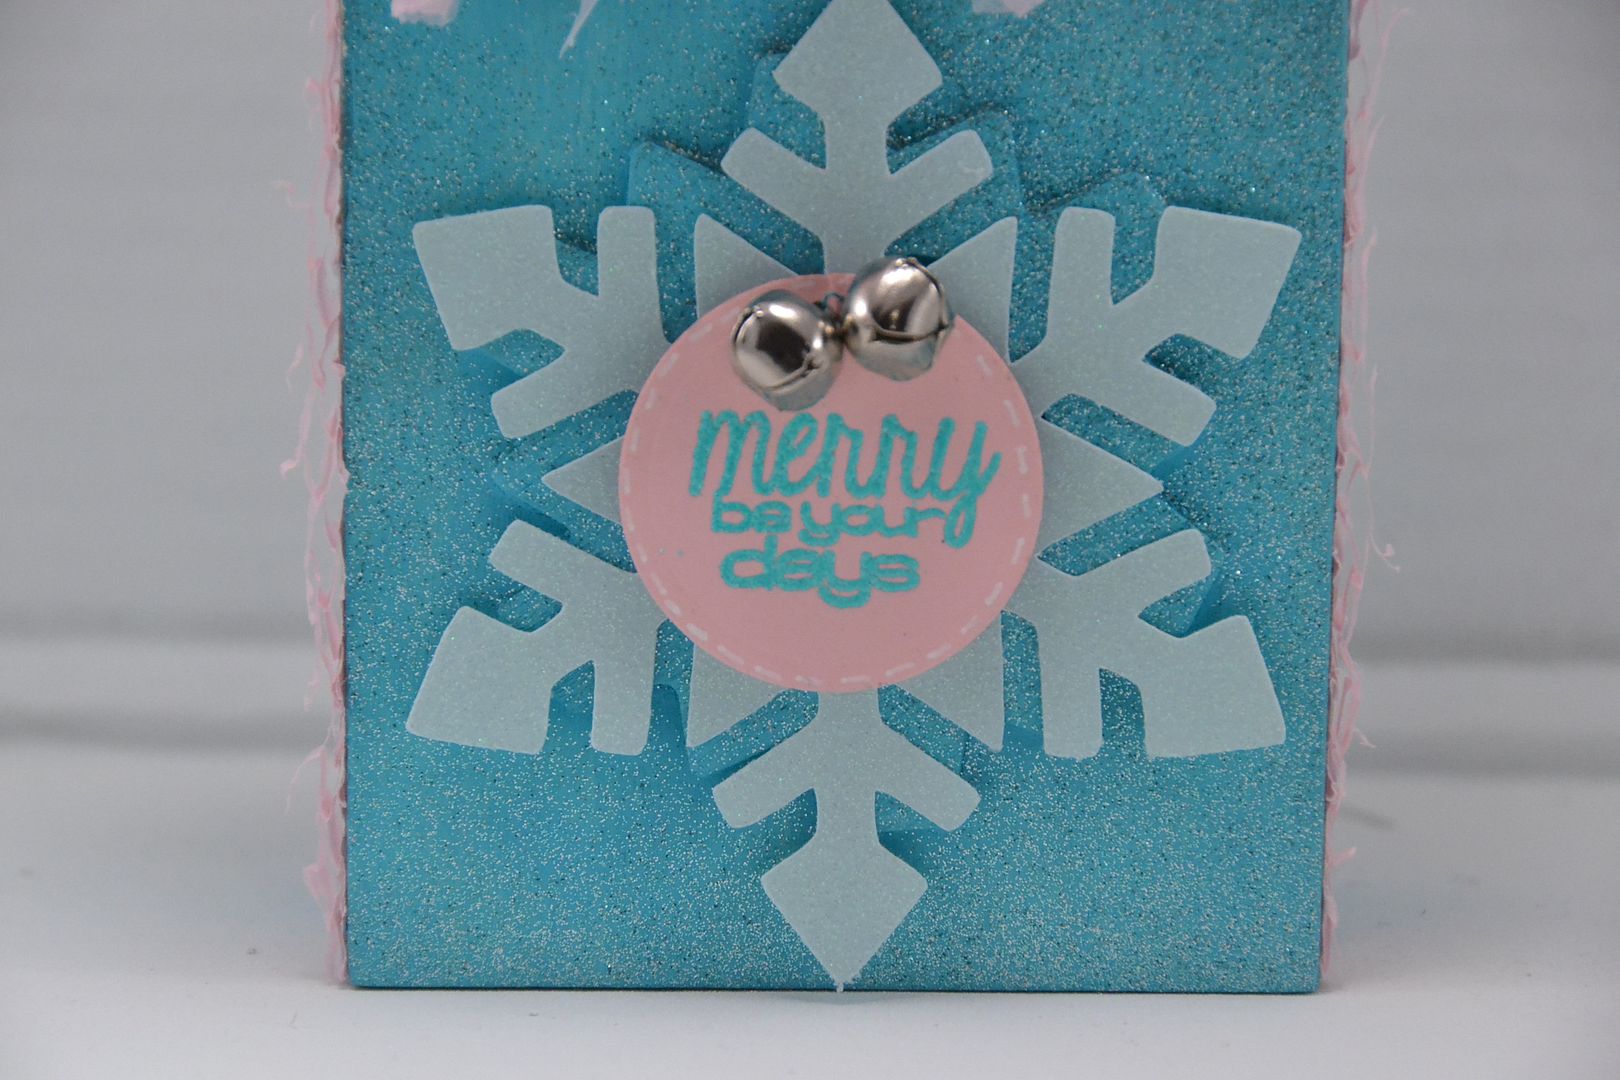
Merry Be Your Days Favor Box

Hi everyone! This is Elizabeth from 217 Creations. With holidays just around the corner I am trying to scramble to finish those odds and ends for gift giving- Teachers, Co-Workers, etc.  Today I am sharing with you a project that I made for the Pink By Design Blog Challenge- Non-Traditional Holiday Colors.   I used an unfinished wood box from the dollar bin at Michaels.  When I went on Sunday they were half off so I only paid 50 cents for this box. 
I painted with acrylic paint and then spray pianted with Krylon Glitter Blast in Sparkling Waters to add major blingage.  Then I used Inky Antics Honeycomb paper and cut out the edging for the sides.
 Next I used Melissa Frances Tissue Paper Garland for the top of the box.  I drilled small holes for the ribbon to make a handle.
Finally I added my snowflake from Winter Lace Cricut Cartridge and a tag cut from Spellbinders.  The tag is stamped with Merry Be Your Days using American crafts Zing Embossing Powder.
I think this box is just darling to give with a gift card for someone. you could even put small gift items like jewelry inside.  My nieces will probably fight over who gets this, so I may have to make another.
As always thank you for leaving comments and subscribing here at She's A Sassy Lady and on my personal blog at 217 Creations, 
Have a Happy Holidays and see you in the New Year!

December 10, 2012

Blog Candy!

Hello my crafty friends!  This is Kimberly (My Craft Spot).  This will be my last DT day here at She's a Sassy Lady.  Thanks so much, Sheila, for letting me be a part of your awesome blog!!

 Instead of a project this month, I decided to host a give away!

Blog Candy:  One stamp set of YOUR CHOICE from My Craft Spot!


All you have to do to enter is leave a comment on this post letting us know what your favorite MCS Stamp Set is.  How easy is that?!  Click HERE to see them all!

Here are some fun Christmas cards made with sentiment stamps and metal dies from My Craft Spot:


**Sheila will announce the winner on Wednesday, December 12th!

Happy crafting!


December 9, 2012

A Little Gift For Someone You Care For

 Every year I have a heard time coming up with a little special something to make for all the people that I care for but don't really exchange with.... You know the list; teachers, co-workers, Sunday School leaders, neighbors just to name a few. You can't spend a lot of money but you want to make sure these people know you care and are thinking of them for Christmas. This year I purchased these great little tins at the Paper Mart and put together this great little gift.


Now wasn't that easy. And there is an unlimited number to papers and designs you could use as sell as goodies to place in the inside of each little tin. All you need to do is get some candy and paper a little adhesive and you are good to go.

Here is the tin that I had a hard time with there was just so much glitter on the paper that the little papers did not want to stick to the candy wrappers.... I used regular tape and that seemed to hold.
Here is the patterned paper with the Ho Ho Ho stamp, it turned out so cute. I jsut love the papers don't you?


The red looked so dramatic and looked very cute with the glittery sleighs on the paper, and don't you love the contrast with the white snowflake heat embossed on that tag?
This is a photo is of the three colors that I made. They all looked so nice. Now all I have to do is wrap them.
Thanks for joining us today, I hope you enjoyed my little gift idea. Thank you for your sweet sweet words of encouragement. You comments inspire me to continue sharing with you.

December 8, 2012

Creating a Layer from a Card


I first want to thank Sheila for this incredible opportunity to share with you a technique I recently learned.  My name is Charlotte (Charlotte C. as a follower on blogs) and I don't have a blog, so this is really an experiment for me and hopefully I'll make myself understandable.  Several cartridges have a card feature and often we just want the front as a layer either on our own card or in our scrapbook or for a gift bag, etc.  Instead of creating and cutting a whole card and then cutting off the back, try this on your Gypsy (or, further below, the Cricut Craft Room).  I've used A Child's Year for these examples.

Size the card on your mat so that the front is the size you want the finished layer to be.  Then hide the outline of the card as well as the score marks. It's important to do this step at this time. Now create a rectangle somewhere on the mat sized to fit over just the front of the card.  You may have to unlink between the width and height to adjust.  Your mat will look like this (card is 5.5 in height).


Now place the rectangle over the card front and group the card and rectangle together.  Go to the advanced tab, click the weld button, and when you preview you should see what looks like this. 


When you cut, you will only get what you see in red on your mat, which is just the front of the original card.  Note:  If you size your original card too large to fit a rectangle on the same mat, you can always create your rectangle on a separate layer, then cut and paste it over the card.

If you do this in the Cricut Craft Room, here's what you will see as your first step.


This is what the screen looks like when you hide the outline of the card. In CCR it doesn't appear you have to hide the score marks; they seem to disappear with the outline.  Once you've hidden the outline, click the "exit" that appears on the mat.  That brings you back to the original screen.


When you place your rectangle in position over the card, it automatically welds and this is what you will see.


Here are two examples of fronts that I've cut. 


And a finished card.  I cut Merry Christmas twice and layered it together to give it some dimension.  Unfortunately, pearl and glitter papers aren't showing up properly.

I hope you see several opportunities to use these as I do, and once again I can't thank Sheila, our Gypsy lady, enough for allowing me the honor of guest posting here.  My wishes to all for a blessed holiday season.