June 7, 2010

Bicycle Easel Card

Hi Again! I am LORI and I am once again a Guest Designer for Sassy!! Seems like I was just here...that is because I was just here Friday! So glad to be back!!

My Gypsy is still not back from her "spa" visit, so I switched my focus a bit for this project. I was on youtube watching some videos from www.splitcoaststampers.com and was intrigued. I usually don't make cards, but the Easel Card and Tri-Fold card looked fun so I gave them a try! My easel card was a bit more Sassy than the other, so here is what I made!


This easel card is 4 1/2 x 8 1/2 for the base with a 4 1/2 x 4 1/2 front. Click HERE for the link to the video.

I got to try out my brand new Martha Stewart score board!


Once I made the card base, I needed an image to put on it. This is the difficult part for me! I wanted to use my new Independence Day cartridge and I really liked the bicycle. I did not necessarily want this card to be a holiday card, so I used pink and purple instead of red and blue.

I totally guessed at what size would fit the card and I got lucky on my first guess. Now, if I had my Gypsy, I would have been able to size the bicycle on a 4 1/2 x 4 1/2 square. I cut a white bicycle at 2 inches. I then cut a black bicycle at 2 inches. Call me weird, but I wanted the tires black!!


I cut off the black streamers and then glued the black bike on top of the white bike.

I cut two layers at 2 inches, one in metallic silver and one in pink.


Once I assembled the layers on the bike, it was still missing something. I dug out my stickles and pink gemes and Sassified!

As the stickles was drying, I found some girly paper (not easy for a mom of all boys) and cut it 4 1/4 x 4 1/4. I used some paper left over from a K&co. paper pack I bought for Valentine's Day.


I took a scrap piece of blue (the same color as the card) and stamped on it with a stamp from InkaDinkaDo ~ Thoughts for the Day set. I found this set at Michaels and got it on sale and used an extra 15% off coupon on Monday (score).


I put the sentiment on the card and added a gem for the dot on the i. I used pop dots to raise the bicycle up and stuck it down "pop-a-wheelie" style! I put some gems on the bottom of the card to hold it upright.

The card is sitting on my craft table, and everytime I look at it I like it more!


Thanks again for having me on your blog Sassy!! It is always such an honor!

June 4, 2010

Flippin' With Flowers


Hello Again!! My name is Lori Apgar and I am honored to be back as a Sassy Designer!! For those of you who don't know, my Gypsy screen cracked last week and I have been a little lost without her! Thankfully, I completed this project before she cracked!!

I wanted to try cutting fabric with my Cricut, and with summer right around the corner I thought this would be a great time mix my project with some summerwear!


I bought some fat quarters from Michaels and Wal-Mart as well as used some left over fabric that I already had. I picked up some hot pink flip flops and a visor from Michaels. My original color scheme was hot pink and zebra stripe. Well, the zebra stripes looked too chunky once the fabric was cut into small flowers. I changed out the hot pink for the orange flowered fabric. Lucky for me, I work at Michaels and was able to pick up another pair of flip flops and a visor in white!!


Cutting fabric is a bit tricky when you don't have a ton of patience like me! I almost quit more than once, but I do have a stubborn streak as well!

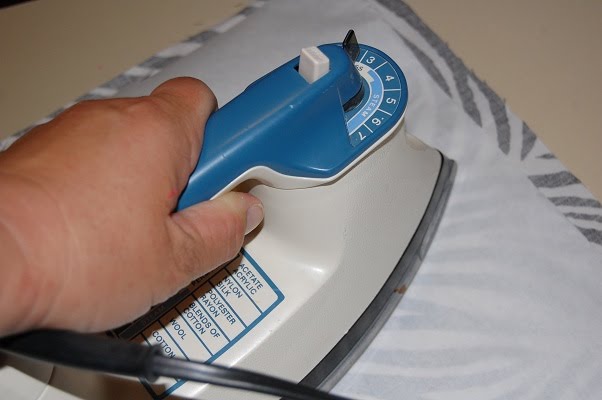
The first thing you need to do is iron Heat and Bond (or something similar) to your fabric. This will stiffen up your fabric and make it easier to cut. I did iron my fabric first to get out the wrinkles, then ironed on the Heat and Bond. My friend uses a heavy duty iron on paper, but this is all I found at Michaels. Next time I will seek out something more Heavy Duty!!


Following the directions on the package, place the paper side up (shiny side towards the fabric) and iron to the wrong side of the fabric. Do not peel off the paper until after you cut the fabric.


You should use a new blade and a new mat. My friend also recommends using painter's tape to tape the fabric down to the mat. This helps keep the fabric tight across the mat. I did not have painter's tape handy, so I tried scotch tape. It did not really seem to help much and it did not come off the edge of the mat easy.


I used Plantin Schoolbook for my flower shape and made four different sizes of flowers. The pink fabric cut the best as it was a pretty thick fabric I used to make drapes for my daycare with. You can see here the orange flowers did not cut well. I used scissors to snip the parts that did not cut through all the way. I did peel off the paper backing once I removed the flowers from the mat.


Once cut, I had a difficult time getting my flowers to have some texture. I tried running them through the crimper, but that did not do much. Crumpling does not work with fabric like it does with paper ~ that would have been too easy!!

I decided to poke two extra holes (one on either side of the middle hole) and gather the flower a bit. I used my Cricut dental tool for this and it worked like a charm. I only poked my finger once!! I used the biggest brad I had and poked it into the bottom hole, back up through the middle hole and down into the top hole to gather the layers together. I did this one layer at a time. I couldn't take a photo as I needed both hands and did not have a helper handy!


I glued a rhinestone on each flower. I used Tacky Tape to glue the flowers to the flip flops.

I made a third flower with the extra pieces and glued it to my visor with a glue dot.


So here you have a nice flowery pair of flip flops and visor!! This project was a bit frustrating, but I am glad I stuck with it! I will be giving away this pair of flip flops and visor on my BLOG.

Thanks again, Sassy, for having me on your blog!!

June 3, 2010

Sassy Gift Box - MyaMagoo Style

This is such a wonderful project and I guarantee you will want to make this little box over and over again. What a wonderful way to present a gift. My thanks to our very own MyaMagoo for this design at Design~Create~Inspire. My work scheduled me with no days off for this week and last other than Sunday. This left me with many projects to complete and not enough time...  I asked, and Crystal came to the rescue with her very own Hexagon Box. And it cut perfectly! All you need to cut this design is GW, PS and AE. I used Heritage for the Cameo for my design and Forever Young for the hat which I used as a gift tag. This gives it a look of a ladies hat box.
This is the design and I have touched the preview button so you can see how it is actually going to cut while allowing you to see the complete design. (Note: if you download this file just be sure to delete the cart letters on the top left or they will  cut too.) I knew by looking at the design this would cut perfectly so I didn't even try a test cut!
All I did was add a Cameo and the Hat and it was ready to cut... I didn't even save that as I figured what ever the occasion, whom ever the receiver the art or decorations will change for that person.
Aren't these papers yummy? Hobby Lobby has wonderful designer paper for $1.99 per sheet that is just awesome.... be sure to buy when on sale or you have a coupon.
This is a very important step in this project... scoring. You really need to take the time to score properly for this design to come together perfectly. After you score be sure to fold and crease the edge as shown so it comes together with clean crisp edges.
See how every side edge is folded and ready.
Then I did the Hexagon. Take it slow and concentrarte. There are no score lines as you really don't need them. Just score from edge to edge on each flap, as shown below.
Now I used a heavy glitter paper so I recommend Zip Dry Glue for that, your ATG tape will not hold on glitter paper... I tried, it will not hold.
Do the same process for your lid but before glueing together be sure to add any decorations on the lid while you can still lie it flat. Then place glue on the edges and bring up the sides. Because my top was mainly paper I put it together first and let it dry. Then after I put the bottom together I placed the lid on it to hold in place while it dried. Make sure you don't have any excess glue from the bottom touching the lid though or you will not be able to get them apart.
I used the Zip Dry to adhere the cameo to the lid?
It looks so pretty and feminine.
See how nicely it fits together.
I made the tag from the Forever Young cart, 2 pieces glued together with a little feather in between.
And of course the little hat will fit nicely in the box. I cut it from the scrap edges while cutting the box base.
Added a little flower and it was good to go.
Don't you just love this little box? So easy, less than 5 minutes to cut and only about a 30 to 45 minutes to put together.
I want to thank Crystal aka MyaMagoo at Design~Create~Inspire for rescuing me and allowing me to share with all our Tuesday Treats and ShesASassyLady followers the opportunity to not only see for the first time this awesome box but to actually have a copy of this Magoo Hexagon Box Gypsy File!!! You are awesome MyaMagoo and I feel privledged to have presented one of your designs. Thank you for that opportunity!
MyFreeCopyright.com Registered & Protected
I am always encouraged by your sweet - sweet words. Your comments inspire me to keep scrapping and sharing things with you and that goes for both Crystal and myself!
signature

June 2, 2010

Altered Fun for the Kitchen


 (Please note that this project has been selected for publication. 
Photos and tutorial info will appear back on the blog once it's published)

 Hello everyone! My name is Angi with Cokie Pop Paper and I am one of the new design team members with She's a Sassy Lady! I'm so happy to share my project with you all today!

One of my favorite things to do is to make altered projects. I love to take something ordinary and transform it into something cute and useful.

I hope you enjoyed my tutorial. This is a fun and easy project for anyone that loves to design with their Cricut.
Also, be sure to visit She's a Sassy Lady and Cokie Pop Paper
for more fun tutorials.

Have a Creative Day!
Angi

June 1, 2010

Cute As A Button

Isn't this adorable! I am 3 weeks late on the SOUS Challenge with this layout, but I don't care!!!! Their button challenge was the inspiration for this layout. This is also a qualfier for Frosted Designs Button Challenge. This is our little Gavin and he is a hoot. I think he is going to be the class clown or grow up to be a comedian! He looks you right in the eye and says... "HaHaHa" and as soon as you laugh he just cracks up with laughter! We were waiting for dinner to be put on the table and he was as happy as could be with his little HaHaHa.
This is my layout.... it sure doesn't get easier that this does it? Cut twice and ready to go.
I had so much fun with this layout and tried to keep it as fun as Gavin. Buttons are kind of fun to work with as they come in almost every color size and shape. I just used what I had on hand.


The papers are from DCWV, the Cafe stack. After I started cutting I added the orange page from another DCWV stack. I really think the orange mad the page pop.
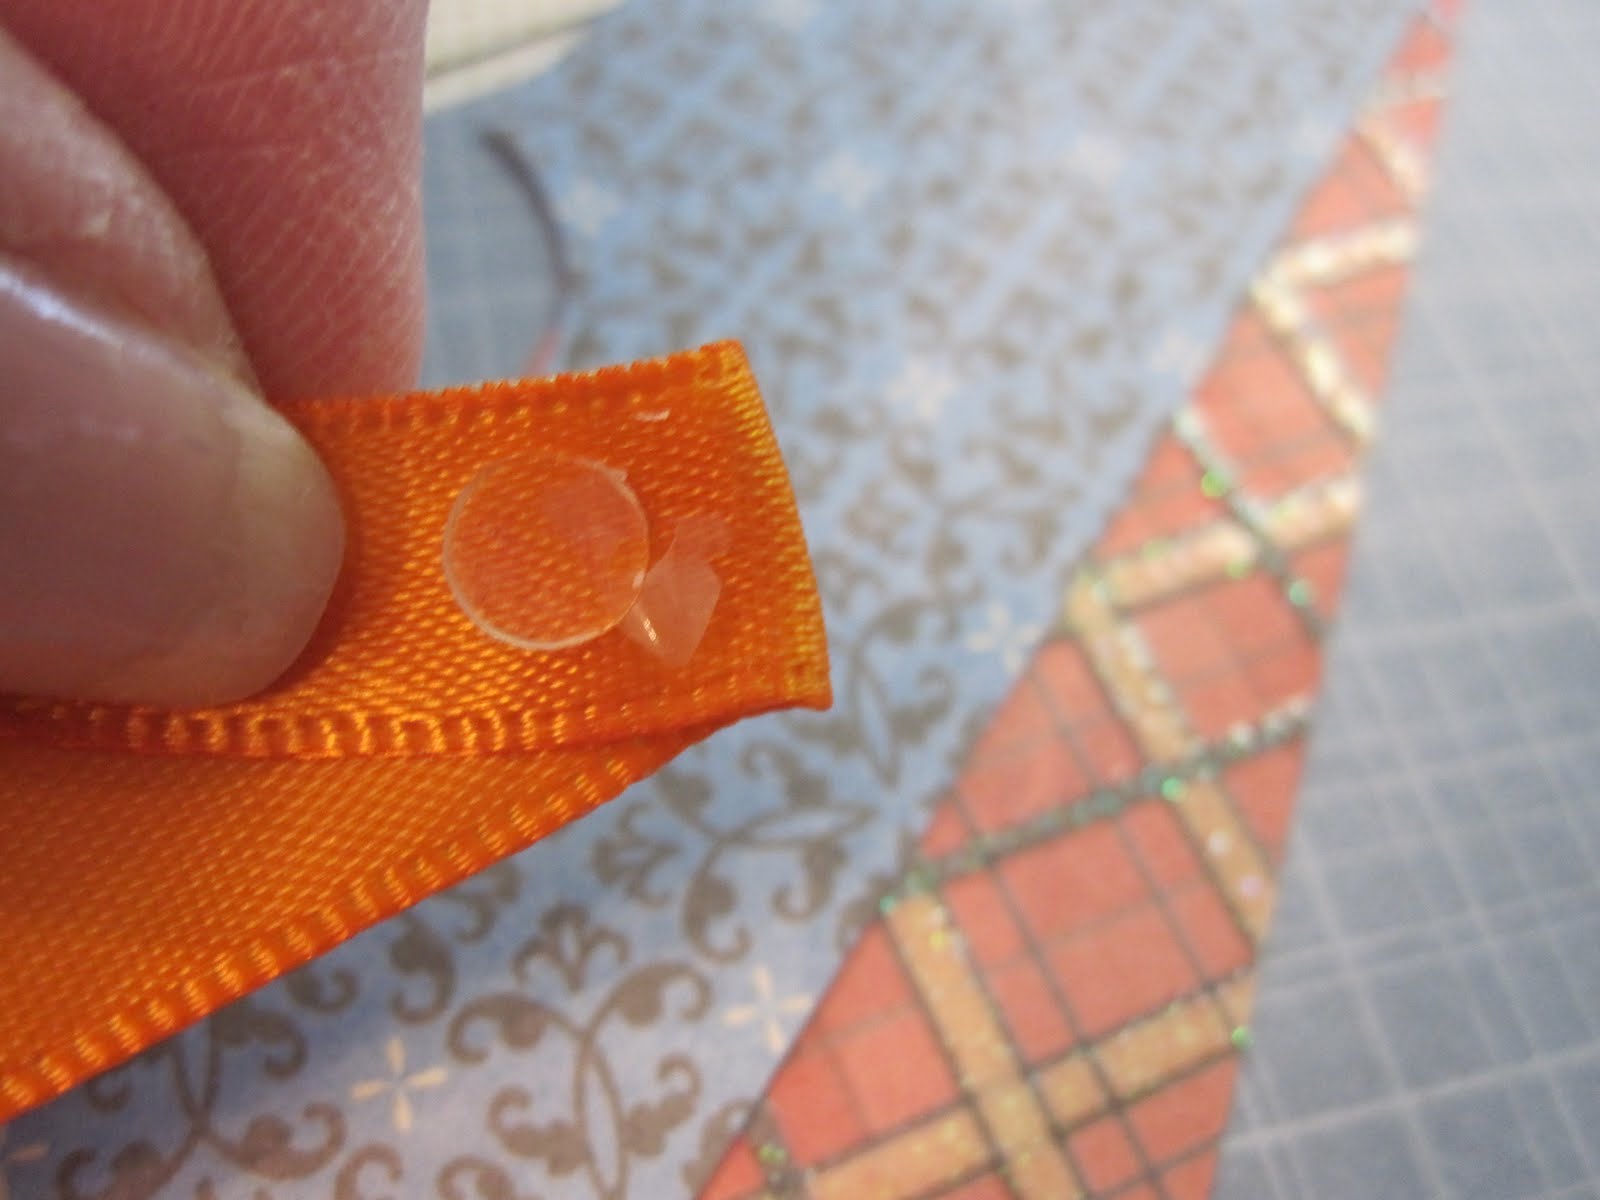
I started by stapling the 2" ribbon stips on but it just added too much bulk and seemed like it would be harder to adhere the buttons so I changed and used mini dots. First I added a dot to the center to hold it folded in half and then one under it to hold it in position. as shown below.
You can easily see the difference in using and not using the staples in theses photos. I quickly changed and stayed with the mini glue dots.
I placed the ribbons in opposite corners as I wanted the colors of the paper to show. If I had used all the way around I think it would have been way too much for a boys page.
I cut the title out twice and glued together for a thicker almost chipboard look and then used pop dots to lift the title to give it added dimension.
I also cut the little butterfly out twice and cut off the wings of one and glued on to the other, and folded the wings up so when it is on the page it has movement to it.
Isn't he cute? On this photo you can see I even glued a couple of heart buttons on the large round to add a little interest.
See when I pull the camera back our little butterfly looks all a flutter!
I did do some journaling on this with a simple tag.
Thats my page our our handsome little Gavin. I hope you enjoyed todays project. Here is the Cute As A Button Gypsy File.
MyFreeCopyright.com Registered & Protected
I am always encouraged by your sweet - sweet words. Your comments inspire me to keep scrapping and sharing things with you.
signature