September 13, 2012

Thankful Cards

Hello everyone and welcome to the 2nd Thursday of September! It's Java Jen from JAVA JEN CREATIONS here taking my monthly turn to share with everyone here and over at CRICUT IS CLOSE TO MY HEART!  Thank you again, Sheila, for this opportunity!

Today I chose to make a great pocket and tags combo that is on the CTMH Art Philosophy cartridge. If you don't already have a CTMH consultant that you purchase from, you are welcome to click HERE to visit my site and place an order for this amazing cartridge and so many other goodies!

Here is my finished project:


You can find this pocket and tags on page 25 of the cartridge booklet.

To make this project the size that will work with the coordinating stamp sets, you need to size the pocket at 7.5"H.  Adhere a wide strip of ribbon around the pocket after it is assembled, leaving the seam in the front. It gets covered up with a label.

Cut the tags at 3.5"H and if you have the coordinating stamp set - stamp the borders on them. This stamp set is S1109 which was the September 2011 SOTM called Limited Edition.

The sentiment stamps are from ABOVE RUBIES STUDIO.  I added some ribbon to make the tags pop! :-)


Next, make the label for the front. The label and layer is found on page 55 of the cartridge booklet. it is cut at 1.25"H.  I stamped it with a stamp from the Limited Edition set.

Adhere the label with pop dots on top of the ribbon on the front.


Time to put it all together!

 I'm thinking this will make a great gift for someone who needs an encouraging word or two or three!

Thanks for stopping by today!

JAVA JEN


September 12, 2012

Easel Framed Card

Hi Crafters :)

Today I'm sharing my post here at Sheila's blog and at my blog

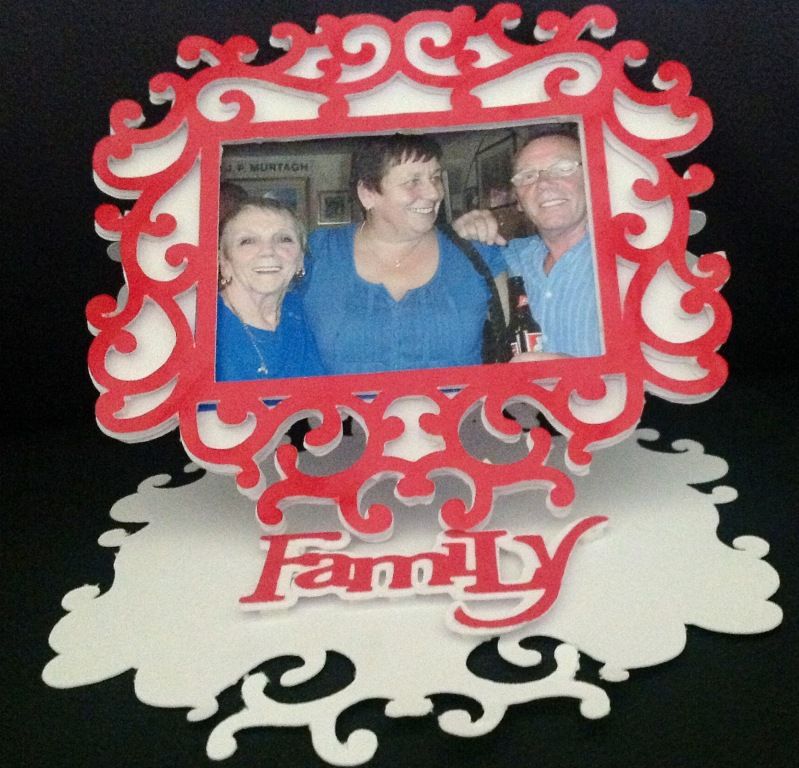
I just recently had a Family reunion in Brighton, my eldest brother came down from Scotland to join us, we had a blast as we hadn't seen him for years, so I wanted to make a special card for my Mum, it's an easel framed card I designed using Fancy Frames as my base, with the phrase from Gypsy Wanderings.


This card measures 5" x 5.5" , it holds a 3.5" x 2.5" sized photo.

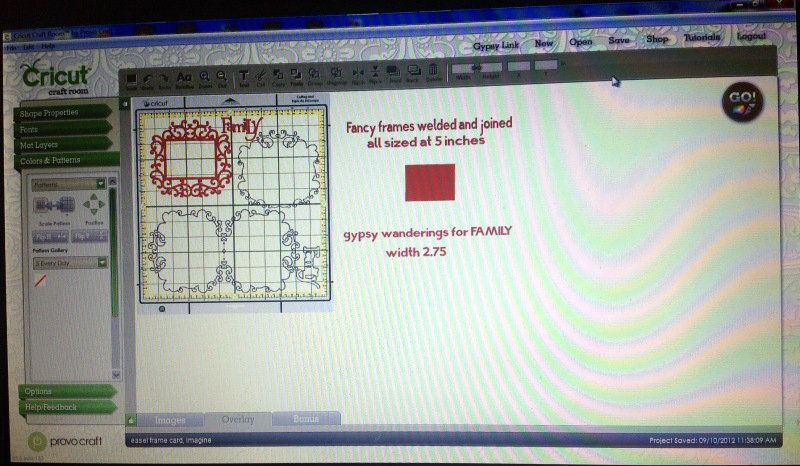
All the frame cuts were set at 5", 2 shadow cuts were flipped and welded together to form the base.
The "Family" phrase was cut at 2.75" wide, from GW

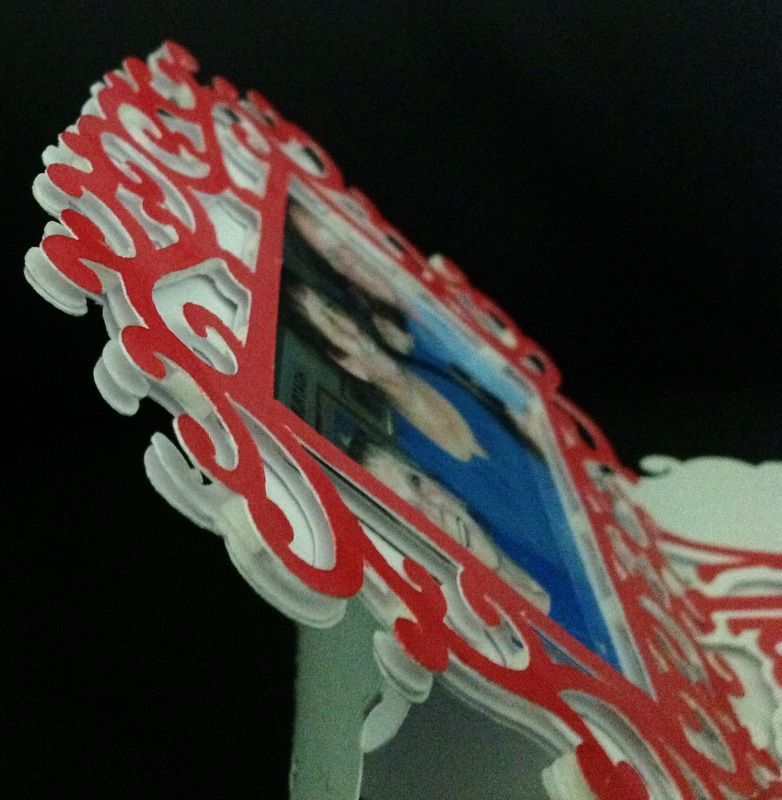
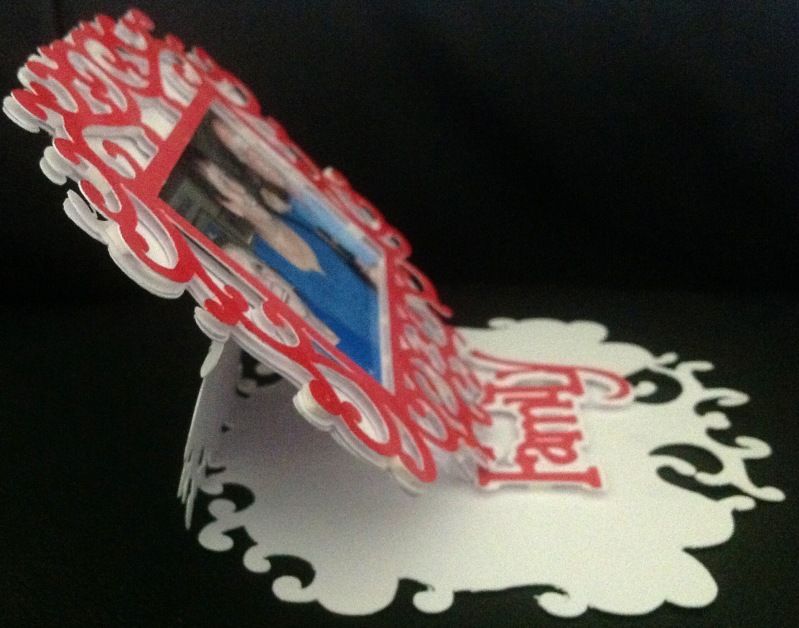
I used foam pads (pop dots) to adhere the frames together, then adhere my picture to the back of the opening, next I adhered the assembled frame and picture to my shadow frame, then glued the bottom half of the shadow cut to the folded card frame.


I also used foam pads on the phrase to give the dimension needed to be used as a stopper when the card was erect.


My Mum will love this card with her, my eldest brother and his wife :)

Because of my poorly eyesight right now, I used CCR to design in, though I have made the file available in the Gypsy format too, for those that want it, the files are below

Gypsy file can be downloaded HERE   (Expression mats used)

CCR file can be downloaded HERE  (Imagine mats used)

Thanks for popping by today and thanks Sheila for allowing me to share my DT project with you all :)

Happy Crafting

Hugs

Adele

September 11, 2012

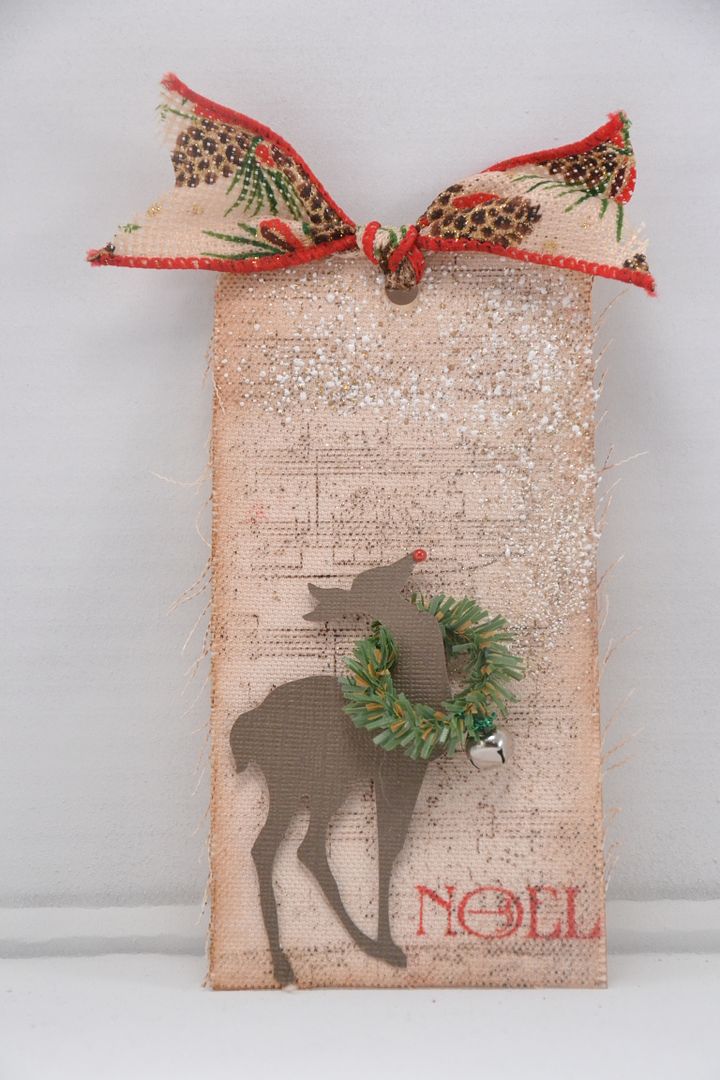
Noel Tag

Hi Everyone! This is Elizabeth from 217 Creations. I am so excited to share with you today. Normally I do not like to participate in swaps because I become overwhelmed  by having to make the same thing over and over.  I stink at mass production. But I was really excited when I was invited to join a swap between my fellow Design Team members at the Bug Bytes and She's A Sassy Lady.  The best part was I only had to make 15. 
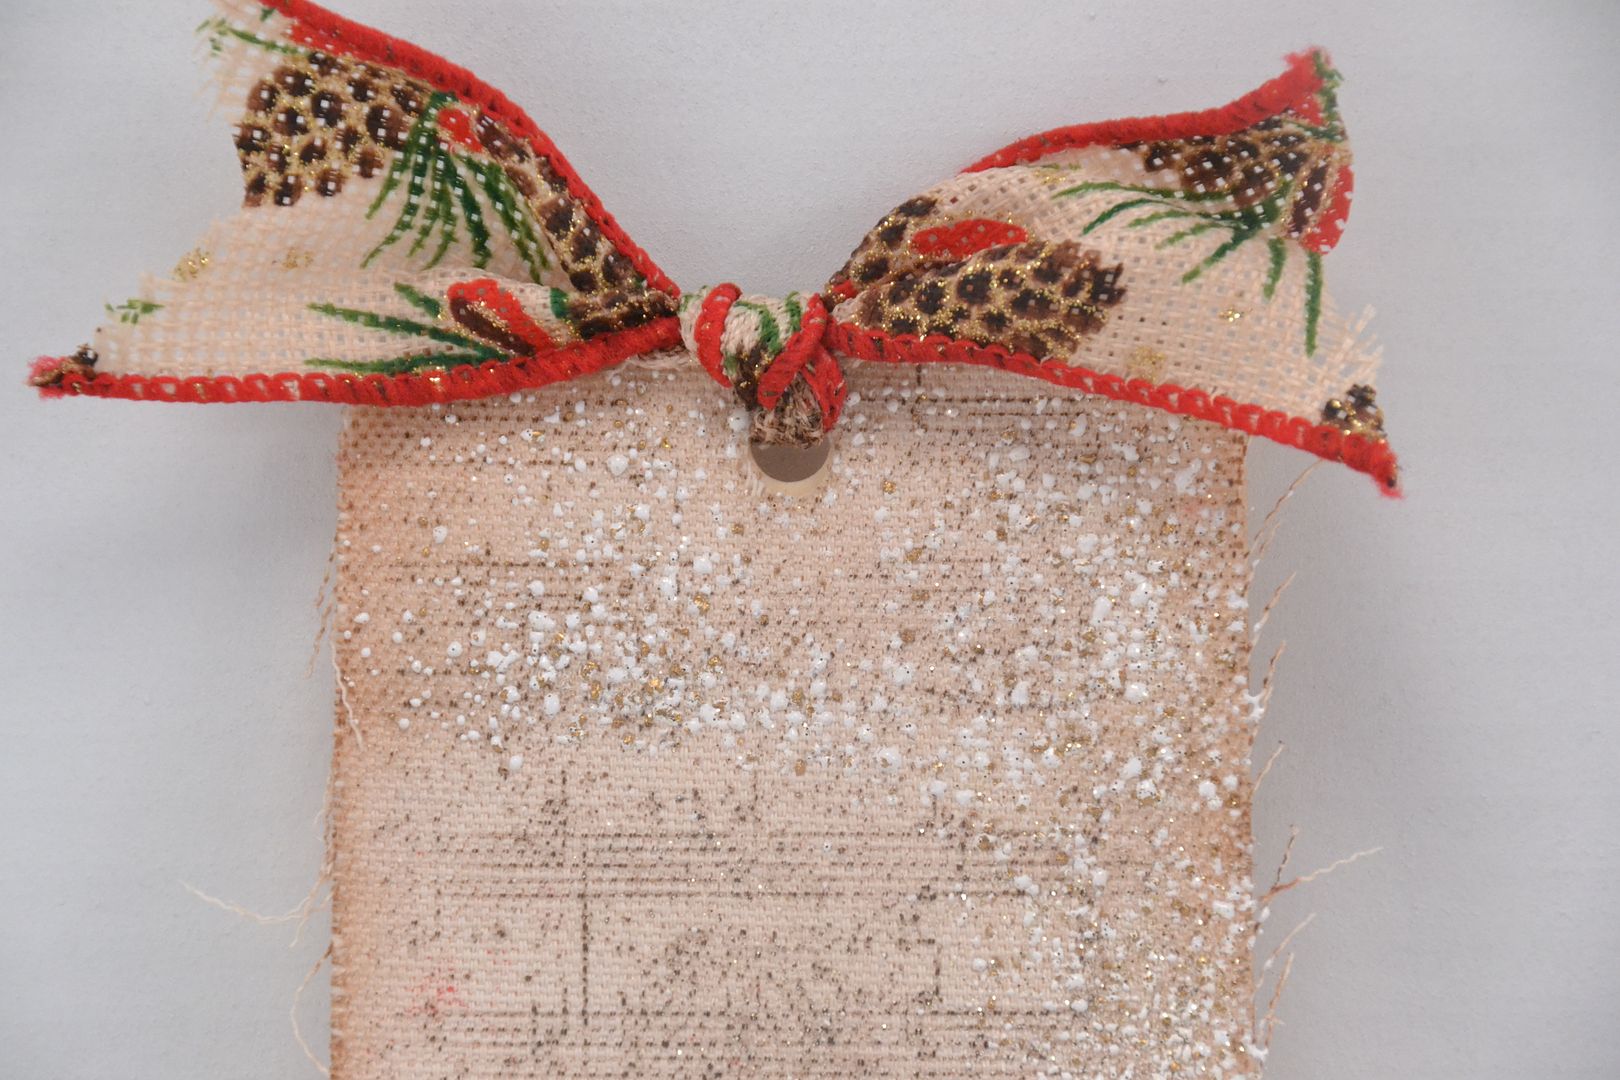
The tag very easy to make.  It was all done with dies and stamps. I stated by using the Tim Holtz Tag and Bookplate die.  I cut canvas fabric with the die.  I then glued the fabric to a paper tag from Ranger that is the same size.  I then used Walnut Stain Distress Ink and stamped with a music background stamp. I inked the edges of the tag with Tea Dye Distress Ink.  Then I took a Versamark pad and pushed it directly on to the tag.  I immediately sprinkled Shabby Embossing Powder from Stampendous on top.  I gently heat embossed the the powder.  I then tied a ribbon through the top. 
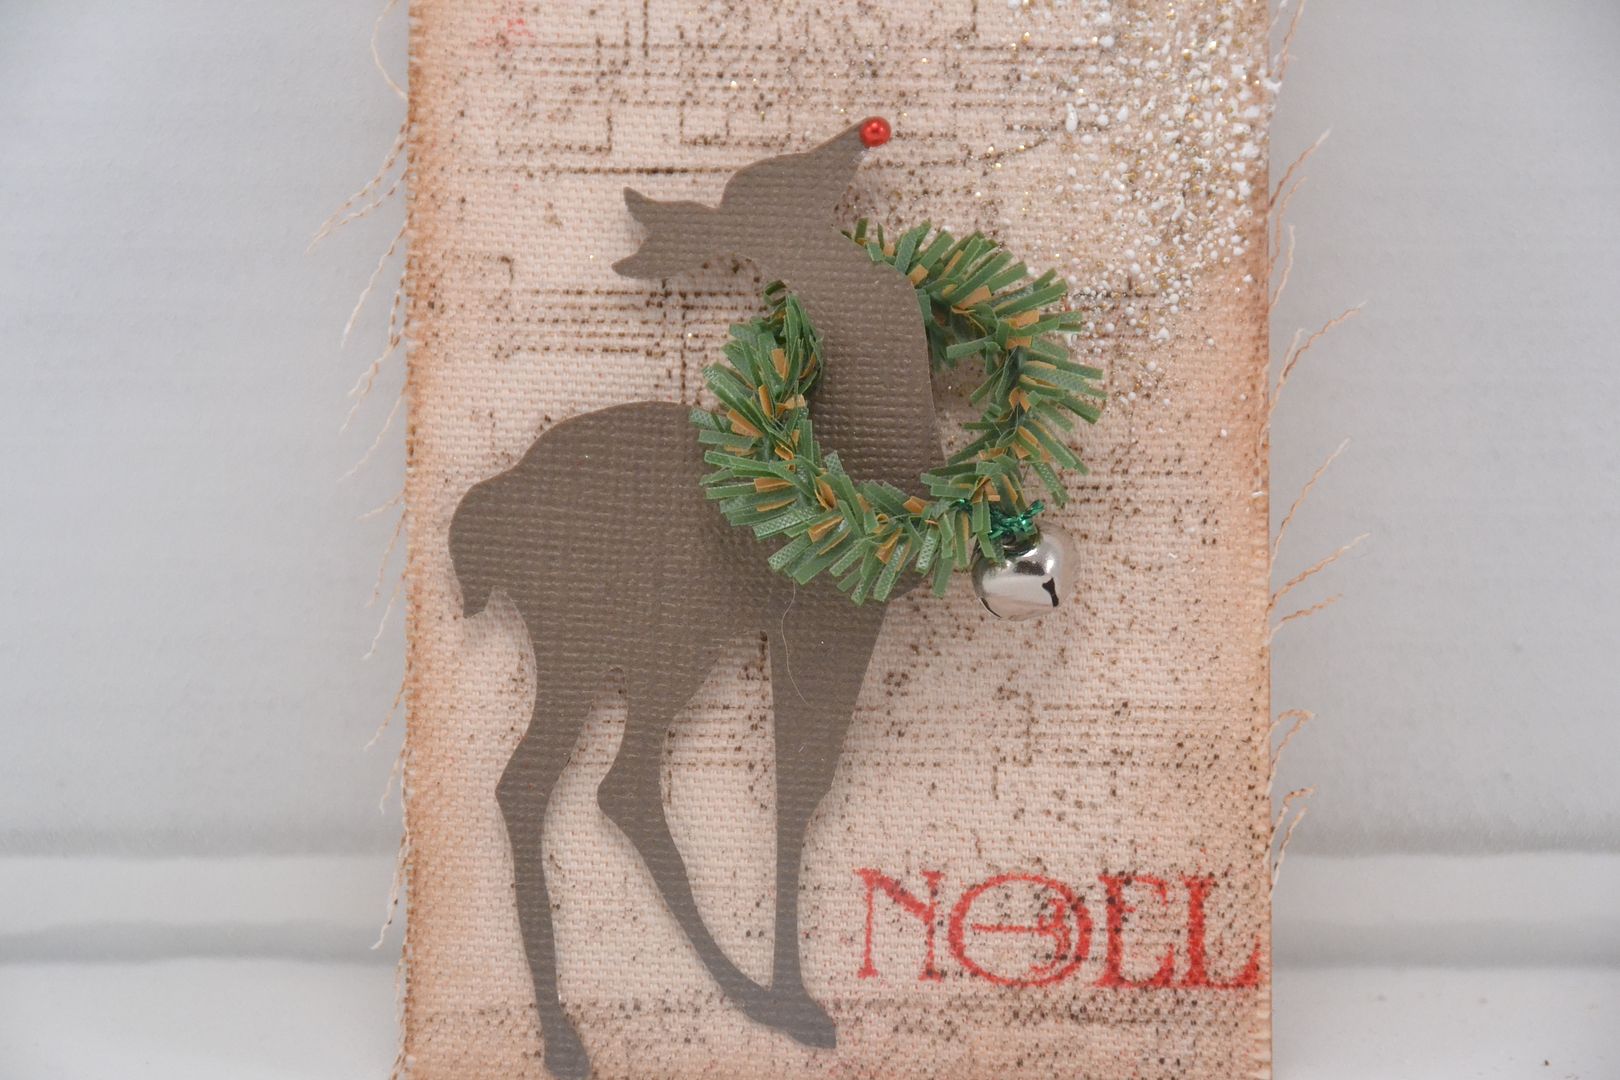
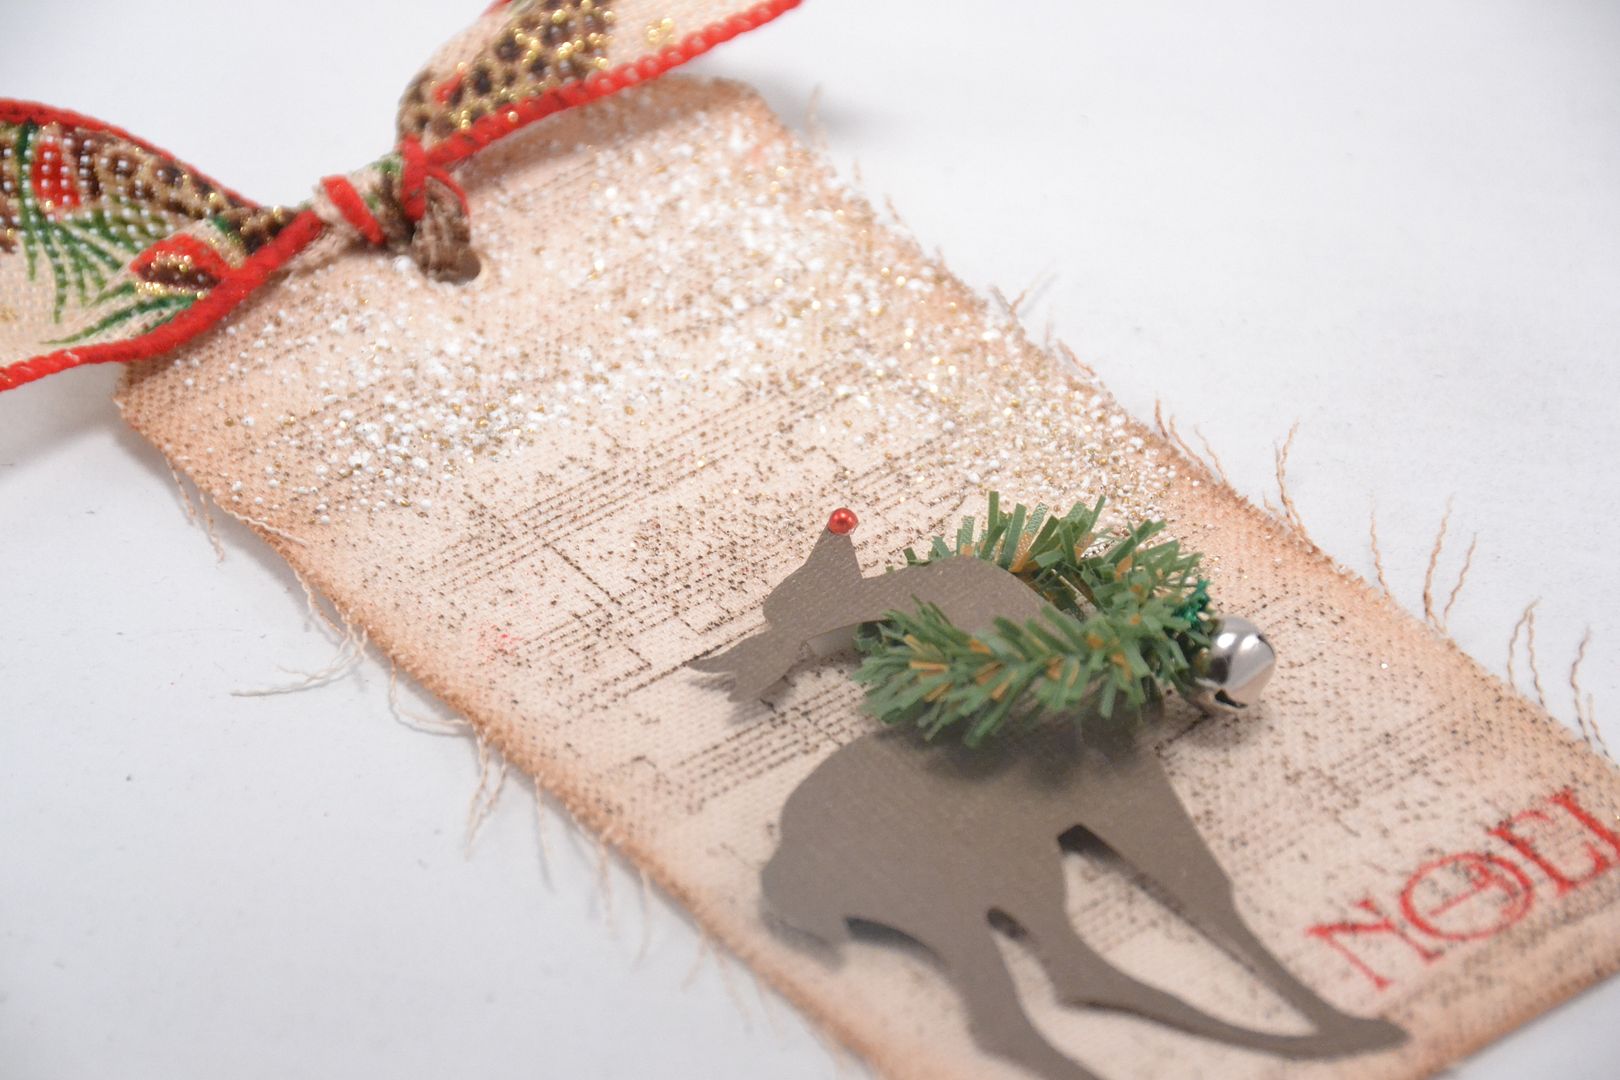
My next step was to cut the dear from the Tim Holtz die Reindeer Flight. I used CoreDinations paper for the deer.  Using some pine garland strands I had left over from last Christmas, I created a small wreath for each deer.  I tied a small jingle bell to the wreath. I slipped the wreath over the deer's head.  I finally glued the deep and the wreath to the tag.  I add some small red pearl gems to his nose.  As I looked at the tags, I decided it needed a sentiment.  So I stamped and heat embossed red ink and powder "Noel" from Pink By Design.
I know its a tinge early for holiday posts, but I was so happy for finally finishing something early and loving the completed project all at the same time! As always thank you for taking the time to leave me a comment and following us here at She's A Sassy Lady and on my personal blog at 217 Creations.

September 10, 2012

Make your own action wobbles!

Hello, my crafty friends!  This is Kimberly from My Craft Spot and I am so excited to be back at She's a Sassy Lady!  I have a fun project to share with you today using homemade action wobbles!  Scroll down for a video tutorial.


I made this quick tag and then put the pumpkin on a tiny action wobble that I made myself.


Here is a side shot of the homemade action wobble under my pumpkin die cut.  I love that you can make them as small as you need them to be for your project!  It doesn't hurt my feelings at all that they are so inexpensive to make.  LOL  (Scroll down for a video tutorial)


I tied a double bow with Marmalade Crinkle Ribbon, added a bit of twine and a small circle with the spider stamped on it to dress up the center.  The spider and sentiment on this tag are from 2 of my brand new stamp sets just released this week.  Click HERE to see them all!


The cute face is from Peachy Keen stamps and I added glossy accents to make the eyes stand out.  The pumpkin was cut at 2.18 inches from the Happy Hauntings cartridge.


Here is a video tutorial showing how I made my own action wobbles:


Come join the fun any time at My Craft Spot  for lots of great projects, videos and weekly challenges with prizes.

September 8, 2012

Happy Birthday

Dear Sheila


Wishing you a very very Happy Birthday from all your designers


Altering A Tri-Fold Card


Tweet, just too Tweet. I just love making cheerful cards don't you? And this is easy all I had to do is use the template from last week, (click HERE for link) pick out some fresh art and a few clicks and this card was ready to cut. So grab your coffee turn on your Gypsy and let's get to work. We will revisit last weeks card and alter it for a fresh new look. Easy Peasy!


In this video we work with the template, add the artwork and names the various pages and make our layers for each component to the card.


This is what the file looks like two up. Notice after making the card I changed the direction of the bird as I think it will look better facing the opposite direction. So if you download my file this is what you will get; a  Tweet Tri-Fold Card 2 up.


See how I named the different pages, all that is left is for me to add Tweet on the last pages. Easy, just touch the page and hold it down a screen will pop up for you to tap rename and just add what you want.


In this video we will put the card together from scoring to adhering each piece on. Very simple to follow along.

Aren't these cards just too TWEET?
Now I challenge you to make a card of your own Thanks for joining me today and I sure hope you learned something new that you can use on your Gypsy. Thank you for your sweet sweet words of encouragement, your comments continue to inspire me.