May 25, 2010

Uniquely Me - My Little Sassy Sissy

This is such a 'girly' layout! With swirls and flowers galore and sooo easy you will want to recreate this on your own. Our little Carissa, better known as Sassy Sissy just loves to put on her little girl makeup and lipgloss primping all the while... She then poses in front of the mirror, any mirror... this time Grandma had her camera ready, and yes she gave me the same pose she just practiced! What a hoot!
These are the lovely papers and materials I used to make this page. The paper is DCWV Mariposa stack and the metallic stack, and  prima flowers. Aren't they yummy.
This is the original design. I did not cut the birdcage as it would have been too much with the amount of flowers I used. They are still on the design if you want to use.
To start my flower I cut some thin colored paper that matched my paper into 2 inch strips. I then used my Martha Stewart punch along the egdge.
See how nicely the colors match and the punch is just perfect. At this point I should have inked my edges but I waited till after the flower was completed.... do the inking at this stage. It will look nicer.
I then ran the strips through the crimper. I learned how to make this flower from What A Beautiful Mess, Lisa does the most beautiful pages, do stop by and check out her blog as her work is amazing!
First I hand cut my circle the 2 inches she said, but my paper was too stiff so I got out my handy Creative Memories circle punch and used the 1 3/4 and 1 1/2 punch and it worked fine.
I covered my circle with Zip Dry, and that worked well as I was able to manuver the papers easily.
I trimmed the paper for the smaller circle as shown.
After they dried I inked the paper, next time I will do after I make the strips themselves, this way it allowed to much white to show through.
Then I put together the little birdie. I reserved the wing as I really didn't like the paper I had underneath.
I used 2 little pop-dots to attatch his little wing and I used my black marker to color in his eye.
Added his little wing and stickled the open spaces.
I visited India at Scrapbook Mania and couldn't believe it when I saw these beautiful flowers by Magnolia. They have many unique goodies in there including Magnolia and Pure Innocence stamps from my favorite things!  (Shhh, I got a wonderful little girl stamp, expect to see that sometime soon!) They come from Sweden and I had to use them on this page! What a perfect center! so much nicer than the buttons I was going to use.
Isn't that a perfect center? I think so too! I just love how you keep up with my conversation!
After I added the swirls on my page I used glossy accents to add shine and it deepened the color just a little!
See the differnce?
It was easier to handle the delicate heading on the mesh as I used the glossy accents on it too.
Then I stickled the heading and I love the way it turned out.
I added my beaded picks by using glue dots on the stem and then the flower on top of that.
I added a special Bible verse that Sassy knows too.
And the page really took on form. These are just a few close ups at different angles.
I went back to hand journaling as that is so special.
See it looked kind of empty without that little birdie.
Another close up...
And the whole page.
I sure hope you enjoyed today's project! Now wasn't it easy? I can't wait to see what you do. Here is the Sassy Uniquely Gypsy File.
I am always encouraged by your sweet - sweet words. Your comments inspire me to keep scrapping and sharing things with you.
MyFreeCopyright.com Registered & Protected
signature

May 24, 2010

ENTER TO WIN - Sassy Splash Whale Card Kit

Isn't he handsome!!! This is this weeks Sassy Card Kit and it is soooo easy you will be amazed. The kit comes complete with eyes, all you add is a little time, glue the word down and stickles if you prefer.
This is how he looks on My Gypsy Woman screen. Notice it is all set up for differtnet colors. I cut a few kits at a time and then bag them up for putting together when I have the time.
I place all items in a little ziplock bag, notice the card base is alreadys scored and folded.
Here are all the little parts. I used a Zyron to this kit has all adhesives included also.
I set out the card base and then placed them in order so I wouldn't accidentally choose the wrong piece.
I then pulled off the papers and layered 1 section at a time.
I used the sticky mesh to hold the letters in place so they wouldn't get ripped or I lost a piece of the splash.
I flipped over the mesh, added some zip dry and just positioned where I wanted it!
Doesn't that look cute? And there is still plenty of room to write a little note.
I stickled the water spout.
And added it's little eyes. Viola, it is complete and it only took a couple of minutes! Some lucky lady is going to get this kit to make a little Sassy Splash Whale sent directly to their home. All you need to do is make a comment by Sunday 10PM on 5/30 and watch for the announcement on Monday morning by 6AM on 5/31/10. It's that easy! But at ShesASassyLady, everyone is a winner because this is the Splashy Whale Gypsy File and this is the Splashy Whale DS File for you to download. 
So be sure to leave a comment and make sure I know how to reach you. I am always encouraged by your sweet - sweet words, they inspire me to keep scrapping and sharing things with you.
MyFreeCopyright.com Registered & Protected
signature

ZEBRA CARD KIT WINNER!!!

CONGRATULATIONS!!!
This weeks winner of our weekly card kit drawing is:

Leirad said...
Very pretty. I would love to win this card kit!! TFS

Please email me at shesasassylady@hotmail.com with your name and address so I can get this in the mail to you!
Thank you everyone for joining in on the fun. Come back later today and enter for next weeks contest.
signature

May 23, 2010

WE HAVE A CART WINNER!!! +3 Others Get Gifts Too

How exciting! The Winner of a brand new ProvoCraft Lovestruck Cartridge is Cuddlybunny at Not A Moment To Spare. Cuddlebunny says she is not a fan of summer on her post. Take a look at this card she made.... I know the truth. She secretly loves summer too, and all those wonderful barbeques we enjoy all summer long!
But there was so many absolutely beautiful Summer Challenge Entries I felt I had to give 3 more gifts! Thank you - Thank You to everyone who entered.  I was plesantly surprised at how many people did enter this challenge because it is a lot of work, and you really do put yourself out there when you do. So I added 3 additional gifts! This was such a hard choice to make.
Winners of a set of Creative Memories Journaling kit and Creative Memories fine black marking pen are:
Chelle from at Stampin and Scrapin with this wonderful watermelon card. I mean really how can you not think o watermelon when you think of summer:?
BeebeeBabs from Beebeebabs Gallery who made this wonderful Seashore stairstep card. TO THE BEACH is my battle cry!
And finally MelissaMade from the Cricut Message Board with this beautiful candle for sitting out on the patio on those beautiful summer evenings! My handsome hubby and I sit out almost every evening to share our day... this is a must have for every summer lover.
Join me in congratulating our winners and thanking ALL the people that entered. It was so much fun seeing all your wonderful designs! Please keep watching us for challenges in the future!
Please email me at shesasassylady@hotmail.com with your name and address so I can get your gift in the mail this week so you and you can start creating!
Thank you again for your sweet word of encouragement! All these ladies I'm sure will agree with me, that it is because of your kind comment we keep designing and sharing with you. Have a great day.

signature

May 21, 2010

Falling Head Over Heels for Summer in Paris


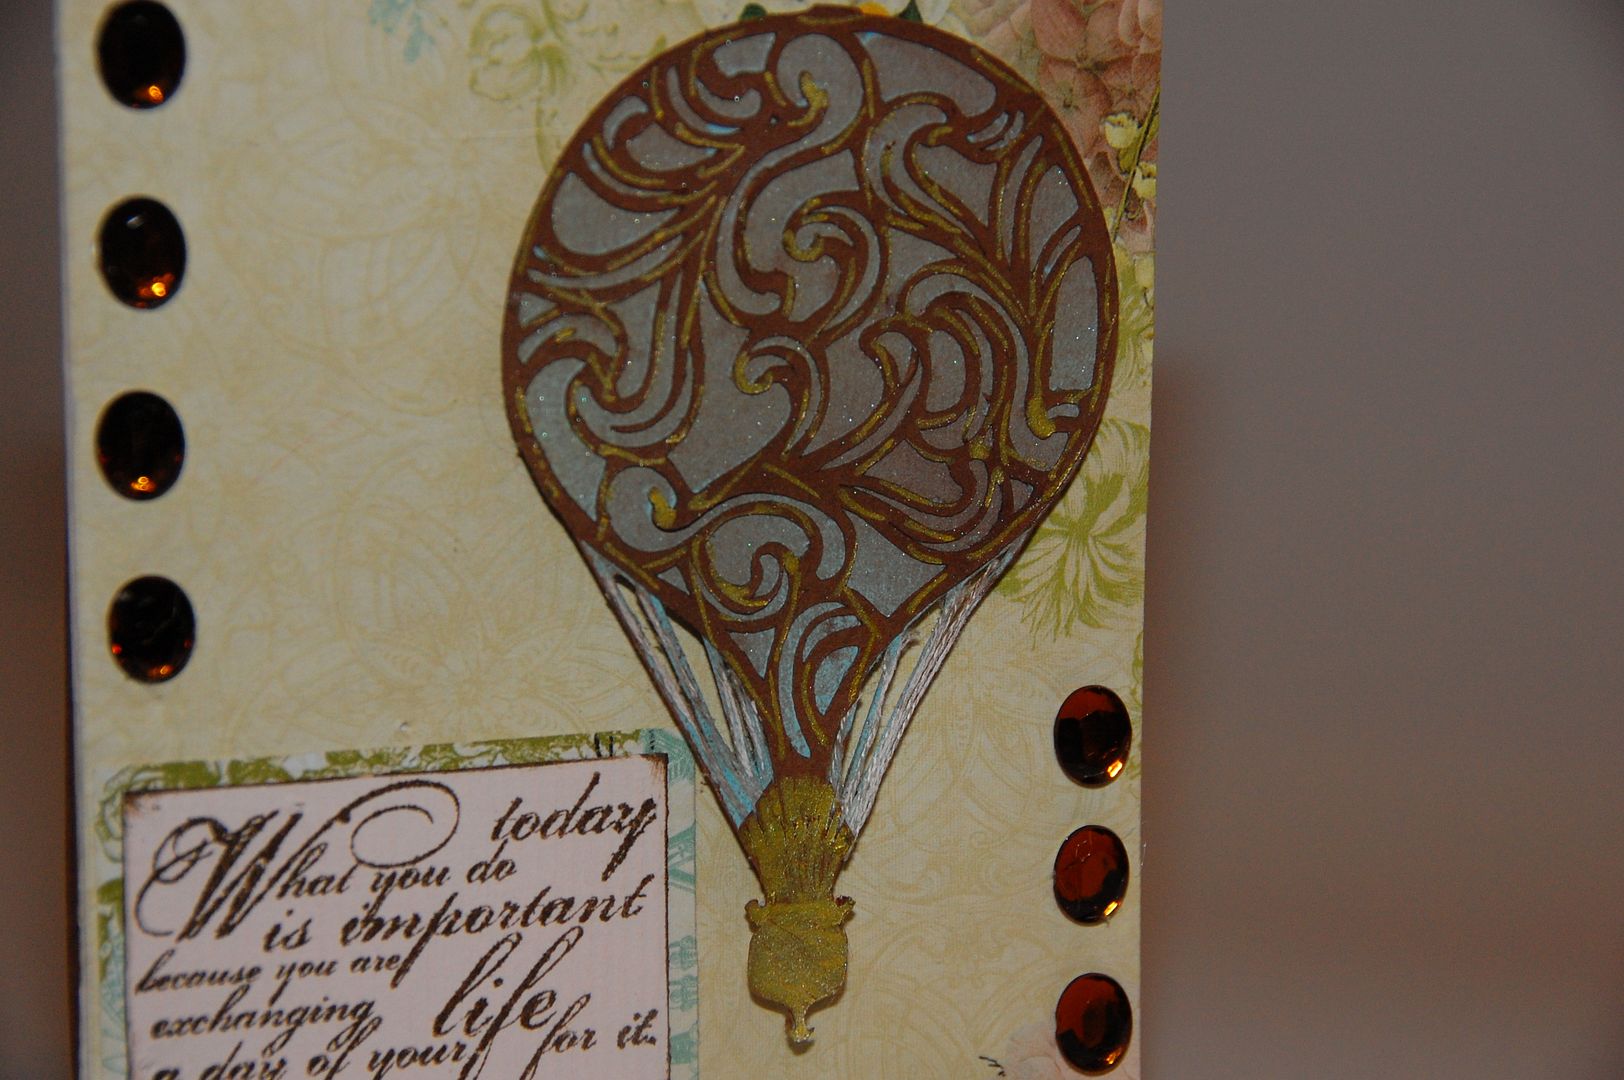
I am falling . . . for Summer in Paris!  Hi everyone! This is Elizabeth from 217 Creations.  This waterfall card is so easy to make with the help of a Gypsy file made from Plantin Schoolbook.  Before I start I just want to thank Sassy for having me as her guest again on her blog! Let's get started!

Summer in Paris has some tricky cuts that may cause some trouble.  My settings were:
Medium Pressure 
Blade Depth 6
Multicut of 2
Since I cut on Gypsy I have no control over speed. 
It is probably closest to high when compared to the machine cutting traditionally.
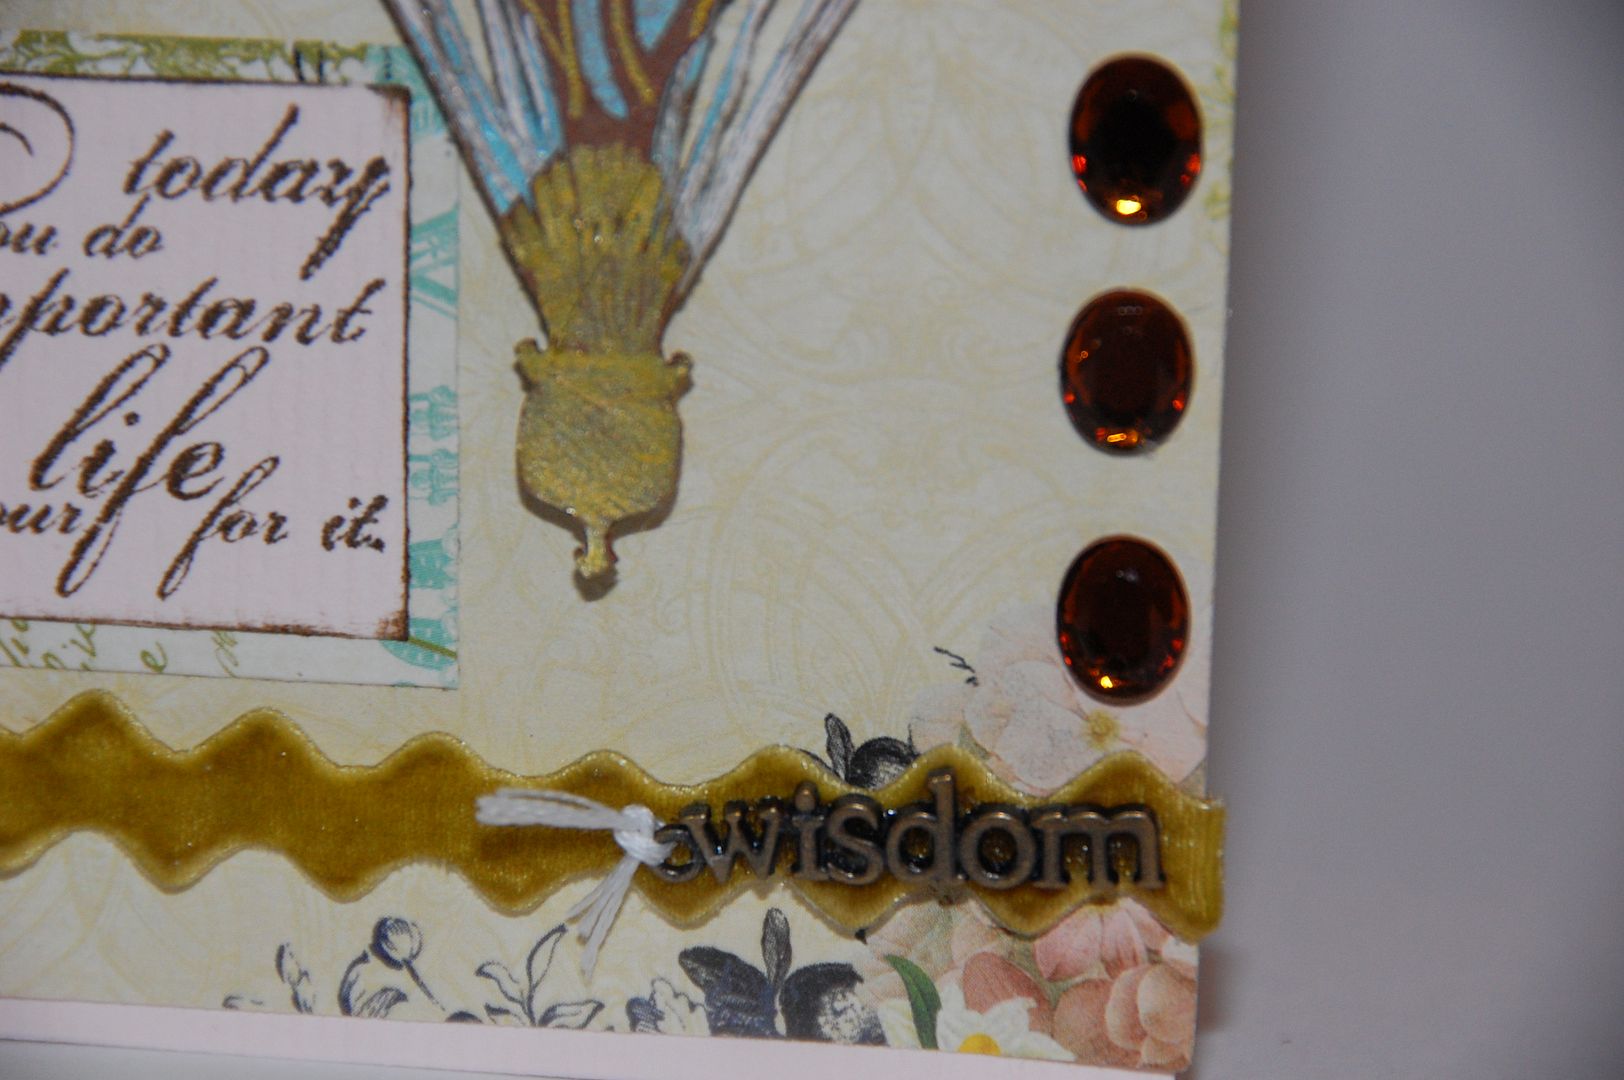
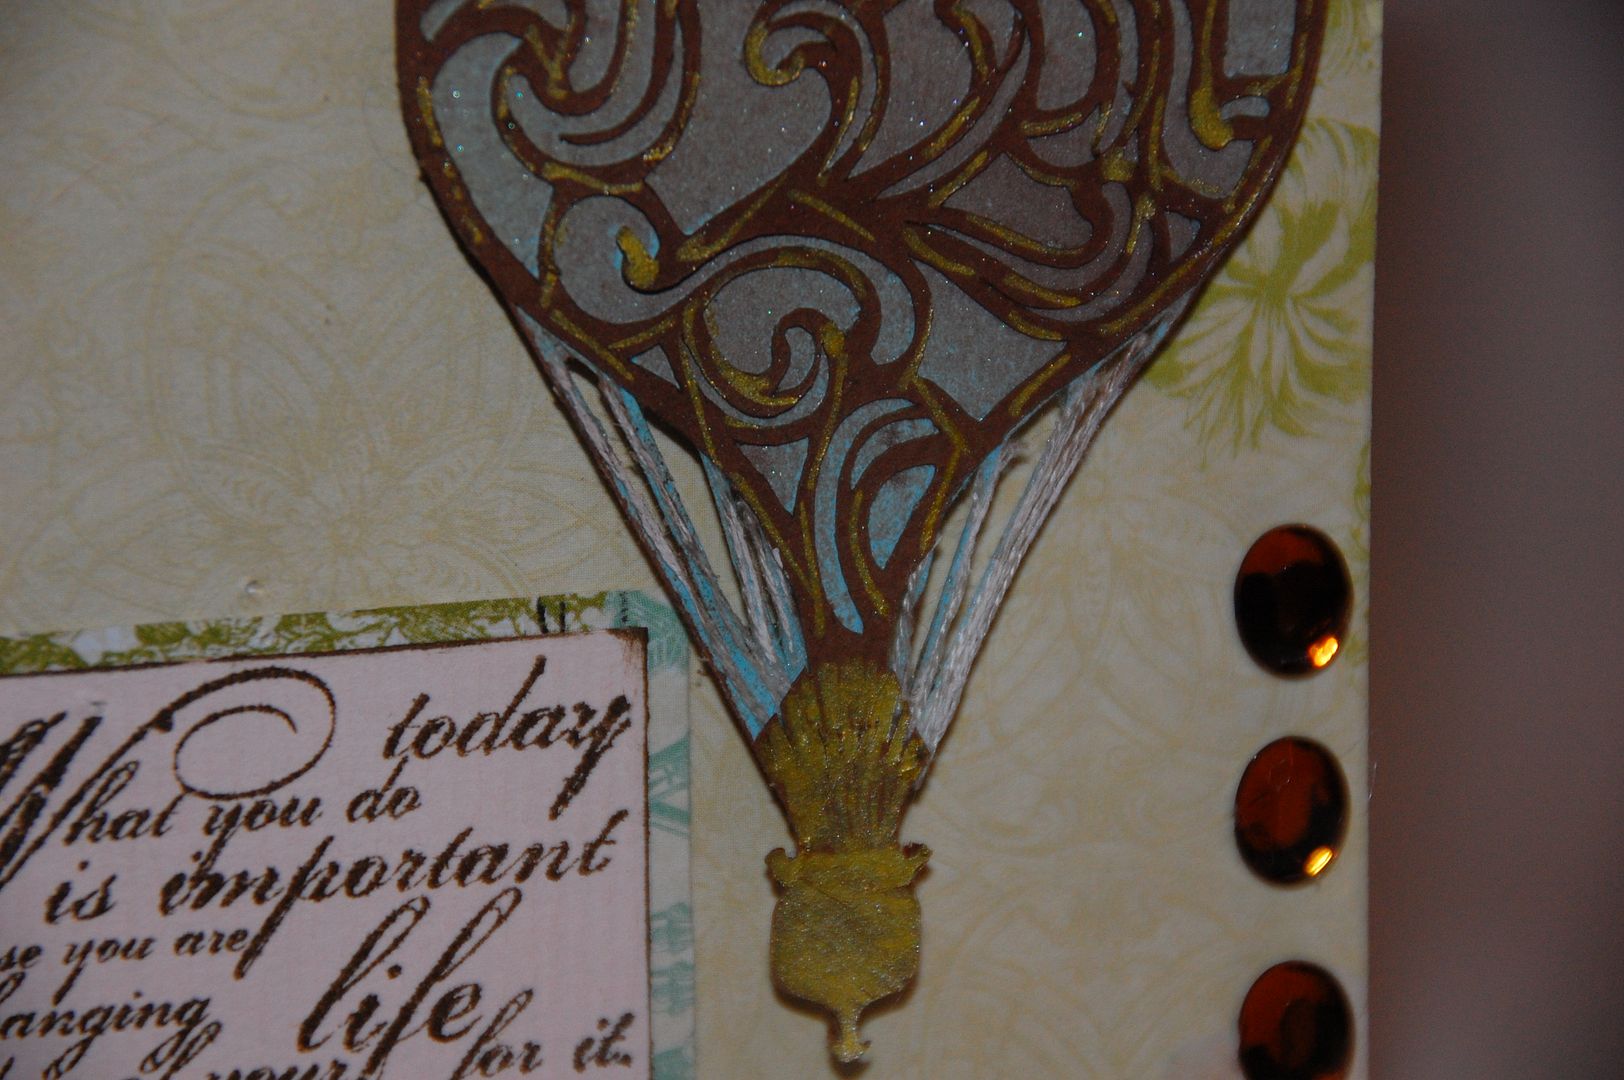
The hot air balloon is cut at 4 inches. The blackout has been Glimmer Misted and detailed with my gold Signo pen.  I just love the string details!  This was done with embroidery floss and Zip Dry glue.

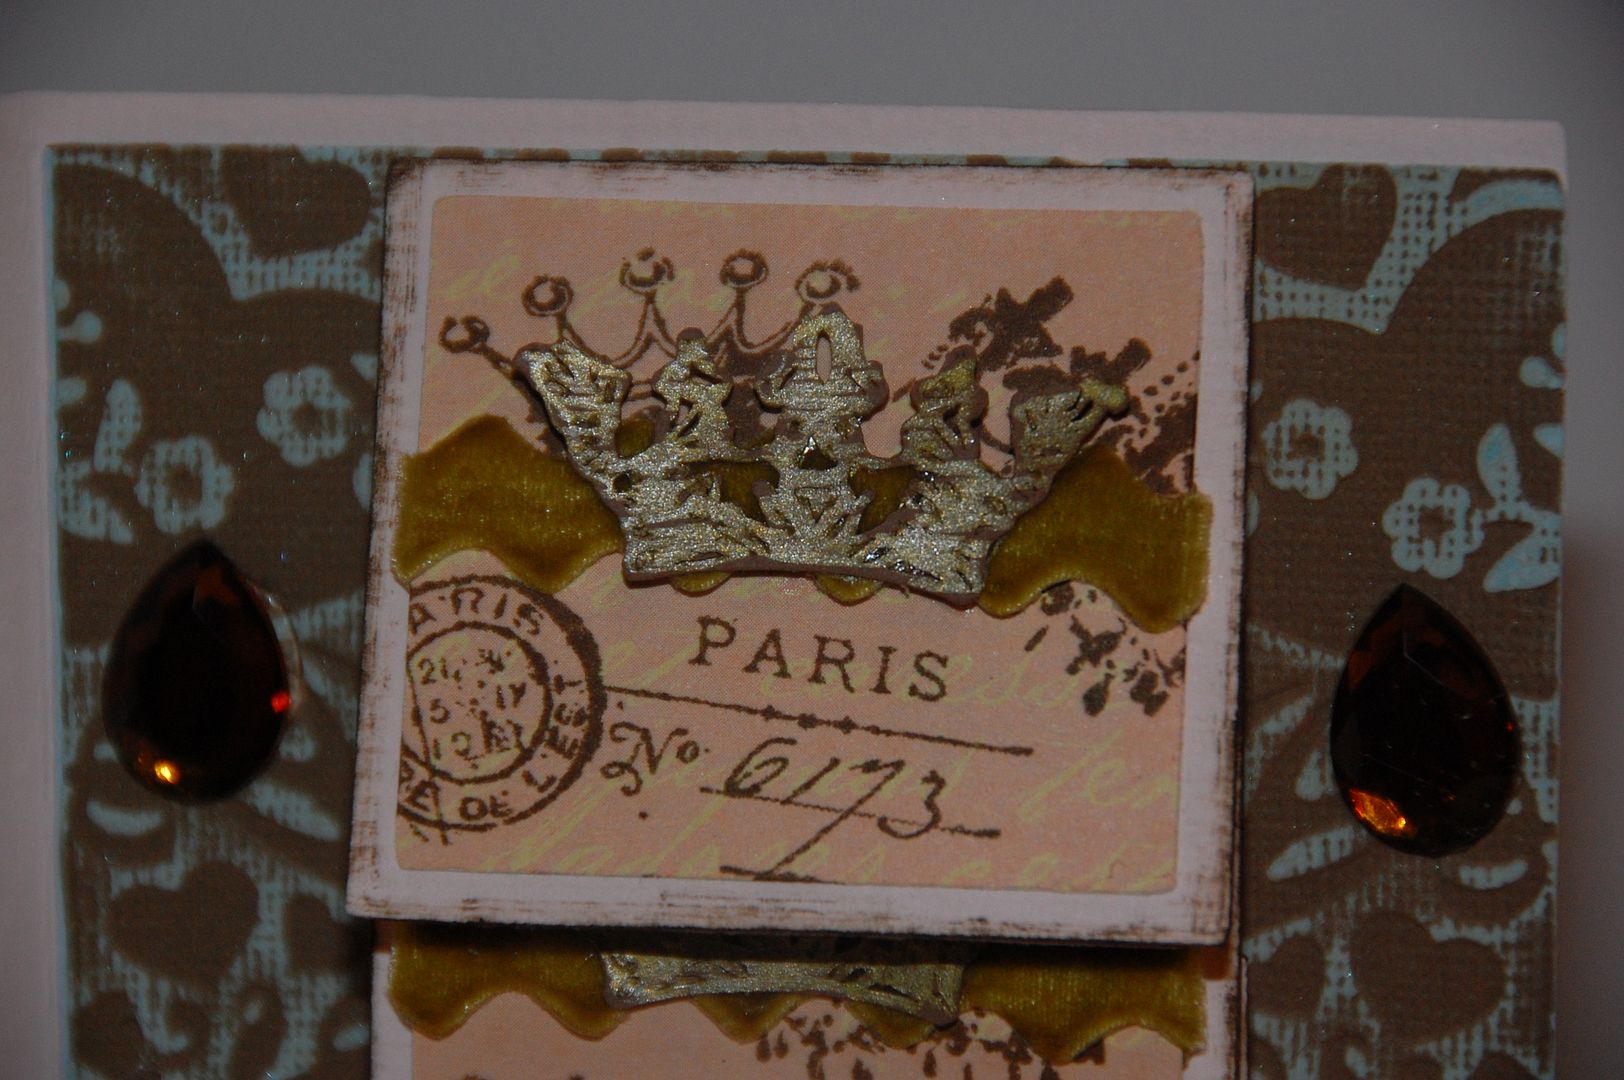
The crowns are cut at .75 inches.

The word "Fly" is from Elegant Cakes and is cut at 1.25 inches.

The stamps are from Stamper's Anonymous Tim Holtz Collection in Shabby French.

My patterned paper is from Websters Pages.

There are many versions of waterfall cards on the web and I am so glad I get to show you mine.  Since I am always looking for an quicker and easier way to make cards and albums, you know I had to put my Gypsy girl to work.  And boy did she work!  The file is perfect and best of all it's FREE!!!!! 

Watch the video for assembly instructions but here are my notes: (the file for download is on my blog www.217Creations.blogspot.com)
The file is 6 pages.  The paper notes are merely suggestions.  This card can be made vertically or horizontally.
  • Page 1: Score in half.  This is the base of the card. Cut in solid cardstock.
  • Page 2:  This is the brad band. Cut in solid cardstock.
  • Page 3: This is the mat for the front of the card and the inside of the card.  Cut this page twice once in sold cardstock and once in patterned paper.
  • Page 4:  This is the waterfall band.  It has 3 sets of scoremarks.  Fold all three with mountain folds.  Cut in solid cardstock
  • Page 5:  These are the backing mats for the waterfall squares.  Cut in sold cardstock.
  • Page 6:  These are the top mats for the waterfall squares.  Cut in patterned paper.

As always thanks for commenting.  If you want to download the file please visit www.217Creations.blogspot.com