May 5, 2010

CARD GIVEAWAY ANNOUNCED! With This Barnyard Cutie!

Isn't this just too cute? Well Shes A Sassy Lady will be giving out this little card kit to one lucky person. For months I have been showing you how I cut my projects, bag them and then put them together when I have the time. Well Now I am going to give a little kit out every week!!! And all you need to do is comment if you would like a chance to win!
This is how the design looks on My Gypsy Woman. Notice it is set up for a cut so the colors line up just right. I used 4 carts to complete the design; AK PDED PDDU, GW.
I laid out the paper like this, and didn't end up using the brown afterall.
Here are the card kits.... note after I saw the blues in the daylight I changed them out so they matched better.
And this little SASSY CARD KIT is going home to some lucky person. All you need to do is make a comment on this post to qualify.... make sure I have your email address and come back on Monday May 10th when I announce the winner. On that day a new kit will be offered. Isn't it great all the pieces are cut, all you need to do is follow the instructions from this post and you will have a little Sassy Card of your own.
All you need to do is chalk the cows per your taste... I am from Wisconsin and while I grew up in Chicago every summer I spent on the aunt and uncle's farm with my cousins. Well we had Holstein cows so thats what I wanted! If you win and prefer Jersey cows I will send you the litte brown ones.
Then I colored their little eyes in with a fine tip marker.
And got out my brown SU ink and a makeup spounge and inked the edges of the cow.
Then I inked around the red barn.
And trimmed and then inked the cream colored barn. I cut off the roof, around the windows and the roof of the silo. I chalked the silo yellow.
Then I glued the little pieces down and placed thin lines on the front of the barn.
After all the little pieces were put together I attatched them on to the base of the card.
I used pop dots on the little cow on the left and double or should I say stacked pop dots on the one on the right.
Then all I did was attatch the white sheet to the inside and the word MOO.
I sure hope you liked this little card. Now be sure to leave a comment and you could be the winner of a little Sassy Moo Kit of your own! Cut off time will be 10PM on SUNDAY 5/9/2010 and the winner will be announced Monday May 10th. And even if you don't win the little Sassy Kit all cut and ready to put together here is the Sassy Moo Card Gypsy or the Sassy Moo Card DS!
MyFreeCopyright.com Registered & Protected
Thank you for your sweet words of encouragement, your comments continue to inspire me.
signature

May 3, 2010

Princess Box

I am Lori Apgar and I am honored to be a Guest Designer once again on Sassy's blog!!


I made this Princess Box from the Sweet Treats cartridge.


I opened a 12 x 24 mat on my Gypsy and grouped the box & crowns and sized them 3" tall. I ungrouped them and moved the crowns under the box on the mat. I changed the size of the mat to 12x12.


I added a second page and copied the crowns onto it. I flipped one crown (side to side) and added the hearts and swooshes sized to 3 inches.


I cut out the box using double sided paper from a Heritage style of paper that I bought a long time ago. One side is black with small grey and white flowers and the other side has words and signatures (from mail) in creme, black and gold.


I used a metalic gold paper to cut out the crowns and the handle. I cut the heart out of hot pink and the swooshes out of black. My pink paper did not stick the first time. I made sure my file was saved THEN I deleted everything from the page except the hearts and re-cut. I did not save these changes.


I scored the box but kept it flat so I could glue on the crowns.

I ran the crowns through the xyron and stuck them on the box.

I used Golden Rod stickles to add details to the crown and outline the heart I used Diamond stickles on the swoosh.


I originally planned on using hot pink ribbon for the handle. The ribbon would not stay up and the gold paper looked better, so I switched. To cover up the hole on the side of the box, I put a hot pink gem.


I added part of my hot pink boa inside the box, since that was my inspiration for using pink instead of red.

Many of you know I have all boys (dirty, stinky boys ~ he he) and I don't make many sparkly, feathery projects. This was fun! Thanks for having me Sassy!!

MyFreeCopyright.com Registered & Protected

May 2, 2010

Make Sure Cricut Blade Housing Is Clean

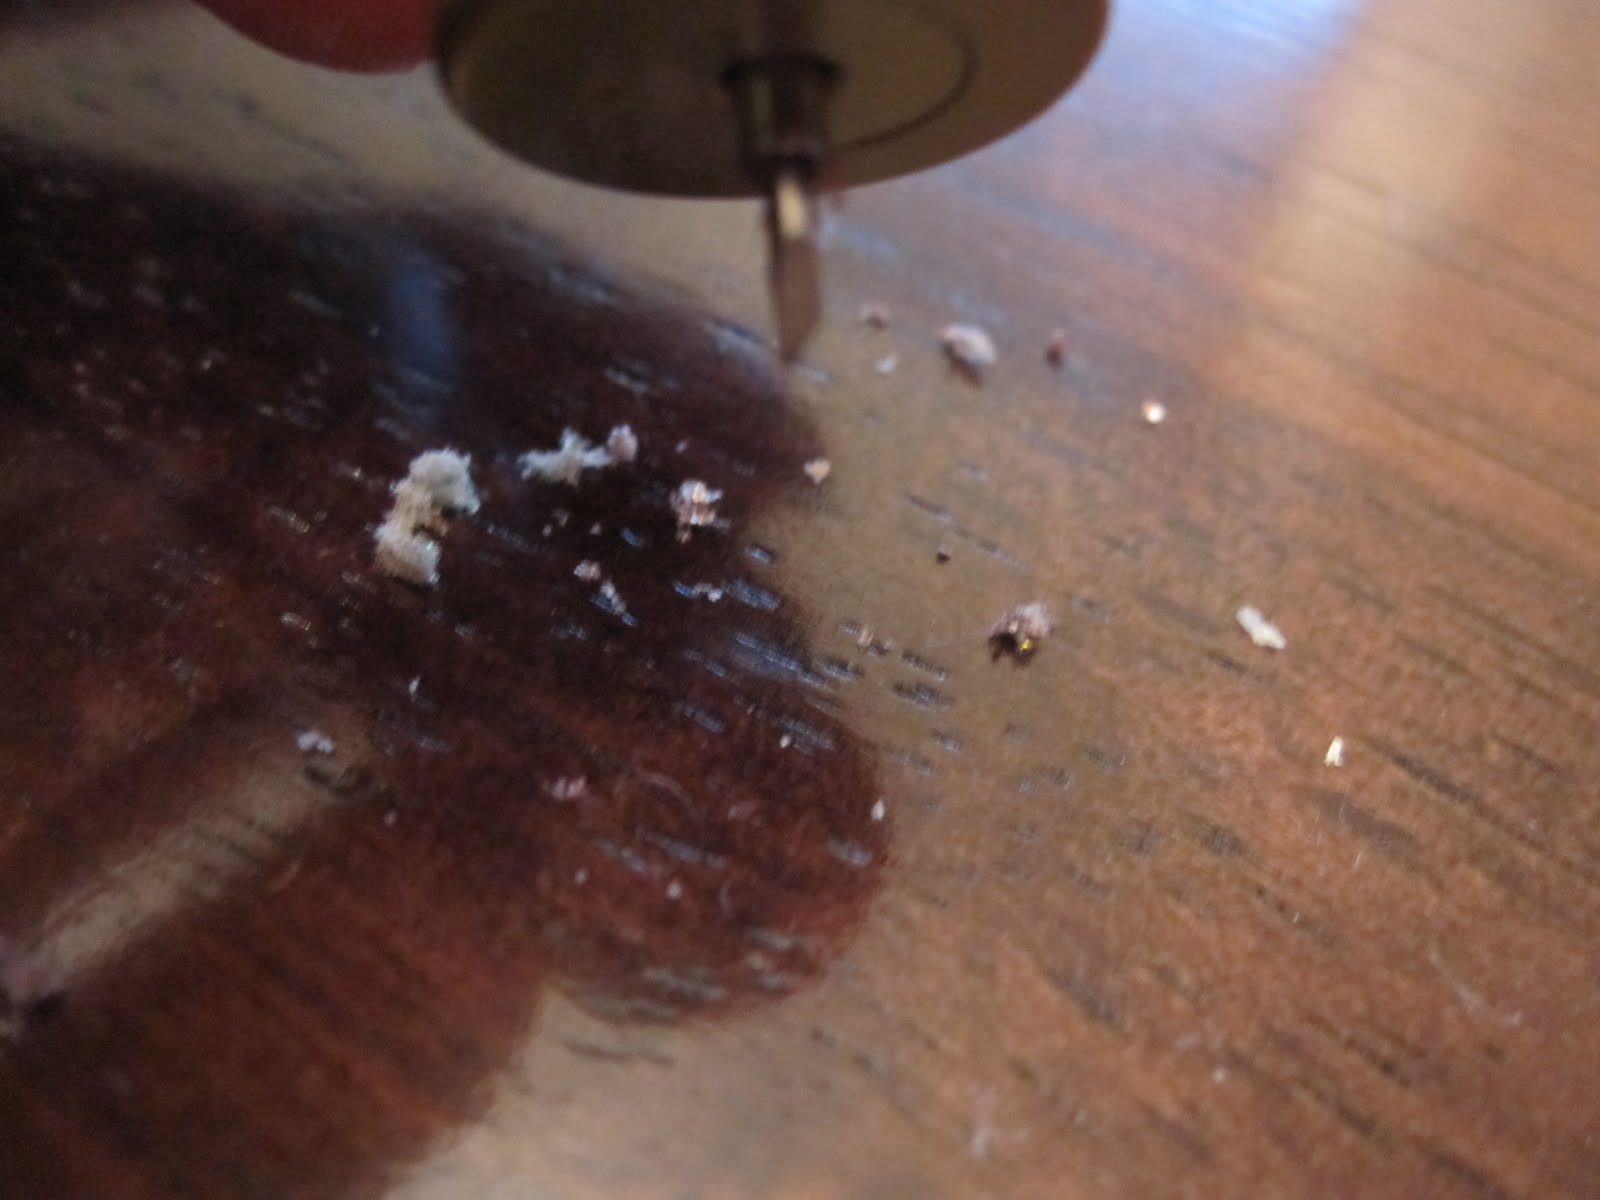
Clean your blade housing or it will not clean properly. I just messed up a cut as my blade housing was filled with junk. I tried salvaging my flowers and the cut by lueing the pieces I even tried mod podge and it was still a bad cut. So I cleaned the housing area by taking it out and pushing the blade down and all this garbage came out.

As you can see I was ready to change the blade and I thought I would take a test run on the cricut... viola it cut just fine!

Now I just have to see it I can put together this project without another little fiasco! I always have a hard time with light weight paper.... so we shall see. 
MyFreeCopyright.com Registered & Protected
Hope this is of help to you and it saves you from tearing up a project like I just did. Have a great day.
signature

You're Going Places, Baby

Wow, what an interesting award…. Classical movies and all. Some of the greatest of the great were found in the classics! What an honor to receive this award! My big thank you goes out to KE Creations and to Jill of Scrappin The Memories for this wonderful honor.

Now the rules for the award are:
• Link back to the person who gave you the award
• Post where you would like to be in 10 years
• Give this award to 10 awesome bloggers

In ten years, I would like to be retired from work and enjoying my life with family and friends. The house needs to be paid off by then and my handsome hubby and I will have the time to travel and just enjoy our time together. I will definitely have more time to craft and God willing, be capable enough to enjoy this time in our life.
Now, I would like to pass this award on to the following wonderful bloggers (starting with our Sassy Designers on to a few other great blogs):
1. Elizabeth at 217 Creations
2. Beatriz at Amazing Grace
3. Pam at The Bug Bytes
4. Cheryl at Cheryl’s Window
5. Kimberly at My Craft Space
6. Becky at My Journey to Creativity
7. Lori at Scrapping My Stress Away
8. Beth at Thunderbirdlindy by Design
9. Jeannie at A Place For My Cards
10. Sandy at Sandy from Ukiah
Wow what a line-up of WONDERFUL BLOGS. Please take a few moments to visit these wonderful blogs I know you will be glad you did! Thanks for visiting today!

And as always I thank you for your sweet and encouraging words as they continually encourage and motivate me.
signature

May 1, 2010

Baby Elephant Card- NSD #4

Isn't he handsome? I have been working on cards as of late, especially shaped cards as I try to hone my skills. This baby elephant is from New Arrivals a cart that I had to have this is the 2nd time I am using in a year! I bought the cart when we found out our youngest daughter was pregnant. Well little Aiden is now 9 months old and the last time I used this card is for his Christening. The paper and matching ribbon is from Stampin'Up, its a part of this years spring papers.
Here is my Gypsy screen and as you can see it is a SIMPLE design and cut. The next will have a cut an additional elephant and glue to the back... I just think it would look nicer.
The mat, 1 cut with the scraps I had on hand.
And you know I packed it in a little baggie complete with the eyes so it would be ready for a time when I could just sit down and complete.... Yeah today is the day and guess what it took only minutes to cut and five to put together. Note if you do this have all your parts in your baggie and make sure your card base is scored and folds properly so you won't deal with a problem when you finally get to put your kit together.
All I did was assemble the pieces and viola we have a cute little card that you can stamp any sentiment on with plenty of room to write a note if you prefer. This is one of those projects that takes longer to pick out paper than put together.
Isn't he cute? Thanks for spending a couple of minutes with me today. I hope you learned something. Have a great day.
MyFreeCopyright.com Registered & Protected
Thanks for your sweet words of encouragement, your comments continue to inspire me.
signature

Always Make An Extra Flower From Your Projects

Make an extra flower or two so you can easily put together the scraps from your projects to make beautiful cards and they will be perfectly coordinated! Lets face it we spend a lot of time choosing our papers for each page we make, why would we throw out the scraps? A flower or left over embelishment will easily pull the look together. Today is National Scrapbooking Day so I am sure you will be working on many wonderful projects so be sure to make an extra from your scraps.
Hubby was going to help me clean up and was going to toss these papers in the garbage. Fortunately I rescued the paper and now have a little card to add a note to.

I added a few scraps of fibre to complete the look.
I took this photo just so you could see a close up of this beautiful paper from My Minds Eye Home stack. I used it on my Slainte page and it cut like butter. I just love it. Note the glitter pages took 2 times through.
I took my scraps and put in the little baggie and assembled the card in less than 5 minutes. Notice the flowers the one on the left is a spare flower from Plantin and the right is a spare flower cut from George.
Now that turned out pretty didn't it?
And I even decorated the inside.
This is a close up of the front of the card so you can see how glittery it is. I hope you like todays card.
MyFreeCopyright.com Registered & Protected
Thank you for your sweet words of encouragement. You comments always inspire me and motivate me to continue designing and sharing with you.
signature