


Several people asked me to show them the “How-to”.

Note: This is not my original design (card base or concept- Cricut cuts are my design). I saw this card several months ago but they did not offer a tutorial. I wish at the time I could remember the site, so I could ask for instructions or a tutorial. So when I wanted to make something special for Madison, I had to think back and try to figure it out myself by what I remembered. Again, it was an easel card with space provided to fit the cake and box of candles. So, with a bit of math background or calculations, I figured it out.
Card size preference.
a-Decide what height your cake is going to be. I decided to go with 1 in.
b- Card. The card is basically an easel card.
c- Decide how wide your card will be. I decided to make it 5 ¾” wide.
You end up with a wider card= 5 ¾” w x 5 ½” h --Tip- cut at 5 ½ “ for a smaller card. If you want yet a smaller card make sure you also cut the length unless you want it taller.
CARD
1- Cut a 12” piece of cardstock to 5 ¾” w.
2- Score at 5 ½ “ and at 6 ½ “ (this gives you the 1” space in the middle of your card) and at 9 ¼ “ (this becomes the fold on the front of the easel card (note that this is half of your 5 ½ “ you have to either side).


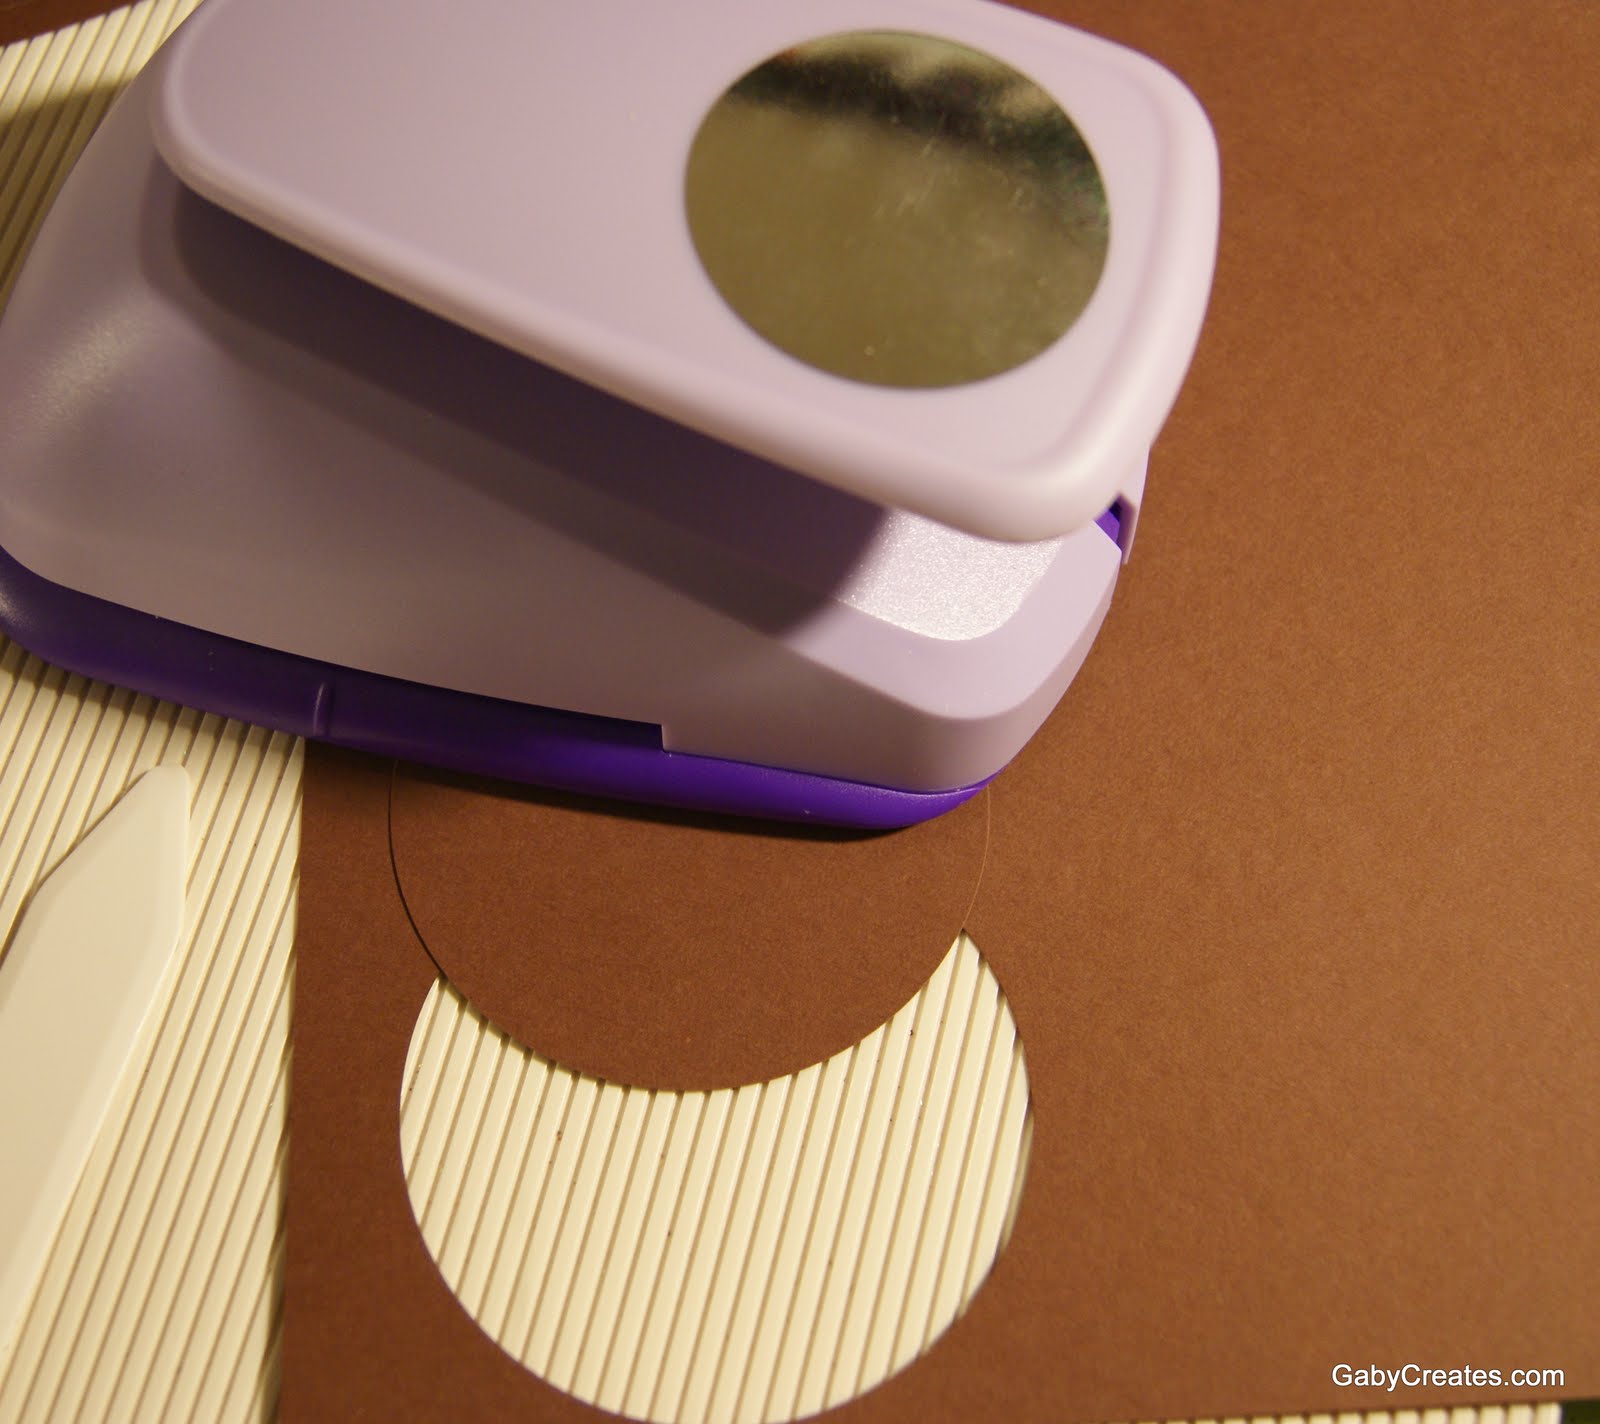
a-Decide how wide or the circumference of your cake. For the width of my card I could fit up to a 3” diameter circle or cake.
b-OK, a bit of math. If you cut a 3” circle (diameter) with a punch or your Cricut, you need to find out your circumference in order to be able to cut the strip (or what gives your cake the height). Instead of boring you with the Pi () formula, I’ll just inform you that for a 3” cake you cut a 9.42477796076938 or 9 ½” long (you just cut a little at the end by rounding it up) and for a 2 ¾ “ you cut a 9” (rounding up) long; and for a 2 ½” you cut a 8” (rounding up) strip of paper long by 1.5” h.

1- I cut a 3” circle and a 9 ½” w x 1.5” h strip of paper brown paper (chocolate cake!).


For the candle box - alternate-- you can have one chunkier candle and only punch a hole in the middle of your cake instead of several candles around the cake.
I measured my candles and new that I needed a box that was at least 3/8" high (remember I can go up to 1") and 2 1/2" long to fit the 8 candles. I failed to take pictures of how I cut and scored the box, but here are the measurements. You need a 3 1/4" x 4 1/4" piece of cardstock that you can decorate to match your card like I did. Score at 1/2", 7/8", 2 3/8" and 2 3/4" on your 3 1/4" inch side of your paper. Turn and scorea at 1/2", 7/8" 3 3/38" and 3 3/4". Cut all corners and fold. I decorated and cut with a Spellbinder die in the

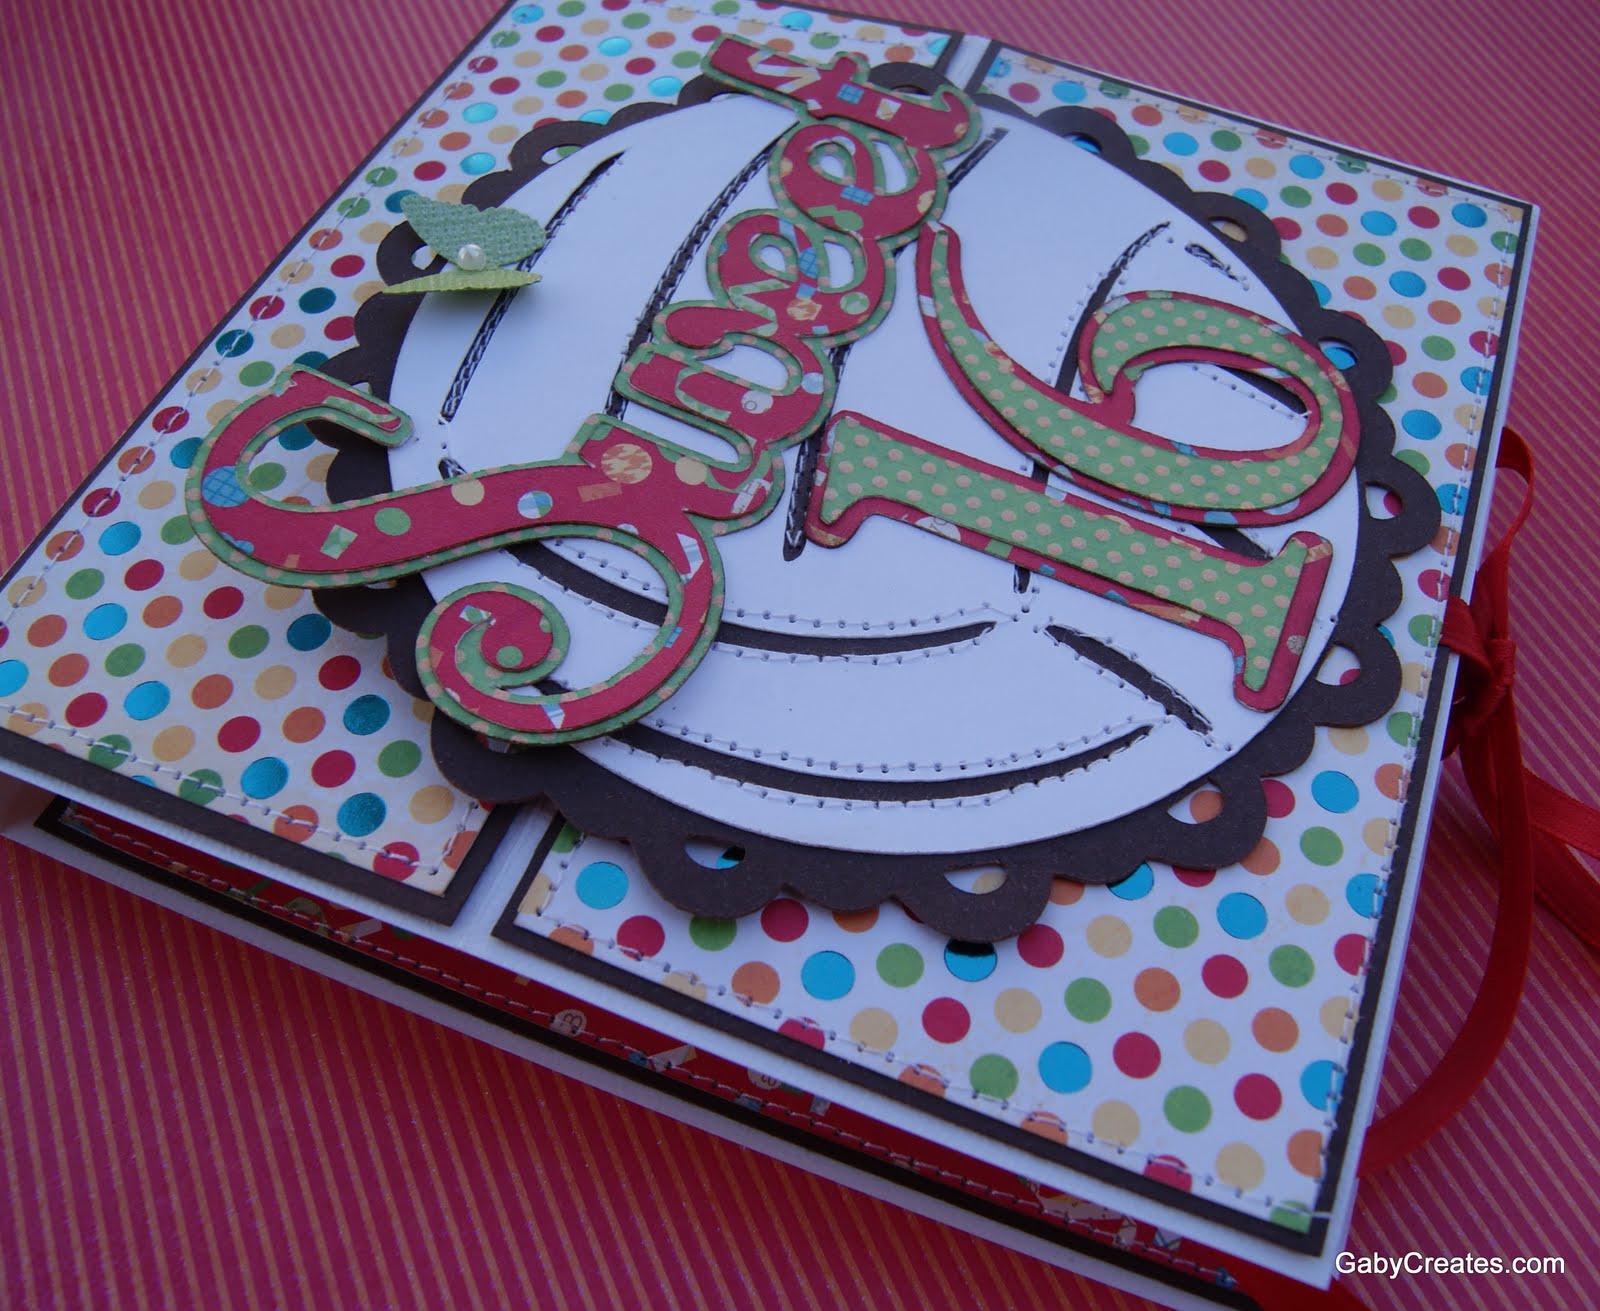
I cut all front of the card embellishments using my Cricut Expression. You may decorate to taste.
Thank you so much for enduring this long post and I hope I did not confuse any of you!
If you need clarification or more detail info, please drop me a comment!


9 comments:
Gaby this is awesome girl!!! Love the dimension and what a great idea to add candles to the little cake...gorgeous colors too!
TFS
Hugs,
M
This is an AWESOME card. Love the little cake with the candles having the dimensions of the cake to hold the easel up..... ADORABLE.
Thanks for sharing this awesome card and great tutorial with us today.
This is such a cute card. The cake is wonderful. TFS
Sue
Wow!! This is a wonderful card! So much lovely detail!! Thanks for the great tutorial so I can attempt to make one for myself! :-)
OH my gosh this is super cute!!!!!!!
Thanks for the great tutorial....
Awesome card... Thanks for sharing. You are so clever!!!
Will definitely have a go. Hope mine turns out as well as yours.
This is such a cute card. I think the cake is wonderful. TFS
Oh my goodness, this is so cool!! I love everything about it!! TFS!
Sherrie K
http://sherriescraps.blogspot.com
Great card, so creative and beautiful.
Post a Comment