


Hello My Crafty Friends,
I hope everyone is well. What gorgeous weather we are having still, it doesn't feel like October. Lisa here from Lisa's Craft Room. I am happy to be here again this month. Thank you Sheila for having me.
I decided to do these cute diamond shaped cards. You start off with a 12 x 12 patterned piece of cardstock. You could also use a solid color. You score at 2", 6" and 10", but, make sure the cardstock is facing up and down. Then you cut 4" x 12", by turning the cardstock sideways, you end up with 3 cards. I just used one so I could make three different patterns. Sorry this is going to be picture heavy. I wanted to really show how they are made. They are really cute.

Then fold it in half.

Next, fold each side up along the score line.

I turned it around because then you are going to do the same thing the opposite way.


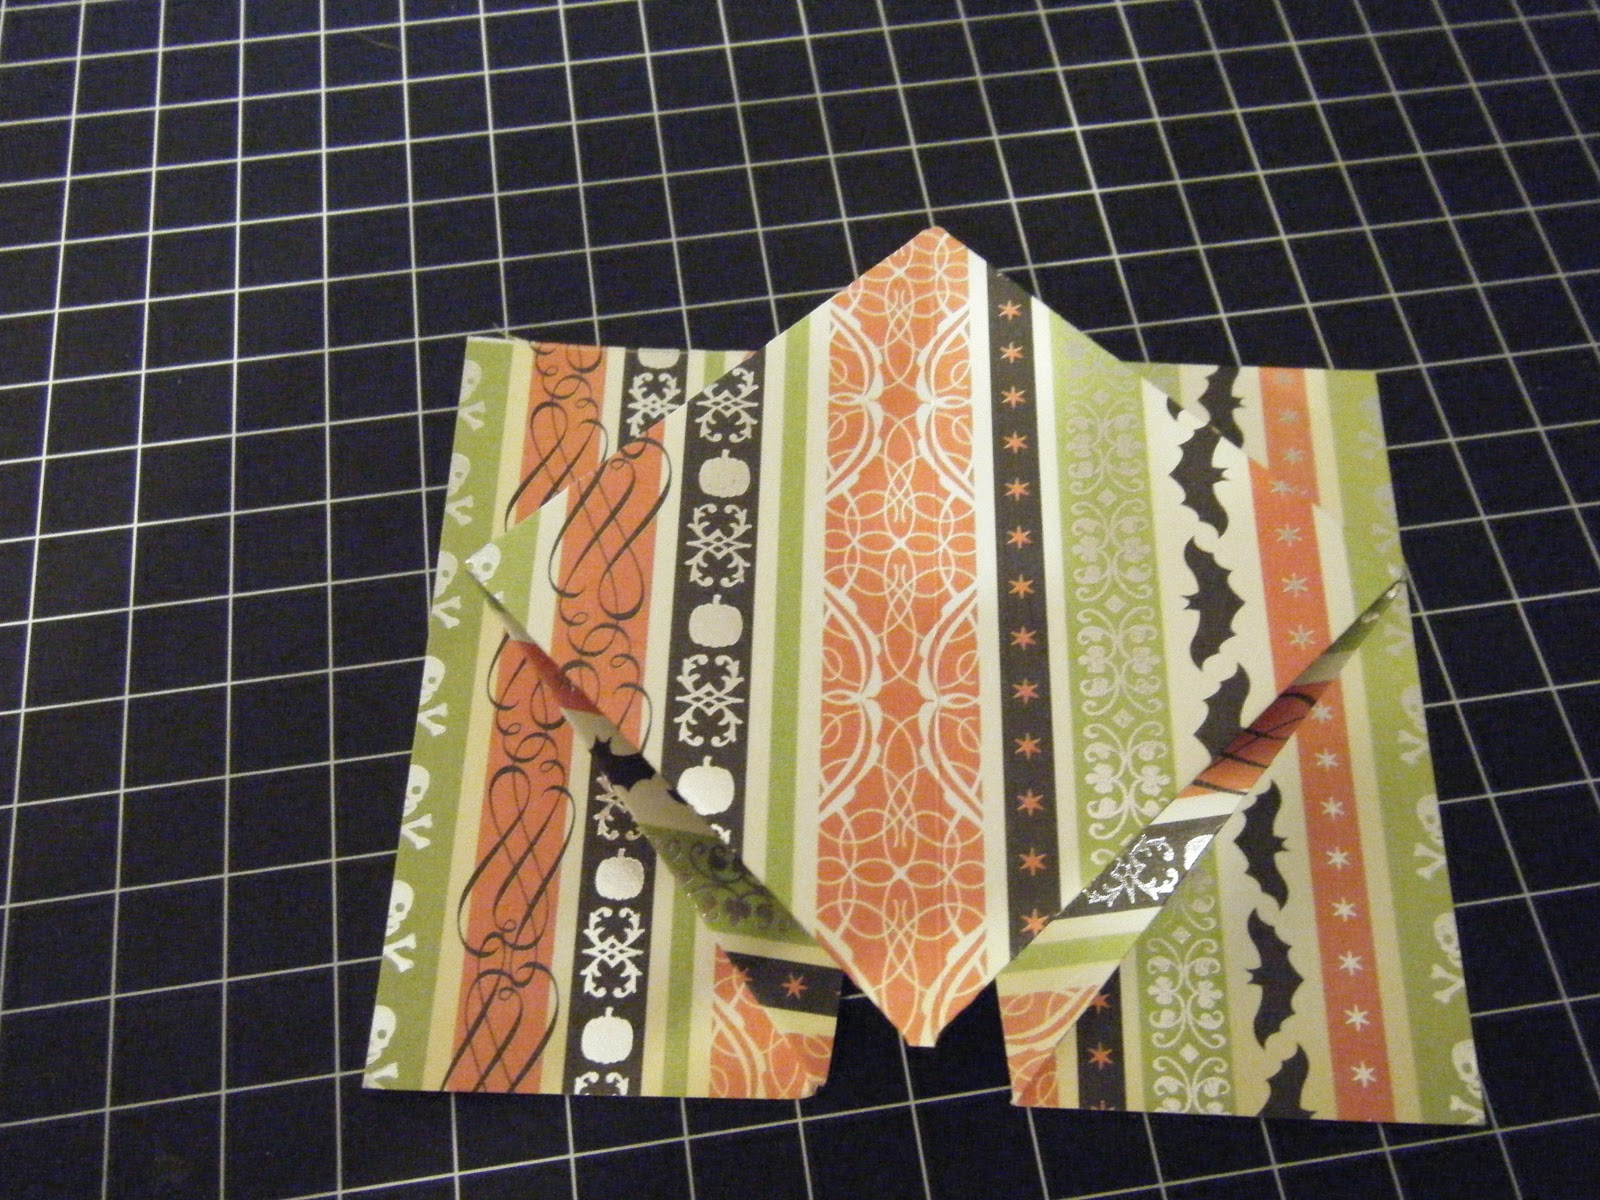
When it is unfolded you should have an X on each side. It's better viewed on the wrong side.

You grab the two sides and fold it into the X.

Do the same on the other side. When you push the diamond down, you end up with this.
Then you use your bone folder to crease everything. This is what it looks like opened up.

I used My Creative Times scallop and stitched circle dies and All Around Halloween stamps.

I used markers to add color to the images and did a little doodling with a white gel pen.
These two cards open up sideways.

Because I forgot to turn the cardstock when I was cutting, I open it up the opposite way.

If you have a hard time understanding this tutorial, you can see a video by Dawn at http://www.dawnsstampingthoughts.typepad.com/

Thank you so much for stopping by. I always appreciate your visits. Thank you Sheila for having me again ;)


14 comments:
Lisa these cards are adorable and so unique! Great tutorial and easy to follow too. I love the way they turned out, and your little added coloring to the stamps make them pop. Thanks for sharing with us today.
Wow Lisa - these are really fun! I love unique folds and while I find myself always doing the same I love to see something new! Love your little stamps in the middle too! Gorgeous papers!
Hugs,
M
Lisa,
These are really cute. I love cards that aren't the ordinary ones,.
Hugs, Stacy
these are super cute Lisa, I have been wanting to try to make these, your tutorial maybe just the push I need to make one..lol
thank so much for sharing!!!!
How cute these turned out...
Oh Wow! Thanks so much for the tutorial! I have seen these before, but had no idea how to fold them. The designs are gorgeous too!
love them. do them smaller and they can be name cards at weddings, always nice something diffrent hugs julie
Thank you all so much for your comments ;)
Cute set of card, love different or shape cards, thanks for the step by step picture tutorial!
Great cards!! I have made this kind of card before and it is a lot of fun! Thanks for sharing!!
Hi Lisa, this is so pretty! Thanks for the idea and I will have to try this:) Thanks for the tutorial!
Sherrie K
http://sherriescraps.blogspot.com
Fab cards. So simple to do but so effective. Love them x
Oh, I love these!!! I'm going to have to do these!!! Fabulous job!
Thanks again for your sweet comments. ;)
Post a Comment