Good Day, boy do I have a cool project for you today!!! You will love this little pedestal platter with dome lid and you can make it in just a couple of hours! I purchased my Cheese platter from Hobby Lobby. I used my 50% off coupon so this little goodie was only $15 when completed!!! What a wonderful serving dish this is at any party or holiday festivity you have, and just think of the Christmas gift possibilities!!!
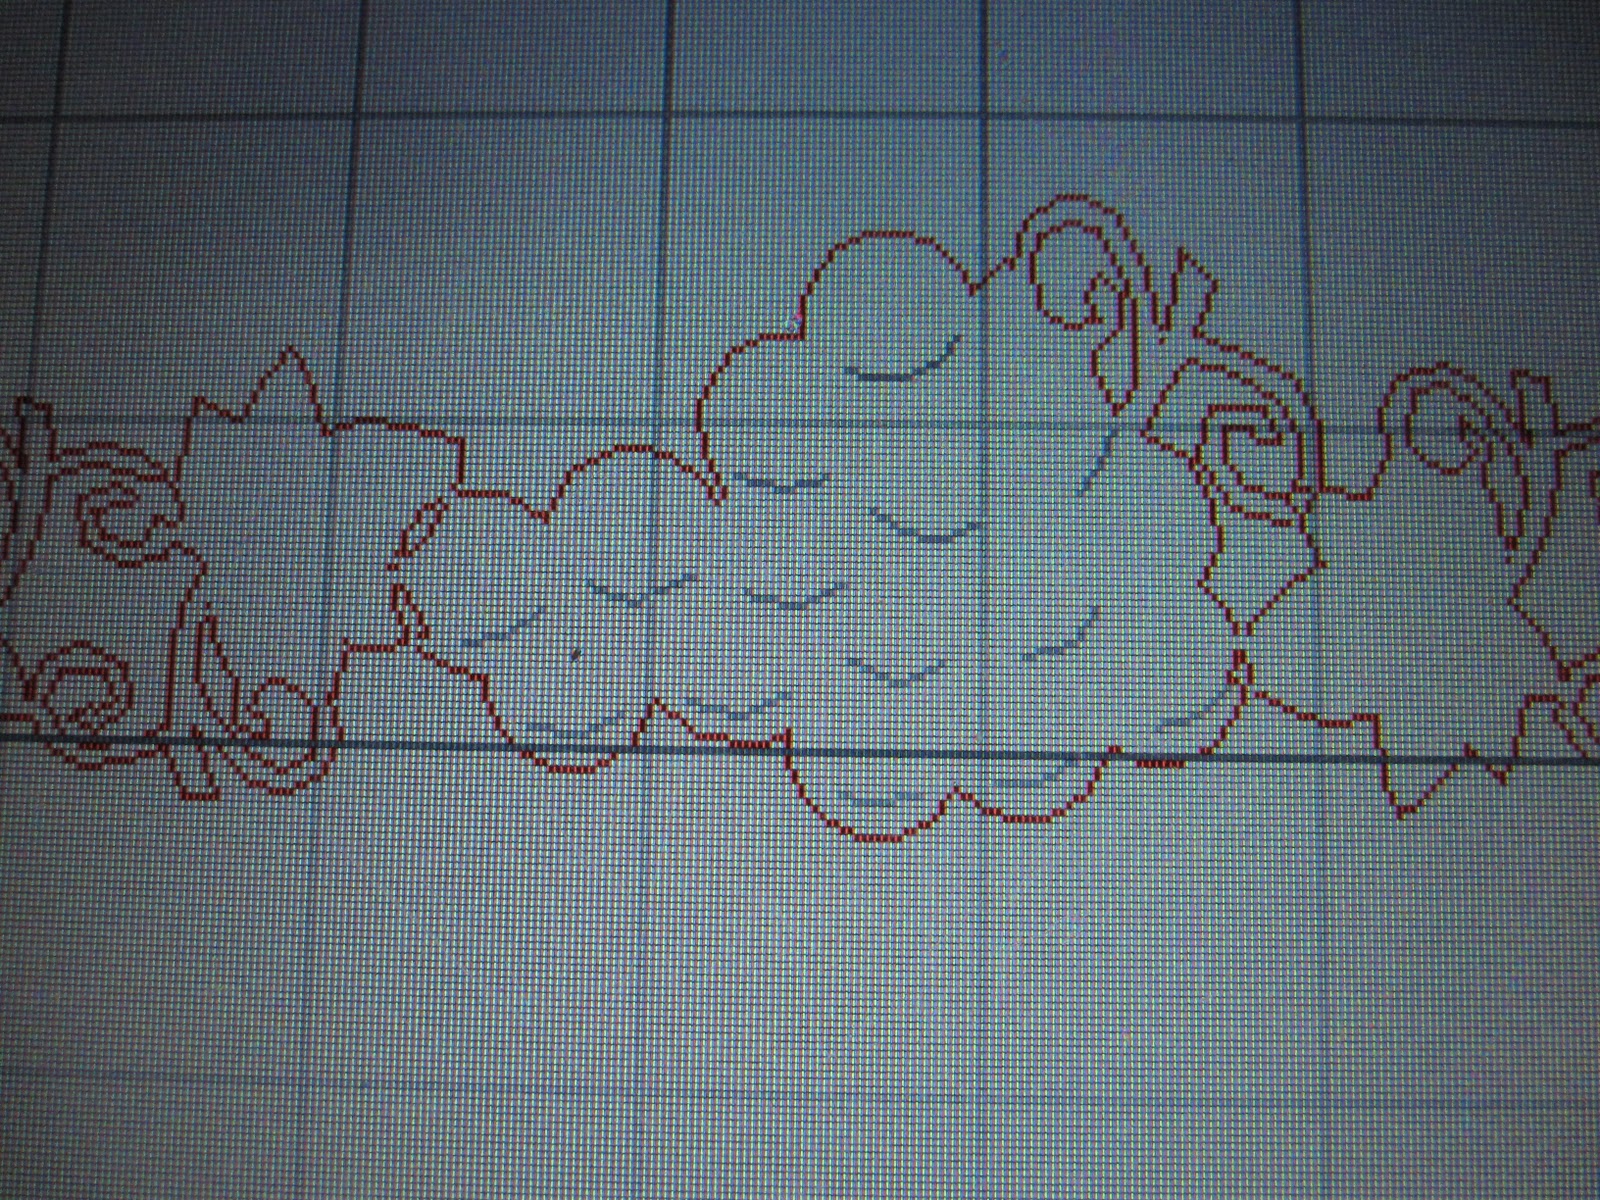
I used my Preserves card; the grape bunch and the little great leaves are perfect.
I used the hide contour on the grape bunch. I used a grape bunch and 2 leaves, welded together and kept adding until I met my size.
This is what it looked like before I started working on it. Be sure to wash and dry your item before attempting to etch.
I measured to make sure all would fit.
I followed the directions on the bottle. I might add this is the 3rd project I am making from this little bottle, so a little does go a long way.
I gathered all my supplies and notice I use the clear transparent shelf liner from Walmart as it's cheaper than the liner the Provo Craft Vinyl says. I think my roll was only $3.
After cutting I removed the cut art saving the background.
See how neat it looks. Oh, notice the amount of space on the bottom this was done so that I could line that up with the bottom of the glass dome so my grapes would show over the lip of the pedestal base.
I then added the transparent liner on.
And then removed my piece from the backing.
I have to admit it is hard to maneuver a 19" sheet of sticky paper by myself but it just took a little my time than it would if you had a helping hand. Miss you Kim!!! (she helped on the last project!) Oh by the way I went shopping with Kim and she bought this cute set for a gift and was going to etch it and you know me.... I had to do it too!!! I have some GREAT ENABLING FRIENDS! Love you ladies and you know who you are!!
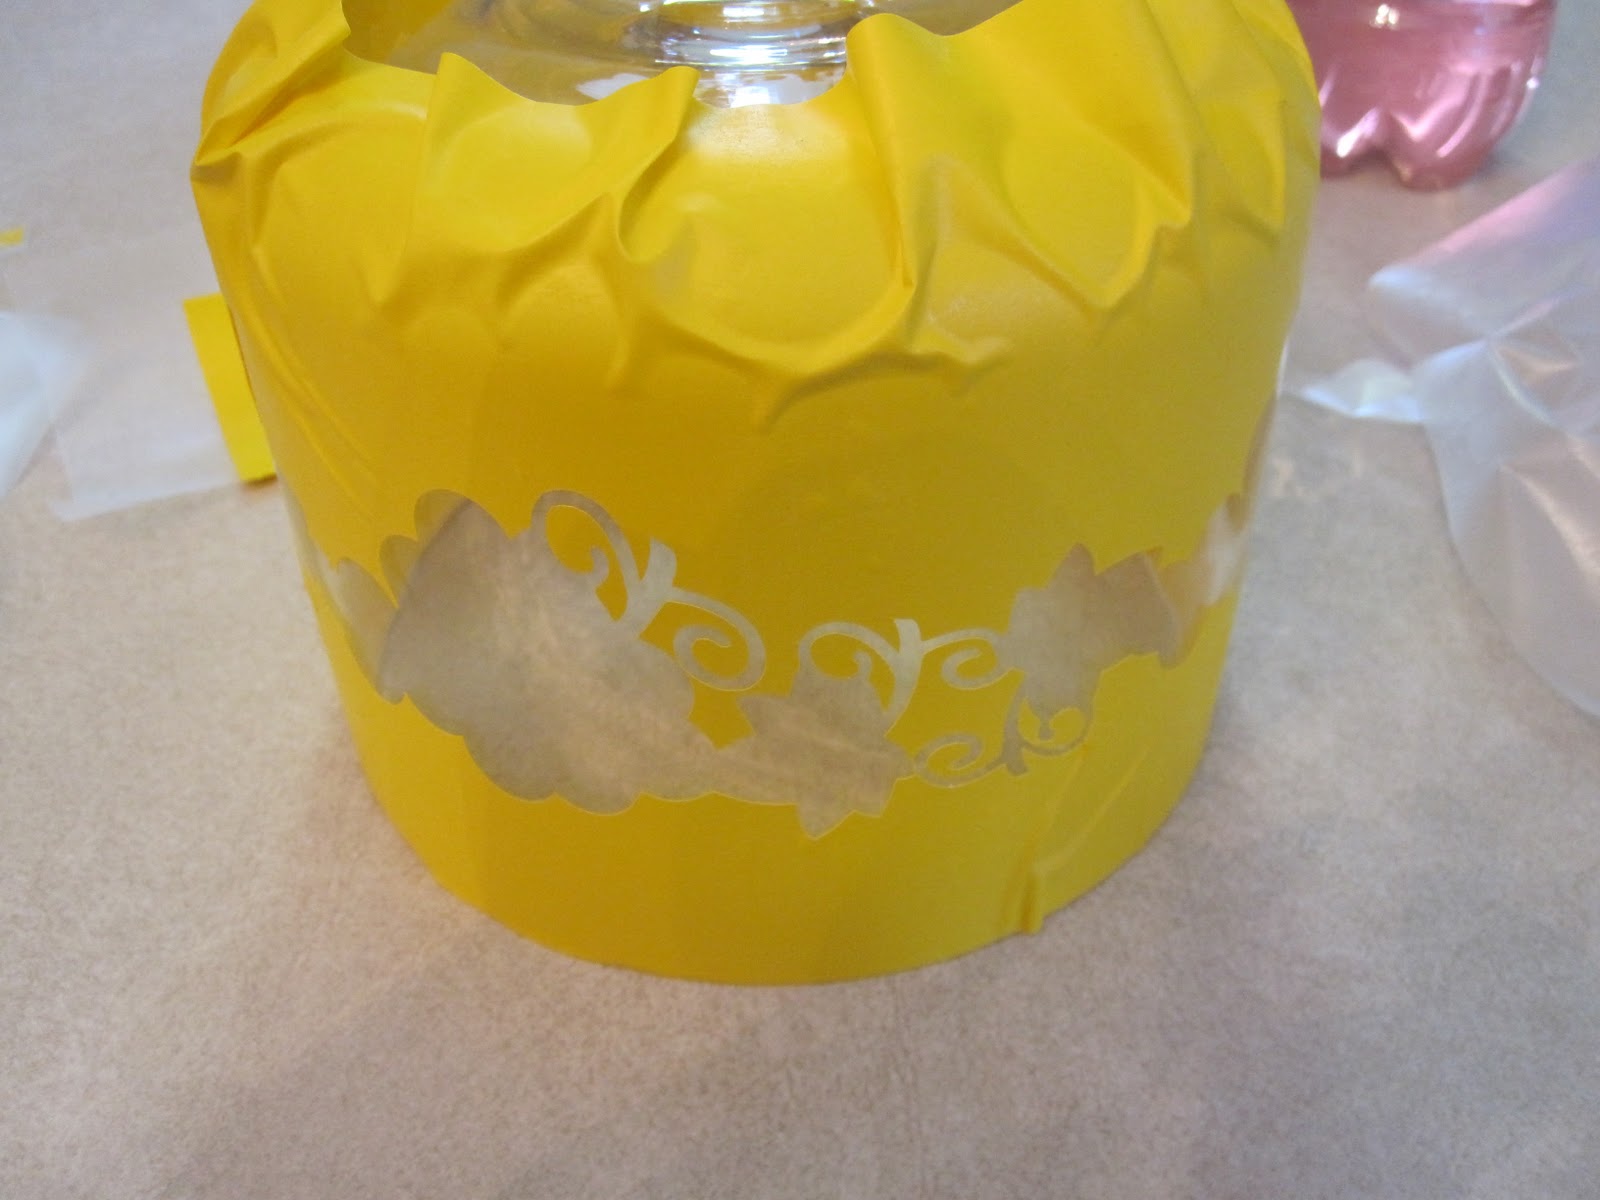
After it was on the glass I spent a couple of minute just pressing down the edges so they were all sealed and the cream could bleed through or drip down the side.
This is how it looked when I had everything on.
I applied the cream on thick like the directions said.
However, I left on for 10 minutes instead of 5 because I like the effect better.
After the time was up I rinsed it off with warm water and followed up with a good soap and water wash.
Now doesn't this look awesome? And, it was so easy to make. I sure hope you liked today's little project and come back and see us again at
Shes A Sassy Lady where there is a new design every day by some really talented Sassy Designers! Here is the
Sassy Cheese Dish Stencil Gypsy File (be sure to measure your dish first).
Thank you for your sweet words of encouragement. Your comments continue to inspire me to share with you.


21 comments:
What a lovely project. A great gift idea which we can use soon for the holiday season
wow... this is so nice! Thanks for sharing this project, very nice.
This is freakin' awesome!!! Love what you did - fantastic idea!!! :D :D TFS!!! xxx
OH I love love love this!!! I'm trying this as soon as I bet some of that glass etcher - the possibilities are endless! LOVE IT!
Melissa
I LOVE Armour Etch!!! You did a wonderful job!!! TFS! :)
This is gorgeous! I have never tried etching, but would love to!
What a wonderful project. It turned out great. I've been wanting to try this but just haven't gotten around to it yet.
This is beautiful and would make a wonderful gift!! TFS!! Hugs!!
This turned out gorgeous Sassy!! What a lovely gift!
Sheila, this is beautiful!!! What fun, I haven't did any etching in a while!!!
It really look's pretty easy. I have had my etching cream for about 5 months now and have not had the nerve to attempt doing anything with it yet. This might have done the job. I will first start out with something small and see how I do. Thank you for the step by step info and all!!! Beautiful outcome!!!
Rexann
Beautiful!!! Thank you so much for the instructions!
Absolutely GORGEOUS!!!!
Sheila,
This is so pretty! I love it.
Thnks for sharing
Stacy
LOVE LOVE LOVE it - wish I had been there to help and we could have done mine too! :-)
Thanks for the great idea!
K Fiscus
This turned out great Sheila! You always give the best directions and make it so easy for anyone to try! Thanks for sharing.
sassy...I love it too. did you match it with the serving tray? I can't remember that long :)
I still haven't tried vinyl :(
Wowza....this is so elegant. Love this project. Perfect for entertaining for the holidays too:)
Love it!!! I attempted to etch this week also! It turned out pretty nice but I think i need to practice a bit more...Would like to see more of a etch on mine...yours looks perfect!
That does look awesome...as well as wonderfully elegant.
I have not tried etching, but keep wanting to. I guess I don't have confidence to try. I love how it looks and would love to be able to accomplish something so nice.
Post a Comment