July 31, 2010

Caught A Bug? Get Well Card Kit Give-Away

Here is another fun little card that I designed on my way to Myrtle Beach. I can never have enough Get Well cards so I thought I would make a couple of variations. I finally used my Tear Drops cart and I really like the font but after putting this together I decided that it is a little too frail for window cards for mike liking. I like something really sturdy. I showed this card to a couple of people at work and they loved it and reminded me that its not like it gets played with so it is just fine. In my family we pass those cards around for everyone to read so I want them sturdy! So I passed this around and the photo was taken after about 10 people handled it so I guess it passed the sturdy test! LOL
I had to do a close up for you on the little bug... so handsome and lumpy at the same time.
This is what the design looks like on my Gypsy Woman. As you can see I have everything separated for an easy cut that produces 2 cards.  You can easily adjust the mat to a smaller size and cut only 1 card if you do not have the 12x24" mat. Wen designing these cards I start with a window base of 8.5x5.5. I simply set the items in the window first and adjust to the size I want and position I want. I do kern and weld the letters together. After I have everything positioned and sizes adjusted, then I make a copy of the individual pieces and move the copy to the side. The next thing I do is group the items by touching 1 at a time and them weld them all together. It is very simple to do. Then after the card is made I make a copy of the card and position the two side by side to conserve paper. I then arrange the pieces in the color cuts I want and am ready to cut.
I took all the pieces, separated them and placed them in a little baggie. I scored and folded the card base. Remember if you have a window card draw the back to the front making sure the front is flat on you work surface to give it added support so it will not bend.
After I check to make sure I have all the card pieces I put them in a little zip lock lunch bag to make when I have the time.
I made sure that I had inked the edges of the sentiments paper before placing them in my zip lock bag for storing until I had more time.
The first thing I did was stickle spots on the little bug and set it aside to dry. I then assembled the balance of the card.
When that was dry I used glossy accents over the sticles to seal and give the bug dimension with little bumps on it's little back.
All I had left to do was adhere the little bug and viola the card is done. Now wasn't that easy. I hope you enjoyed today's project. 1 lucky person is going to win this card, all you need to do is leave a comment on this post (make sure I know how to contact you) by Friday evening 8PM CST on 8/6. Winner announced on 8/7 by 6AM!
Everyone is a winner at ShesASassyLady, here is your Sassy Caught A Bug Get Well Gypsy File and your Sassy Caught A Bug Get Well DS File to download.
MyFreeCopyright.com Registered & Protected
So be sure to leave a comment and make sure I know how to reach you. I am always encouraged by your sweet - sweet words, they inspire me to keep scrapping and sharing things with you.
signature

WINNER - WINNER - WINNER

What a wonderful week this is at Shes A Sassy Lady... we started out with our weekly card kit giveaway for the the Pretty In Pink Card Kit, and here it is Saturday already and its time to announce our winner and a new card kit for the week! This weeks lucky winner is:

Mary Jean said...

omg! What a darling card! It's Pink!! And it has a PUPPY!!!! awwwwww....love puppers!!!

Thanks for showing us...hmmmmm...I'm gonna have to scraplift this one! it's just way to cute!

All you need to do is contact me at shesasassylady@hotmail.com with your name address and phone number and we will get that out in the mail to you!
And be sure to check back a little later this morning for our weekly card kit drawing!
signature

July 30, 2010

Accent Essentials album

Hi all,
I'm Kelly from http://www.kamscraftyplace.blogspot.com/. I hope you enjoy my creation.

Thank you Sassy for letting me be one of your designers. Whenever I'm on the MB, there seems to be a dislike for Accent Essentials. For me it's one of my go to carts. I wanted to show you how fab it is. I just hope I've suceeded. That's technology for you and I'm quite new to blogging and sometimes not the greatest at doing it.

Here is the album. As you can see it's a shape of a flower. I found some fab paper over here in the U.K. I'm not sure if you have it in the USA. It's only been available for the last 2 months. So I thought flowers and the papers are called Rose Garden. They should work out well.

 Here are the papers I used. The great thing about this stack aswell is it had co-ordinating ribbons, tags and lettering at the back of the stack.
 As you can see on the Gypsy screen I used hide contour to make sure I had the whole flower not with bits cut out. Thinking about it now I would another time use hide contour to hide the outside line so I could use the inside for photo mats. The flower was 4" x 4".


Here is the chipboard cut out. I say chipboard, but it's really a cereal box. It doesn't quite fit 12 x 12 that's why there are only 2 flowers on the Gypsy screen. If you have 12 x 12 chipboard you could put more to cut.

This is all of the paper and chipboard cut out.


So here are the inside papges. I used some of the tags included in the stack. I also have recently fell in love with the Prima flowers and try to use tham as often as I can.


Well I hope you all liked the album. I enjoyed making it. Like anything I make the finishing will be completed once I've added my photos. This is where the Gypsy is fab because I can place my photos on the mat exactly where the cut outs are on my screen. I know I will have fabulous photos cut in the flower shape. Can you tell how much I love my Gypsy yet lol.
Kellyx

July 29, 2010

Christmas in July part 4

Hi fellow crafty friends! I'm Kristy from Craftin on my door, and I want to thank Sheila for letting me be a guest designer today at She's a Sassy Lady! I don't know about you, but I am starting to "think" about Christmas and the gifts that I will make this year. I thought that I would show you a cute, and inexpensive {but fabulous looking} gift idea! This is great if you have a lot of people that you need to get a little something for!
These are gift card holders from Michael's. They look pretty cute on the outside with ribbon and some images cut from my trusty Cricut, but...I bet you want to see what's inside?!
It's filled with Hershey's Nuggets (and who doesn't LOVE chocolate?) and a cute little saying! Of course I'm not going to make these right now and save them for 4 months, but I just wanted give you all the idea.  :)

Here's what you will need:
*A gift card tin ($1 at Michael's)
*Hershey's nuggets
*Pattern paper
*Coordinating solid color papers
*Some type of adhesive (I used my Tombow)
*Glue dots
*Glitter and a Xyron or Stickles
*Ribbon
*Some of your favorite Cricut cartridges (I used Storybook, Accent Essentials, and Create a Critter

Here's how you do it:
First, cut 10 pieces of your pattern paper at 3" x 1". Put a line of adhesive on the back of each short side, and then fold the paper around the delicious smelling chocolate! Then line the chocolates up in the tin. Five on the top and five on the bottom. You will want to use thin paper for this part. If your paper is too thick then you will not be able to fit "5" chocolates across.
Next, cut the letters for your sayings. I used Storybook and cut the letters at 1" using the "shadow" feature.
Using Accent Essentials I cut out the snowflake at 1". Then I wanted my letters and snowflake to have a really sparkly look so I "sugared" them!
I put each letter and snowflake in my Xyron UPSIDE down! I took them off the "sticky" sheet, flipped them over, and placed them onto a piece of scrap paper.
 Then I "sugared" them with glitter! I {heart} bling!
I used my tweezers to pick up the letters and "shake em" off! I then put a mini glue dot on the back of each letter and put them onto the pattern paper covered chocolates.
Can you see the sparkle??!! Wouldn't you love to receive this sweet little gift?! I have a few more to show you:
I didn't have black glitter so for this one I used my Black Diamond Stickles.
This one is fun for someone who may not celebrate Christmas, but you still want to give them a little something.

Here is the last one:
This one is SUPER sparkly! I found this cute little Christmas tree on my Create a Critter cartridge. It's on page 73 with the reindeer. I cut the trees at 1" and some at 3/4". The big tree tag for the top of the tin was cut at 3".
Here they are again all wrapped up with their little mystery inside!
I hope I inspired some of you to start your Christmas gifts! I would love to see what you are planning on making/doing for gifts this year! Feel free to "hop" on over to my blog anytime Thanks again Sheila, and Merry Christmas in July to everyone! I look forward to your words of encouragements and comments on this my debut here, and I hope you come by and visit me,
;) Kristy at Craftin on my door

July 28, 2010

BLOG CANDY - ENTER TO WIN

Christmas In July Cart GiveAway. Be ready for Christmas this year by getting a head start on your Christmas cards and decorations with the Christmas Noel Cart.
All you have to do is leave a comment on this post to enter to win this Christmas Noel cart! We would love it if you became a follower too of this blog, but it is not required to win.... we just think you will like us!  There is a new design offered daily by the Sassy Designer tean that I am sure you will learn from and enjoy what you see. Thank you for stopping by and please leave a comment by 8/1/10, 8PM. The winner will be announced by 7am on 8/2/10.
And don't forget to register for the Gel Pen Blog Candy too just click here and the Card Kit Give-Away here!  Such excitement this week!!! Just our way to say WE APPRECIATE YOU!
Good Luck.
signature

July 27, 2010

Just Kicking Back A Little Blog Candy To Give Away!!! A Complete Set Of Cri-Kits Gel Pens!

This is  a double post with two seperate projects using the Cri-Kits Gel pens. You see I made the card and loved these little pens so much I wanted to show you another project today! First we will make the card and I will follow up immediately with these beautiful antique looking tags so you can see how easy it is to make.
Thought I would try a little western this week! HeeHaw! This is an easy card to make and I learned a new technique using gel pens and the nifty holder for my Cricut.
Here are the items I will use for this card. Notice I am using the little gel pens and the holder by Cri-Kits.  This company asked me to test their pens and see what I could design with them. And let me tell you it was so much fun and you know me.... I even included my bloopers so you could learn from my mistakes!

Cri-Kits is not affiliated with Provocraft but the holder was designed to use in the Cricut machine. I want add a little disclosure here as it is my understanding Provocraft will not allow us to attach anything to the Cricut and still retain our warranty. So owning a Cricut and my Expression I used it on my little bug as the warranty has expired. My photos will show it on the Expression as I was demonstrating it from my kitchen and then went back and cut/wrote from my little bug. I would also say that when my warranty expires I would not hesitate to use this as it worked very well. But for now I will err toward the cautious side when it comes to my Expression.
These are nifty little pens, they write so easily you will love it.  Some lucky follower is going to win a set of pens complete with its holder! All you need to do is leave a comment at the end of this post to qualify. And keep watching as they gave me more than 1 set to give away!!! Yeah for Blog Candy
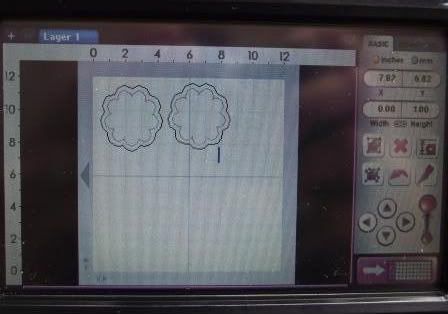
Let's get back to work, this is the design. Again, I make two cards at a time as I do not want to waste any paper and I can increase my supply a lot faster!
See this is how you would lay this out for you cut. I am giving directions as if you did this all on one machine.
The way it works is that the holder fits into the assembly just like the needle assembly. It has a magnet on the end and then every pen has a little piece of metal on the tip.
The little pens fit easily into the holder as as you put it in it just grabs and stays in position.
It is now ready to be placed in the same position as the blade housing.
Before you cut your item use the hide contour to remove all the little details. Then cut your piece but do not unload the mat.

Select the Return To Design. Go back to the design. Insert the pen holder where the blade housing goes. I left the outline on the boot as I wanted it to show. In the future I won't as it would be much easier than the glaring bloopers I got. First notice these are practice sheets below, and I suggest if you are a mechanical klutz like me practice a few times on taking that blade housing out and placing the pen holder in without moving the complete assembly. Take you time also and do it right, I was in a hurry and boy what a mess I made!

First cut, I moved the entire housing while balancing the phone and screwing the assembly in. I moved it a good 1/8 of an inch but was impressed with how well the pens worked. I wrote with blade set on 6 pressure on 3.
The second time I was good except I wrote first then cut but forgot to change my pressure back up to 5 with a card stock, and I was a hair off.
This is the cut I kept. I decided that I wasn't going to do the outline as that is really difficult and because the line is a pen marking it wasn't really accomplishing much of an outline. The reason I wanted the pen was for the detail in the boot and that is PERFECT! So I am a happy camper with my cut/write and went on to complete my card.
I used my Score Pal and let me remind you that when you are scoring cards of these type draw you back to the front so that you do not weaken the front any further.
I glued on the boot, and then the letters.
Placed paper in the inside to write sentiments on.
And then I used one of the gel pens to place little black dots on the letters for more definition. I think it turned out pretty cute and am thrilled with my Cri-Kits and can see the unlimited potential for creating.


On to te second project. Aren't these tags beautiful? I needed a tag for a gift and thought I would try my new Cri-Kit Gel Pens again and boy and I glad I did. These are so unique and so easy to make, you will just have to try it yourself! I got my new Summer In Paris cart and fell in love with the bike. It has so much detail I just couldn't imagine getting a clean cut each and every time so this was the PERFECT SOLUTION.


First I designed the tag on my Gypsy.
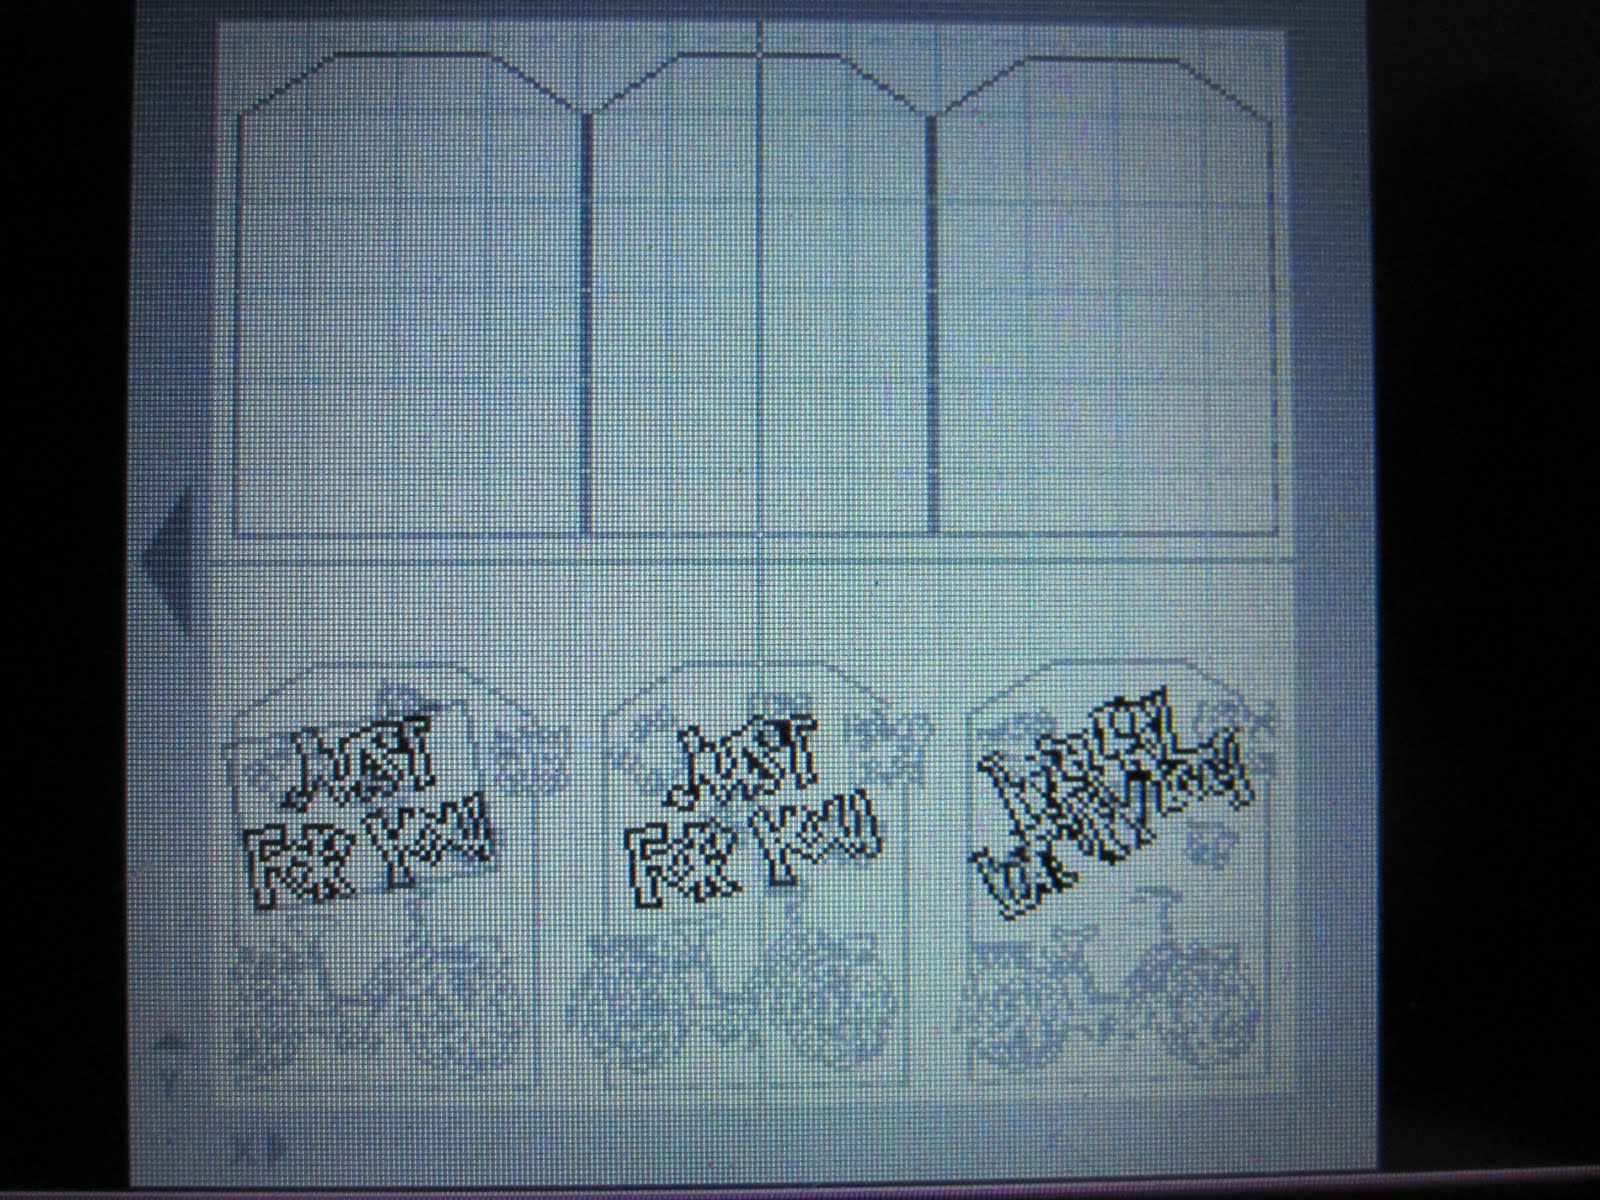
Then I added a page and place my cuts on the tags where I wanted them. Notice some of the items are tips and off the tag just like I want them is how I place them.
Then I added the phrases I wanted to cut on another page.
Now look how easy it is to put the pen together.... see the magnet on the tip, just inset the pen in the casing and viola' it is together. Just place in you blade assembly in the Cricut just like the blade.
See you can shake it and it doesn't come out! So easy... oh don't forget to place a little scrap paper under the pen so you won't make any marks on your paper.
I placed it on my Expression this time and it worked so smooth I just love my new Cri-Kits Gel pens!
Now I did experiment with the pressure. Three of my tags the pressure was set on two and on the other three, the pressure is set at three and you can see the difference. I liked both but have a better idea of which way to set depending on the look I am trying to achieve.
See how I place the paper, thats all you need to do to prevent marking the paper. Click RETURN TO DESIGN. Change out to the blade without removing the paper. Then cut your tag.
Don't forget the name Cri-Kits as you will definately want a set for yourself to create with.
The one on the left is pressure setting of 3, on the right 2. You can see how both are effective depending on your use.
I then tried inking for the first time and know that I will just get better at this with time. Thanks of Elizabeth at 217 Creations I need more ink supplies; my friend the enabler! I am a slow learner Elizabeth so be patient!
Now don't these look cool? I love my Cri-Kits Gel Pens! They have opened a new world of crafting!
I then placed gromets in each tag.
Added my ribbon and I was done!!! That easy. Don't you just love these tags?
Do leave a comment for your chance to win a complete set of Cri-Kits Gel Pens and Holder (includes Holder, Regular and Neon, Metallic, Glitter, Pastel and Swirl Pens). All you need to do is make a comment by Saturday 8PM on 7/31/10 and watch for the announcement on Sunday morning by 8AM on 8/1/10. It's that easy! Everyone is a winner at Shes A Sassy Lady this is your Sassy Kickin Back Gypsy File and your Sassy Kickin Back DS File.
Now be sure to leave a comment and make sure I know how to reach you.
MyFreeCopyright.com Registered & Protected
I am always encouraged by your sweet - sweet words, they inspire me to keep scrapping and sharing things with you.
signature