


To those of you that know me, it has been awhile since I've posted and/or commented to you, however, please trust I've been having a very difficult time these last few weeks and time hasn't been afforded me. I don't want to take up a lot of time now explaining because this tutorial is a bit picture heavy but I did want you all to know I love you, miss you and as I've always done, as soon as I can, I'll be around to catch up commenting on your wonderful projects. I do apologize in advance for any inadvertent mistakes because I'm pretty much rushing through this so if I should miss anything and you have any questions afterward, please do not hesitate to contact me at audreyfrel@sbcglobal.net. I promise I'll get back to you as soon as I possibly can; although it may not be immediately, I'm on a time-permitting schedule right now... LOL!
Oh my!!! I guess I should have been creating an Easter project but I only realized yesterday that this Sunday is Easter Sunday... I really have lost time!!! LOL! Although not Easter related, my project today is a fun-- it's a cute little fan card. I've seen similar to these on the internet and thought how adorable they were, so I was inspired to try to do a version of these fan cards... it was also a project I could work on while away from home. I hope you like mine. I wanted to do a little envie for it but didn't have time, so I'll have to do that later but here are pictures of my fan card opened, closed, and a close-up of the message which is on the ribbon and reads "You Are So Cool!":


To begin constructing my card, I hand-drew a base and base topper to form the fan, then cut them out:

I glued the topper to the base, then traced it twice on a sheet of 8.50" x 11"cardstock; by folding the paper in half, this will enable me to cut all four fan parts for one complete fan:


I also drew a face topper for the fan by cutting another base topper slightly smaller (about 1/8" smaller) than the original and traced it onto a sheet of cardstock four (4) times. With the paper folded in half once cut this will give me enough fan faces for 2 fans (8 faces).

Once I cut out all the traced fan parts, I used Luster Rub-Ons to age/antique the fans:

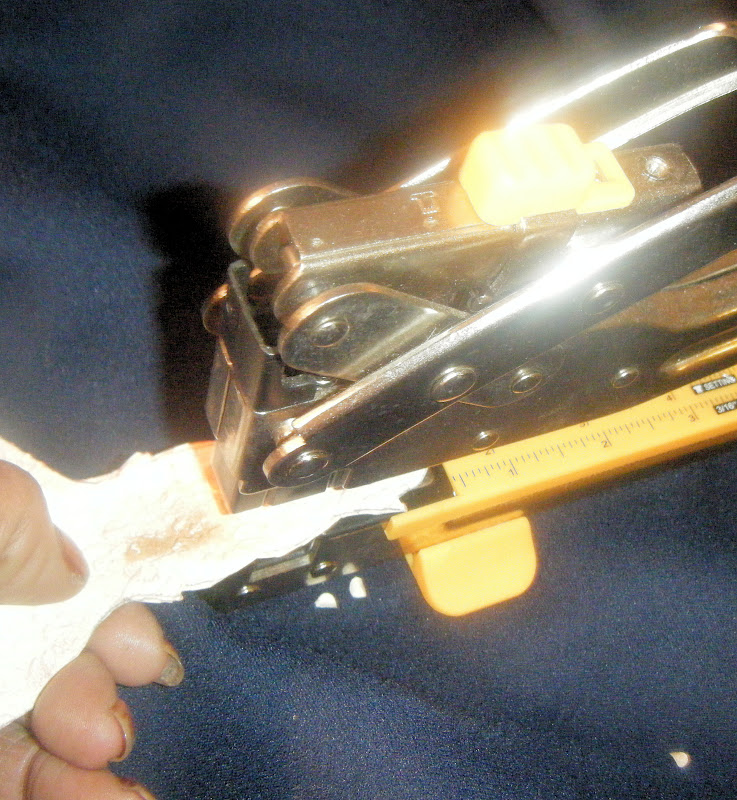
Next I placed the fans together making certain they were even and punched a hole about 1/4 inch from the bottom of the base edge; (although I didn't picture this, I also ran each fan through the Cuttlebug in an embossing folder to give them texture):

Now for the fan faces! I added dots of Liquid Pearls around the edges of each fan face. Once the paint was dry, I cut out rub-ons and applied them to the center of each face, then glued the a fan face on each fan topper:

Now it was time to put all the parts of my little fan together! It's not pictured because at the last minute I decided to outline the outer edge of each fan with Stickles to give them depth. Once the Stickles was dry, I stacked the 4 fans evenly together and added a brad in the hole to keep them together. Next I spread the fans out as wide as I wanted them to go then carefully turned my fan over to the opposite side. To keep the fan from spreading open any further than I wanted it to open, I marked each fan with an "X" where I would glue a lenth of ribbon to secure each fan part in place:


Next I glued the length of ribbon to each "X" marked, making certain to apply the ribbon to the glued marked areas only!!! (NOTE: I did not glue ribon across the entire back of the fan as this would have prevented my fan from closing!!!) It should look like this:

Now when I close my fan the ribbon will fold behind each fan part and will not be visable from the top of the fan. Here are pictures of what the side and top angles should look like:


To complete my fan I typed and printed my message onto the ribbon, attached it to the fan, along with some beads and a paper flower, by gluing them slightly above the brad. To make certain my fan opened and closed, I avoided getting any glue in and/or around the brad.
This is a long tutorial but making this fan card is fast and easy -- really!!! I hope you decide to make one. You can make it in any size or shape you desire, add any message you'd like to the ribbon or even the fan face, and embellish! If I'd had more time I really would have put more into mine!
If you're interested in my hand-drawn template, email me at the address I've given above and I'll be glad to forward them to you. When I have a bit more time to get it done, I will try to remember to post these templates to my blog along with a completed proportionately sized envie.
Well, I've got to run again... sorry! But I'll be back as soon as I can; I really miss you all and hope to be back sooner than later! Oh, and do please forgive my absence, it's absolutely necessary! I have not forsaken any of you.
I'll be seeing you, hugs, and thanks so much for stopping by!


5 comments:
Audrey this is GORGEOUS!!! love the detail of ezch section of the fan and the embossing is awesome. So good to hear from you and yes I knew you would be here. I was going to call and check on you Saturday but now that I know your situation is the same I will just pray! Thank you for sharing with us today, as always with a special project!
Gorgeous fan Audrey! I love the embossing and the fun design!!! Gorgeous! Big hugs for you!
Melissa
Lovely to see you post Audrey, we missed you !!!
Great fan project and detailed instructions, thank you.
Huge hugs
Adele
This is so so elegant and what a great idea. Love it so much that I am so going to scraplift. TFS
Audrey, we have missed you but certainly understand that life gets in the way! Just remember to take care of you!! What a wonderful project with so much wonderful detail!! Absolutely gorgeous!! You take care and we will wait anxiously for your return!!
Post a Comment