


Hi Everyone! This is Elizabeth from 217 Creations. I love making mini albums. Typically I enjoy making my template and making the whole thing from scratch. I also enjoy using shapes from my Cricut cartridges to make a mini album.
Cut Sizes:
<CmpctCard> 3.75 inches (real size off)
<CmptCdLr> 3.75 inches (real size off)
<Banner> .75 inches (real size off)
<BannerLr> .75 inches (real size off)
<Shield> 2 inches (real size off)
<ShieldLr> 2 inches (real size off)
<Crown> .75 inches (real size off)
<CrownLyr> .75 inches (real size off)
Supplies:
Black Chipboard
White Cardstock
Terrifically Tacky Tape
ATG Tape
Martha Stewart Scoreboard
Xacto Knife
Flower Ribbon
Circle Cutter (*George or Plantin Schoolbook could be
used in place of this tool)
Pop Dots
Irock
Audrey Imagine Cartridge
Makeup Party Cartridge
Directions Setp by Step:
- Cut <CmpctCard> from black chipboard
- Cut <CmpctCard> from Audrey Patterned Paper
- Flip the image and cut <CmpctCard> from Audrey Patterned Paper
- Using ATG tape, adhere the Audrey paper to the chipboard
- Using an Xacto Knife, cut the chipboard cut and the Audrey cuts from <CmpctCard> along the seams. You will now have 3 pieces
- Cut 2 pieces of cardstock at 2 inches by 1.25 inches.
- Using Martha Stewart Scoreboard, score every ¼ inches on each one.
- Fold into an accordion firmly
- Cut 4 small strips of Terrifically Tacky Tape that are 1 ¼ inches long. Apply along outer spine of the scored paper on each side (on the 1 ¼ inch side).
- Glue the spine to the left hand cut and then glue the other side to the middle. Repeat for the other side.
- Using a Circle Cutter, cut the pages of the album (George or Plantin Schoolbook could be used to make these as well). First cut the black chipboard at 3.75 inches 4 times.
- Using Circle Cutter, cut Audrey paper at 3.75 inches 8 times- 4 with one pattern, 4 with another.
- Using ATG tape, adhere the Audrey paper to the Chipboard
- Cut 4 more strips of TTT at 1 ¼ inches and apply them to the spine for the inside pages.
- To conceal the accordion folds of the spine, cut 2 flowers off a ribbon and use TT to adhere them to the covers. Plain ribbon could be used as well.
- Cut <CmptCdLr> from Coordinating Audrey paper 2 time. Apply these cuts to the outside cover and the inside cover on the front and back.
- Cut <Shield> <ShieldLr> <Banner> <BannerLr> <CrownLyr> from coordinating Audrey Paper
- Cut <Crown> from silver cardstock.
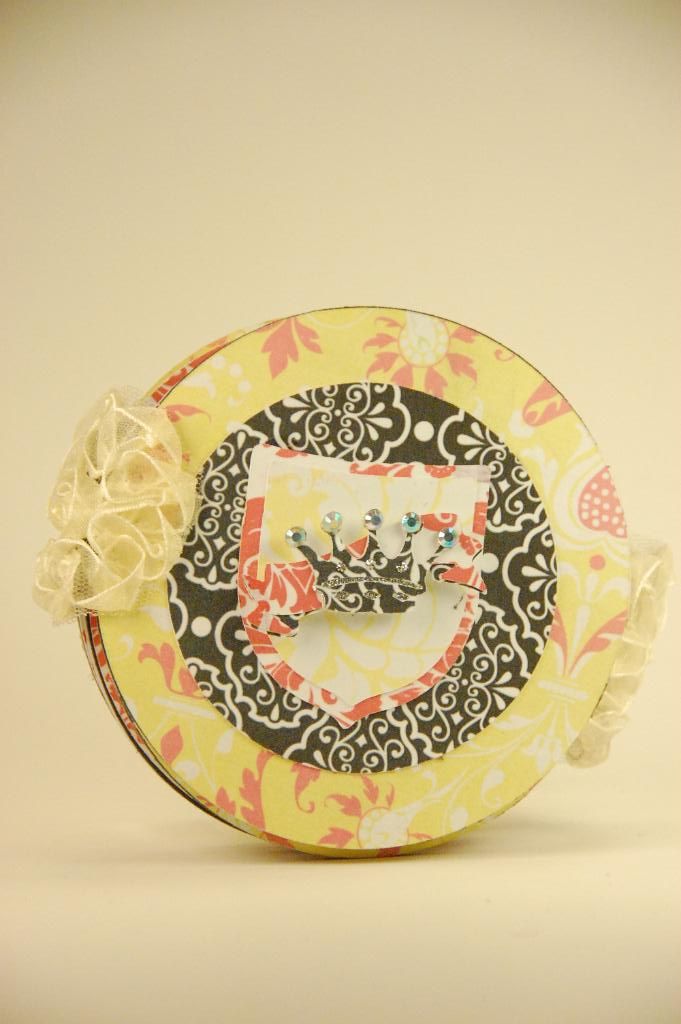
- Layer shields and adhere to cover
- Adhere layers of crown
- Adhere layers of the banner
- Use pop dots to raise the banner off the cover.
- Adhere crown to banner
- Using an Irock, adhere rhinestones to the crownHere are some more close ups:

Closed and flat 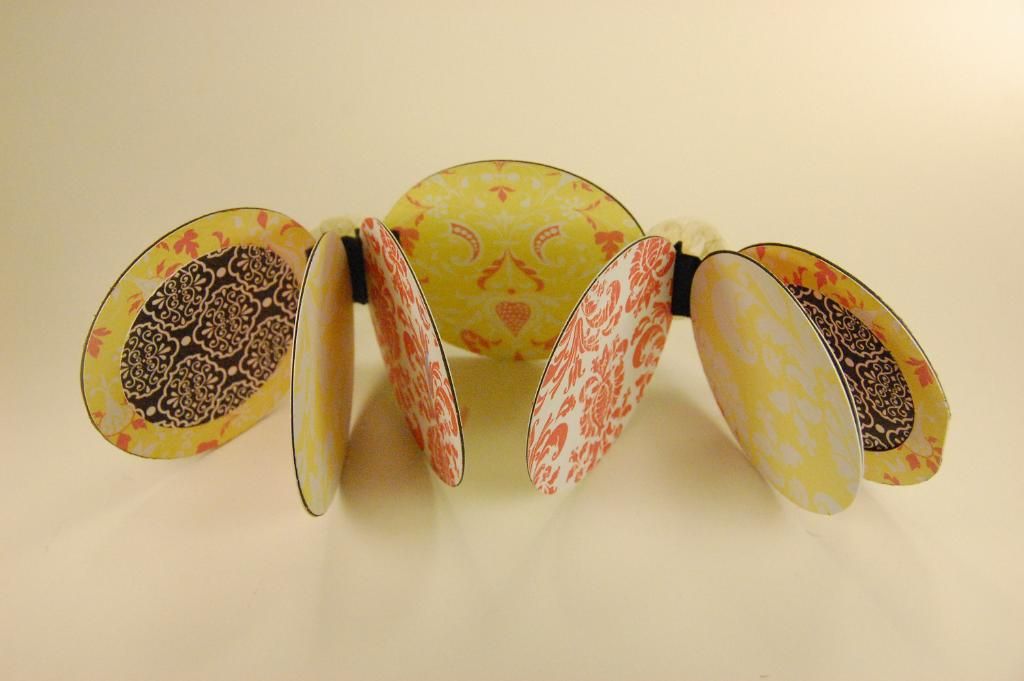
Front and standing up 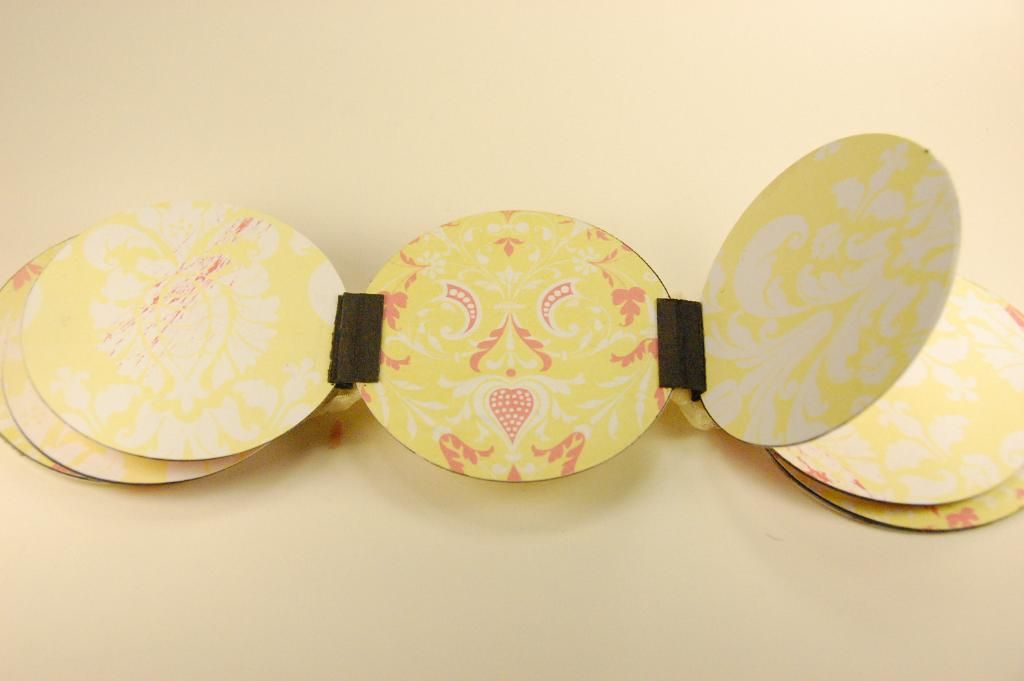
Open and laying flat 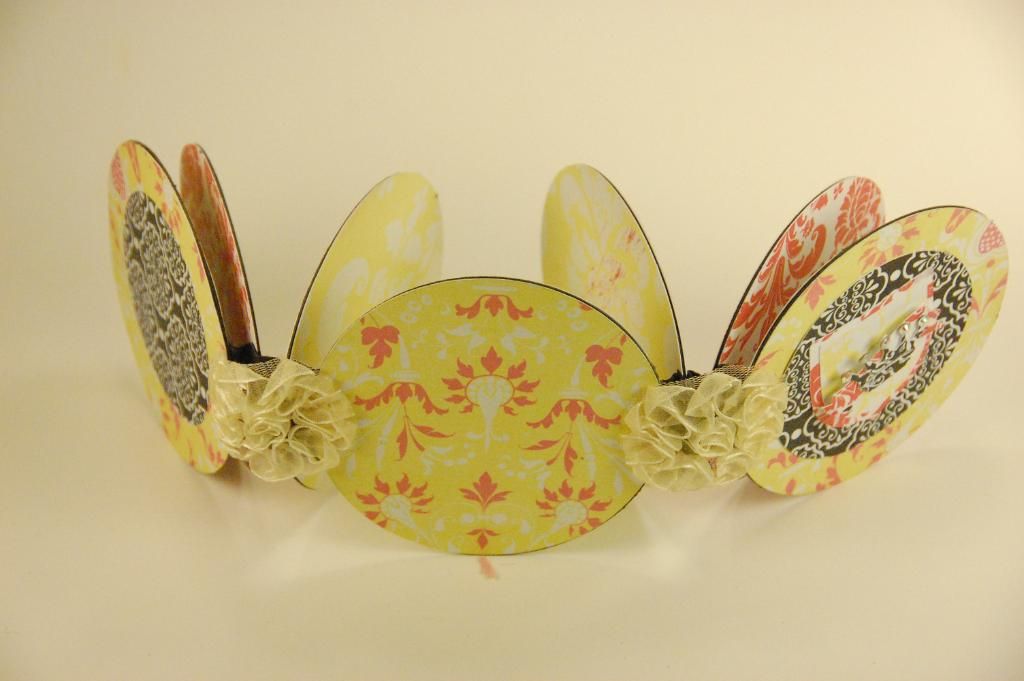
back and standing up As always thank you for taking the time to leave me a comment and to subscribe to us here at She's A Sassy Lady and on my personal blog at 217 Creations. Have a great day!


4 comments:
Liz this is just BEAUTIFUL! and so unique. I love the design and the colors are so nice and springy! Love it. Thanks for all the directions and for sharing with us today!
WOW so pretty - love the design and fabulous papers. TFS
Absolutely gorgeous!!! I love every detail and the fantastic tutorial! I have these cartridges so I think I just might make one of these! Yay!
LOVE it!!! Gorgeous!
Post a Comment